Why Stout Beer Transforms Your Chocolate Chip Cookies
Baking with stout beer creates an extraordinary depth of flavor that elevates ordinary chocolate chip cookies into something truly spectacular. The rich, roasted notes of stout complement chocolate beautifully, while the beer’s natural carbonation adds unexpected lightness to the cookie texture. Moreover, the malty sweetness balances the bitter cocoa perfectly.
Stout beer contains complex compounds that enhance baked goods in remarkable ways. Source The roasted barley provides earthy undertones that pair magnificently with chocolate chips. Additionally, the beer’s acidity helps tenderize the dough, resulting in cookies with a perfectly chewy texture.
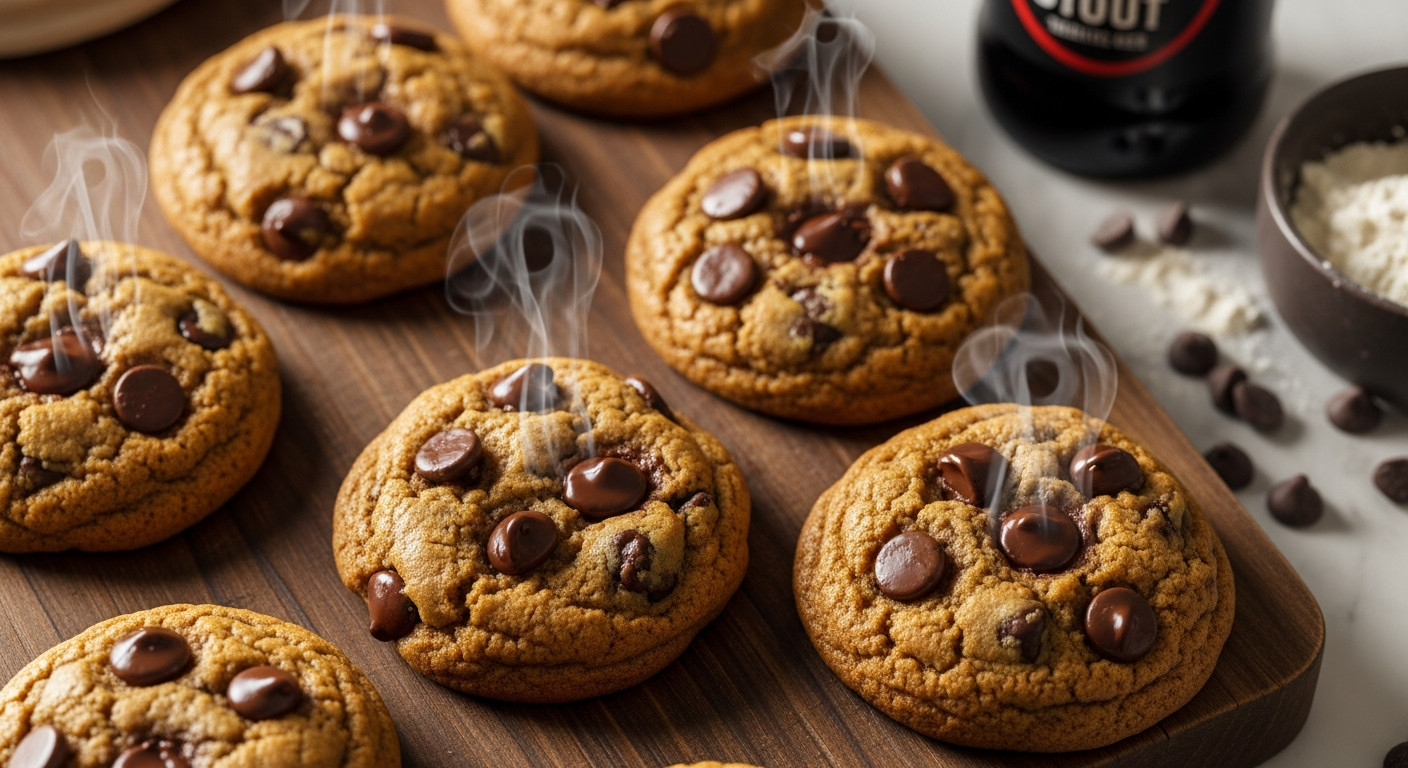
The Science Behind Stout in Cookie Dough
Alcohol in stout evaporates during baking, leaving behind concentrated flavors without any boozy taste. The carbonation creates tiny air pockets that make cookies lighter and more tender. Furthermore, the natural sugars in beer caramelize during baking, adding complexity to the final product.
Stout’s roasted malt profile mirrors the deep flavors found in dark chocolate. Source This similarity creates a harmonious flavor marriage that intensifies the chocolate experience. . Consequently, your cookies develop a sophisticated taste that regular chocolate chip cookies simply cannot match.
The beer’s pH level also affects gluten development in the dough. This chemical reaction produces cookies with the ideal balance between crispy edges and chewy centers. Meanwhile, the beer’s natural enzymes help break down proteins, creating a more tender crumb structure.
Roasted Malt: Ready-Made Chocolate Notes
The foundation of stout’s baking magic is roasted malt. During brewing, barley malt is heated to high temperatures—sometimes over 400°F—triggering the same Maillard browning that happens in your oven. This roasting produces hundreds of flavor compounds, many nearly identical to those in dark chocolate and coffee. When you add stout to cookie dough, those pre-formed compounds integrate directly into the batter, which is why beer chocolate chip cookies often taste more chocolatey than regular ones even without extra cocoa powder.
Carbonation: A Built-In Tenderizer
Beer carries CO₂ from fermentation, and those tiny bubbles interrupt gluten strands before they fully develop, giving stout cookies a consistently more tender crumb than their non-beer counterparts. The catch is that carbonation is volatile: if the dough sits at room temperature for hours, the bubbles escape and the tenderizing benefit fades. Either bake within about 20–30 minutes of mixing, or shape the dough balls and refrigerate them on a sheet pan—the cold slows carbonation loss, and you can bake directly from chilled.
Residual Sugars and Deeper Browning
Most stouts retain unfermented sugars—dry stouts only a few grams per 12 ounces, milk stouts noticeably more. Those extra reducing sugars join your butter, eggs, and flour in the Maillard reaction during baking, so edges crisp slightly faster and the browning is deeper and more complex. It’s one reason stout chocolate chip cookies look as striking as they taste.
Does the Alcohol Bake Off?
Ethanol boils at 173°F, far below cookie-baking temperatures, and studies suggest roughly 85–95% of alcohol is lost during baking depending on time and temperature. The flavor compounds dissolved in the beer have much higher boiling points and survive intact—so the cookies taste authentically of stout’s roasted character while retaining essentially no alcohol. If you’re baking for children or avoiding alcohol for personal or religious reasons, these cookies are generally considered safe to serve.
Hydration: Why the Amount Matters
Stout is ultimately a liquid, and it changes your dough’s hydration—more liquid means slightly larger spread, softer crumb, and chewier centers. The recipe below already balances its 1/2 cup of stout against the flour, but if you’re adapting your own favorite recipe, start smaller (2–4 tablespoons per batch) and either substitute it for an equal volume of milk or water, or add 1–2 tablespoons of flour for every extra tablespoon of stout. The dough should feel like your standard cookie dough.
Choosing the Perfect Stout for Baking
Not all stouts work equally well in cookie recipes. Dry stouts like Guinness offer clean, roasted flavors without overwhelming sweetness. Imperial stouts provide intense chocolate and coffee notes but can make cookies too dense. Therefore, medium-bodied stouts typically deliver the best results.
Avoid overly hoppy stouts, as excessive bitterness can create unpleasant flavors in baked goods. Instead, look for stouts with prominent malt character and subtle hop presence. Coffee stouts work exceptionally well because they amplify the chocolate flavors naturally.
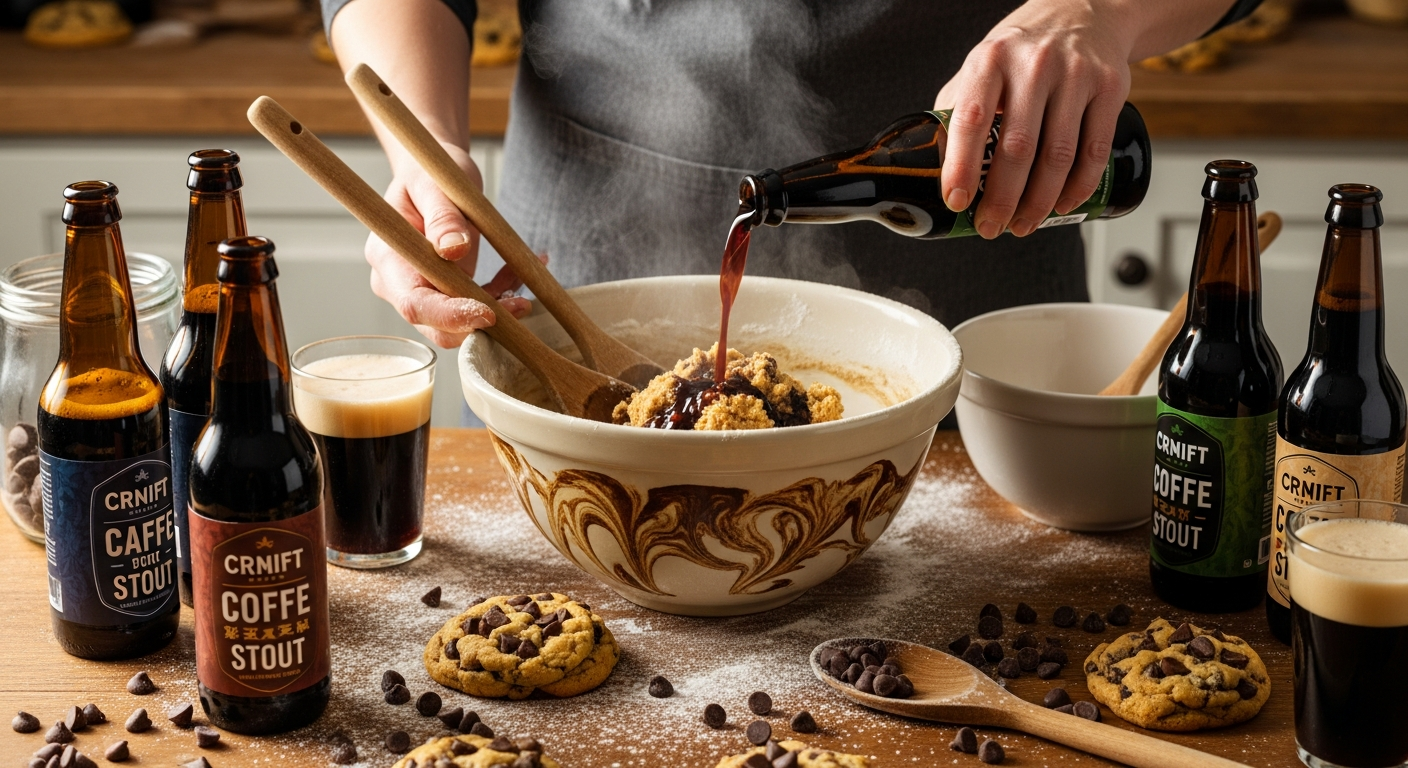
Consider the alcohol content when selecting your stout. Beers with 5-7% ABV provide optimal flavor without excess liquid that could affect dough consistency. Higher alcohol content requires recipe adjustments to maintain proper texture.
Essential Ingredients for Stout Chocolate Chip Cookies
Quality ingredients make all the difference when baking with beer. Use room temperature butter for proper creaming and incorporation. European-style butter with higher fat content creates richer, more flavorful cookies. Additionally, fresh eggs bind ingredients while adding moisture and richness.
Choose high-quality chocolate chips or chunks for maximum impact. Semi-sweet chocolate balances the stout’s roasted flavors perfectly. Dark chocolate creates more intense flavor combinations, while milk chocolate offers sweeter, milder results. Furthermore, a mixture of chocolate types adds complexity and visual appeal.
Brown sugar enhances the beer’s malty sweetness while adding moisture to the dough. The molasses in brown sugar complements stout’s caramel undertones beautifully. Meanwhile, a small amount of white sugar helps create the perfect cookie texture.
The Ultimate Stout Chocolate Chip Cookie Recipe
Rich Stout Chocolate Chip Cookies
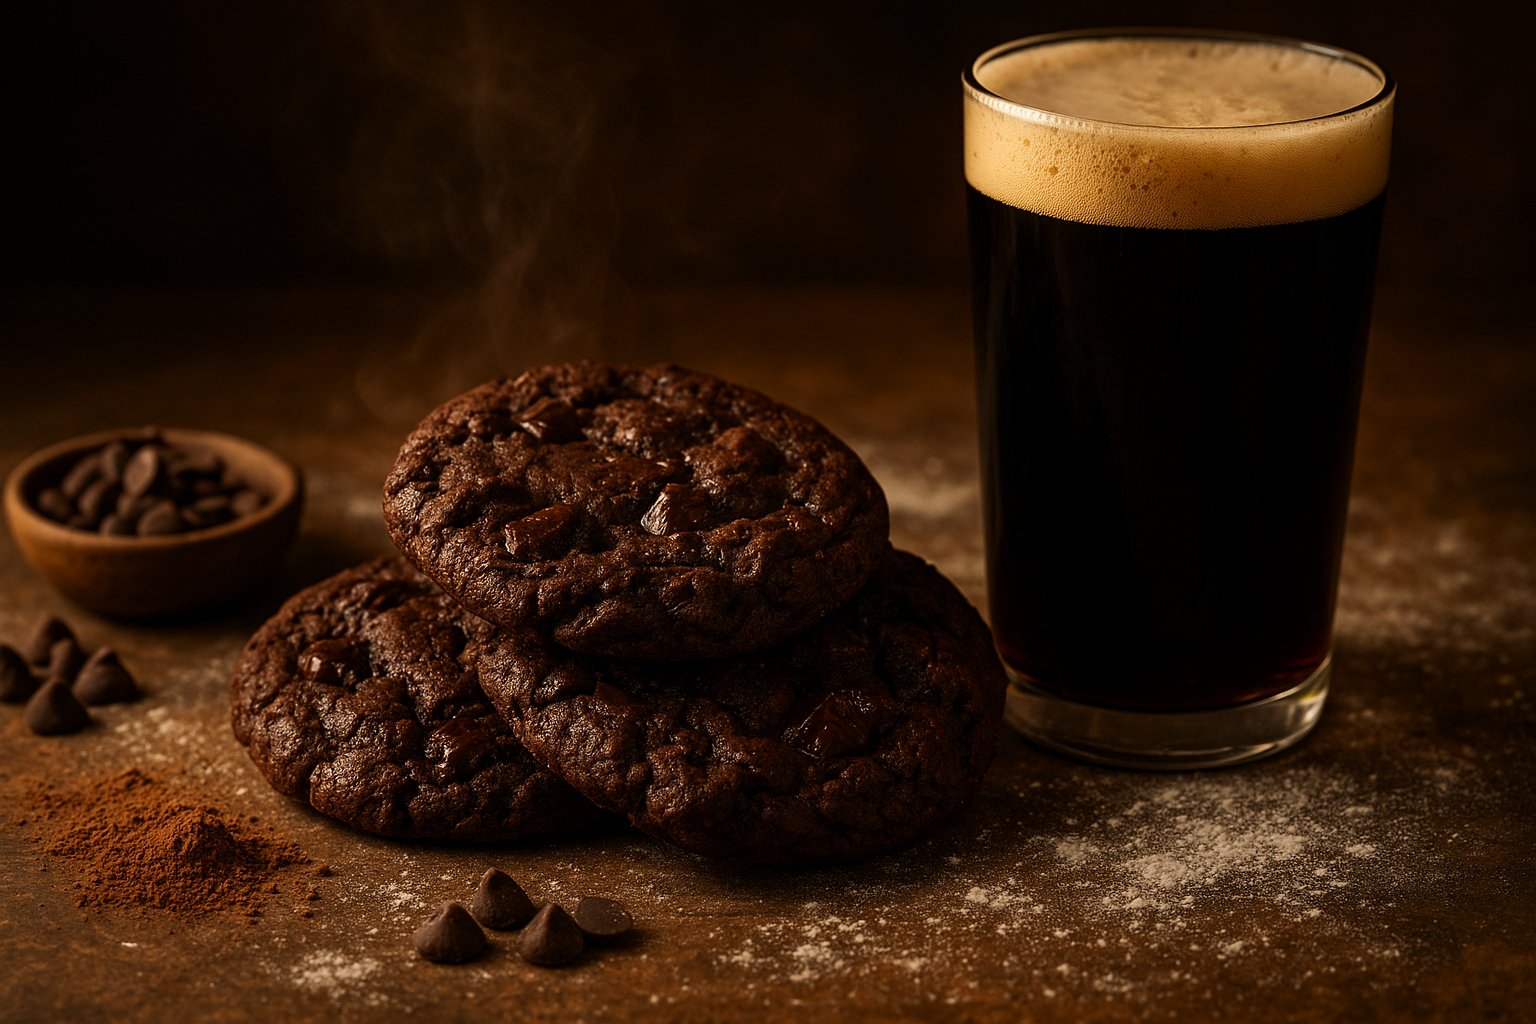
Ingredients:
- 2¼ cups all-purpose flour
- 1 tsp baking soda
- 1 tsp salt
- 1 cup unsalted butter, softened
- ¾ cup brown sugar, packed
- ¼ cup granulated sugar
- 2 large eggs
- ½ cup stout beer, room temperature
- 2 tsp vanilla extract
- 2 cups semi-sweet chocolate chips
- ½ cup chopped walnuts (optional)
Instructions:
- Preheat oven to 375°F and line baking sheets with parchment paper.
- Whisk flour, baking soda, and salt in a medium bowl, then set aside.
- Cream butter and both sugars in a large bowl until light and fluffy, about 3 minutes.
- Beat in eggs one at a time, then add vanilla extract and mix thoroughly.
- Pour stout beer slowly into the mixture while beating on low speed.
- Gradually add flour mixture, mixing just until combined to avoid tough cookies.
- Fold in chocolate chips and nuts using a wooden spoon or spatula.
- Drop rounded tablespoons of dough onto prepared baking sheets, spacing 2 inches apart.
- Bake for 9-11 minutes until edges are golden brown but centers look slightly underdone.
- Cool on baking sheets for 5 minutes before transferring to wire racks.
Pro Tips for Perfect Stout Cookies
Temperature Control Matters
Room temperature ingredients blend more easily and create better texture. Cold butter won’t cream properly, while warm eggs can curdle the mixture. Therefore, plan ahead and remove ingredients from refrigeration 30-60 minutes before baking.
Let the stout reach room temperature before adding it to your dough. Cold beer can shock the butter mixture and create lumpy dough. Additionally, flat beer works better than freshly opened bottles because excess carbonation can affect rising.
Mixing Techniques for Success
Don’t overmix the dough once you add flour, as this develops gluten and creates tough cookies. Mix just until ingredients combine and no flour streaks remain visible. Furthermore, folding in chocolate chips gently prevents them from breaking and creating muddy-looking cookies.
Cream butter and sugars thoroughly to incorporate air and create light texture. Source This process typically takes 3-4 minutes with an electric mixer. Properly creamed mixture should look pale and fluffy.
Baking and Storage Secrets
Slightly underbake cookies for the perfect chewy texture, as they continue cooking on hot pans after removal. Golden brown edges indicate doneness, even if centers appear soft. Consequently, your cookies will have ideal texture once cooled.
Once your delicious beer-inspired cookies have emerged from the oven, fragrant and perfectly baked, proper storage is key to preserving their unique flavors and texture. Don’t let your culinary efforts go to waste; follow these expert tips to keep them fresh, whether for a few days or several months.
Optimal Short-Term Storage for Peak Flavor
For those freshly baked treats you plan to enjoy within the week, the goal is to maintain their original texture – whether that’s a chewy stout brownie cookie or a crisp IPA shortbread.
- Crucial First Step: Complete Cooling. This cannot be overstated. Warm cookies, when placed into a container, will create condensation. This moisture is the enemy of crispness and the friend of sogginess and even mold. Ensure your cookies are completely cooled to room temperature on a wire rack before even thinking about storage.
- The Power of Airtight: An airtight container is your best friend for short-term storage. Exposure to air is what causes cookies to go stale, lose their chewiness, or dry out.
- Container Choices: Opt for glass jars with rubber seals, sturdy plastic containers with tight-fitting lids, or even vacuum-sealable bags if you’re serious about freshness.
- Why it Matters: An airtight seal prevents moisture from escaping (keeping soft cookies tender) and also prevents outside moisture or odors from entering (protecting crisp cookies and preventing flavor contamination). This is especially important for beer cookies, where you want to preserve those nuanced malty or hoppy notes.
- Location, Location, Location: Generally, most baked cookies are best stored at room temperature on your counter or in a pantry, away from direct sunlight or heat sources. Refrigeration can sometimes dry out cookies faster or alter their texture, unless they contain cream cheese frosting or other perishable fillings.
The Art of Layering: Preventing Sticky Situations
Even perfectly cooled cookies can stick together, especially if they’re soft, glazed, or contain melted chocolate chips. This simple technique keeps them looking pristine and easy to separate.
- Why Layer? Layering creates a protective barrier between each cookie, preventing them from fusing together, smudging glazes, or transferring flavors.
- Best Barrier Materials:
- Parchment Paper: Non-stick, food-safe, and easily cut to size. It’s breathable enough to prevent excessive moisture buildup but sturdy enough to provide separation.
- Wax Paper: A great alternative, offering similar non-stick qualities.
- Baking Paper: Another suitable option, often interchangeable with parchment.
- Best Barrier Materials:
- How to Layer Effectively:
- Place a single layer of cookies on the bottom of your airtight container.
- Cut a piece of parchment or wax paper to fit the container snugly, and lay it directly over the first layer of cookies.
- Add another layer of cookies on top of the paper.
- Repeat the process until the container is full, finishing with a final sheet of paper on top before sealing.
- Cookies That Benefit Most: This technique is particularly vital for glazed cookies (like those with a citrus IPA glaze), frosted cookies, soft and chewy varieties (such as oatmeal stout cookies), or those with chocolate chips or caramel bits that might soften over time.
Mastering Long-Term Freezing: Freshness on Demand
For those who love to bake in batches, prepare for holidays, or simply want a stash of delicious beer cookies ready for an impromptu craving, freezing is an excellent solution, preserving quality for up to three months.
- The Benefits of Freezing: Freezing halts the aging process, locking in freshness, flavor, and texture. It’s perfect for making large quantities of your favorite imperial stout chocolate chip cookies or lager lemon bars ahead of time.
- Step-by-Step Freezing for Baked Cookies:
- Ensure Full Cooling: As with short-term storage, this is paramount. Any residual warmth will lead to ice crystals and freezer burn.
- Flash Freeze (Optional but Recommended): For delicate or individually sized cookies, arrange them in a single layer on a baking sheet lined with parchment paper. Place the sheet in the freezer for 30-60 minutes, or until the cookies are firm. This prevents them from sticking together when eventually packaged and helps maintain their shape.
- Individual Wrapping: For optimal protection against freezer burn, wrap each cookie (or small stacks of 2-3) tightly in plastic wrap or aluminum foil. This creates an extra barrier.
- Airtight Container/Bag: Place the individually wrapped cookies into a heavy-duty, freezer-safe airtight container or a freezer bag. If using a bag, squeeze out as much air as possible before sealing.
- Labeling: Always label your container or bag with the type of cookie (e.g., “Porter Pretzel Cookies”) and the date they were frozen. This helps you keep track and ensures you consume them within the recommended timeframe.
- Thawing for Ultimate Enjoyment:
- Room Temperature Thaw: The best way to thaw most frozen cookies is to simply remove them from the freezer and let them sit at room temperature for 1-2 hours (depending on size). Keep them in their original wrapping until fully thawed to prevent condensation from forming on the cookie itself, which can make them soggy.
- Quick Warm-Up (Optional): For a “fresh from the oven” experience, once thawed, you can warm them briefly in a preheated oven (around 275°F / 135°C) for 5-10 minutes. This can revive their aroma and texture beautifully, especially for chewy varieties.
By following these detailed storage guidelines, your beer-inspired cookies will remain a delightful treat, ready to impress with their unique flavors and perfect texture whenever you choose to enjoy them.
Creative Variations and Flavor Combinations
Chocolate Stout Brownies
Transform this recipe into decadent brownies by reducing flour to 1½ cups and adding ½ cup cocoa powder. Increase baking time to 25-30 minutes for fudgy brownies. The stout intensifies chocolate flavors while keeping brownies moist.
Espresso Stout Cookies
Add 2 tablespoons instant espresso powder to amplify coffee notes in your stout. This combination creates sophisticated cookies perfect for adult gatherings. The caffeine enhances chocolate flavors while adding complexity.
Salted Caramel Stout Treats
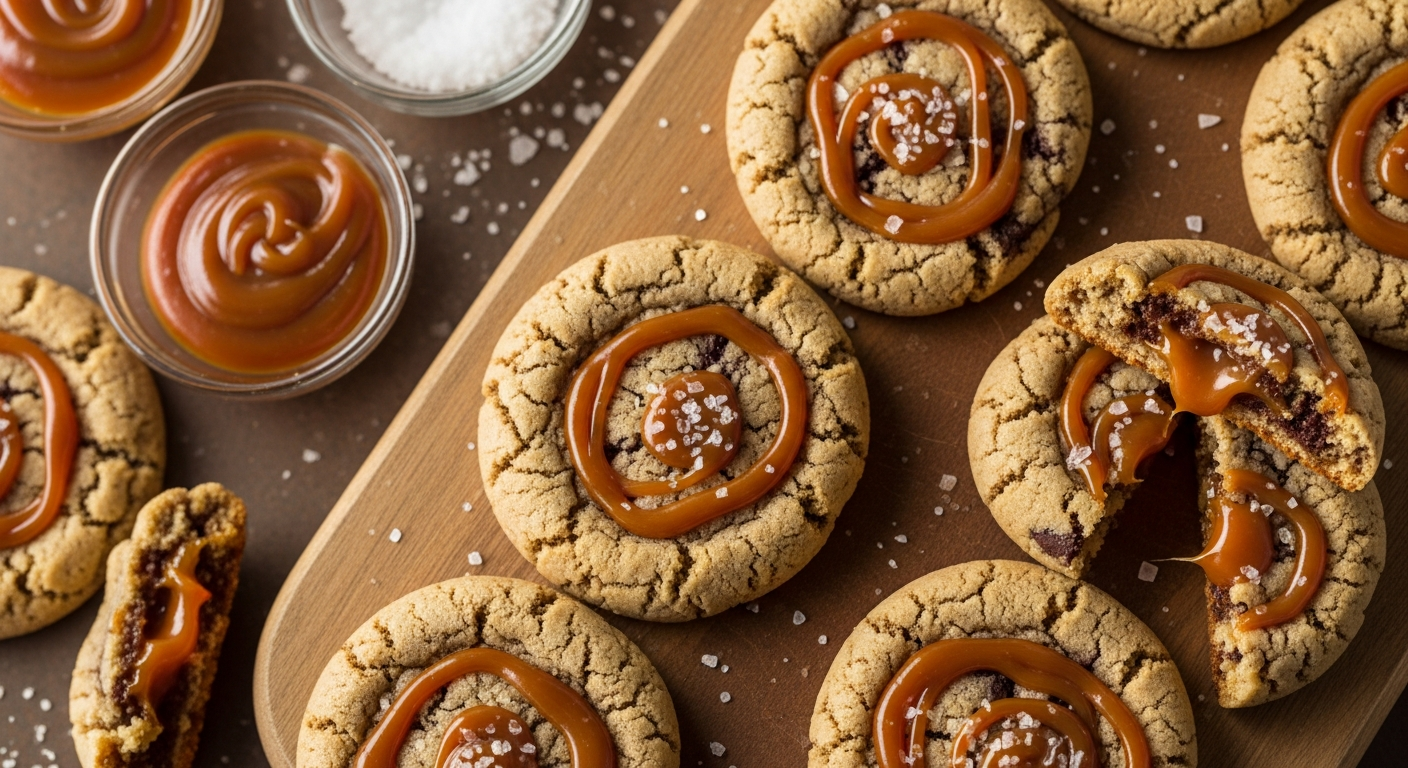
Swirl caramel sauce into the dough before baking and sprinkle finished cookies with flaky sea salt. The salt enhances both chocolate and beer flavors while adding textural contrast. This combination appeals to those who enjoy sweet and salty desserts.
Serving Suggestions and Perfect Pairings
Serve these rich cookies with cold milk or strong coffee to balance their intense flavors. The dairy cuts through the richness while complementing the chocolate notes. Additionally, vanilla ice cream creates an indulgent dessert combination.
For adult gatherings, pair cookies with the same stout used in baking. This creates a cohesive flavor experience that highlights the beer’s contribution. Alternatively, serve with aged whiskey or bourbon for sophisticated flavor pairings.
Warm cookies slightly before serving to enhance their aroma and soften the chocolate chips. A 10-15 second microwave warming brings out the stout’s roasted notes beautifully. However, avoid overheating, which can make cookies too soft.
Troubleshooting Common Baking Issues
Dense or Heavy Cookies
Overmixing typically causes dense cookies by developing too much gluten. Mix ingredients just until combined for tender results. Additionally, using too much flour can create heavy cookies, so measure accurately.
Flat beer works better than highly carbonated varieties because excess bubbles can affect texture. Let freshly opened beer sit for 30 minutes before using in recipes.
Spreading Problems
Cookies that spread too much often result from warm dough or insufficient flour. Chill dough for 30 minutes if it seems too soft. Furthermore, check that your baking soda hasn’t expired, as old leavening agents affect cookie structure.
Insufficient spreading usually indicates cold dough or too much flour. Ensure butter reaches proper room temperature for optimal creaming and spreading.
Conclusion
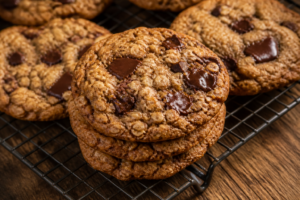
Baking with stout beer transforms ordinary chocolate chip cookies into extraordinary treats that impress every time. The beer’s complex flavors enhance chocolate while creating perfect texture through its unique chemical properties. Moreover, this technique opens doors to countless creative variations that suit any taste preference.
Experiment with different stout varieties to discover your favorite flavor combinations. Each beer brings distinct characteristics that influence the final product differently. Therefore, don’t hesitate to try coffee stouts, chocolate stouts, or even seasonal varieties.
These rich, sophisticated cookies prove that beer belongs in the kitchen just as much as in your glass. The combination of roasted malt flavors and premium chocolate creates desserts worthy of special occasions while remaining approachable enough for everyday enjoyment. Start your stout baking journey today and discover why this combination has captured the hearts of bakers worldwide.
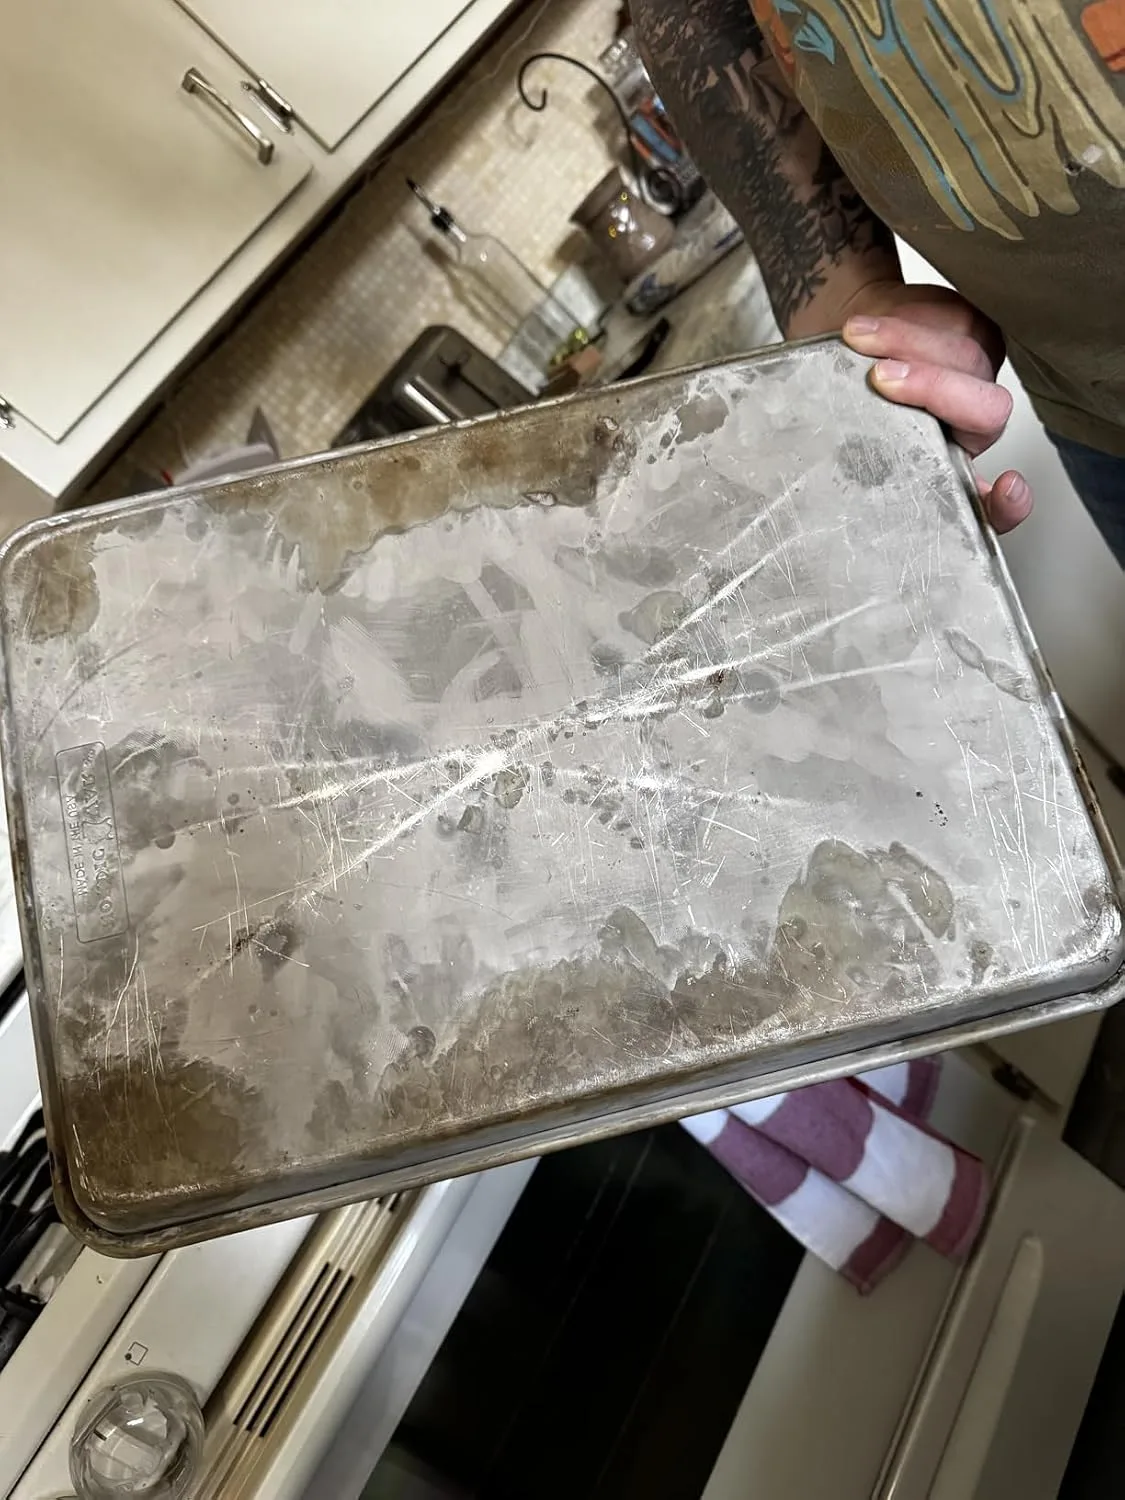
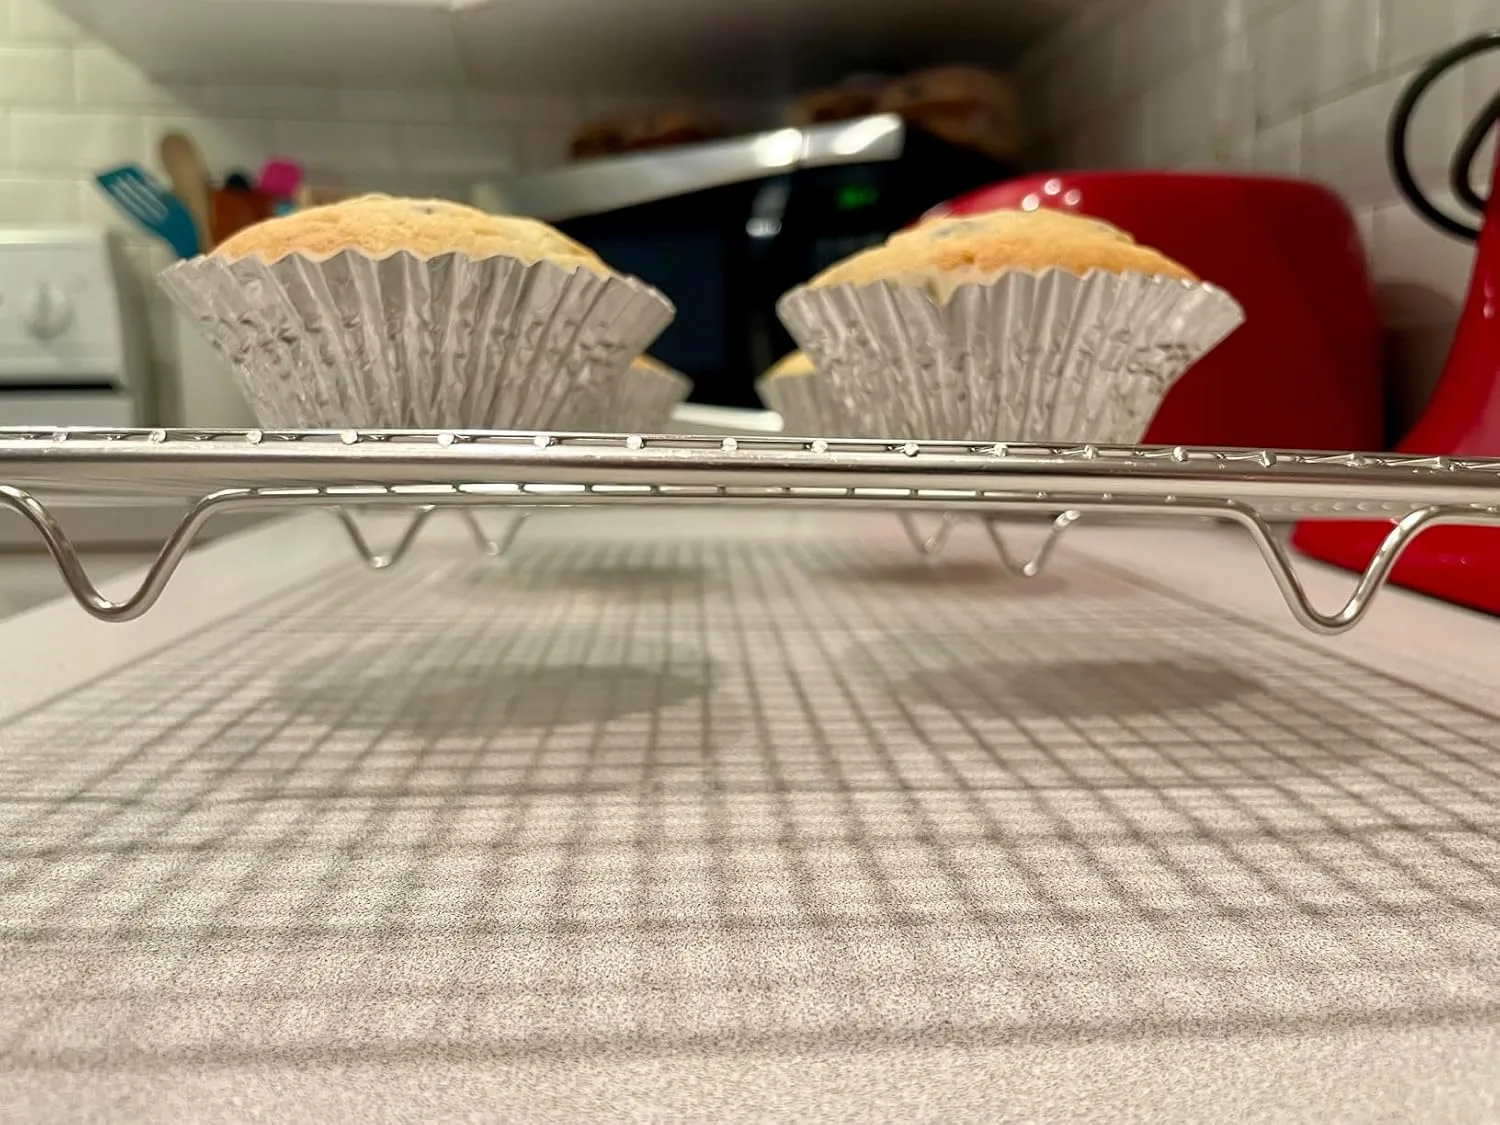
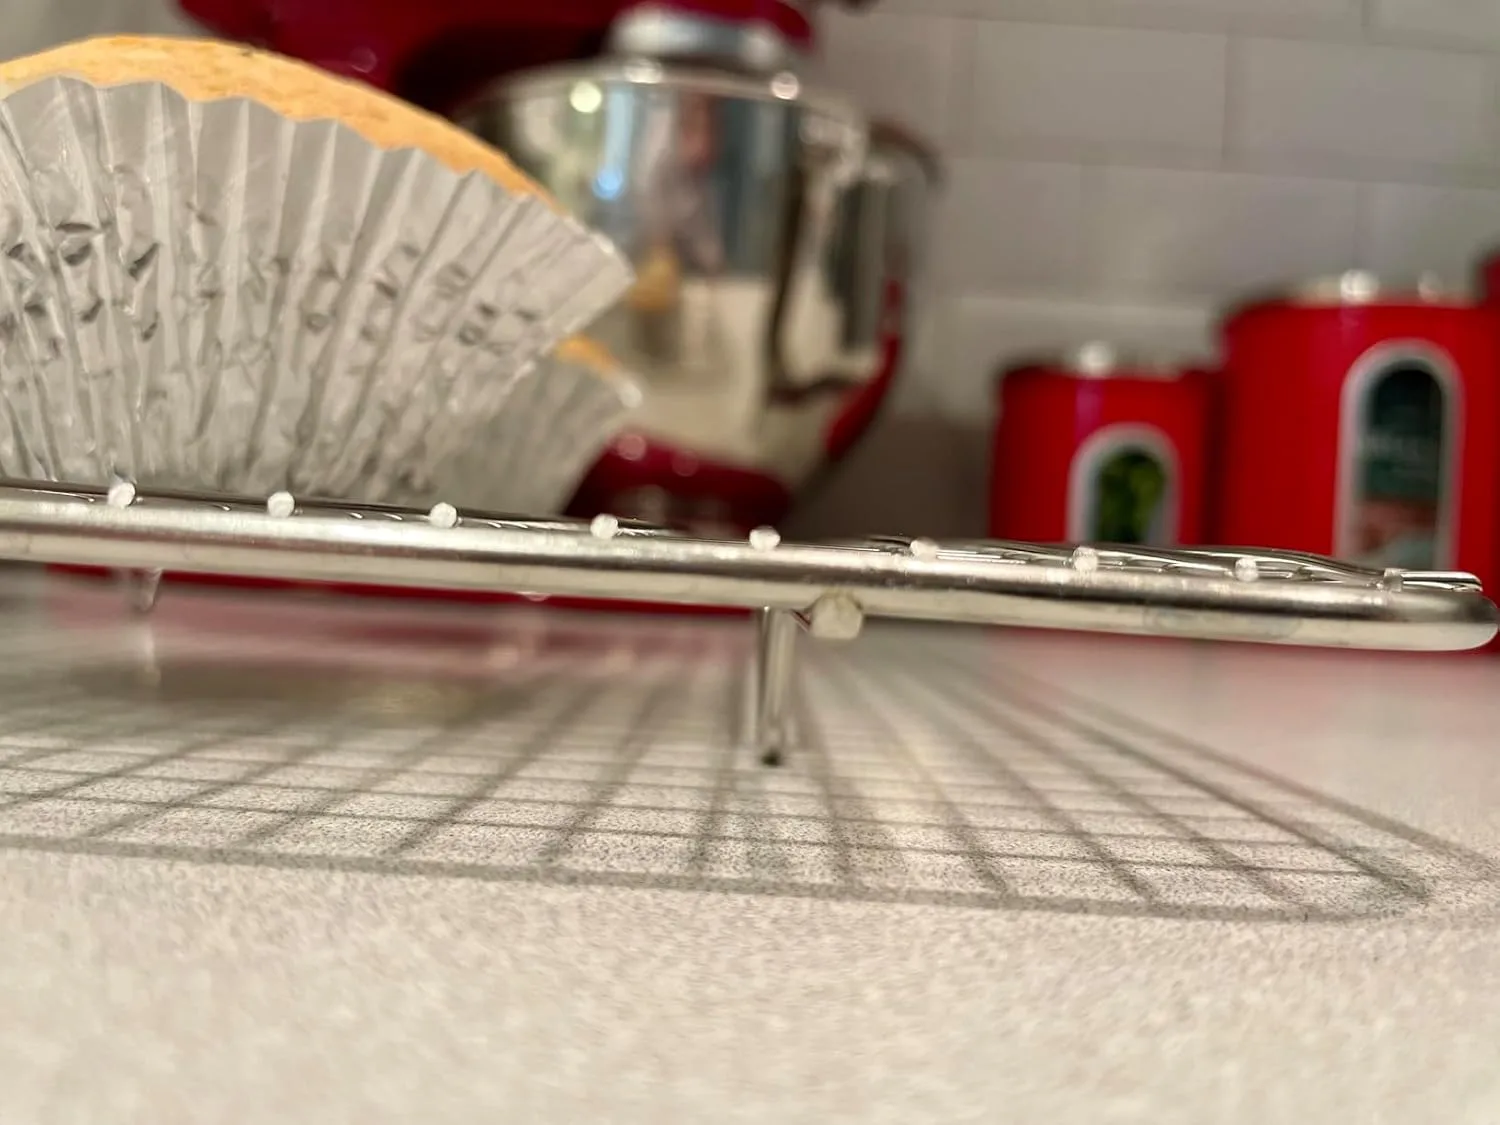
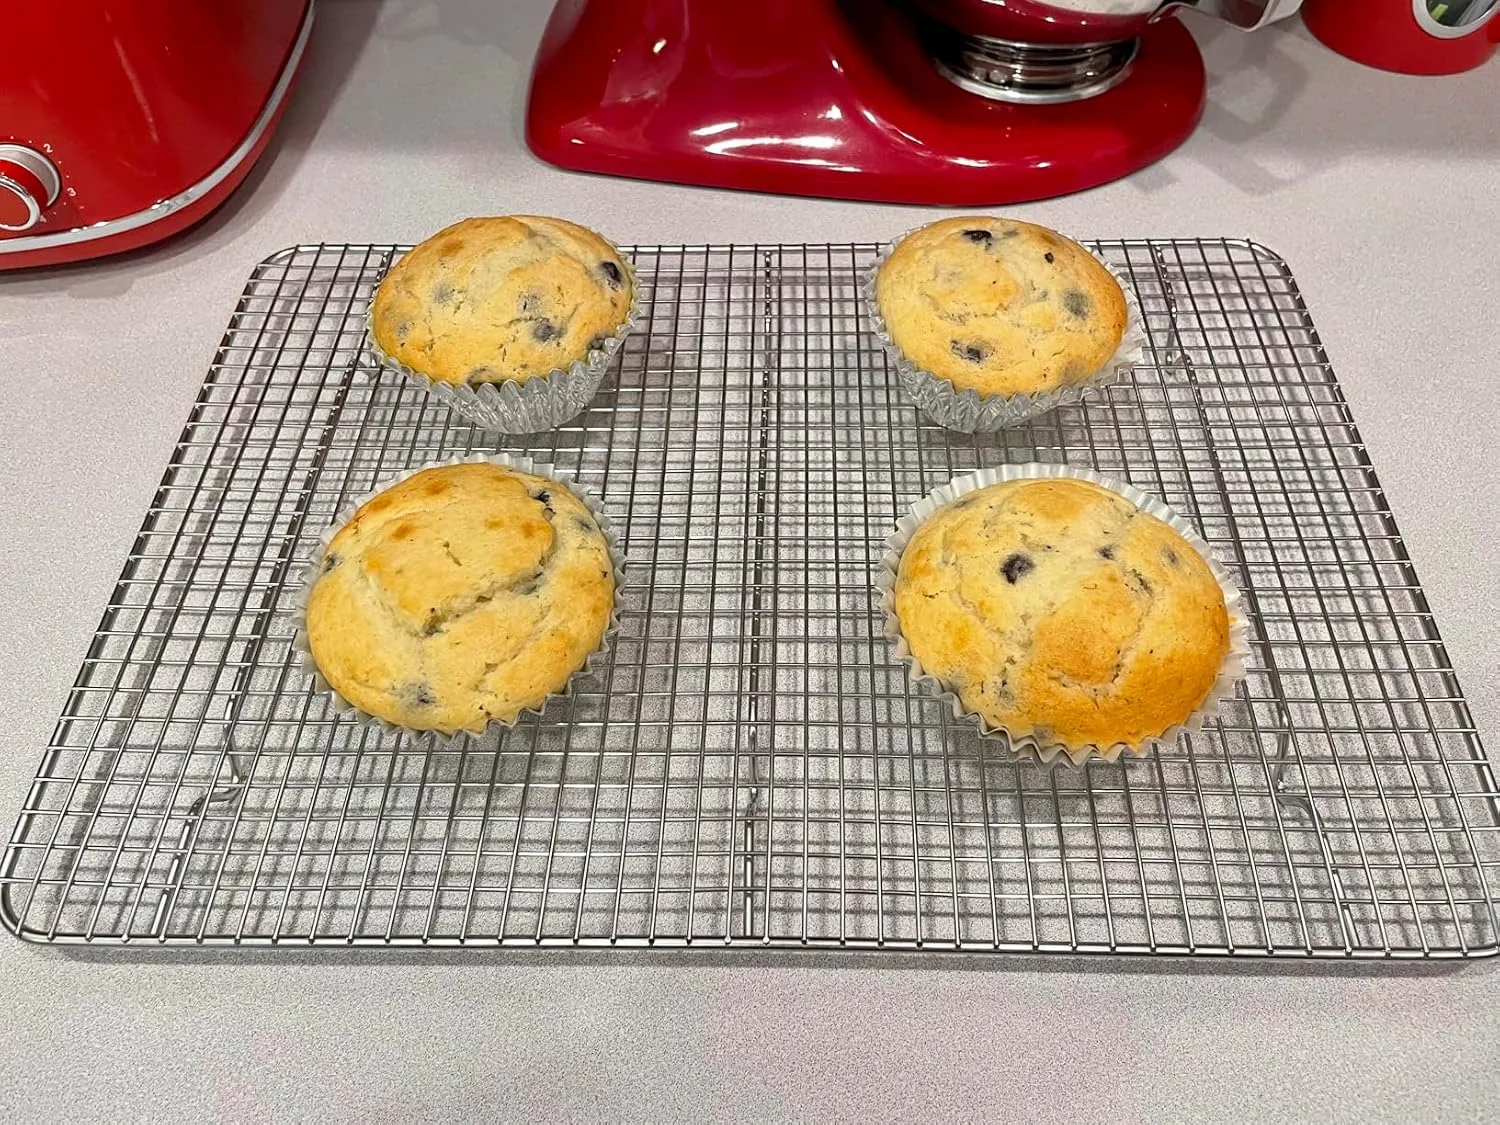
A cookie scoop ensures uniform cookie sizes for even baking and professional presentation. Additionally, a non-stick baking sheet provides even heat distribution for perfectly baked cookies every time. Finally, a sturdy wire cooling rack allows air to circulate around your freshly baked cookies, preventing soggy bottoms and ensuring even cooling.
As an Amazon Associate, I earn from qualifying purchases.
Stout Cookie Icing: The Perfect Finishing Touch
Stout cookies are already a deeply satisfying treat on their own, but the right icing or glaze can take them to an entirely new level. The bold, roasted flavors in stout beer cookies create a natural contrast with sweet, creamy toppings — a pairing that feels almost intentional by design. Much like how a rich stout complements a square of dark chocolate, a well-crafted icing balances the bitterness of the beer while highlighting the warmth of the brown sugar and chocolate chips already baked into every bite. If you’ve been serving your stout cookies plain, you’ve been leaving a finishing touch on the table.
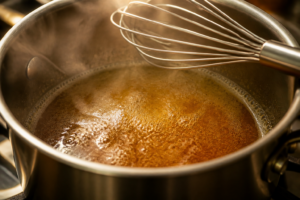
The simplest and most elegant option is a stout beer glaze that reinforces the flavor you’ve already built into the cookie. To make it, pour 1/4 cup of your chosen stout into a small saucepan and simmer over medium-low heat until it reduces down to about 2 tablespoons — this concentrates the malt and roasted notes beautifully. Let the reduction cool completely, then whisk it together with 1 cup of powdered sugar and 1/2 teaspoon of vanilla extract until smooth and glossy. The result is a thin, pourable glaze that you can drizzle over your cooled stout cookies in ribbons, letting it set for about 15 minutes before serving. The icing adds just enough sweetness to round out the deep, complex flavors without overpowering the cookie itself.
For something richer and more indulgent, a cream cheese frosting variation pairs exceptionally well with cookies made with stout beer with icing in mind. Beat 4 ounces of softened cream cheese with 2 tablespoons of butter until fluffy, then mix in 1 cup of powdered sugar, 1 tablespoon of your reduced stout, and a pinch of salt. The tanginess of the cream cheese cuts through the sweetness and provides a luxurious counterpoint to the dense, chewy texture of stout beer cookies. This frosting is especially wonderful during the fall and winter months when you want something that feels a little more celebratory and crowd-pleasing. Spread it generously over each cookie with an offset spatula, or load it into a piping bag for a more polished presentation.
When it comes to decorating cookies made with stout beer with icing, the method you choose matters as much as the recipe itself. A simple drizzle — moving your spoon or fork back and forth over a cooling rack — gives a rustic, artisan look that suits the handcrafted nature of stout cookies perfectly. Dipping the tops of the cookies directly into a bowl of glaze creates a clean, even coat that works beautifully for gifting or plating. Piping, on the other hand, gives you the most control and is ideal if you want to add decorative swirls, borders, or even simple patterns using the cream cheese frosting. Whichever approach you choose, always make sure your stout cookies are completely cool before applying any icing — even a slightly warm cookie will cause the glaze to run off and pool at the edges rather than setting properly on the surface.
A few final tips will help you get the most out of icing your stout beer cookies. If your glaze feels too thick, add the reduced stout a few drops at a time until you reach a drizzleable consistency. If it’s too thin, sift in a little more powdered sugar. For an extra layer of visual appeal, finish your iced cookies with a light sprinkle of flaky sea salt, crushed espresso beans, or even cocoa powder dusted through a fine mesh sieve. These small additions amplify the existing flavors and make the cookies look as impressive as they taste. Whether you go with the simple beer glaze or the tangy cream cheese frosting, icing transforms stout cookies from a delicious everyday bake into something truly memorable.
Stout Cookie Variations Worth Trying
If you love the base recipe and want to push the flavor profile even further, stout chocolate cookies are the natural next step. By swapping a portion of the all-purpose flour for Dutch-process cocoa powder and folding in a mix of semisweet and dark chocolate chunks, you create a double chocolate experience where the stout acts as a depth amplifier rather than just a background note. The roasted, coffee-like qualities of the beer weave seamlessly into the cocoa, producing stout chocolate cookies that are intensely rich, fudgy in the center, and just barely crisp at the edges. Use a milk stout or a chocolate stout for this variation to lean fully into the decadence — you’ll end up with a cookie that tastes like a cross between a brownie and the most sophisticated chocolate chip cookie you’ve ever made.
Stout cookies with espresso are another variation that rewards adventurous bakers. Adding one to two teaspoons of instant espresso powder directly to the dough alongside the stout creates a mocha-forward flavor that is simultaneously bold and nuanced. The espresso doesn’t dominate — instead, it acts as a flavor bridge between the bitterness of the beer and the sweetness of the chocolate chips, pulling everything into sharper focus. This is an especially popular choice for anyone who appreciates a coffee-forward dessert, and it pairs beautifully with an afternoon cup of black coffee or a post-dinner digestif. For even more coffee presence, try stirring in a handful of chocolate-covered espresso beans along with your standard chocolate chips before baking.
Stout oatmeal cookies offer a heartier, chewier take on the concept that feels grounded and wholesome despite its indulgent roots. Replacing a portion of the flour with rolled oats adds texture and a subtle nuttiness that pairs naturally with the malt character found in most stouts. A dry stout or an oatmeal stout works especially well here, echoing the grain-forward quality of the oats themselves. Add raisins for a classic combination, dark chocolate chips for extra richness, or toasted walnuts for crunch — all three work in harmony with both the oats and the beer. These stout cookies tend to stay soft and chewy for days after baking, making them an ideal choice when you want a batch that holds up well for gifting, shipping, or simply enjoying throughout the week.
The Cookie Scoop That Saved Me From Stout Beer Cookie Disasters
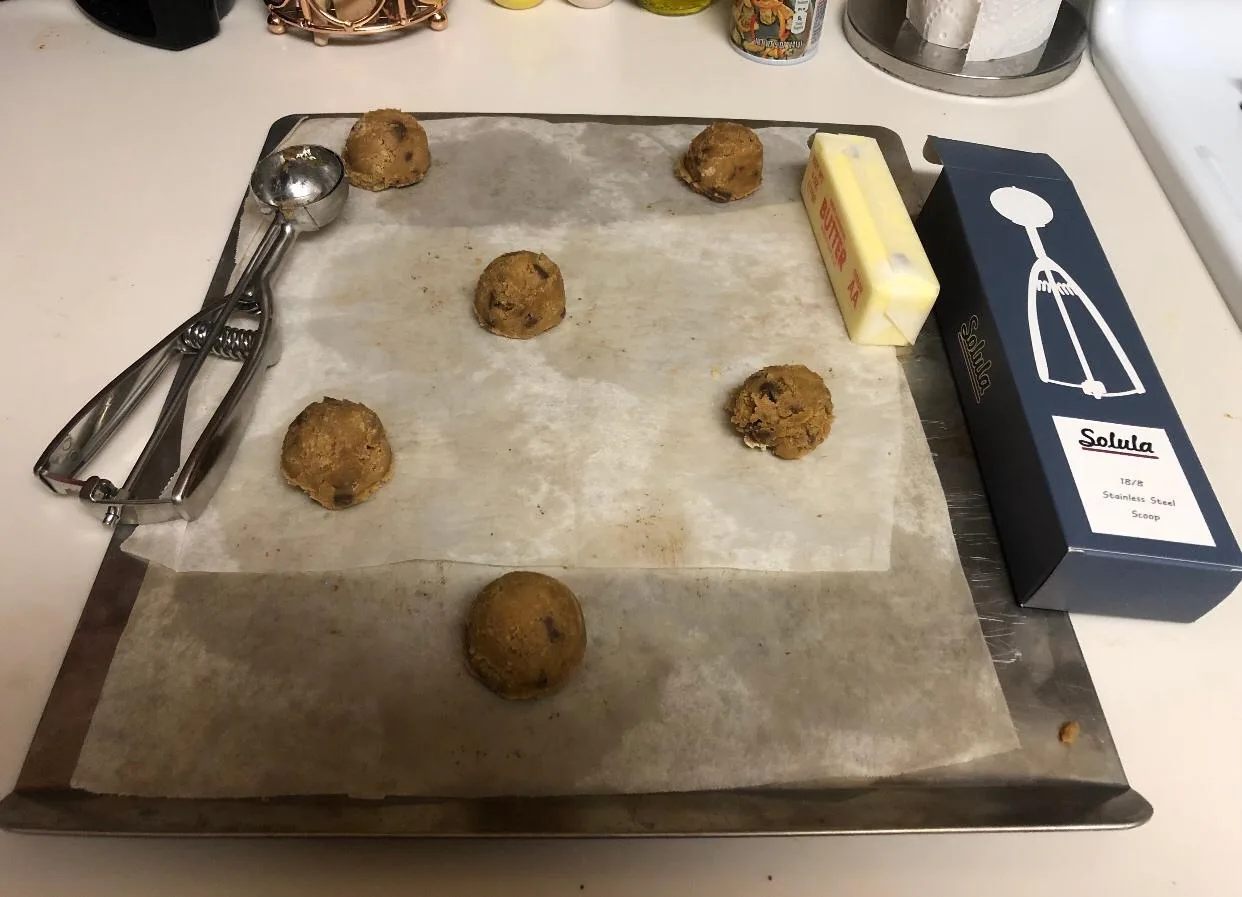
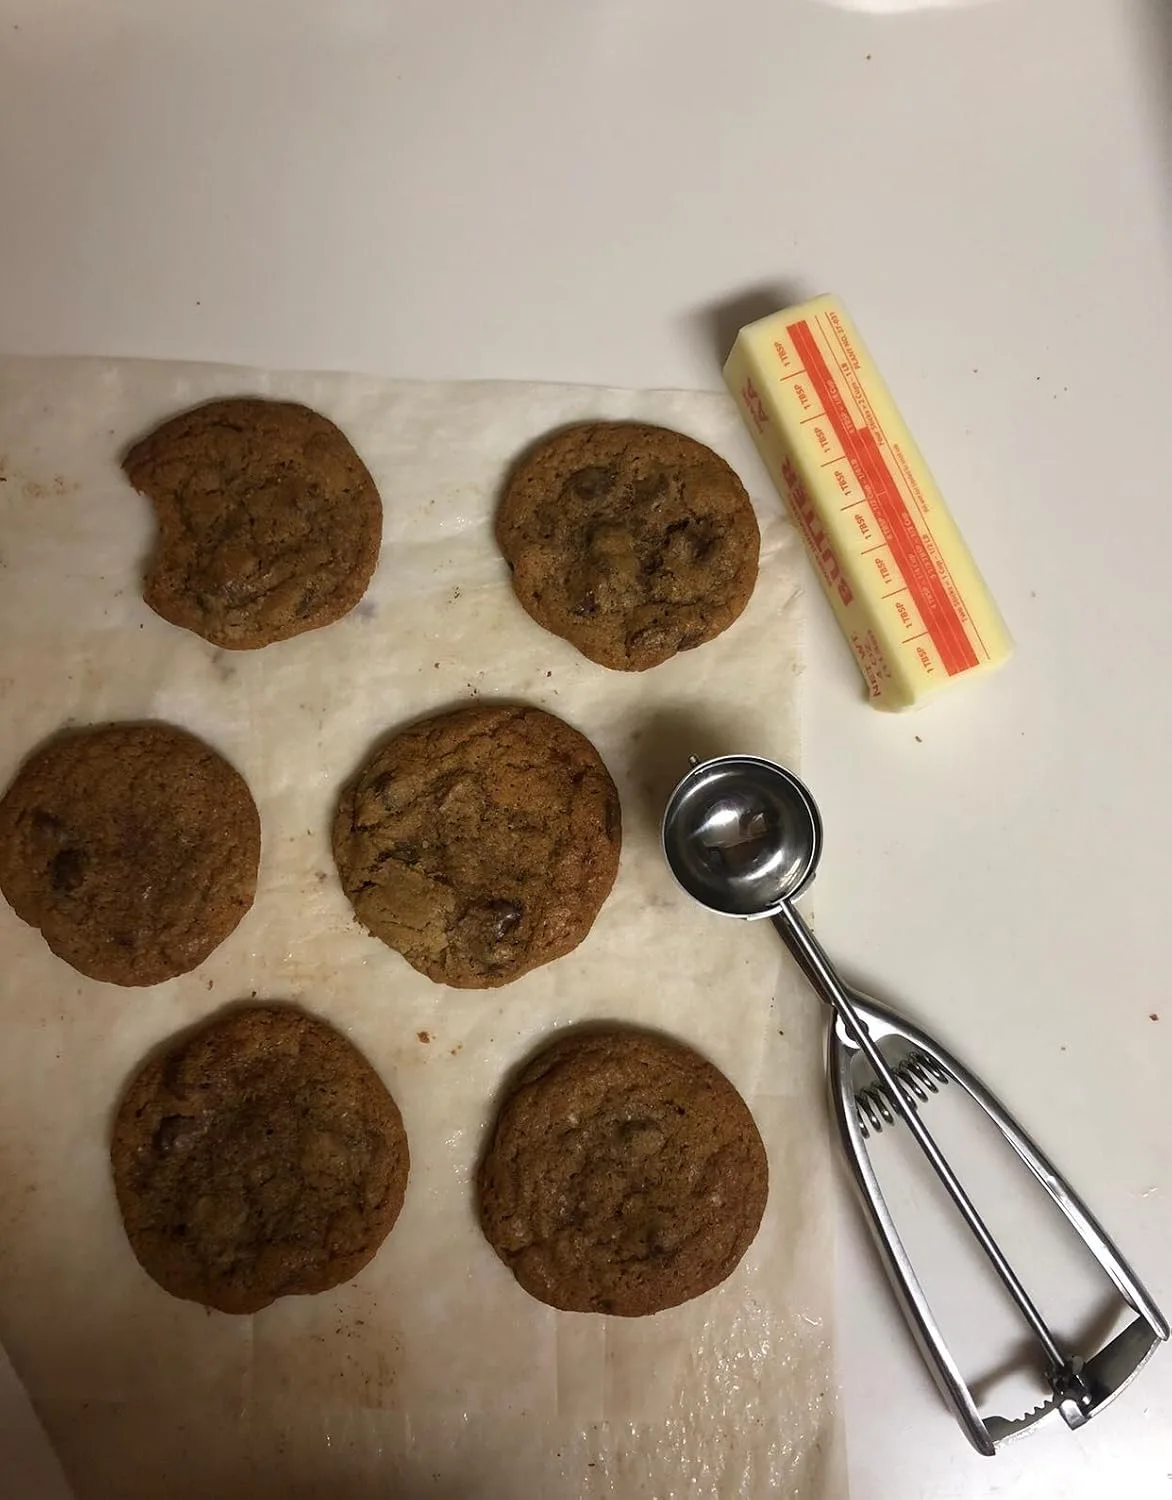
When you’re working with stout beer dough, consistency is everything—the alcohol content affects spread differently than regular cookies, so uneven portions can mean some cookies are cakey while others spread paper-thin. I learned this the hard way, which is exactly why a reliable cookie scoop became non-negotiable for these batches.
What works
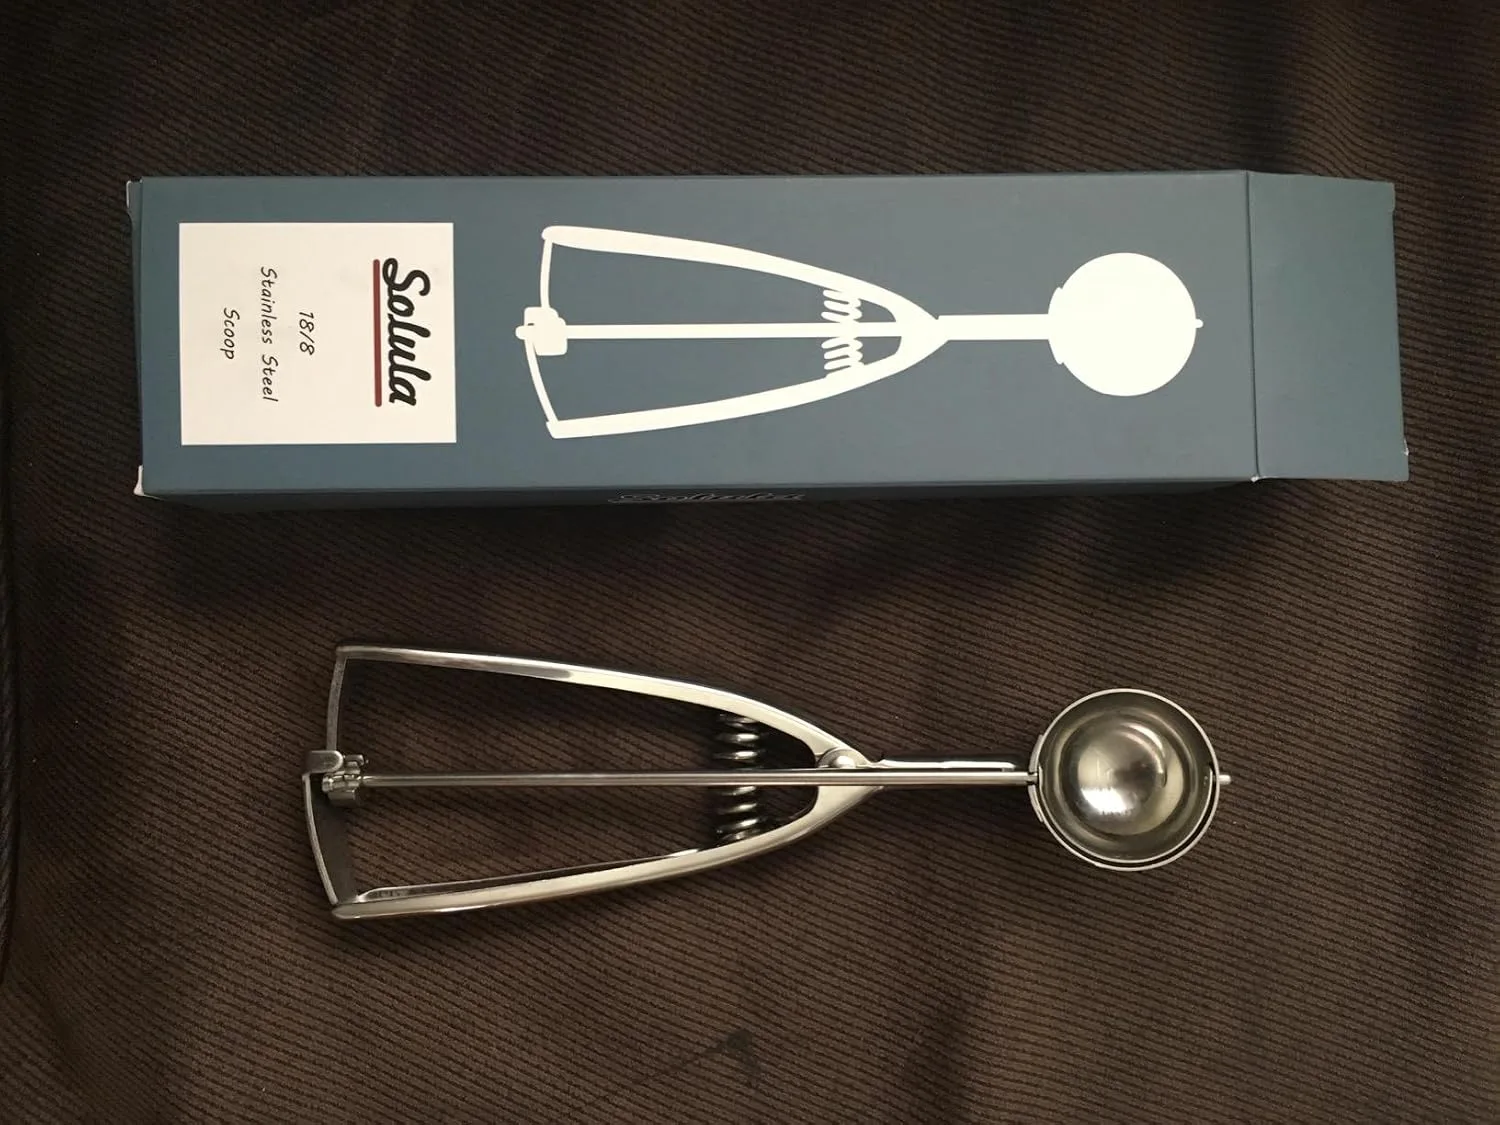
- The trigger mechanism is smooth enough that I can portion 18-24 cookies in about five minutes without my hand cramping—crucial when you’re testing multiple stout varieties.
- It releases dough cleanly every single time, even with the slightly wet, beer-enriched batter that wants to stick to everything.
- Uniform portions mean the stout’s roasted flavor develops evenly across the entire batch, so you actually taste what you’re testing instead of comparing thick cookies to thin ones.
What doesn’t
- The scoop handle is narrow and can feel a bit slippery when your hands are even slightly damp from handling sticky dough.
- You still need to place each scoop onto the sheet manually—it won’t speed up your actual baking day, just make it more reliable.
I almost gave up on this tool after one particularly sticky test batch where I thought the dough was just too wet, but switching back to hand-portioning proved me wrong—it was me, not the dough. That’s when I realized the problem was consistency all along. Grab a cookie scoop if you’re serious about getting stout beer cookies right.
This post contains affiliate links. As an Amazon Associate, I earn from qualifying purchases at no extra cost to you.
cookie scoop
I portion beer dough batches consistently in five minutes flat, so the stout flavor bakes evenly throughout.
Check Price on Amazon →