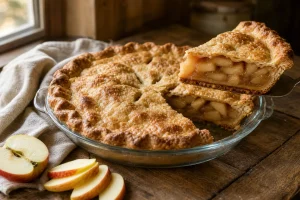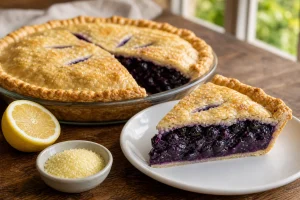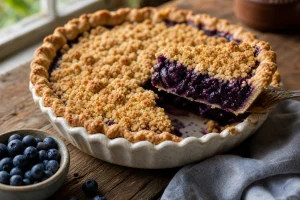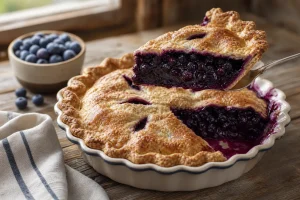

The first four times I made a pie crust, I got four different disasters: one that shrank down the sides of the pan, one as tough as a cracker, one that leaked butter across the oven floor, and one that was pale and damp underneath. I changed a dozen things at once each time, which is the worst way to learn anything. What finally worked was changing one variable per batch and writing down the result.
This is the crust that came out of all that testing, and it is the one behind every pie on this site. It is all butter, mixed with minimal fuss, rested twice, and baked hot. If you read one thing before making any pie here, read this. Every recipe links back to it so the individual posts can stay focused on fillings.
Below: the fat comparison, hydration, resting, rolling, and a short note on blind baking. I am a home baker, not a professional, so everything here comes from testing in an ordinary home oven.
Why This Works
A flaky crust is a layering trick. Cold butter stays in flat pieces inside the dough, and in a hot oven the water in that butter turns to steam and pushes the surrounding dough apart into separate layers. Tenderness comes from limiting gluten, and gluten comes from flour plus water plus handling. So almost every rule of crust-making reduces to two goals: keep the butter solid until the oven, and add only as much water as you need and work it as little as possible.
Butter vs Shortening vs Lard: What Each One Actually Does
I have made this crust with all three fats, and with combinations, and they behave differently in ways that matter more than most recipes admit.
Butter is about 80 percent fat and roughly 16 to 18 percent water, with a little milk solids. That water is what makes butter crusts so flaky, because it becomes steam. The milk solids are what make them brown deeply and taste like something. The downside is that butter has a narrow working window. It softens fast on a warm counter, and once it smears into the flour you lose layers.
Shortening is 100 percent fat with no water and a much higher melting point. It is the most forgiving fat I have used. Dough made with it stays workable in a warm kitchen, rolls without sticking, and holds a crimped edge sharply. It also produces a tender, almost sandy crumb. But it tastes of nothing, and a crust that tastes of nothing sits under a pie like a plate under a meal. It does not brown much either.
Lard is also pure fat, and good leaf lard makes a wonderfully tender crust with big, shattering flakes rather than fine ones. Supermarket lard is often hydrogenated and can carry a faint savory note that works in a meat pie and less so in a peach one. I have had good results with it in apple and pecan pies where that depth is welcome, and mediocre results anywhere delicate.
My verdict: all butter wins on flavor, color and crispness, and it loses on forgiveness. That is the trade. Every recipe on this site uses all butter because flavor is the thing a home baker cannot fix after the fact, whereas handling can be learned.
Want Easier Dough?
Replace 1/4 of the butter by weight with shortening. You keep most of the butter flavor, and the dough tolerates a warm kitchen and a slower roller much better. It is the swap I recommend to anyone whose first all-butter crusts keep melting on them.
The Ratio and the Method
For one double-crust 9-inch pie I use 2 1/2 cups (315 g) all-purpose flour, 1 tablespoon sugar, 1 teaspoon salt, 1 cup (2 sticks, 226 g) very cold unsalted butter, and about 1/2 cup ice water. For a single-crust pie, halve everything. That is roughly 3 parts flour to 2 parts butter by weight, which is generous enough to be tender and structured enough to roll.
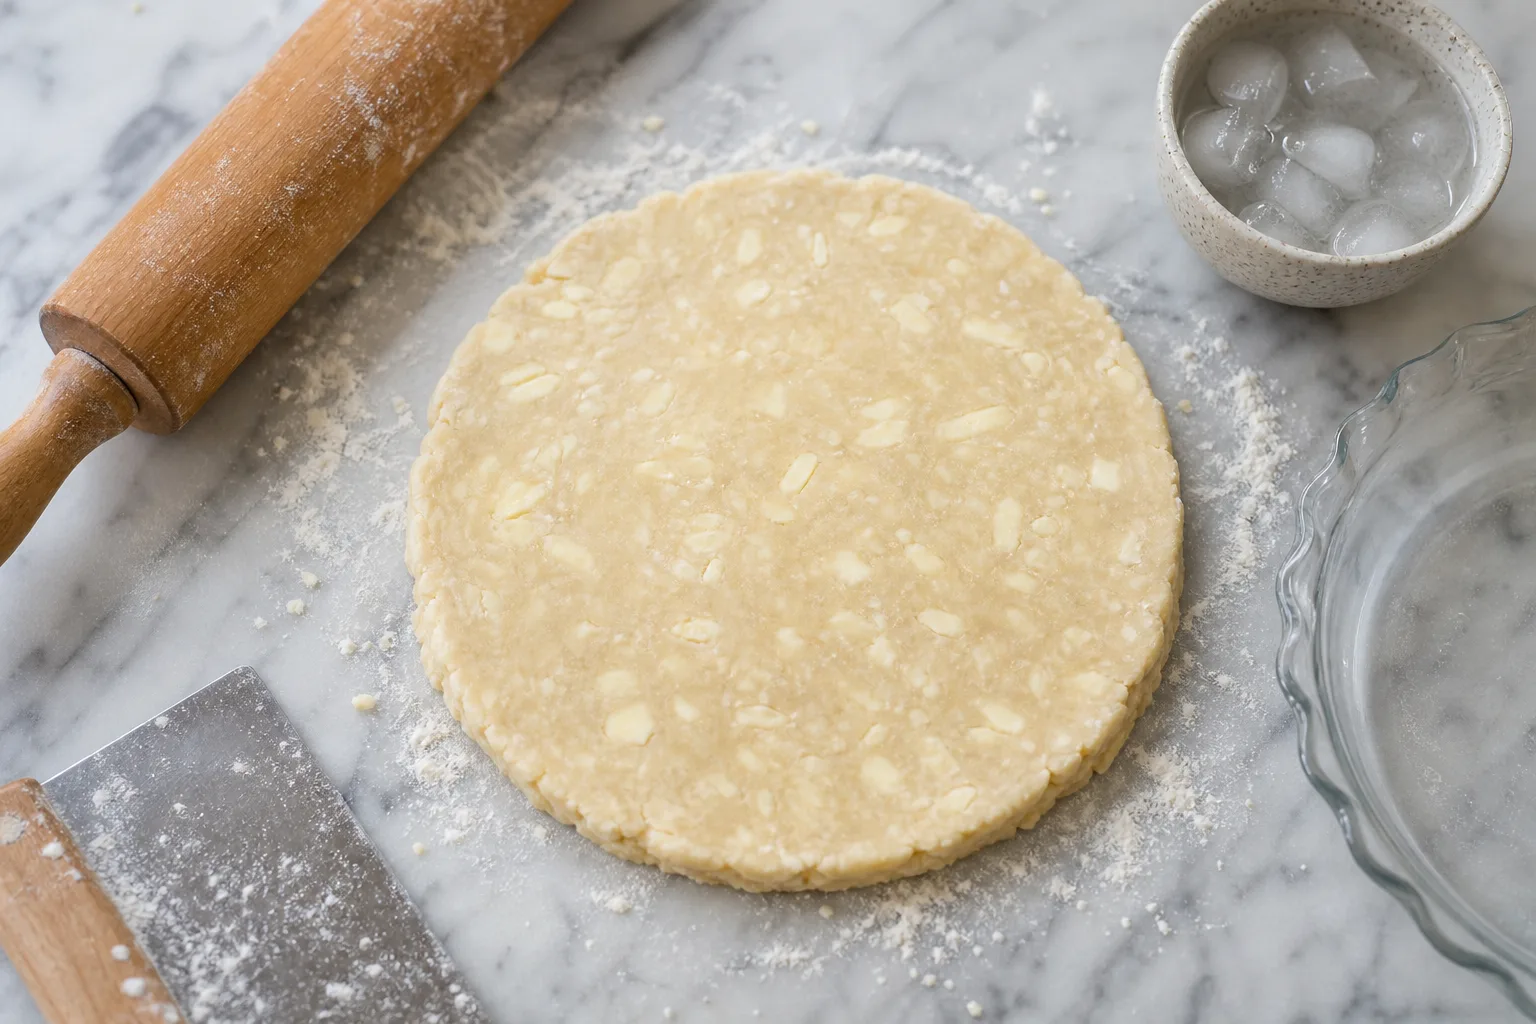
Cut the butter into 1/2-inch cubes and put them back in the freezer for 10 minutes while you measure everything else. Whisk the flour, sugar and salt together. Add the butter and work it in until you have a mix of pieces: some the size of small peas, and some flattened to the size of a thumbnail. Resist the urge to make it uniform. Those larger flat pieces are what become visible layers.
Sprinkle in the water a few tablespoons at a time, tossing with a fork. Stop when the dough looks shaggy and a handful pinched together holds. It should not look like dough yet. Tip it onto the counter, press it into a mass, and divide it in two for a double crust. Shape each half into a flat disk about 1 inch thick, wrap tightly, and refrigerate.
Hydration: The Most Common Place to Go Wrong
More pie crusts fail on water than on any other single thing. Too little and the dough cracks when you roll it and tears when you lift it. Too much and the gluten develops, so the crust shrinks in the oven and bakes tough.
The quantity in any recipe is a starting point, not a rule, because flour absorbs differently depending on brand and on how humid your kitchen is. A cup measured by scooping can weigh 20 percent more than one spooned and leveled. I weigh flour for this reason. If you do not own a scale, spoon flour into the cup and level it with a knife instead of scooping.
The test I trust is the pinch test. Squeeze a clump of the shaggy mixture in your fist. If it holds together without crumbling, you have enough. If it falls apart, add water one tablespoon at a time. A dough that is slightly dry at this stage is fine, because it hydrates further as it rests in the refrigerator. A dough that is sticky is already too wet.
Keep the water as cold as you can. I fill a cup with ice and water and measure from that, leaving the ice behind.
Margaret’s Tip
If the disk cracks at the edges when you start to roll, it is usually too cold, not too dry. Let it sit on the counter for 5 to 10 minutes before you give up and add water.
Resting: Why the Dough Needs Two Chills
Resting is not superstition. It does two separate jobs. First, it lets the flour finish absorbing the water and lets the gluten that formed during mixing relax. Dough that has not rested snaps back when you roll it and shrinks when it bakes. Second, it firms the butter back up so it is solid when it goes into the oven.
I chill the disks for at least 1 hour, and up to 2 days. They also freeze well for a couple of months, wrapped tightly and thawed overnight in the refrigerator.
The second chill is the one most people skip. After you roll the dough and fit it into the pie plate, put the whole thing back in the refrigerator for 30 minutes before it goes into the oven, and in the freezer for 15 if the kitchen is warm. Rolling and handling stretch the dough, and stretched dough pulls back as it heats. A cold, relaxed shell is what stops the sides from slumping down into the pan.
Rolling Without a Fight
Temperature governs everything here. Cold dough is hard to roll but easy to handle. Warm dough rolls beautifully and then turns to glue. The sweet spot is a disk that has sat out for a few minutes and gives slightly when pressed, but still feels cool.
Flour the counter lightly and the top of the dough. Start in the center and roll outward, giving the dough a quarter turn after every few passes so it does not stick and so the circle stays even. Aim for a round about 12 inches across and 1/8 inch thick for a 9-inch pie plate.
If the dough tears, patch it with a scrap and a dab of cold water rather than re-rolling the whole thing. Every re-roll develops more gluten. If the butter starts to feel soft or shiny, stop, slide the dough onto a baking sheet, and put it in the refrigerator for 15 minutes.
To transfer, roll the dough loosely around the rolling pin, or fold it in quarters, then unroll or unfold it over the plate. Lift the edges and let the dough drop into the corners rather than stretching it to fit. Stretching is what shrinks a crust.
Don’t Do This
Do not keep adding flour to rescue sticky dough. Excess flour on the surface gets worked in and toughens the crust. Chill the dough instead.
Blind Baking in One Paragraph
Custard, cream and some pecan pies need a shell that is baked before the filling goes in, and any wet filling benefits from a head start. To blind bake, line the chilled shell with parchment, fill it right to the rim with pie weights or dried beans, and bake at 400°F until the edges are set and just starting to color, about 20 minutes. Lift out the parchment and weights, then bake another 8 to 10 minutes until the bottom looks dry and lightly golden. If the filling will bake further, stop there. If it will not, bake until deep golden. The reasons behind each step, and what to do when the bottom still turns out damp, are covered in the soggy-bottom guide on this site.
Baking the Crust Hot
Butter crusts want a hot start. The faster the butter melts and releases its steam, the more distinct the layers. I bake most fruit pies at 425°F for the first 20 to 25 minutes, then lower the oven to 375°F to cook the filling through without burning the edge.
Put the pie on a preheated baking sheet on the lowest rack. The sheet delivers heat straight to the bottom crust, catches drips, and makes a measurable difference in how well the base browns. A glass or ceramic plate lets you check the underside; a metal pan conducts heat faster and browns more.
If the rim darkens before the filling is done, shield it with a ring of foil rather than lowering the whole oven temperature.
Questions People Ask
Why did my crust shrink in the oven?
Shrinkage almost always comes from gluten that was developed and never relaxed. The usual causes are too much water, overworking the dough, stretching it into the plate, or skipping the second chill. Rest the dough after mixing, ease it into the pan without pulling, and chill the shaped shell for at least 30 minutes before baking.
Can I make pie dough ahead of time?
Yes. Wrapped tightly, the disks keep in the refrigerator for up to 2 days and in the freezer for about 2 months. Thaw frozen dough overnight in the refrigerator, then let it sit on the counter for several minutes before rolling so it does not crack.
Should I use salted or unsalted butter?
Unsalted, because salt content varies between brands and you want to control it. I use 1 teaspoon of fine salt for a double crust. If you only have salted butter, cut the added salt to a scant 1/2 teaspoon.
Browse pies by type
About This Article

Written by Margaret Chen. Margaret Chen is a home baker and recipe developer with over 15 years of experience perfecting cookie recipes through rigorous testing and detailed experimentation. She tests every recipe multiple times, documents every variable, and applies the same rigor professional bakers use, with the warmth and accessibility of home baking. More about this site.
Scope and limits. Margaret is a home baker and recipe developer with no formal culinary training. Follow current food safety guidance for egg handling, storage, and anything you are serving to other people.
Verify this against a primary source
Specifics change, and your situation may differ from the one described here. These are the authorities worth checking directly:
- USDA FoodData Central — ingredient composition and nutrition data
- FoodSafety.gov — safe handling, storage and egg safety