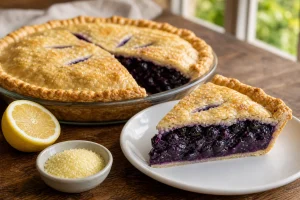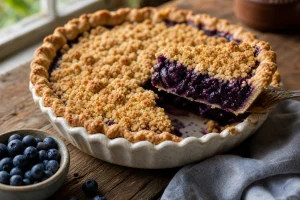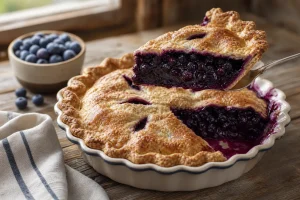
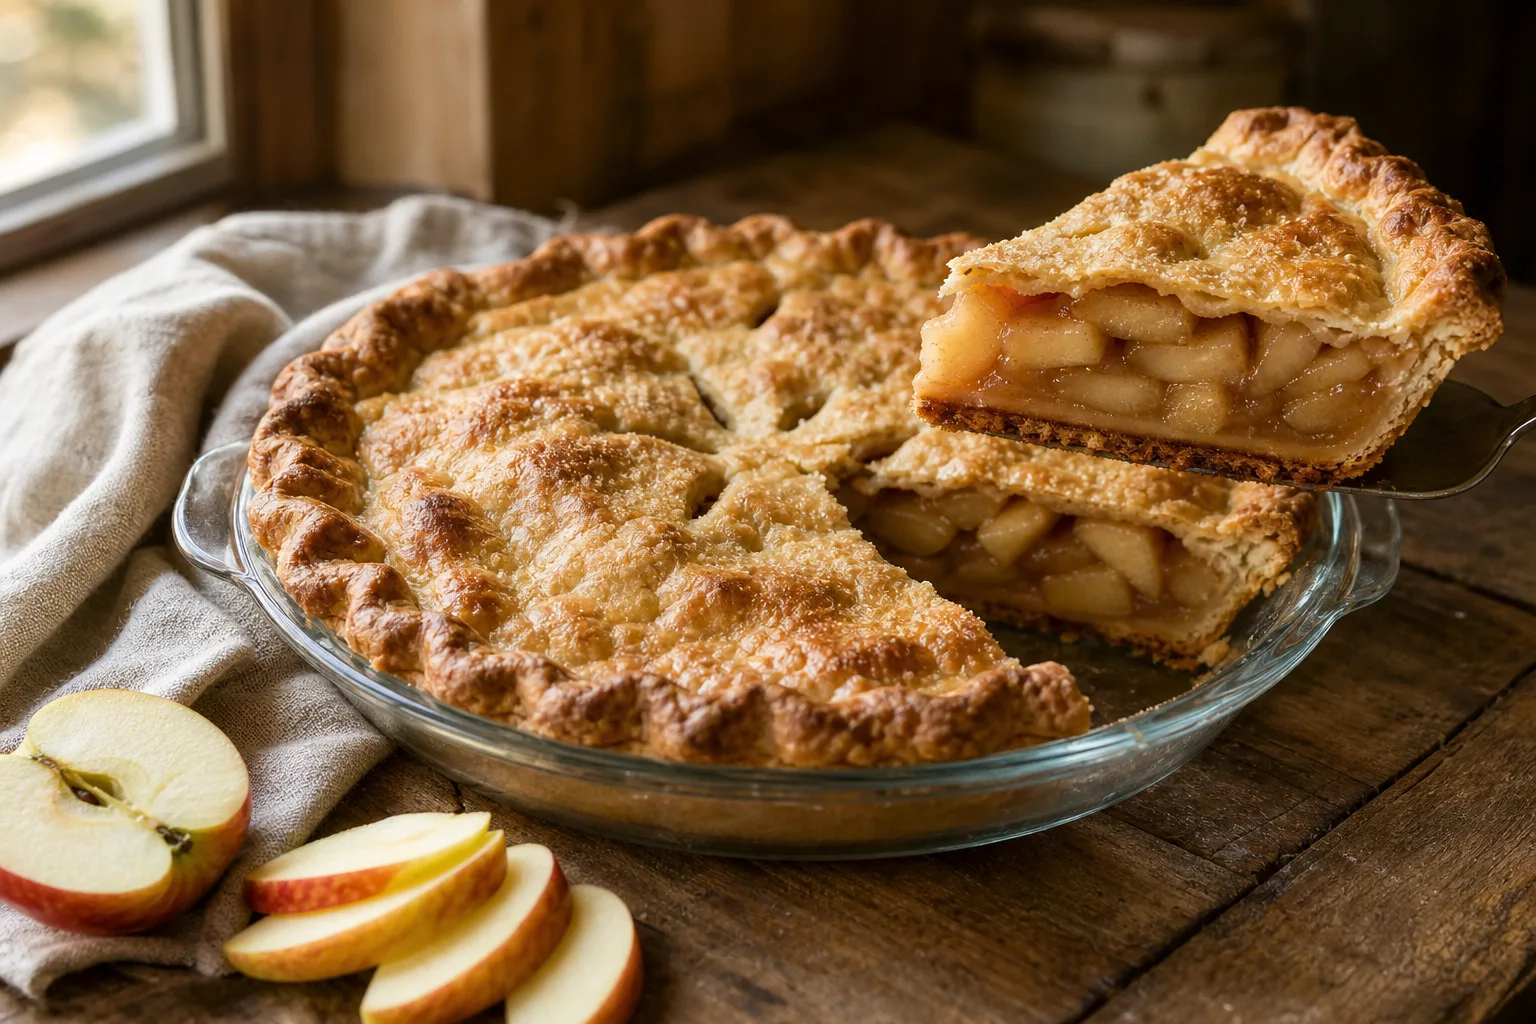

The first four times I made a double-crust apple pie, the top was gorgeous and the bottom was a pale, damp, gummy layer that stuck to the plate when I lifted a slice. I blamed the recipe. Then I blamed my oven. Then I blamed the apples. It took far too many pies before I understood that a soggy bottom is almost never one mistake. It is a race between two things: how fast the bottom crust sets and browns, and how fast moisture from the filling soaks into it.
Every fix in this guide works by tipping that race. Either you give the crust a head start, you deliver more heat to the bottom, you choose a pan that conducts heat better, or you hand the crust a drier filling. That is the whole list.
I will walk through all four and tell you when each one earns its effort. I am not giving a crust recipe here. This works with whatever dough you already trust.
Why This Works
A pie crust is mostly flour and fat, and what makes it flaky is that the starch and protein set while the fat is still in distinct pieces. If liquid reaches the dough before that set happens, the flour hydrates into a paste instead, and the bottom turns gummy and pale. Heat has to reach the bottom crust faster than the filling’s juices do. Every fix below either speeds up the heat, slows down the juices, or both.
Fix One: Blind Bake the Bottom Crust
Blind baking means baking the empty crust before the filling goes in. It is the single most reliable fix for custard, cream, pumpkin, pecan and any other pie with a wet, pourable filling, because those fillings sit directly on raw dough for the entire bake and the crust has no chance to set on its own.
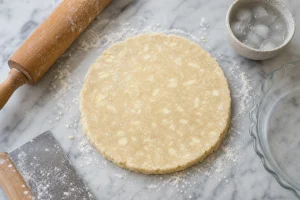
My routine: roll the dough, fit it into the pan, and chill it until firm, at least 30 minutes. Dock the bottom with a fork, pricking it every inch or so. Docking lets steam escape so the crust does not balloon up from the pan. Line the shell with parchment, fill it right to the rim with pie weights or dried beans, and bake at 400°F for about 20 minutes. Lift out the parchment and weights, and bake another 5 to 8 minutes, until the bottom looks dry and lightly golden rather than pale and matte.
The weights matter more than people think. Without them, the sides slump down the pan wall and the shell shrinks. Fill them all the way up the sides, not just across the bottom, because the walls are what slump.
For very wet fillings I add a seal. While the shell is still hot from its second bake, brush the inside with a beaten egg yolk or whole egg and return it to the oven for 2 minutes. The egg cooks into a thin, waterproof film. I compared sealed and unsealed shells under the same custard filling, and the unsealed one had a visibly softer bottom layer after one night in the refrigerator. For a quiche or custard pie, the seal is worth the extra two minutes.
When to use it: any custard, cream, pumpkin, pecan or chess-style filling, and any no-bake filling that goes into a fully baked shell. Skip it for a standard double-crust fruit pie, where the filling and the top crust bake together and the bottom does not need a head start if your heat and pan are right.
Don’t Skip the Chill
Put an unchilled, weighted crust into a hot oven and the butter melts before the dough sets, so the walls slump no matter how many weights you use. Thirty minutes in the refrigerator or ten in the freezer is what keeps the shell standing.
Fix Two: Move the Pie to the Bottom Rack
Most home ovens heat from an element at the bottom and radiate a lot of that heat upward and sideways. A pie on the middle rack gets strong heat on top, where the crust browns easily, and gentler heat underneath, where the dough is insulated by a pan full of cold, wet filling. That mismatch is why so many pies come out with a beautiful lid and a pale base.
Dropping the pie to the lowest rack puts the bottom of the pan much closer to the heat source. In my oven that single change took a pie from a gummy, pale bottom to an evenly browned one with no other adjustment. The top did start to brown faster, so I now tent the rim and top loosely with foil after about 35 minutes if the crust is already deep gold.
The other trick is preheating something under the pie. A baking sheet or a pizza stone on the bottom rack heats up with the oven, and when you set the pie on it, the base of the pan gets a burst of conducted heat from the first minute. A cold sheet pan added at the same moment as the pie does the opposite and delays the bottom’s set. Put the sheet in while the oven preheats. It also catches any bubbling juice, which is a real bonus with fruit pies.
Some ovens, particularly those with a hidden bake element under the floor, behave differently, and a convection setting changes the picture again. Run one pie both ways and look at the base.
When to use it: any pie that comes out pale and gummy across the whole bottom, and any double-crust pie baked in a metal or ceramic pan that tends to underbrown.
Margaret’s Tip
Start the pie on the bottom rack at 425°F for the first 20 minutes to set the base fast, then drop the oven to 375°F and move the pie to the middle rack to finish. The hot start does the bottom crust’s work and the lower finish keeps the top from burning.
Fix Three: Choose the Pan for the Job
Pan material changes how quickly heat reaches the dough, and it is the variable people overlook most. The three common choices behave quite differently.
Glass is my default for double-crust fruit pies, for one reason that has nothing to do with heat: you can see the bottom. You can lift the pie, look through the base, and tell whether the crust has browned before you pull it. Glass also holds heat well once it is hot, though it takes a while to get there, which is why the bottom rack and a preheated sheet help so much with it.
Metal, especially a light-colored aluminum pan, conducts heat quickly and tends to brown a bottom crust faster than glass or ceramic. A dark metal pan browns it faster still, sometimes too fast at the edges. If you have been fighting a pale bottom in a glass dish, a metal pan is often the simplest change, and it is the pan I reach for with custard pies where I want quick heat to the base.
Ceramic and stoneware are beautiful and slow. They heat gradually and hold that heat, which suits a deep, rustic fruit pie but makes a soggy bottom more likely, because the dough sits against a pan that stays cool for the first part of the bake. Ceramic dishes are also usually thicker, so they need a longer bake overall. If you love your ceramic dish, blind bake into it or lean hard on the preheated sheet and bottom rack.
I baked the same filling and dough in all three pans, same rack, same oven, and pulled each at the same time. The metal pan browned the base fully, the glass dish was close behind, and the ceramic dish was the palest. None of them was ruined. They simply needed different amounts of help.
When to use it: if you are choosing a pan for the first time, pick glass for fruit pies so you can check the bottom, and metal for anything blind baked or custard-filled. If you already own ceramic, compensate with Fixes One and Two rather than buying new.
Fix Four: Control the Moisture in the Filling
Even a perfectly baked crust can go damp if the filling is dumping liquid onto it for an hour. This is the fix for a crust that browns at the edges but stays damp in the center, and it matters most for juicy fruit like peaches, cherries and berries.
Start by controlling the liquid before it ever goes into the pie. Toss sliced fruit with the sugar and let it sit for 30 to 45 minutes. The sugar pulls juice out of the fruit and into the bowl. Drain that liquid into a small saucepan, simmer it until it is syrupy, and stir it back into the fruit. You keep all of the flavor and throw away the excess water that would have soaked the crust. For apples I go a step further and cook the slices briefly before baking, because apples shrink as they bake and leave a gap under the top crust where juice collects.
Next, thicken properly. Cornstarch, tapioca and flour all absorb liquid, but they have to reach a high enough temperature to do it, which means the filling needs to bubble, visibly and slowly, in the center of the pie. If you pull the pie when it is only steaming at the edges, the thickener never finishes its job and the juice runs.
Finally, add a barrier. A thin dusting of fine breadcrumbs, crushed cookie crumbs, or a mixture of flour and sugar scattered over the bottom crust before the fruit goes in absorbs the first rush of juice. A brush of egg wash on an unbaked bottom crust works on the same principle. These are the lightest-touch fixes, and they add very little to the flavor.
When to use it: any juicy fruit pie, any pie made with frozen fruit, and any time the center of your crust is damp while the edges are browned. Frozen fruit is the extreme case, because it releases a lot of water as it thaws inside the pie. Toss it with thickener straight from the freezer and expect to bake it longer.
Easy Swap
No breadcrumbs? Crushed plain cookies, ground almonds, or even a spoonful of the same flour-and-sugar mixture you are using in the filling will soak up that first wave of juice under the fruit.
Questions People Ask
Do I really need to blind bake for a fruit pie?
Not usually. A double-crust fruit pie bakes long enough for the bottom to set, as long as the heat reaches it. Fix the rack, the pan and the filling moisture first. Blind bake only if you have tried those and the bottom is still pale, or if you are making a single-crust fruit pie with a precooked or no-bake filling.
What is the best pan for avoiding a soggy bottom?
A light-colored metal pan browns the bottom fastest, and a glass pan lets you check the bottom through the base. Ceramic is the slowest to heat and the most likely to give a pale crust. Whatever you use, set it on a preheated baking sheet on the lowest rack.
Can I fix a pie that is already soggy?
Partly. If the pie is baked and cooled, slide slices onto a hot skillet or into a 375°F oven on a rack for 10 minutes to dry the base. It will not look perfect, but it improves a lot. The real fix is to change something for the next pie.
Browse pies by type
About This Article

Written by Margaret Chen. Margaret Chen is a home baker and recipe developer with over 15 years of experience perfecting cookie recipes through rigorous testing and detailed experimentation. She tests every recipe multiple times, documents every variable, and applies the same rigor professional bakers use, with the warmth and accessibility of home baking. More about this site.
Scope and limits. Margaret is a home baker and recipe developer with no formal culinary training. Follow current food safety guidance for egg handling, storage, and anything you are serving to other people.
Verify this against a primary source
Specifics change, and your situation may differ from the one described here. These are the authorities worth checking directly:
- USDA FoodData Central — ingredient composition and nutrition data
- FoodSafety.gov — safe handling, storage and egg safety