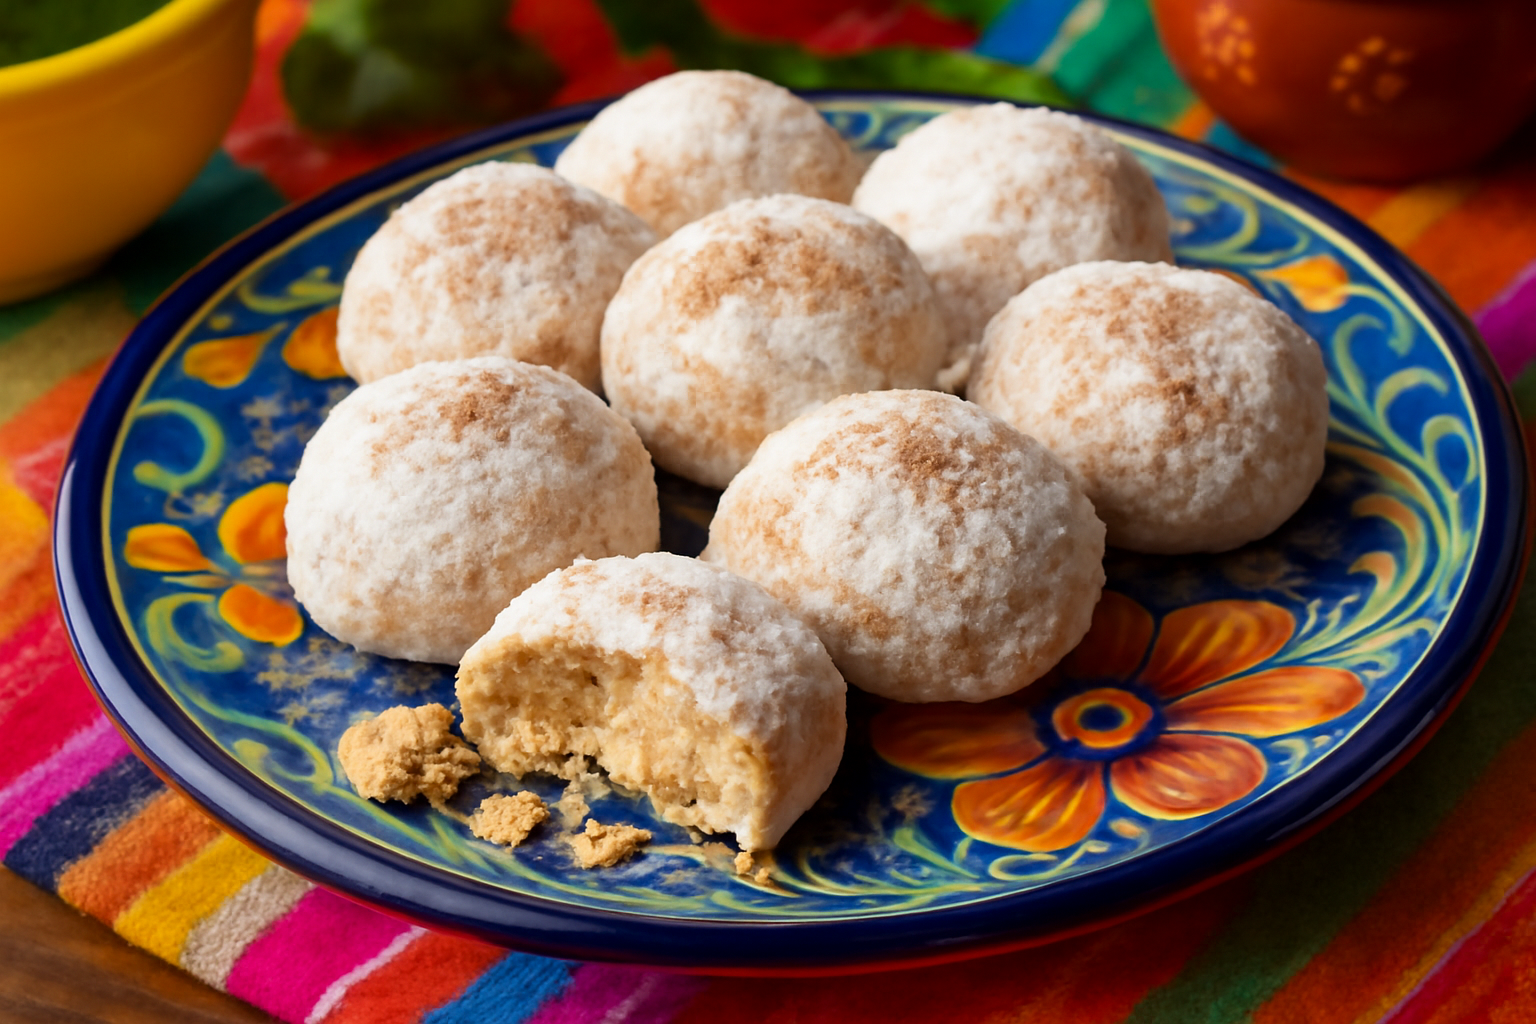

Mexican Polvorones
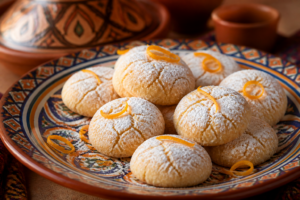
Crumbly, spiced cookies with a snowy powdered sugar coating that dissolve on the tongue.
Ingredients
- 1 cup (226g) lard or vegetable shortening, at room temperature
- ¾ cup (90g) powdered sugar, plus more for rolling
- 2 cups (240g) all-purpose flour
- 2 teaspoons ground cinnamon
- 1 teaspoon anise extract (or ¼ teaspoon ground anise seed)
- 1 teaspoon vanilla extract
- ¼ teaspoon salt
- Pinch of food coloring (optional)
Instructions
- Cream the fat in a medium bowl with an electric mixer until light and fluffy, about 2 to 3 minutes.
- Gradually add the ¾ cup powdered sugar to the creamed fat, mixing on medium speed until fully incorporated and smooth.
- Mix in the 1 teaspoon anise extract and 1 teaspoon vanilla extract until fully combined, adding food coloring if desired.
- In a separate bowl, whisk together the 2 cups flour, 2 teaspoons cinnamon, ¼ teaspoon salt, and ¼ teaspoon ground anise (if not using extract).
- Add the dry ingredients to the creamed mixture in three additions, mixing on low speed after each addition until the dough just comes together.
- Drop rounded teaspoons of dough onto ungreased baking sheets, spacing them about 1 inch apart, or use 1 tablespoon portions and gently flatten slightly.
- Place in a preheated 350°F (177°C) oven for 14 to 15 minutes, until the edges are lightly golden and bottoms are just barely colored.
- Remove from the oven and let cool on the baking sheet for about 1 minute, then roll each warm cookie in a shallow bowl of powdered sugar and place on a wire rack to cool completely.
- Once completely cooled (about 30 minutes), roll the cookies in powdered sugar one more time.
Notes
- Use lard for authentic flavor and texture; vegetable shortening is an acceptable substitute.
- Do not overbake or cookies will be dry; they should still look slightly pale.
- Double coating with powdered sugar is essential for the iconic snowy exterior.
The first time I made a proper Mexican polvorones recipe crumbly cookies version worthy of the name, I was standing in my kitchen at 11 p.m. on a Tuesday, covered in powdered sugar, laughing at myself. I had just attempted my 23rd batch in six weeks. Batches one through twenty-two had been either too dense, too greasy, too bland, or so fragile they disintegrated before I could get them off the baking sheet. Batch 23 — finally — shattered against my teeth in exactly the right way. That feather-light, almost sandy crumble that dissolves on your tongue like a sweet, anise-scented cloud. I genuinely gasped.
Mexican polvorones are not the same as Spanish polvorones, and they are not the same as Mexican wedding cookies. I want to get that straight right now, because the internet blurs these constantly. The Mexican version is typically rolled thicker, tinted with food coloring, wrapped in tissue paper, and flavored boldly with cinnamon and anise. They are sold at panaderías across Mexico, stacked in towers, and eaten by children and grandmothers with equal enthusiasm. After fifteen years of baking obsessively, these cookies genuinely humbled me. And that is exactly why I had to master them.
This post is the full result of those 30+ total test batches, broken down into everything I wish someone had told me before I started. Let’s talk fat, flour, flavor, and why you should absolutely embrace the mess.
What Makes Mexican Polvorones So Uniquely Crumbly
The word “polvorón” comes from the Spanish polvo, meaning dust or powder. That name is the entire recipe brief. You are engineering a cookie that barely holds together — one that crumbles dramatically and melts into sweetness before you can even close your mouth. However, achieving that texture intentionally requires understanding exactly what you are working against: gluten.
Gluten forms when the proteins in wheat flour — glutenin and gliadin — hydrate and link together. In most baked goods, gluten provides structure. In polvorones, structure is the enemy. That is why the fat ratio here is dramatically higher than in a standard drop cookie. My tested recipe uses a full 1 cup (226g) of lard or shortening per 2 cups (240g) of flour. Fat coats the flour proteins before they can bond, physically blocking gluten development. As a result, you get that sandy, short texture that defines the cookie.
Lard is traditional, and I will not pretend otherwise. I tested batches with butter, vegetable shortening, and lard side by side. Butter added flavor but created too much spread and a slightly chewy bite. Shortening produced a cleaner crumble but tasted flat. Lard gave me the crumbliest texture AND a subtle richness that nothing else matched. If you are not working with lard, use 100% vegetable shortening — specifically Crisco — and accept a minor flavor trade-off. It is still a beautiful cookie.
The Role of Sugar in Getting the Texture Right
Sugar is not just sweetness here — it is texture architecture. I use powdered sugar exclusively in my polvorones, and testing confirmed this was non-negotiable. Granulated sugar, even when creamed extensively, left a slightly gritty bite that worked against the dissolving quality I wanted. Powdered sugar, which is simply sucrose ground to superfine particles and blended with cornstarch, incorporates more seamlessly into the fat. The cornstarch is actually a bonus — it further interrupts gluten development.
My working ratio is ¾ cup (90g) powdered sugar per 2 cups (240g) flour. That might seem modest, but polvorones are not a sweet-forward cookie. The flavor profile is spice-forward — cinnamon and anise — and the sweetness plays a supporting role. In my experience, over-sugaring the dough made batches 8 through 12 come out slightly sticky and prone to spreading, which completely undermined the crumble. Specifically, anything over 1 cup of powdered sugar per 2 cups flour created problems.
That said, the powdered sugar coating after baking is non-negotiable. Rolling the warm cookies in powdered sugar twice — once straight from the oven, once after cooling — creates that snowy exterior that clings to your shirt and your fingers. This is not a bug. This is the feature. Embrace it completely.
The Anise Extract That Finally Made My Polvorones Taste Like They Should
Mexican polvorones live or die by their anise flavor—it’s the backbone that separates a forgettable butter cookie from one that tastes authentically right. I spent those first twenty-two failed batches second-guessing everything, but what I kept coming back to was whether my extract had lost its potency sitting in the pantry.
What works
- The 4 oz bottle is actually enough to last through serious development work—I’ve stopped buying those tiny 1 oz bottles that cost just as much per ounce.
- The flavor stays bright and true across multiple batches in the same baking session; I noticed batch 20 tasted just as aromatic as batch 1, which told me the extract itself wasn’t the variable I needed to worry about.
- It dissolves cleanly into butter without separation or graininess, which matters when you’re creaming such delicate dough—no weird texture issues to debug.
What doesn’t
- The bottle cap is surprisingly loose, and I’ve had it weep a tiny bit in the cabinet—nothing dramatic, but anise extract smells strong enough that you’ll know it happened.
- If you’re only making polvorones once a year for the holidays, this 4 oz size is probably overkill and you might find yourself replacing it before it’s empty.
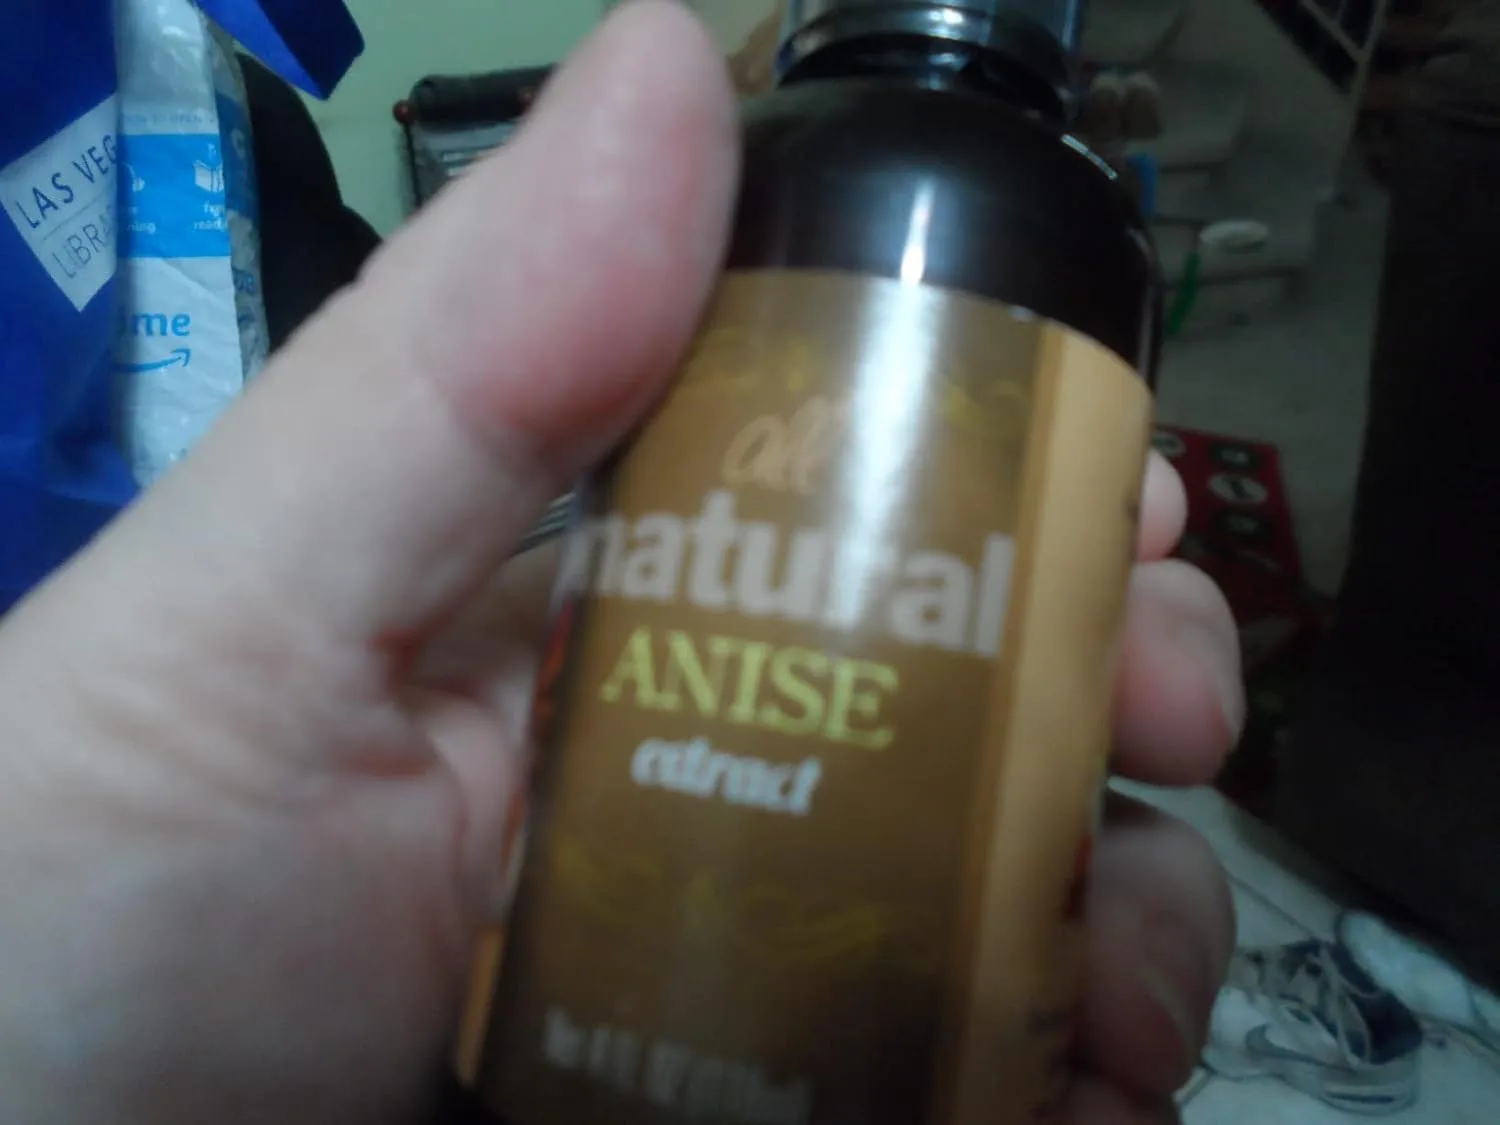
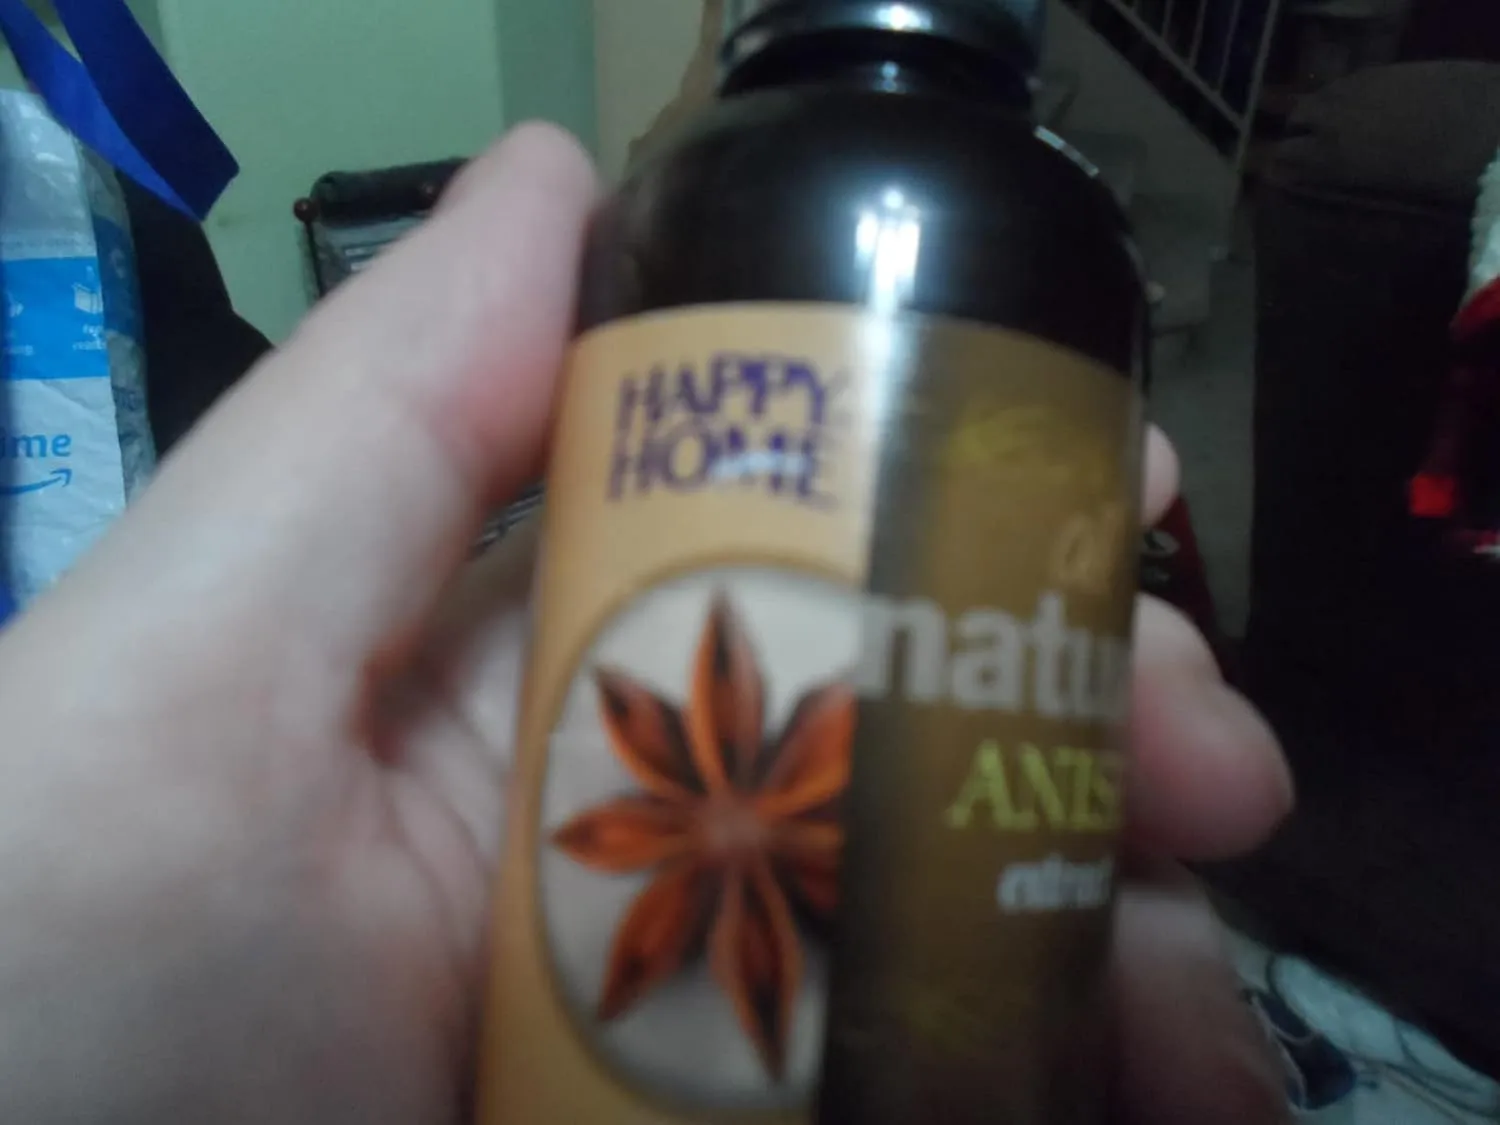
I almost abandoned the whole project one Tuesday night when batch 18 tasted weirdly flat, and I genuinely wondered if I’d grabbed the wrong bottle from the shelf—but it turned out to be my technique, not the extract, and that’s when I finally knew I was on the right track. Grab the Happy Home Pure Anise Extract (4 oz.) and stop doubting that variable.
The Recipe: Mexican Polvorones
What You’ll Need
- 1 cup (226g) lard or vegetable shortening, at room temperature
- ¾ cup (90g) powdered sugar, plus more for rolling
- 2 cups (240g) all-purpose flour
- 2 teaspoons ground cinnamon
- 1 teaspoon anise extract (or ¼ teaspoon ground anise seed)
- 1 teaspoon vanilla extract
- ¼ teaspoon salt
- Pinch of food coloring (optional; traditional recipes sometimes use a touch of pink or green)
How I Make Them, Step by Step
- Cream the fat. In a medium bowl, beat the lard or shortening with an electric mixer until it becomes light and fluffy—this takes about 2 to 3 minutes. Do not skip this step; you’re incorporating air, which contributes to that delicate crumb.
- Add powdered sugar. Gradually add the ¾ cup powdered sugar to the creamed fat, mixing on medium speed until fully incorporated and smooth. This should take another 1 to 2 minutes.
- Add the extracts. Mix in the 1 teaspoon anise extract and 1 teaspoon vanilla extract until fully combined. If using food coloring, add just a drop or two here and mix until the color is evenly distributed (optional).
- Combine dry ingredients. In a separate bowl, whisk together the 2 cups flour, 2 teaspoons cinnamon, ¼ teaspoon salt, and ¼ teaspoon ground anise (if not using extract). Make sure the spices are evenly distributed throughout the flour.
- Bring it together. Add the dry ingredients to the creamed mixture in three additions, mixing on low speed after each addition until the dough just comes together. You should have a soft, slightly crumbly dough that holds together when gently pressed—not wet, not dry. This is crucial for the texture.
- Shape the cookies. Drop rounded teaspoons of dough onto ungreased baking sheets, spacing them about 1 inch apart. Or, if you want thicker, more rustic cookies like those sold in Mexican panaderías, use larger portions (about 1 tablespoon) and gently flatten them slightly with the palm of your hand. These cookies don’t spread much, so you have freedom with shape.
- Bake. Place in a preheated 350°F (177°C) oven for 14 to 15 minutes. You’re looking for the edges to be lightly golden and the bottoms to be just barely colored—do not overbake, or the cookies will be dry. They should still look slightly pale.
- First sugar coat. Remove from the oven and let cool on the baking sheet for about 1 minute. While they are still warm, roll each cookie in a shallow bowl of powdered sugar, coating generously. Place the coated cookies on a wire rack to cool completely.
- Second sugar coat. Once completely cooled (about 30 minutes), roll the cookies in powdered sugar one more time. This double coating creates that iconic snowy exterior that defines polvorones. Do not skip this second coat.
Yield: About 36 to 48 cookies, depending on size | Prep time: 10 minutes | Bake time: 14 to 15 minutes
About This Article

Written by Margaret Chen. Margaret Chen is a home baker and recipe developer with over 15 years of experience perfecting cookie recipes through rigorous testing and detailed experimentation. She tests every recipe multiple times, documents every variable, and applies the same rigor professional bakers use, with the warmth and accessibility of home baking. More about this site.
Scope and limits. Margaret is a home baker and recipe developer with no formal culinary training. Follow current food safety guidance for egg handling, storage, and anything you are serving to other people.
Verify this against a primary source
Specifics change, and your situation may differ from the one described here. These are the authorities worth checking directly:
- USDA FoodData Central — ingredient composition and nutrition data
- FoodSafety.gov — safe handling, storage and egg safety