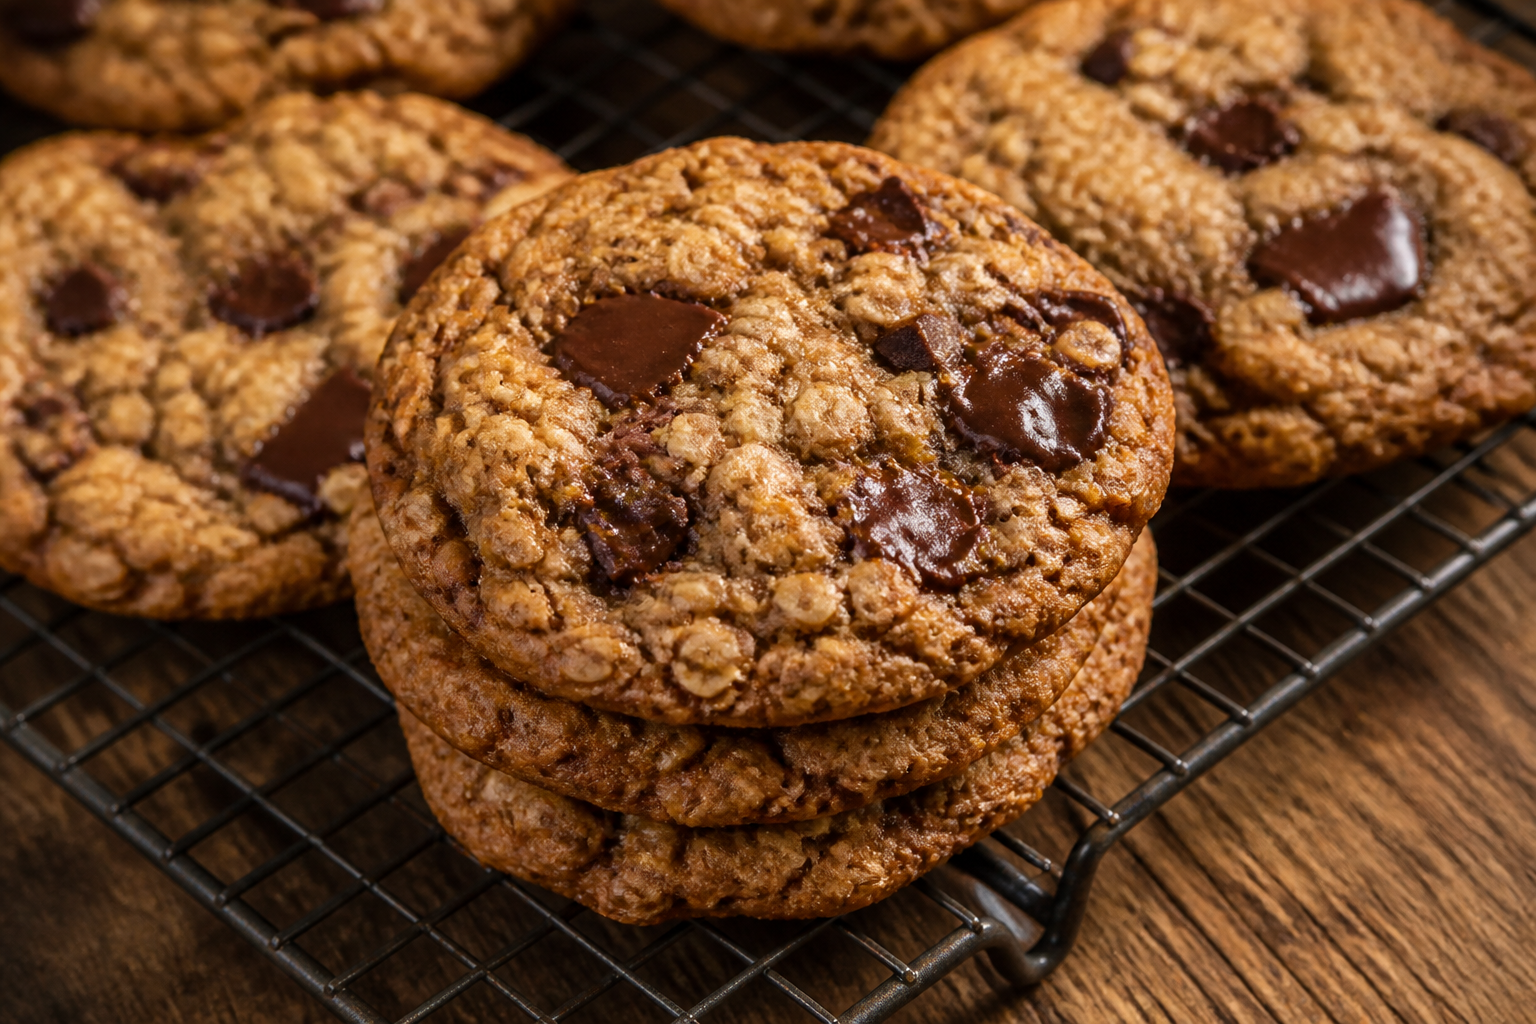

Bakery-Style Oatmeal Cookies Without Raisins
Thick, chewy oatmeal cookies with brown sugar caramel and cinnamon—no raisins needed.
Ingredients
- 1 cup unsalted butter, softened to room temperature
- 1 cup packed brown sugar
- 1/3 cup white granulated sugar
- 2 large eggs, room temperature
- 1 teaspoon pure vanilla extract
- 1 cup all-purpose flour
- 3 cups old-fashioned rolled oats
- 1 teaspoon baking soda
- 1 1/2 teaspoons ground cinnamon
- 1/2 teaspoon sea salt
Instructions
- Beat softened butter with brown sugar and white sugar on medium speed for 3 to 4 minutes until the mixture looks pale, fluffy, and almost mousse-like.
- Add eggs one at a time, beating well after each addition and scraping the bowl between additions.
- Pour in vanilla extract and beat for another minute until everything is thoroughly combined and the mixture looks creamy and homogeneous.
- In a separate bowl, whisk together flour, baking soda, cinnamon, and salt.
- Add the dry ingredients to the butter mixture and mix on low speed just until combined.
- By hand or with a sturdy wooden spoon, fold in the rolled oats until fully distributed.
- Cover the bowl with plastic wrap and refrigerate for at least 2 hours.
- Preheat your oven to 350°F and line heavy baking sheets with parchment paper.
- Scoop dough using a 2-tablespoon cookie scoop, spacing them about 2 inches apart, and press down gently to create a disc about half an inch thick.
- Bake at 350°F for exactly 11 minutes until the edges are golden brown and the centers look barely set.
- Let cookies cool on the baking sheet for 5 minutes, then transfer to a wire rack to cool to room temperature.
Notes
- Chill dough overnight for best results.
- Use old-fashioned rolled oats only; quick or instant oats will not work.
- Cookies stay chewy for up to 5 days in an airtight container.
I have a confession. After fifteen years of baking and recipe testing, I’ve noticed something that nobody wants to say out loud: a lot of people really don’t like raisins in their oatmeal cookies.
It started small. A friend would hand one back to me with a sheepish smile and say, “Could you maybe make these without the raisins next time?” Then my sister admitted she’d been secretly picking them out for years. Then a neighbor confessed her kids would only eat the corners where the raisins were sparse. I began to realize this wasn’t a quirk—it was a pattern.
That moment changed how I approach classic oatmeal cookies. Instead of defending raisins or treating their absence as some kind of loss, I leaned into it. I spent the last three years developing a recipe for bakery-style oatmeal cookies without raisins that stands completely on its own. No apologies. No sense that something is missing. Just thick, chewy, deeply satisfying cookies that taste like they came from a high-end bakery—the kind where you’re paying $3 per cookie because they’re absolutely worth it.
This is the recipe I now make for everyone who has ever quietly pushed a raisin to the side of their plate.
Why Bakery-Style Oatmeal Cookies Don’t Need Raisins
Let me be clear: raisins are not bad. They’re traditional for a reason. Functionally, raisins add moisture and chew to oatmeal cookies. They soften during baking and help create that tender crumb that keeps cookies from drying out as they sit.
The problem is what else they bring to the table. Raisins have a specific flavor profile—earthy, almost tart, with a mild sweetness. That works beautifully in certain applications, like a classic oatmeal raisin cookie from the 1980s. However, they can muddy the more nuanced flavors in the dough itself. When you’re building something special, raisins sometimes feel like they’re working against you rather than with you.
In my experience, the best bakery-style oatmeal cookies without raisins lean into what makes the cookie special to begin with: deep brown sugar caramel notes, warm cinnamon spice, and the nuttiness of real rolled oats. Those flavors shine brightest when they’re not competing with raisin’s earthiness.
As for the moisture and chew that raisins provide? I solve that through other means entirely. The secret lies in my brown sugar ratio, my underbaking strategy, and my dough hydration. A properly made batch of oatmeal cookies no raisins will stay soft and chewy for days without any dried fruit at all.
What Makes an Oatmeal Cookie “Bakery Style”
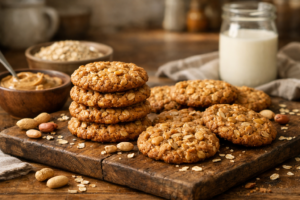
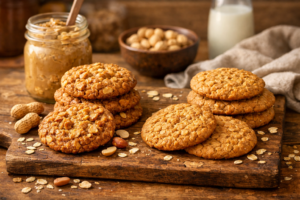
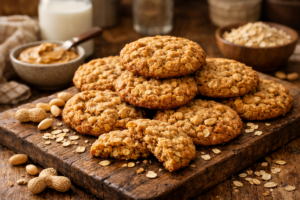
Bakery-style oatmeal cookies have very specific characteristics, and they’re different from the thin, crispy versions your grandmother might have made. I’m talking about thick chewy oatmeal cookies—the kind with a tender center and a very slight underbaked quality that makes them feel almost gourmet.
Thickness matters. True bakery-style cookies are at least half an inch thick, sometimes closer to three-quarters of an inch. They don’t spread thin across the baking sheet. This requires two things: proper chilling of the dough and the right oat-to-flour ratio.
Most home recipes use roughly equal parts flour and oats. Bakery recipes I’ve reverse-engineered use more oats—specifically, more oats than flour. The oats create structure without gluten developing the way flour does, so the cookies stay thick rather than spreading into thin discs.
That said, you need enough flour for binding. In my testing, I landed on 1 cup all-purpose flour to 3 cups old-fashioned rolled oats. That ratio gives you a cookie that holds its height while maintaining a tender crumb. Any less flour and the cookies fall apart. Any more and you’re back to thin, cakey territory.
Brown sugar is non-negotiable for bakery-style cookies. I use almost twice as much brown sugar as white sugar in my recipe. The molasses in brown sugar adds moisture, depth, and those signature caramel notes that make bakery cookies taste premium. The hygroscopic nature of brown sugar also means your cookies will stay chewy longer—another reason thick chewy oatmeal cookies maintain their texture for days.
Finally, chilling the dough is essential. I chill mine for at least 2 hours, sometimes overnight. Cold dough spreads more slowly, allowing the edges to set before the center puffs up. This creates the signature thick, domed shape.
My Bakery-Style Oatmeal Cookies Recipe (No Raisins)
This is the recipe I’ve tested and refined through dozens of batches. Specifically, this is batch #47 from my testing spreadsheet—the one that made everyone in my kitchen stop and go quiet while eating. That’s how I know a recipe is right.
Yield: About 24 cookies. Storage: Keep in an airtight container at room temperature for up to 5 days. The texture will remain soft and chewy throughout.
Getting the Bakery Texture: Underbaking on Purpose
This is where most home bakers go wrong with thick chewy oatmeal cookies. The temptation is to bake until the cookie looks fully done. Resist it.
At 11 minutes in a 350°F oven, these cookies will look slightly underdone. The centers should still have a tiny bit of shimmer. The edges will be set and golden, but the very middle should look like it needs a minute more. This is exactly right.
In my experience, the difference between an 11-minute cookie and a 13-minute cookie is the difference between a gourmet bakery product and a homemade afterthought. At 13 minutes, you’ve baked away the moisture and chew. You’re left with something closer to a granola bar—crisp, dense, and a little sad.
The secret is understanding carryover baking. When you pull cookies out at what looks like “not quite done,” the residual heat in the cookie continues to cook the interior for another 2 to 3 minutes. By the time they’ve cooled completely, they’re perfectly baked. The centers are set but tender. The edges are crispy-chewy. That’s the goal.
I recommend using an oven thermometer to verify your temperature. Home ovens often run 10 to 25 degrees off from what the dial says. If your oven bakes hot, you might pull them at 10 minutes. If it bakes cool, you might need 12. Trust what you see, not just the timer.
What to Add Instead of Raisins
One of the best parts about making oatmeal cookies without raisins is the freedom to customize. You’re not locked into one option. However, I do recommend adding something if you want maximum flavor complexity.
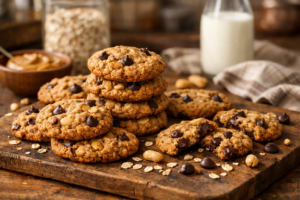
Chocolate chips. This is my default. Semi-sweet chocolate chunks (not tiny chips—actual chunks) pair beautifully with the brown sugar and cinnamon. They add richness without overwhelming the oat flavor. Use 3/4 cup per batch.
Chopped pecans or walnuts. Toast them lightly before chopping for maximum flavor. Nuts add earthiness and textural contrast. I use 3/4 cup. They’re especially good paired with the cinnamon spice.
Toffee bits. For a more decadent cookie, toffee bits add buttery sweetness and crunch. Use about 2/3 cup so they don’t overpower the oat base.
Dried cranberries. If you want tart fruit flavor without the earthiness of raisins, cranberries are excellent. They’re tangier and more sophisticated. Chop them roughly and use 3/4 cup.
Nothing at all. Honestly? A plain batch of oatmeal cookies no raisins is absolutely perfect on its own. The brown sugar caramel and cinnamon are enough. Sometimes simple is best.
Common Mistakes to Avoid
Through my testing, I’ve made every mistake possible. Here’s what I learned.
Cookies Spreading Too Thin
This happens when the dough isn’t cold enough or when you use too much sugar. I learned this the hard way in batch #8. The solution: always chill your dough. If your kitchen is very warm, chill even longer. I sometimes freeze dough portions for 15 minutes right before baking.
Oats Going Soggy
If you store baked cookies in anything but an airtight container with parchment between layers, oats will absorb moisture and turn mushy. Keep them in an airtight container at room temperature. They’ll stay chewy for 5 days.
Underbaking Too Far
It’s possible to underbake past the point of redemption. If the very center is visibly wet and glossy (not just slightly pale), they’re too raw. Trust the golden-brown edges as your visual guide. The centers should look set but matte, not shiny.
Wrong Oat Type
Quick oats will make dense, pasty cookies. Instant oats are even worse. Use old-fashioned rolled oats only. They have the right texture and structure for bakery-style cookies.
That said, I should mention: steel-cut oats don’t work either. They’re too chewy and don’t soften enough during baking. Old-fashioned rolled oats are the only correct choice.
Why I Stopped Defending Raisins
Here’s the truth I’ve come to after fifteen years of baking: the best cookie is the one you actually want to eat. Not the one that’s “supposed” to be eaten. Not the recipe that appeared in a magazine in 1992. The one that makes you genuinely happy.
Bakery-style oatmeal cookies without raisins do that for a lot of people. My sister eats three in a sitting now instead of secretly removing the raisins. My neighbor’s kids ask for the recipe. My own testing kitchen has converted entirely.
These thick chewy oatmeal cookies don’t feel like a compromise or a substitution. They feel like their own complete thing. The brown sugar is deeper, the cinnamon is clearer, the oats are nuttier. Everything shines because nothing is muddying the flavor profile.
If you’ve ever quietly pushed a raisin to the side of your plate, this recipe is for you. Make a batch this weekend. Chill the dough overnight. Bake at 350°F for exactly 11 minutes. Let them cool on the sheet for 5 minutes. Then taste what happens when you stop apologizing for what you actually prefer.
Trust me—your kitchen will smell like a real bakery, and these cookies will disappear faster than you can make them.
About This Article

Written by Margaret Chen. Margaret Chen is a home baker and recipe developer with over 15 years of experience perfecting cookie recipes through rigorous testing and detailed experimentation. She tests every recipe multiple times, documents every variable, and applies the same rigor professional bakers use, with the warmth and accessibility of home baking. More about this site.
Scope and limits. Margaret is a home baker and recipe developer with no formal culinary training. Follow current food safety guidance for egg handling, storage, and anything you are serving to other people.
Verify this against a primary source
Specifics change, and your situation may differ from the one described here. These are the authorities worth checking directly:
- USDA FoodData Central — ingredient composition and nutrition data
- FoodSafety.gov — safe handling, storage and egg safety