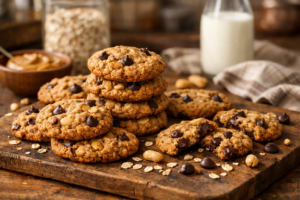
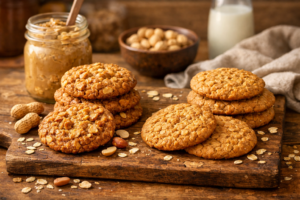
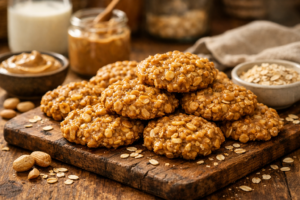
Flourless Peanut Butter Oatmeal Cookies
Chewy gluten-free cookies with peanut butter and oats, tender through day three without any flour.
Ingredients
- 1 cup natural creamy peanut butter (250g), at room temperature
- 1 cup granulated sugar (200g)
- 1 large egg
- 1 teaspoon vanilla extract
- 1 cup certified gluten-free rolled oats (100g), plus an extra ¼ cup (25g) set aside for texture
- ½ teaspoon fine sea salt
- ½ teaspoon baking soda
Instructions
- Preheat your oven to 350°F (175°C).
- Line two baking sheets with parchment paper.
- In a large bowl, cream together the room-temperature peanut butter and sugar with an electric mixer on medium speed for about 2–3 minutes until fluffy and light.
- Crack the egg into the bowl and beat it in completely, then add the vanilla extract and mix until the dough is smooth and homogeneous.
- In a small bowl, whisk together 1 cup of oats, salt, and baking soda.
- Fold the oat mixture into the peanut butter mixture with a rubber spatula, stirring until just combined.
- Add the reserved ¼ cup of oats and fold gently one more time.
- Using a cookie scoop or tablespoon, drop dough onto your prepared baking sheets about 2 inches apart.
- If desired, gently flatten each ball with the back of a fork, pressing in one direction and then the other.
- Bake for 8–10 minutes until the cookies look barely set and still slightly soft.
- Leave the cookies on the baking sheet for 5 minutes to set, then transfer to a wire rack to cool completely.
Notes
- Peanut butter and egg should be at room temperature before mixing.
- Use certified gluten-free rolled oats for celiac disease concerns.
- Pull cookies when edges are set but center still jiggles slightly; they continue to harden on the baking sheet.
- Store in an airtight container at room temperature for up to three days.
My sister called me in tears — okay, mild frustration — the day her doctor recommended she go gluten-free. “Just tell me I can still have cookies,” she said. I promised her without hesitation. Then I hung up the phone and immediately panicked, because I had absolutely no idea how to deliver on that promise. What followed was three months and fourteen increasingly obsessive batches of flourless peanut butter oatmeal cookies, a kitchen covered in peanut butter smears, and one very patient husband who ate every single experiment without complaint. This is the story of the batch that finally made my sister cry — happy tears this time.
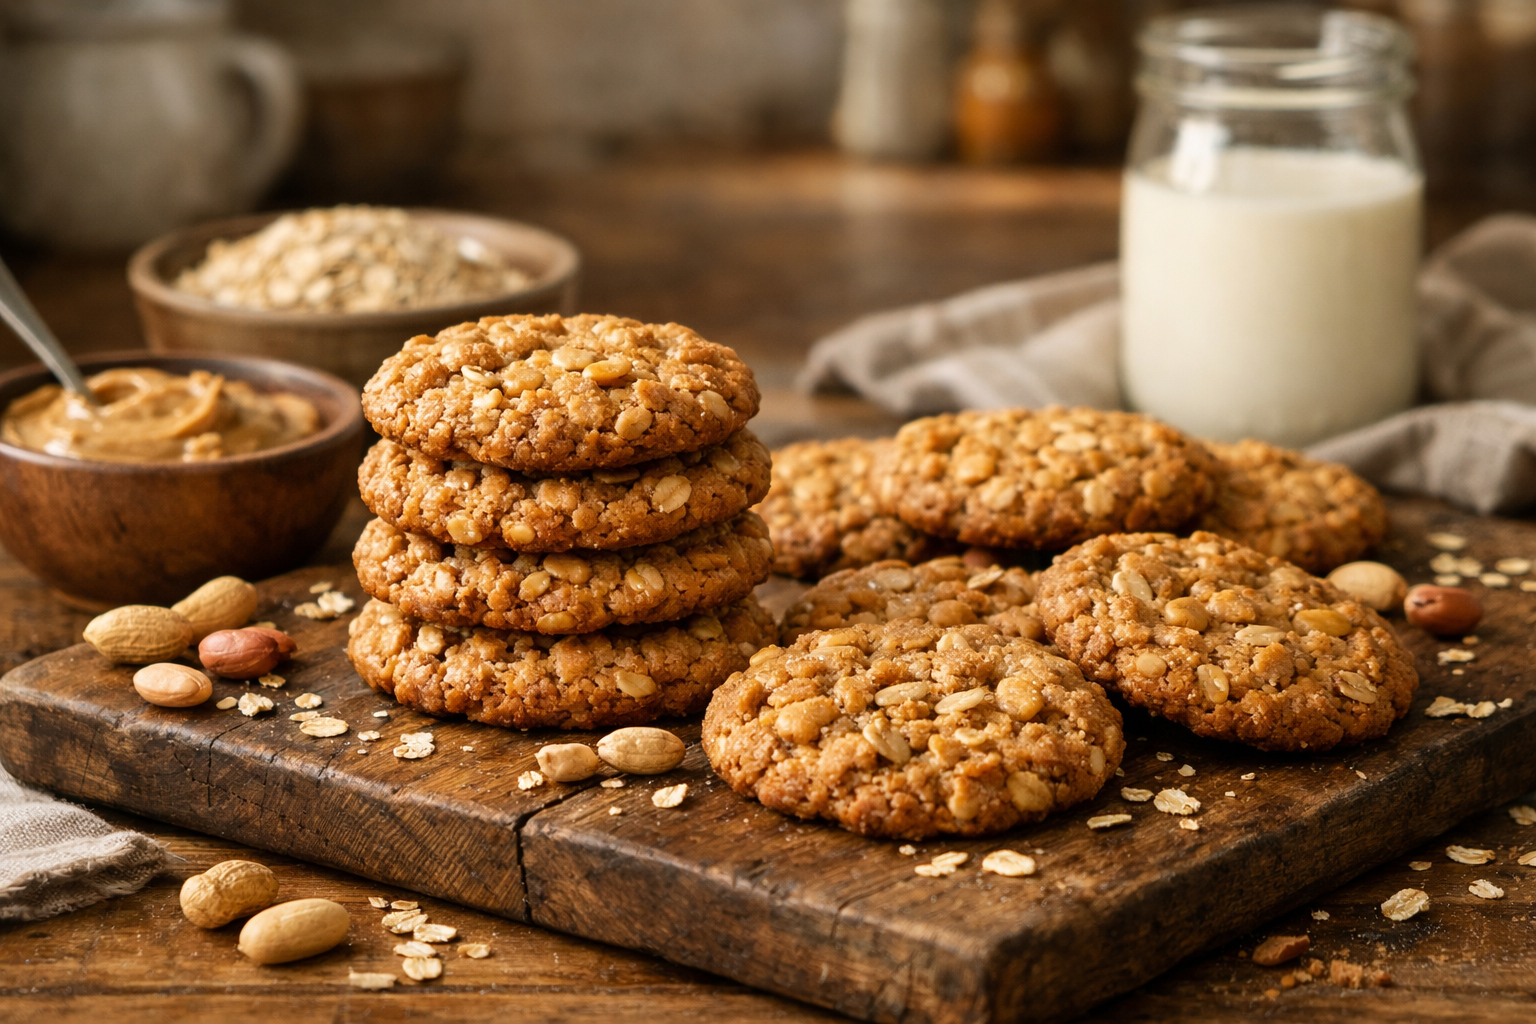
Why Most Gluten-Free Cookies Fall Flat (And How These Don’t)
Let me be honest about something. My first eight batches were genuinely bad. I mean politely-spit-into-a-napkin bad. The problem with so many gluten-free cookie attempts is that they try to replicate a wheat-flour texture using substitutes, and the result always tastes like something is missing — because it is. The moment everything shifted for me was when I stopped trying to fake a regular cookie and started leaning into what peanut butter and oats actually do naturally.
Peanut butter is a structural powerhouse. It binds, it adds fat, it creates that chew we love in a cookie. Oats — certified gluten-free oats, which I’ll talk about in a second — bring a hearty, slightly nutty texture that complements peanut butter like they were made for each other. Spoiler: they kind of were. Together, they don’t need flour as a crutch. They just need a little support from a few pantry staples, and what you get is a cookie that tastes genuinely, unapologetically delicious.
The key insight from all those failed batches? Ratio matters enormously. Too much oat and the cookie crumbles. Too little and it spreads into a greasy puddle. Too much sugar and it over-caramelizes before the center sets. I’ve made all of those mistakes so you don’t have to.
The Ingredients That Actually Matter
Before we get to the recipe, let’s talk about ingredients, because with a flourless cookie, every single component is doing heavy lifting. There’s nowhere to hide.
The Peanut Butter That Finally Gave Me Cookies With Real Flavor, Not Grittiness
When you’re making flourless peanut butter cookies, the peanut butter isn’t just an ingredient—it’s basically the entire structure of the cookie. I learned this the hard way after batch seven, when I realized that cheap, overstabilized peanut butter was leaving a chalky film on my sister’s palate.
What works
- The creamy texture creams effortlessly with the sugar without requiring extra oil or moisture to compensate, which means the cookies hold their shape instead of spreading into hockey pucks.
- It has just enough natural peanut oil that the cookies stay tender through day three—I stopped having to eat them all in one sitting just to avoid staleness.
- The flavor is clean and peanutty without that artificial aftertaste that makes you wonder what stabilizers are actually in there.
What doesn’t
- It costs more than the grocery store brands, which stings when you’re on batch eleven and have already spent a small fortune on peanut butter alone.
- If your kitchen is cool, it needs a few minutes at room temperature before creaming, or you’ll spend five minutes with an electric mixer wondering why nothing is happening.
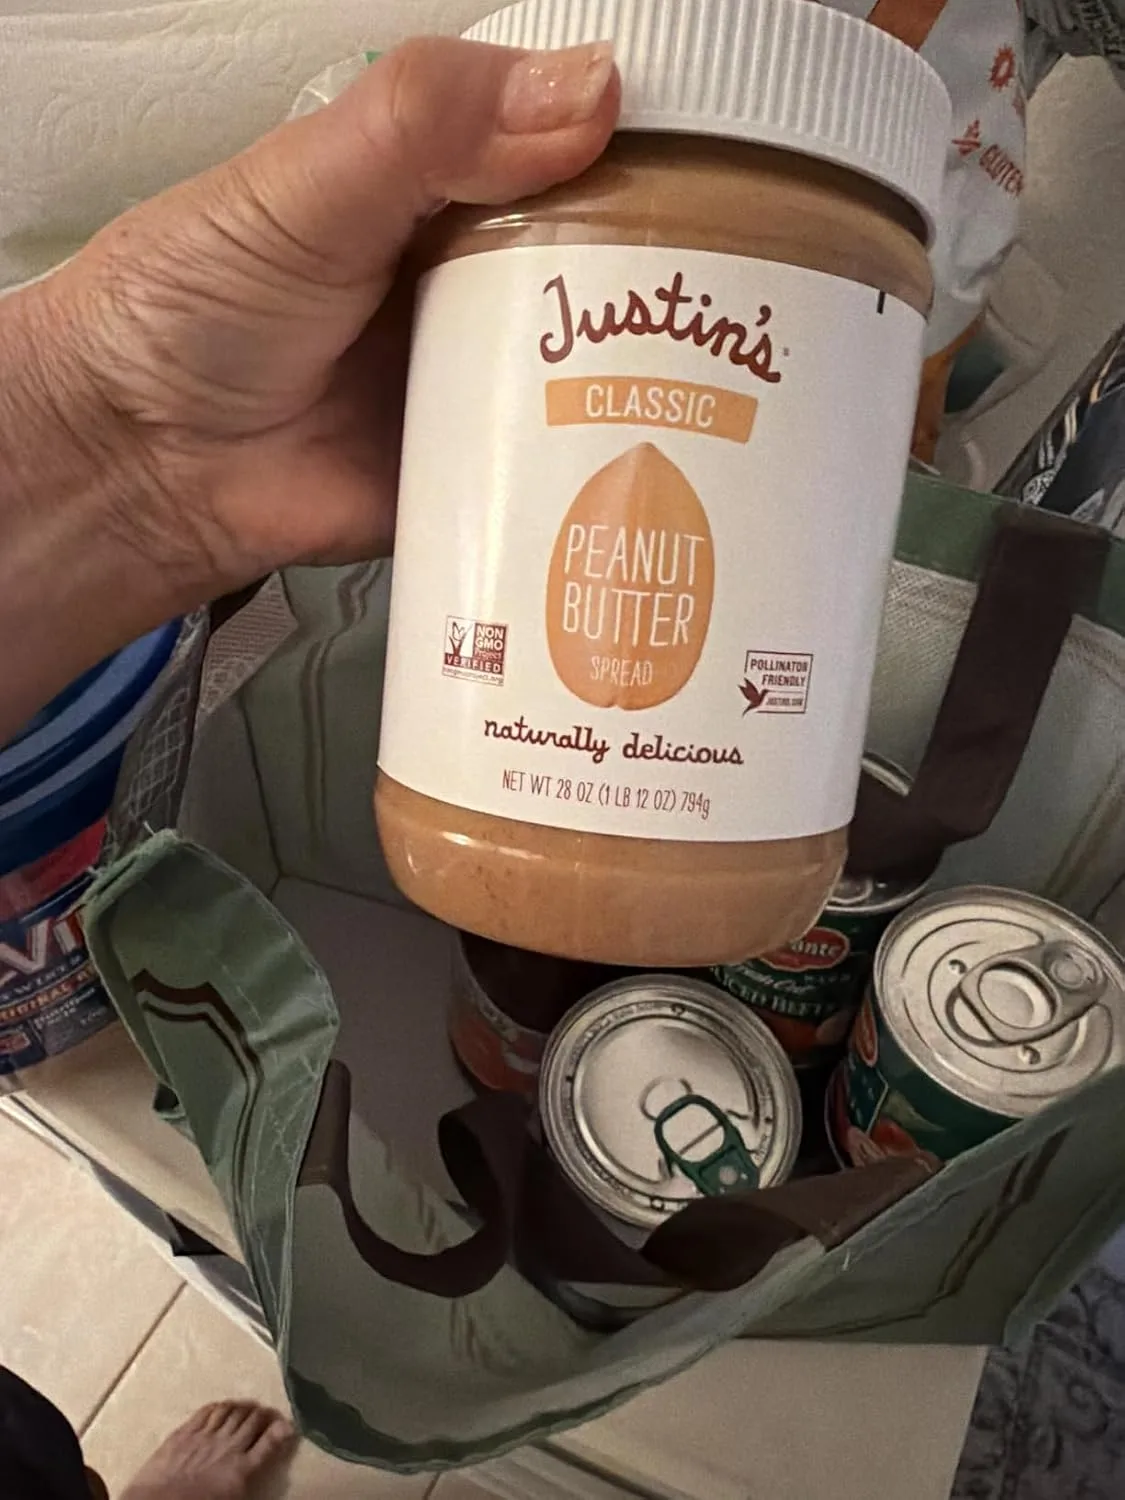
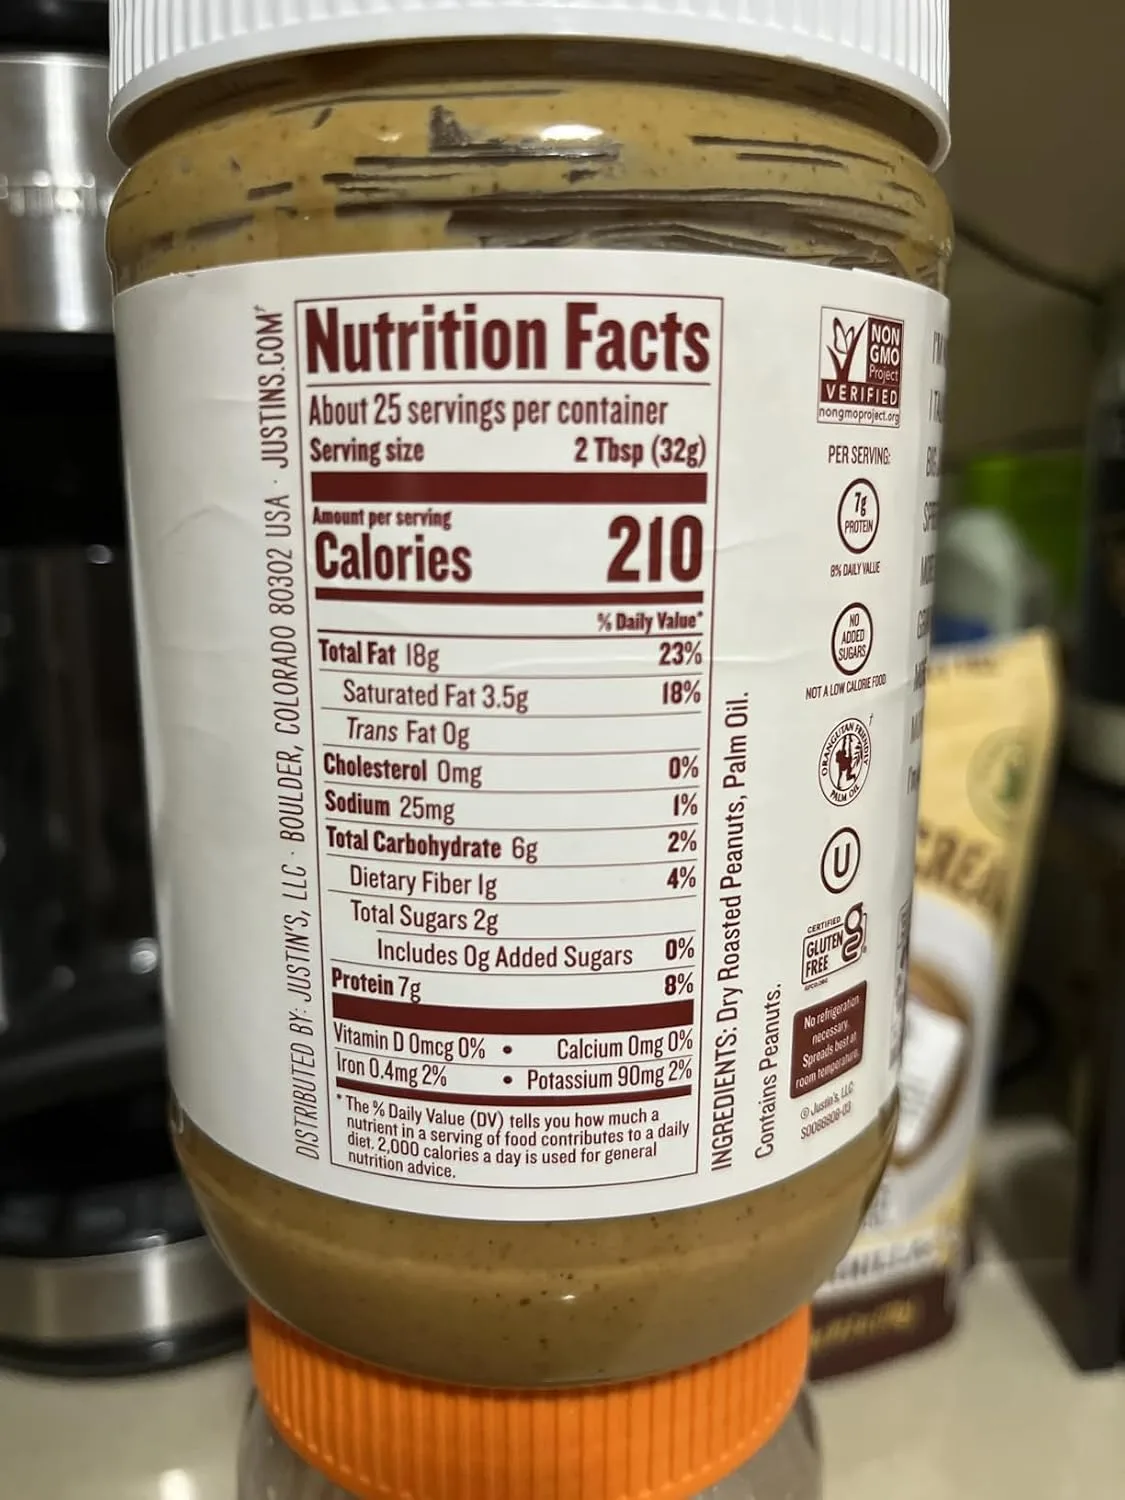
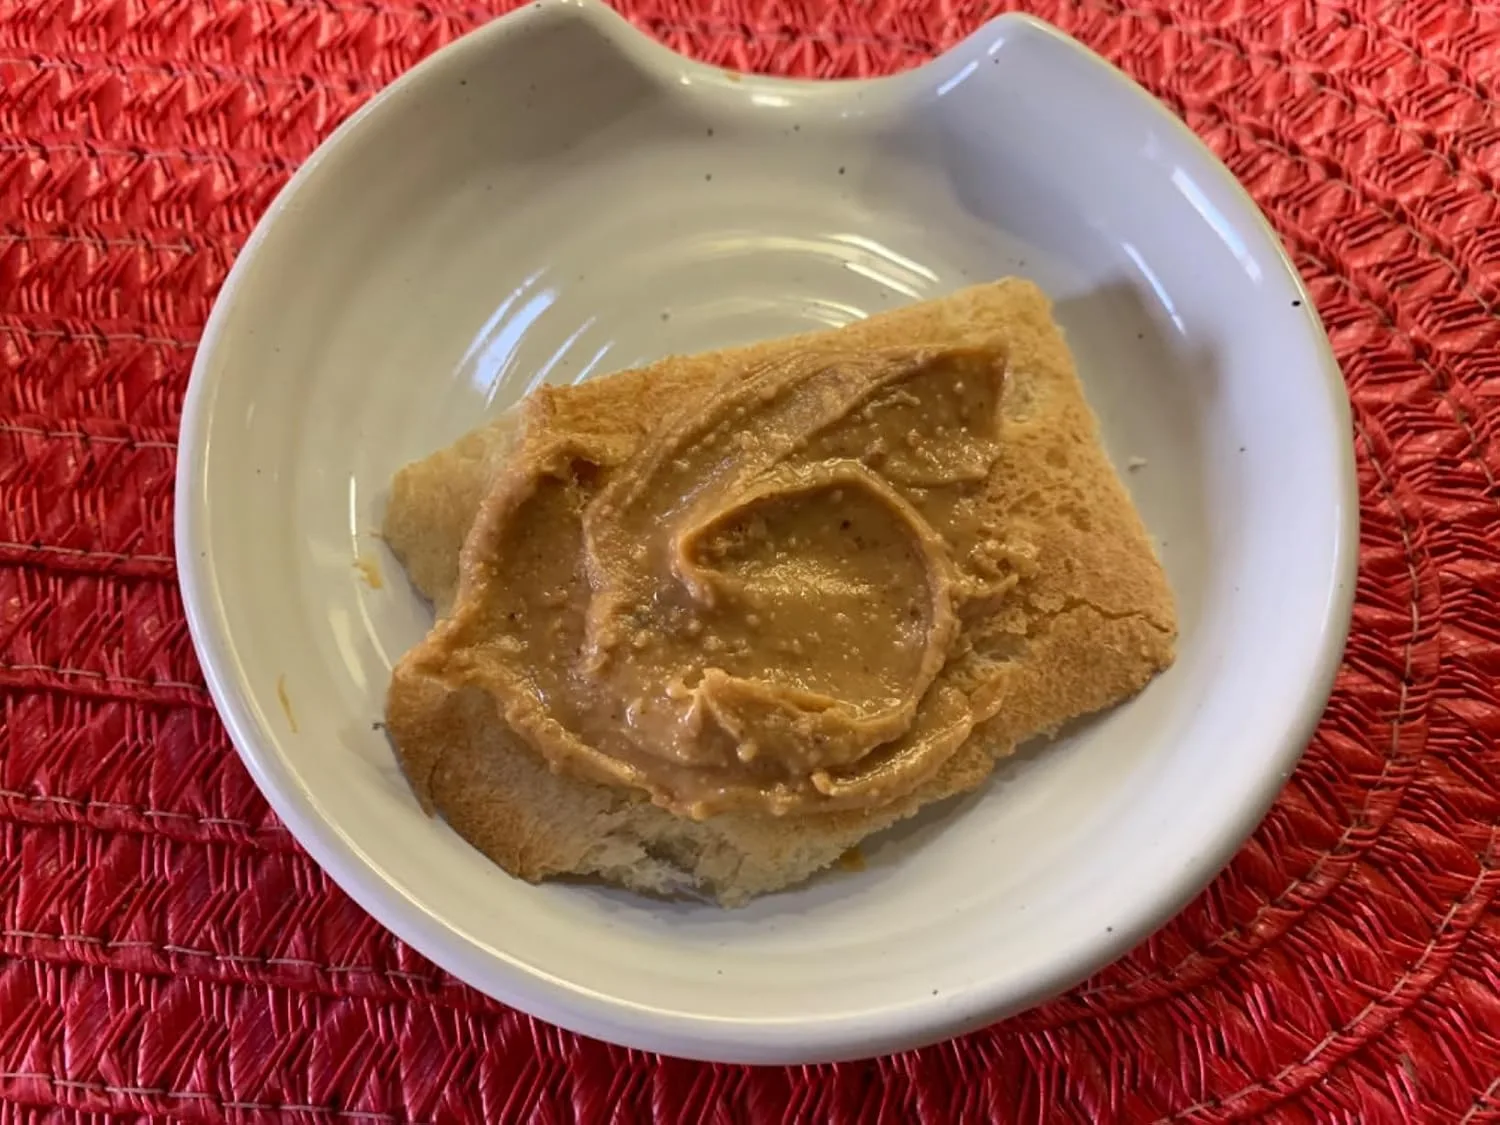
I almost abandoned this product during batch nine when my mixer was struggling with cold peanut butter, but I decided to let the jar sit on the counter for ten minutes, and suddenly I understood why everyone raved about it. Once I made that one tiny adjustment, I stopped second-guessing my ingredient choices. Justin’s Classic Peanut Butter Creamy Spread
The Recipe: Flourless Peanut Butter Oatmeal Cookies
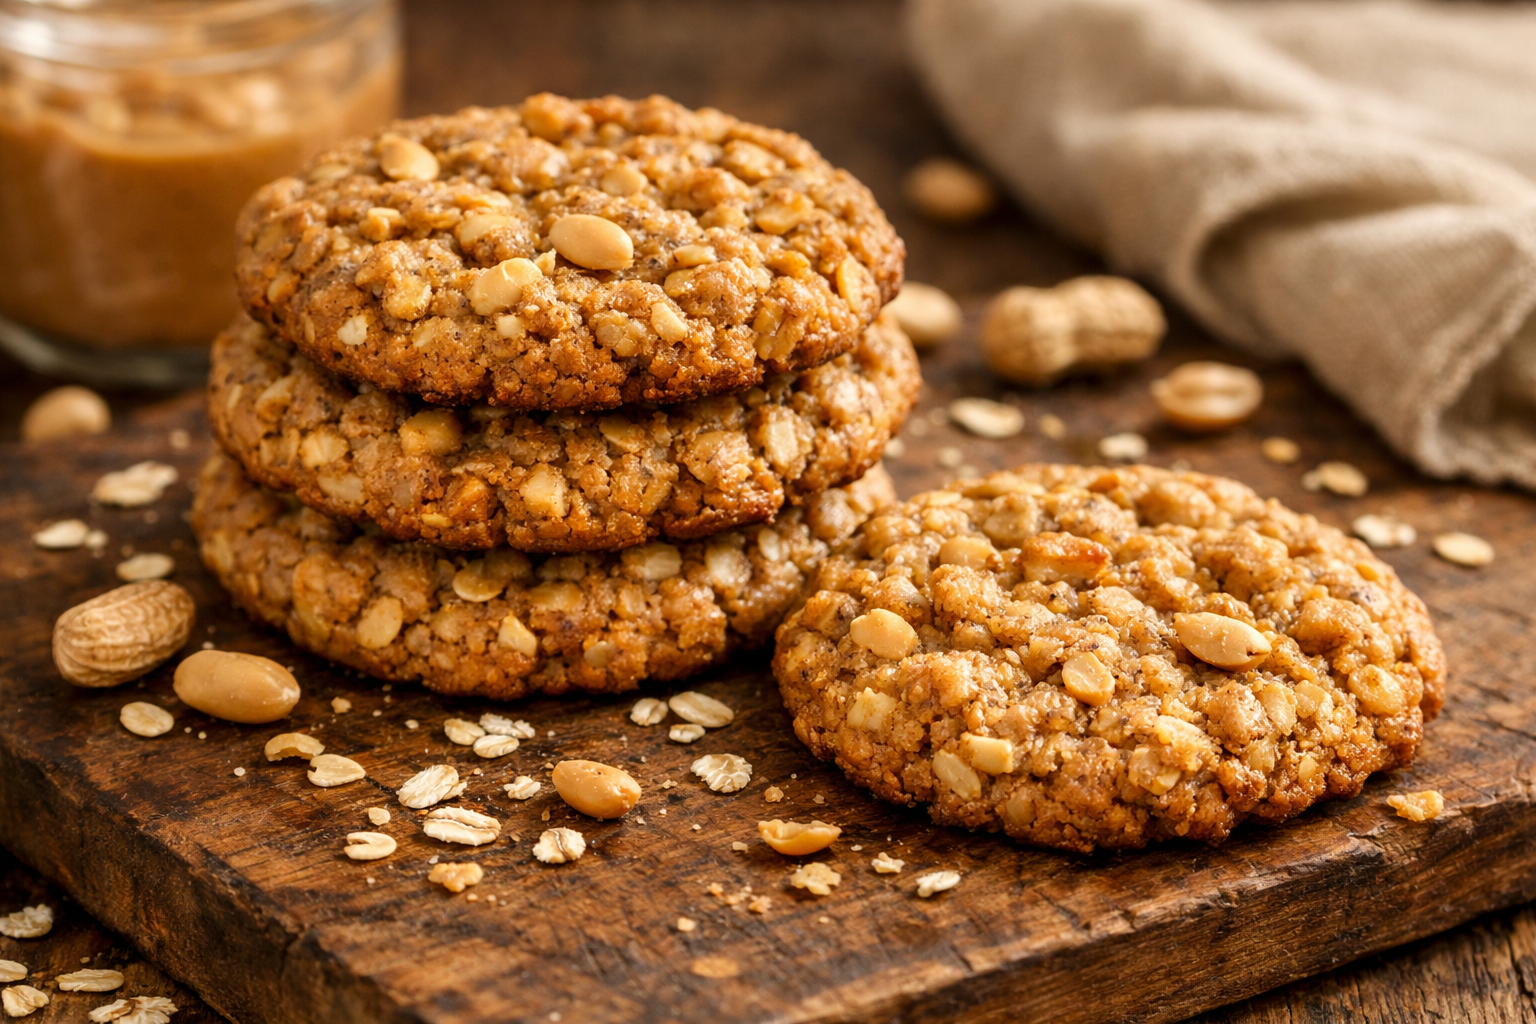
After all those test batches, I finally landed on the ratios that create a cookie that’s chewy in the center, slightly crisp on the edges, and stays fresh for three days without tasting like cardboard. This is the batch that made my sister actually happy to have a gluten-free option — and now her whole family asks for these instead of the “normal” cookies.
What You’ll Need
- 1 cup natural creamy peanut butter (250g), at room temperature
- 1 cup granulated sugar (200g)
- 1 large egg
- 1 teaspoon vanilla extract
- 1 cup certified gluten-free rolled oats (100g), plus an extra ¼ cup (25g) set aside for texture
- ½ teaspoon fine sea salt
- ½ teaspoon baking soda
How I Make Them, Step by Step
- Prepare. Preheat your oven to 350°F (175°C). Line two baking sheets with parchment paper. This recipe makes about 24 cookies, so plan your baking accordingly.
- Combine peanut butter and sugar. In a large bowl, cream together the room-temperature peanut butter and sugar with an electric mixer on medium speed. This should take about 2–3 minutes and feel fluffy and light, even though there’s no flour. This aeration matters more than you’d think in a flourless cookie.
- Add egg and vanilla. Crack the egg into the bowl and beat it in completely, then add the vanilla extract. Mix until the dough is smooth and homogeneous. This typically takes another minute or two. Don’t skip this step — the egg is doing real structural work here.
- Fold in oats and dry ingredients. In a small bowl, whisk together the 1 cup of oats, salt, and baking soda. Fold this mixture into the peanut butter mixture with a rubber spatula, stirring until just combined. The dough should be thick and slightly sticky.
- Stir in the extra oats. Add that reserved ¼ cup of oats and fold gently one more time. This double-oat approach — folding most of them in first, then adding some whole — gives you both binding and texture. Without this, I was getting cookies that either crumbled (too much oat) or turned into a single dense disc (too little).
- Scoop and press. Using a cookie scoop or tablespoon, drop dough onto your prepared baking sheets about 2 inches apart. The dough won’t spread aggressively, but give it room. If you like the classic crosshatch look, gently flatten each ball with the back of a fork, pressing in one direction and then the other.
- Bake. Bake for 8–10 minutes. The cookies should look barely set and still slightly soft when you pull them from the oven — this is the crucial moment. If they look fully baked and golden all over, you’ve gone about 1–2 minutes too far. They’ll continue to harden on the baking sheet as they cool.
- Cool. Leave the cookies on the baking sheet for 5 minutes to set, then transfer to a wire rack to cool completely. This resting period on the sheet is what transforms them from puffy to chewy. They’ll firm up further as they cool entirely.
- Store. Keep these in an airtight container at room temperature for up to three days. I store mine with a piece of parchment between layers so they don’t stick together.
Baking Notes From Fourteen Batches
Room temperature matters. Cold peanut butter won’t cream properly, and your cookies will spread oddly. Let your peanut butter and egg sit out for 20 minutes if your kitchen is chilly — it makes a real difference in the final texture.
Certified gluten-free oats are essential. Even if oats themselves don’t contain gluten, regular oats are often processed in facilities that handle wheat. If your sister (or anyone you’re baking for) has celiac disease, this matters.
The 8–10 minute window is tight, and every oven runs hot or cool. I check mine at 8 minutes by looking at the edges — they should be set and barely golden, while the center still jiggles ever so slightly when I tap the pan. That’s done.
These aren’t as shelf-stable as flour-based cookies, so don’t make them more than a day ahead if you want them chewy. But that’s not really a complaint — it means you can always bake a fresh batch in under thirty minutes flat, which I do every few days during my sister’s visits.


What Actually Holds a Flourless Cookie Together
Take flour out of a cookie and you remove the scaffolding. There’s no gluten network stretching across the dough, no starch gelatinizing into a matrix. Something else has to do that job, and in flourless peanut butter oatmeal cookies four ingredients split the work between them.
Peanut butter is doing double duty. Its protein sets in the oven much like egg protein does, and its fat coats the oats and sugar the way butter would in a conventional dough. Cut the peanut butter back and the cookie loses body immediately. I ran a batch at 3/4 cup instead of 1 cup and got twelve sandy, crumbling discs that fell apart on the spatula.
Egg is the actual binder. As it heats past roughly 150°F, the proteins unfold and link into a mesh that traps everything else. One large egg per cup of peanut butter is the ratio I’ve settled on after a lot of testing. Two eggs makes the cookie cakey and slightly rubbery.
Sugar is structural, not just sweet. Brown sugar dissolves, then recrystallizes as the cookie cools, and that crystalline lattice is a real part of why the edges go crisp. This is why halving the sugar wrecks the texture rather than just making a less sweet cookie.
Oats are the bulk. They soak up moisture that would otherwise turn to steam and blow the cookie flat, and physically they take up space that flour used to occupy. Short the oats and you get a puddle. Overload them and the cookie goes dry and sandy, because there isn’t enough fat and egg to go around.
Rolled, Quick, or Instant Oats: This Matters More Than You Think
In a flour-based oatmeal cookie, oat type is close to cosmetic. You get a slightly chewier or slightly softer cookie, and the flour handles structure either way. Here, the oats are the structure, so swapping types changes the whole cookie.
I baked all three side by side, same dough, same 350°F oven, same 11 minutes.
- Old-fashioned rolled oats: stayed visibly distinct, gave real chew, spread to about 3 inches. This is the one I recommend.
- Quick oats: absorbed moisture faster, so the cookie held tighter and spread only about 2 1/2 inches. Uniform, softer, more like a peanut butter cookie with texture in it. Perfectly good, just different.
- Instant oats: turned pasty. They’re pre-cooked and cut very fine, so they hydrate almost instantly and go gluey. The center never lost that raw-porridge quality even at 14 minutes.
Practically: swap rolled for quick oats one-for-one by volume, but rest the dough only 5 minutes instead of 10, since quick oats hydrate faster. Steel-cut oats do not work at all here — they stay hard and gravelly. If you only have rolled oats but want a tighter cookie, pulse about a third of them four or five times in a food processor and leave the rest whole.
The Gluten-Free Oat Problem Nobody Mentions
Oats do not contain gluten. That’s a botanical fact, and it’s why these cookies work as a gluten-free recipe at all. However, oats are routinely grown in rotation with wheat, barley, and rye, harvested with the same equipment, trucked in the same trailers, and milled on the same lines. Cross-contact happens at every one of those steps.
Testing has repeatedly found conventional oats well above the 20 parts per million threshold the FDA uses for a “gluten-free” label — sometimes many times over. If you’re baking for someone with celiac disease, certified gluten-free oats aren’t a nicety. They’re the whole point, because everything else in the recipe is naturally gluten-free and the oats are the only real risk.
Certified oats are grown on dedicated fields or purity-protocol farms and processed on segregated equipment, then batch-tested. They cost a couple of dollars more per container and they behave identically in the dough — I’ve run them side by side and could not tell the baked cookies apart.
One more thing worth knowing: a small share of people with celiac react to avenin, a protein in oats themselves, even certified ones. It’s uncommon, but if you’re baking for someone newly diagnosed, ask before you assume oats are fine for them.
Fixing the Three Ways These Cookies Go Wrong
Greasy and Spreading Flat
Almost always too much free oil, and usually it’s the peanut butter. Natural peanut butter that wasn’t stirred all the way to the bottom of the jar dumps a slick of oil into the dough with no flour there to absorb it. Overly soft or melted butter does the same thing.
The fix: chill the portioned dough balls 30 minutes at minimum, and add 2 tablespoons of oats to the batch. Cold fat melts more slowly, so the egg has time to set before the cookie collapses. Baking on parchment rather than a bare greased sheet also cuts spread noticeably — I measured about a quarter inch difference.
Dry and Crumbly, Falling Apart
Too many oats relative to fat and egg, or overbaking. Measuring oats by scooping the cup straight into the container packs in far more than you think; I’ve weighed the difference at nearly 20 grams per cup. Spoon them in loosely, or weigh them.
If the dough won’t hold a ball when squeezed, add one tablespoon of milk or a second egg yolk. And pull the cookies when the edges are set but the centers still look underdone — they finish on the hot sheet over the next five minutes. Two extra minutes in the oven is the difference between chewy and sandy.
Gummy or Pasty in the Middle
Usually instant oats, as covered above. Otherwise it’s a cookie that was portioned too large, so the outside browned before the center’s egg protein ever reached setting temperature. Keep dough balls to about 1 1/2 tablespoons and flatten them slightly to roughly 1/2 inch thick before baking — flourless dough doesn’t spread on its own the way flour dough does.
If you like a bigger cookie, drop the oven to 325°F and bake 15 to 16 minutes so the heat has time to reach the middle.
Natural vs Conventional Peanut Butter in a Flourless Dough
In a flour cookie, a little oil separation gets absorbed and nobody notices. Without flour there’s nothing to soak it up, and that oil goes straight to spread.
With natural peanut butter — just peanuts and salt — stir the jar completely, right down through the bottom layer, then refrigerate it and use it cold and thick. I stir mine, chill it overnight, and let it sit out 15 minutes before mixing. If your jar has been sitting and looks especially oily, pour off about a tablespoon before stirring.
Conventional peanut butter like Jif or Skippy contains palm oil as a stabilizer, which keeps the emulsion locked together. As a result it’s genuinely more forgiving here, and it produces a slightly softer, more uniform cookie with less spread. Neither is wrong. Natural gives you rounder peanut flavor; conventional gives you consistency.
What I’d avoid: reduced-fat peanut butter. The fat gets replaced with added sugar and starch, and in flourless peanut butter oatmeal cookies that means both a structural shortfall and a cloying result.
Make-Ahead, Storage, and Freezing
The dough improves with a rest. Thirty minutes in the fridge lets the oats hydrate fully and firms the fat, and it holds well for up to three days covered. Past day two the oats have absorbed so much that the dough gets stiff — let it sit at room temperature for 20 minutes before scooping, or add a teaspoon of milk.
Baked cookies keep 4 to 5 days in an airtight container at room temperature. They’re best on days one and two; by day four the edges soften and the chew flattens out. A slice of sandwich bread in the container slows that down.
Freezing works beautifully both ways. Freeze portioned dough balls on a sheet until solid, then bag them for up to three months and bake straight from frozen, adding 2 minutes. Baked cookies freeze up to two months and thaw in about 20 minutes on the counter.
Questions I Get About These Cookies
Can I skip the egg? Not without a replacement. The egg is the primary binder, and I tested a no-egg version that simply disintegrated. A flax egg — 1 tablespoon ground flaxseed plus 3 tablespoons water, rested 10 minutes — is the best substitute I’ve found. Expect a denser cookie with slightly less lift.
Can I use another nut butter? Yes, with adjustments. Almond butter is thinner and lower in protein, so add 2 tablespoons of oats. Cashew butter is thinner still and sweeter. Sunflower seed butter works well and is my go-to for school-safe batches, though the cookies sometimes turn faintly green from a harmless reaction between its chlorogenic acid and baking soda.
Can I halve the sugar? Not without consequences. Sugar is holding structure, browning the edges, and keeping the crumb moist. Cutting 25 percent is survivable; cutting 50 percent gave me pale, dry cookies with a chalky finish.
Why did mine spread so much? Warm dough, unstirred natural peanut butter, or a hot baking sheet reused straight from the last batch. Always start on a cool pan.
Do I really need to chill the dough? You can bake immediately, but give it 10 minutes on the counter so the oats hydrate. Chilled dough gives thicker, chewier cookies with a better edge — in my side-by-side, the chilled batch was noticeably taller.