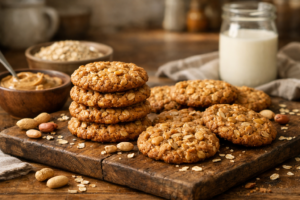
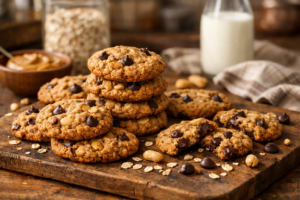
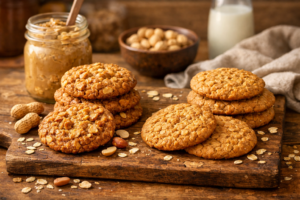
It was a rainy Tuesday afternoon, my third batch of the day, flour on my elbow and a cold cup of coffee on the counter, when I finally pulled out what I now consider the best peanut butter oatmeal cookies I have ever made. I didn’t even wait for them to cool. I stood right there at the oven, burned my fingers a little, and knew — this was the one. After twelve years of baking cookies, after testing what genuinely feels like every peanut butter oatmeal recipe the internet has ever produced, I had finally landed on the version I would make forever.
And today I’m sharing exactly what makes it work.
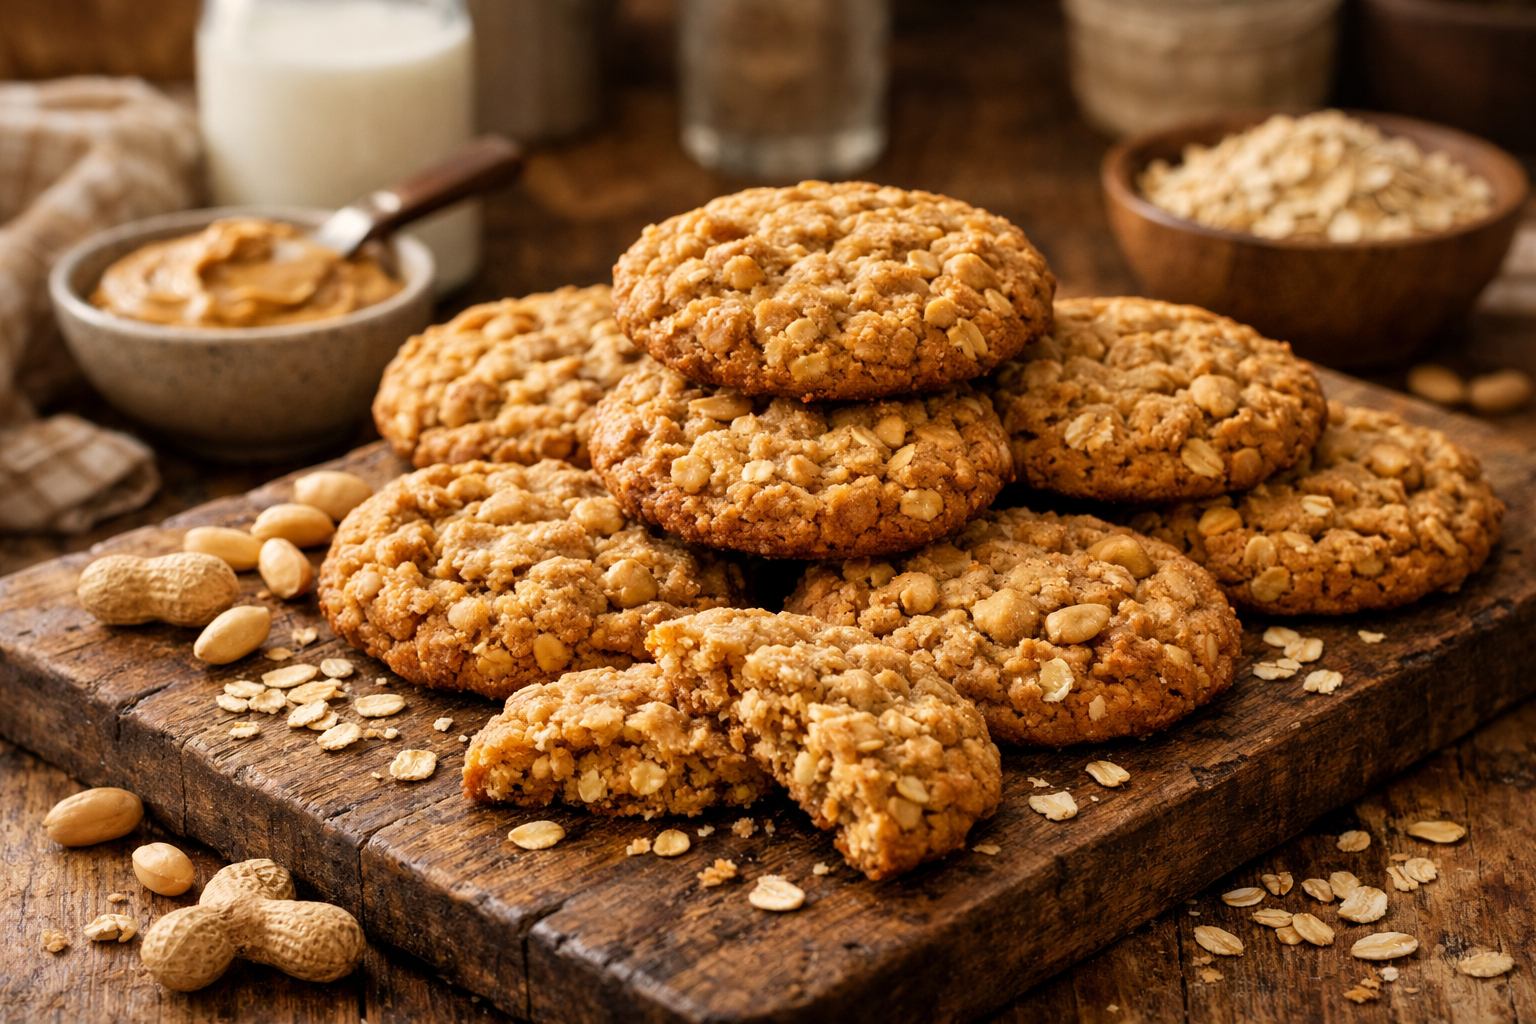
Why Most Peanut Butter Oatmeal Cookie Recipes Fall Short
Here’s the honest truth: most recipes I tested were fine. Not bad, just fine. They were either too cakey, too dry, or they tasted more like a granola bar that had a brief encounter with a jar of Jif than an actual cookie. The oats would compete with the peanut butter instead of working with it. Or the texture would be so crumbly that the whole cookie fell apart by the second bite, which is honestly a tragedy I wouldn’t wish on anyone.
The problems usually came down to a few repeated mistakes across recipes. Too much flour dulled the peanut butter flavor. Using quick oats instead of old-fashioned rolled oats killed the chewy texture. Skipping the brown sugar in favor of all white sugar removed that subtle molasses depth that makes a cookie feel rich rather than just sweet. And not letting the dough rest — even for thirty minutes — meant the oats never had time to hydrate properly, which affects the final texture more than most people realize.
Once I identified these patterns, I started rebuilding the recipe from scratch, adjusting one variable at a time like a very flour-dusted scientist.
The Ingredients That Actually Make a Difference
Let me walk you through what I use and why each choice matters. I’m not going to pad this with filler — every ingredient here earns its place.
The Peanut Butter That Finally Stopped Breaking My Dough
I’ve spent years fighting with peanut butter that was either too slick or too stiff—splitting my dough, making it impossible to fold in the oats, or leaving me with a greasy, dense cookie by the time it came out of the oven. Finding the right balance between creamy and structured peanut butter changed everything about how these cookies came together.
What works
- The consistency stays stable enough to cream properly with butter without separating, so your dough actually holds together instead of turning greasy halfway through mixing.
- It creams into the sugar in exactly the time I expect—not fighting me with added oils or starch like some naturals do—which means I’m not overworking the dough trying to get it smooth.
- The flavor is genuine peanut butter without being so assertive that it overwhelms the oatmeal, and there’s just enough oil to make the cookies tender without them turning into hockey pucks.
What doesn’t
- It’s noticeably thicker than some competitor brands, so if you’re used to thinner spreads, you’ll need to add an extra 30 seconds to your creaming time or your dough will look shaggy at first.
- The lid sticks on the jar if you don’t wipe it clean between uses, which shouldn’t be a problem but will drive you slightly crazy when you’re on your third batch of the day.
I almost swapped it out halfway through testing when a batch looked too thick to incorporate the oats evenly, but I trusted the process and kept going—and that batch turned out to be the one I pulled from the oven that rainy Tuesday afternoon. If you’ve struggled with peanut butter cookies that spread too much or feel heavy, grab SKIPPY Natural Peanut Butter Creamy Spread and see what I mean.
The Recipe: Twelve Years to This Moment
This is the formula I’ve refined through hundreds of batches. Every measurement, every step, every waiting period—they all matter. The 30-minute dough rest lets the oats absorb moisture for that perfect chew. The creaming method builds air into the butter and sugar, which gives these cookies their tender crumb. And the bake time is exact: pull them out when the edges are set and the centers still look slightly underbaked. They’ll firm up as they cool, and you’ll get that golden exterior with a soft, chewy middle that made me stand at the oven that Tuesday afternoon burning my fingers without hesitation.
What You’ll Need
- 1 cup (226g) unsalted butter, softened to room temperature
- 1 cup (264g) creamy peanut butter (like SKIPPY Natural)
- 3/4 cup (150g) granulated sugar
- 1 cup (200g) packed light brown sugar
- 2 large eggs
- 2 teaspoons vanilla extract
- 1 1/2 cups (180g) all-purpose flour
- 1 1/2 cups old-fashioned rolled oats (quick oats won’t give you the texture you want)
- 2 teaspoons baking soda
- 1/2 teaspoon salt
How I Make Them, Step by Step
- In a large mixing bowl, cream together the softened butter and peanut butter on medium speed for about 2 to 3 minutes, until lighter in color and fluffy. This step is essential—don’t rush it.
- Add both sugars (granulated and brown) to the creamed butter and peanut butter. Beat on medium speed for another 2 to 3 minutes, scraping down the bowl as needed, until the mixture is light and fluffy.
- Add the eggs one at a time, beating well after each addition. Then mix in the vanilla extract.
- In a separate bowl, whisk together the flour, baking soda, and salt.
- Add the dry ingredients to the wet ingredients and mix on low speed until just combined. Don’t overmix.
- Fold in the old-fashioned oats by hand using a spatula or wooden spoon, stirring gently until the oats are evenly distributed throughout the dough.
- Cover the mixing bowl with plastic wrap or transfer the dough to a covered container. Let it rest at room temperature for 30 minutes. This resting period is not optional—the oats need time to absorb moisture, which affects the final texture.
- Preheat your oven to 350°F (176°C).
- Scoop the dough using a cookie scoop (about 1.5 tablespoons per cookie) onto ungreased baking sheets, spacing them about 2 inches apart. These cookies will spread, so give them room.
- Bake for 12 to 14 minutes, until the edges are golden brown and set but the centers still look slightly soft. This is the crucial moment—pull them out too early or too late and you lose the magic. I use 13 minutes as my benchmark.
- Let the cookies cool on the baking sheet for 5 minutes before transferring them to a wire rack to cool completely.
Yield: About 24 to 30 large cookies, depending on scoop size
Prep time: 15 minutes (plus 30-minute dough rest)
Bake time: 12 to 14 minutes per batch
Store these in an airtight container at room temperature for up to 4 days, though in my house they never last that long. You can also freeze the baked cookies for up to a month, or freeze the dough for even longer—scoop it out first, freeze the individual portions on a tray, and bake from frozen by adding a minute or two to the bake time.
This post contains affiliate links. As an Amazon Associate, I earn from qualifying purchases at no extra cost to you.
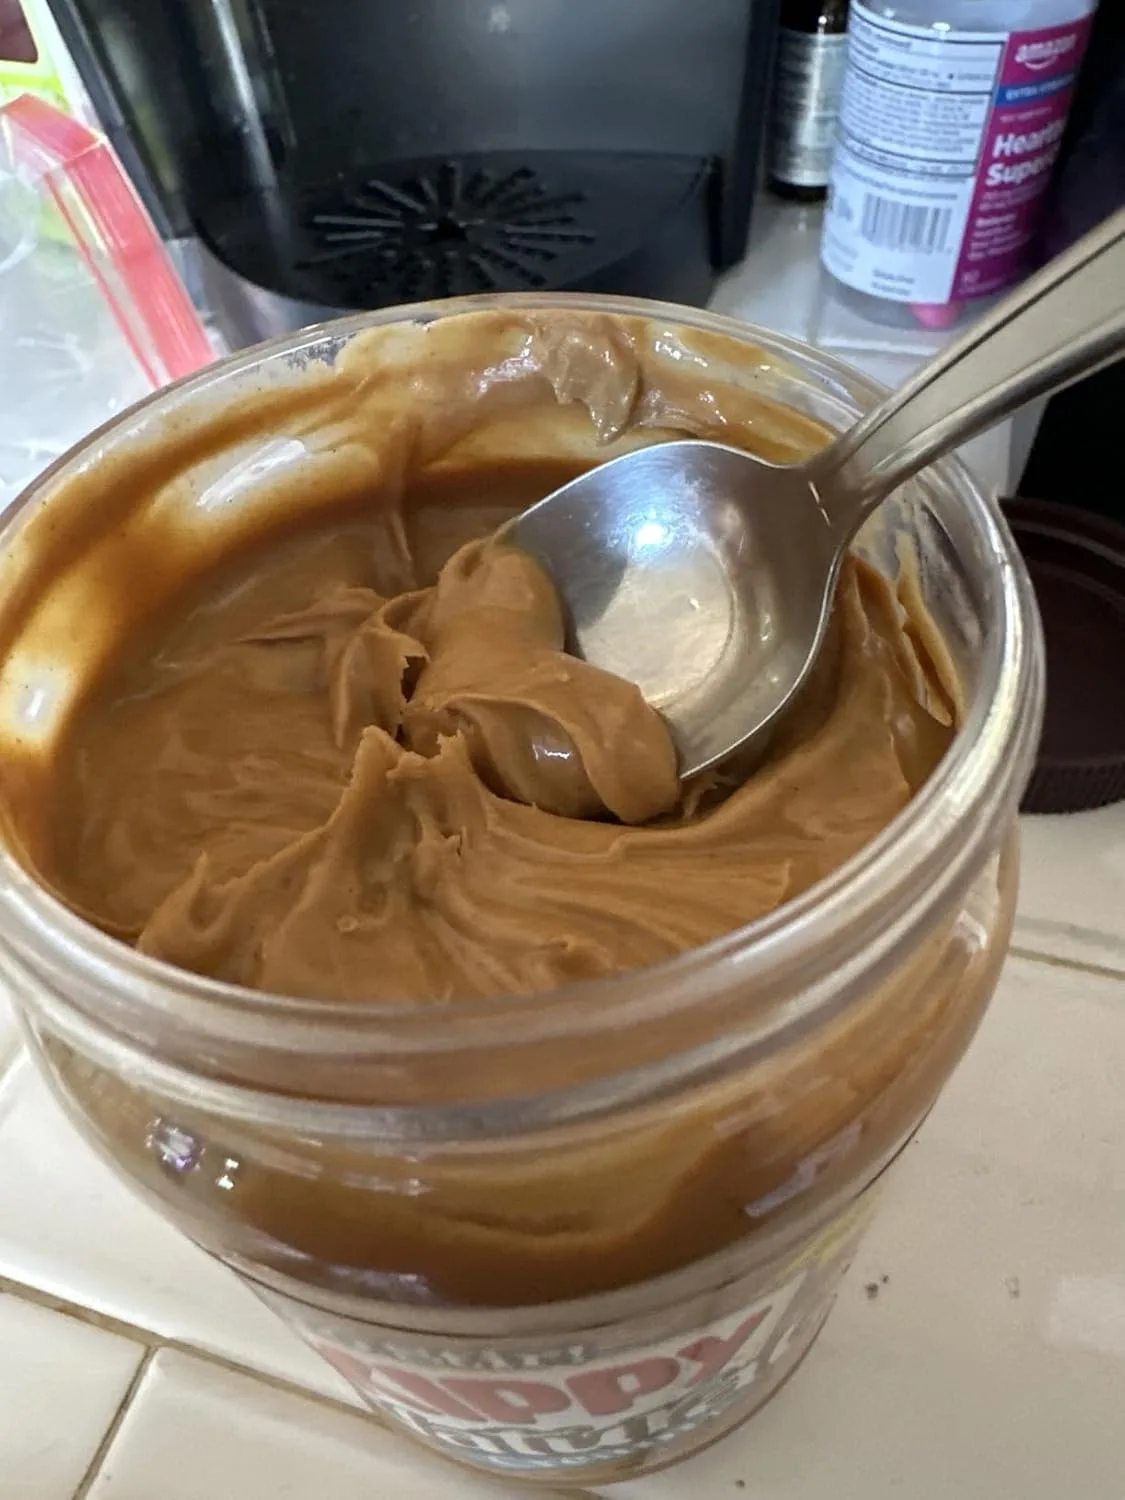
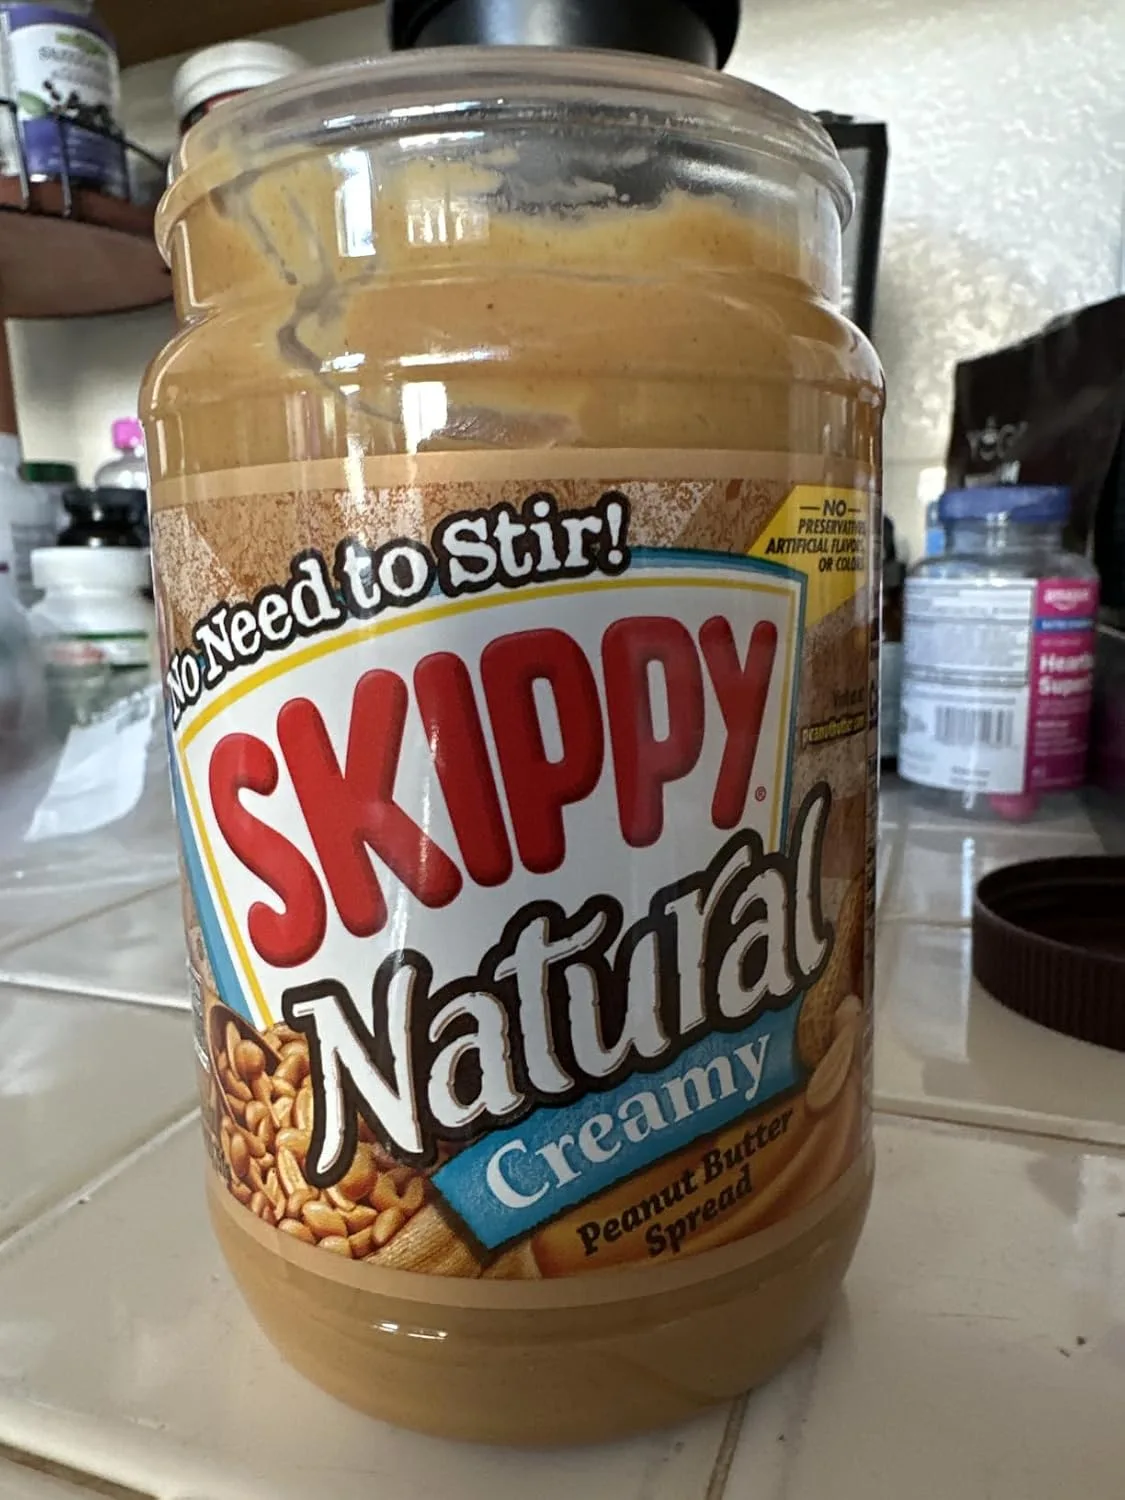
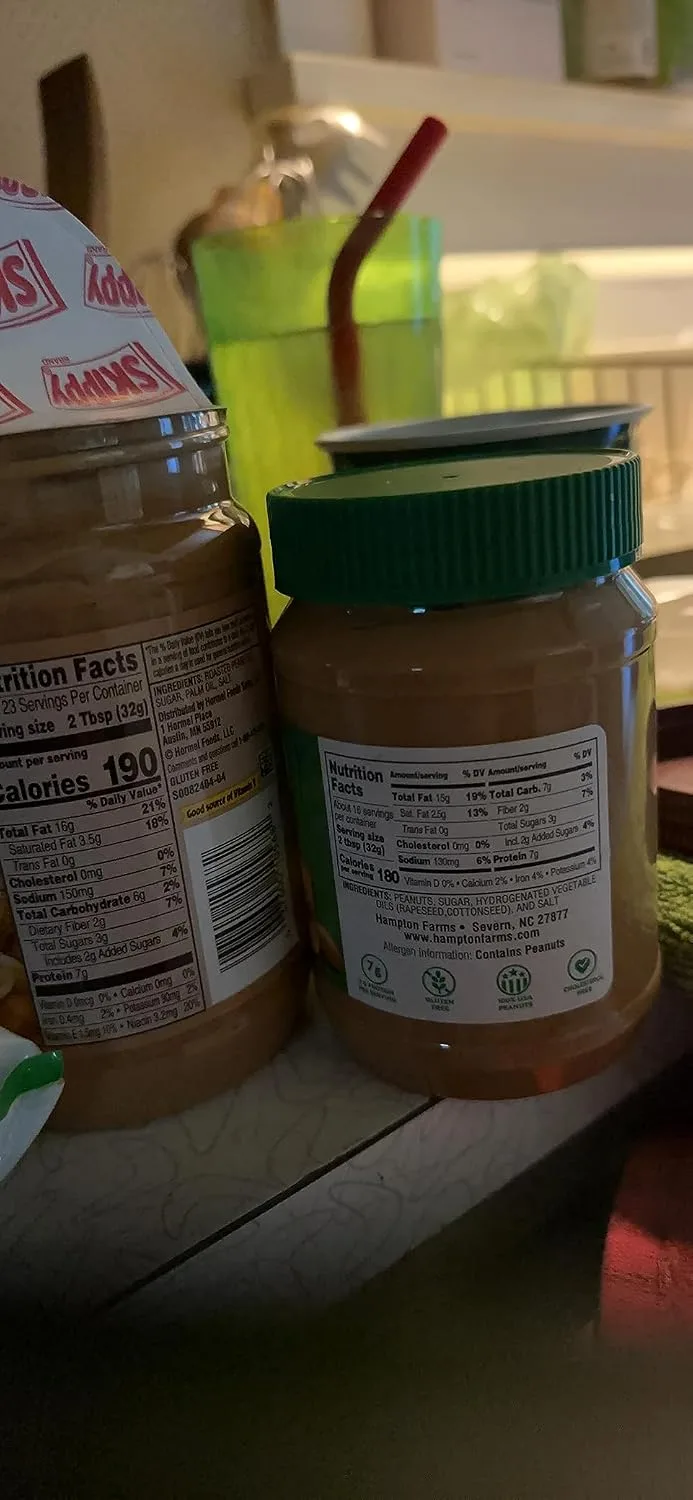
SKIPPY Natural Peanut Butter Creamy Spread
I’ve tested dozens of brands, and this one creams smooth every time without overworking my dough.
Check Price on Amazon →