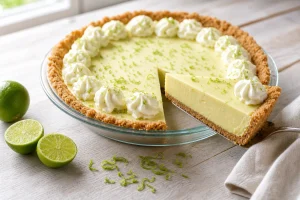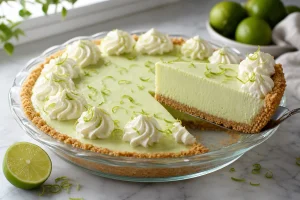

Key Lime Pie With Swiss Meringue That Holds Its Peaks
Key lime pie with a Swiss meringue: whites heated to 160°F over water, whipped glossy, and torched without cooking the filling. Full recipe.
Ingredients
- 1 1/2 cups graham cracker crumbs (about 10 full sheets)
- 6 tablespoons unsalted butter, melted
- 1/4 cup granulated sugar
- 1/8 teaspoon salt
- 4 large egg yolks
- 1 tablespoon finely grated lime zest
- One 14-ounce can sweetened condensed milk
- 1/2 cup Key lime juice
- 4 large egg whites (about 1/2 cup)
- 1 cup granulated sugar
- 1/4 teaspoon cream of tartar
- Pinch of salt
- 1/2 teaspoon vanilla extract
Instructions
- Heat the oven to 350°F. Stir the crumbs, sugar and salt together, add the melted butter, and mix until it looks like wet sand. Press firmly into a 9-inch pie plate and up the sides, using the bottom of a measuring cup. Bake 10 minutes until fragrant and set. Leave the oven on.
- Whisk the yolks and lime zest for about 2 minutes until thick and pale. Whisk in the condensed milk, then the lime juice. Pour into the warm crust.
- Bake 15 minutes, until the edges are set and the center jiggles like gelatin when you nudge the pan. Cool on a rack for 30 minutes, then refrigerate at least 4 hours, or overnight. The filling must be cold before the meringue goes on.
- When you are ready for the meringue, wipe a heatproof metal or glass bowl with a paper towel dampened with lime juice or vinegar to remove any grease. Bring 1 to 2 inches of water to a bare simmer in a saucepan. The bowl should sit on the rim without touching the water.
- Put the whites, sugar, cream of tartar and salt in the bowl and set it over the simmering water. Whisk constantly for 4 to 6 minutes. Rub a little between your fingers: it should feel smooth, with no grit. An instant-read thermometer should read 160°F. Take the bowl off the heat immediately.
- Beat on high speed, with a stand mixer or handheld mixer, for 6 to 8 minutes until the meringue is stiff and glossy and the bowl is only slightly warm. Beat in the vanilla for the last 30 seconds.
- Pile the meringue onto the chilled pie and spread it right to the crust edge to seal. Pull up swoops and peaks with the back of a spoon.
- Brown with a kitchen torch, keeping the flame moving 2 to 3 inches from the surface, until the tips are deep gold, about 1 minute. No torch: broil with the rack 6 to 7 inches from the element for 60 to 90 seconds, watching the whole time and rotating once.
- Refrigerate uncovered for 30 minutes to firm up. Slice with a sharp knife dipped in hot water and wiped between cuts. Serve cold.
Notes
- Makes one 9-inch pie. Bottled Key lime juice is fine here and far less work than squeezing a couple of dozen tiny limes.
The first key lime pie I topped with meringue looked wonderful for about ten minutes. I had whipped egg whites with sugar, piled them on a filling that was already baked, and put the whole pie back in the oven to brown. The meringue colored beautifully. The filling underneath turned rubbery at the edges, and the middle of the topping was softer than I liked to think about.
Swiss meringue fixed all of that. You warm the whites and sugar together over simmering water until they hit 160°F, then whip. The meringue is cooked before it touches the pie, so it only needs a flame for color, and the filling stays cold and creamy. This post is about that one method. The crust and filling are simple. The meringue is the point.
Why This Works
Heating the whites and sugar together over water does two jobs at once. It dissolves every grain of sugar, which gives you a dense, glossy meringue that holds sharp peaks, and it brings the whites to 160°F, the temperature the USDA lists for egg dishes. Once the meringue is already safe, browning is purely cosmetic: a minute of flame, not 15 minutes at 350°F, which is what a raw-whipped meringue demands and a delicate custard filling cannot take.
Ingredients
Makes one 9-inch pie. Bottled Key lime juice is fine here and far less work than squeezing a couple of dozen tiny limes.
For the Crust
- 1 1/2 cups graham cracker crumbs (about 10 full sheets)
- 6 tablespoons unsalted butter, melted
- 1/4 cup granulated sugar
- 1/8 teaspoon salt
For the Filling
- 4 large egg yolks
- 1 tablespoon finely grated lime zest
- One 14-ounce can sweetened condensed milk
- 1/2 cup Key lime juice
For the Swiss Meringue
- 4 large egg whites (about 1/2 cup)
- 1 cup granulated sugar
- 1/4 teaspoon cream of tartar
- Pinch of salt
- 1/2 teaspoon vanilla extract
Easy Swap
No Key limes or bottled Key lime juice? Use 1/2 cup fresh Persian lime juice. The pie will taste a little less floral, but it sets the same way, since the yolks and condensed milk do the setting.
How to Make It
Prep: 30 minutes | Bake: 35 minutes | Cool or chill: 4.5 hours | Serves: 8 slices
- Heat the oven to 350°F. Stir the crumbs, sugar and salt together, add the melted butter, and mix until it looks like wet sand. Press firmly into a 9-inch pie plate and up the sides, using the bottom of a measuring cup. Bake 10 minutes until fragrant and set. Leave the oven on.
- Whisk the yolks and lime zest for about 2 minutes until thick and pale. Whisk in the condensed milk, then the lime juice. Pour into the warm crust.
- Bake 15 minutes, until the edges are set and the center jiggles like gelatin when you nudge the pan. Cool on a rack for 30 minutes, then refrigerate at least 4 hours, or overnight. The filling must be cold before the meringue goes on.
- When you are ready for the meringue, wipe a heatproof metal or glass bowl with a paper towel dampened with lime juice or vinegar to remove any grease. Bring 1 to 2 inches of water to a bare simmer in a saucepan. The bowl should sit on the rim without touching the water.
- Put the whites, sugar, cream of tartar and salt in the bowl and set it over the simmering water. Whisk constantly for 4 to 6 minutes. Rub a little between your fingers: it should feel smooth, with no grit. An instant-read thermometer should read 160°F. Take the bowl off the heat immediately.
- Beat on high speed, with a stand mixer or handheld mixer, for 6 to 8 minutes until the meringue is stiff and glossy and the bowl is only slightly warm. Beat in the vanilla for the last 30 seconds.
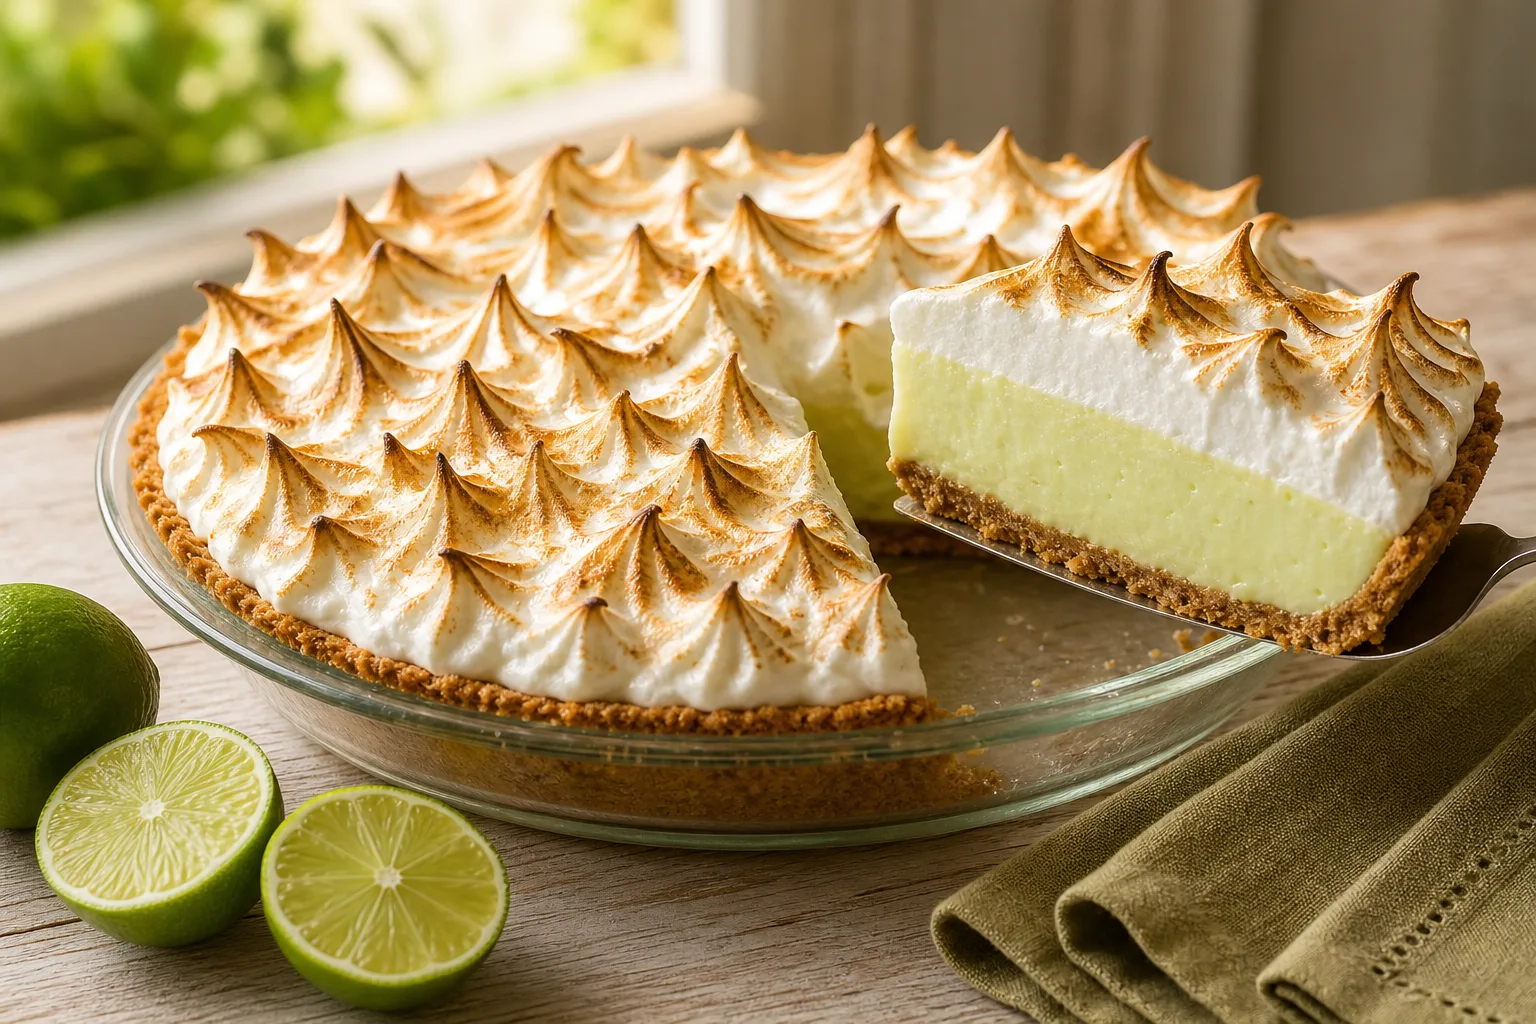
- Pile the meringue onto the chilled pie and spread it right to the crust edge to seal. Pull up swoops and peaks with the back of a spoon.
- Brown with a kitchen torch, keeping the flame moving 2 to 3 inches from the surface, until the tips are deep gold, about 1 minute. No torch: broil with the rack 6 to 7 inches from the element for 60 to 90 seconds, watching the whole time and rotating once.
- Refrigerate uncovered for 30 minutes to firm up. Slice with a sharp knife dipped in hot water and wiped between cuts. Serve cold.
Don’t Rush the Heat
Do not turn up the burner to hurry the whites along. Whites touching a too-hot bowl scramble in seconds, and those cooked flecks never whip smooth. Keep the water at a bare simmer and keep the whisk moving.
Can You Make This Pie Ahead?
Not Fully — Here Is What You Can Prep
Not the finished pie. Bake the crust and filling up to 2 days ahead and keep the pie chilled. Make and brown the meringue on the day you serve it, ideally within 6 hours of slicing.
The crust and filling are the part to stage. Once the pie has chilled completely, cover it loosely with plastic wrap and refrigerate for up to 2 days. The graham crust softens a little each day, so I would not push it further. You can also freeze the pie without meringue, tightly wrapped, for up to a month and thaw it overnight in the refrigerator.
The meringue does not wait. Whip it, spread it and brown it the same day, preferably within a few minutes of whipping, since the foam loosens as it sits. A finished pie keeps in the refrigerator for a day, tented loosely with an upturned bowl so nothing presses on the peaks. By the next morning the meringue turns tacky and shrinks, though the pie is still good to eat.
Why Swiss, and Not French or Italian
There are three ways to make a meringue topping. French is the familiar one: raw whites beaten with sugar, piled on the pie, and baked until the outside browns. Italian pours 240°F sugar syrup into whipping whites, which cooks them, but it needs a candy thermometer and steady nerve around molten sugar. Swiss sits between the two. You warm the whites and sugar together over water, then whip.
On a key lime pie, French has a real problem. The filling gets about 15 minutes in the oven and is meant to stay creamy and barely set. A French meringue needs roughly another 15 at 350°F to brown, and a thick pile can still be underdone in the middle when the outside looks finished. So you either serve a topping that never cooked through, or you rebake the filling, and a twice-baked key lime custard goes rubbery and a little grainy at the edges.
Swiss removes the trade-off. The heat dissolves every grain of sugar, and warm whites whip into a dense, fine-grained foam that holds a sharp peak. It also reaches 160°F before it ever touches the pie, so the browning step is only about color.
The Swiss Method, Step by Step
Choose a heatproof bowl that sits on the rim of the saucepan with at least an inch of air between its bottom and the water. Steam does the heating. Keep the water at a bare simmer, because a rolling boil overheats the whites at the edges before the middle warms.
Whisk the whole time, sweeping the bottom and sides. For the first couple of minutes the mixture looks cloudy and feels gritty. Then it turns thin, smooth and slick. Rub a little between your thumb and finger: any grit means undissolved sugar, so keep going. When it feels smooth, dip an instant-read thermometer into the center. You want 160°F, which usually takes 4 to 6 minutes. Pull the bowl off the heat the moment you get there.
Now whip on high. For the first couple of minutes it looks like nothing is happening, then it turns opaque and thick, and by 6 to 8 minutes it stands in stiff, glossy peaks with a marshmallow sheen. The bowl should feel only slightly warm when you stop. Warm meringue is still loose and will sag on the pie, so let the whipping finish the cooling. Stir in the vanilla for the last 30 seconds.
Browning Without Cooking the Filling
All of this step is about keeping heat on the surface. Start with a pie that has chilled at least 4 hours, so the filling is cold through to the crust. Pile the meringue at least 1 1/2 inches thick, since the meringue itself insulates the custard, and spread it right to the crust edge so no filling is exposed to the flame and the topping has something to cling to.
A kitchen torch is the better tool. Keep the flame moving 2 to 3 inches from the surface, color the peaks first because they brown fastest, and stop when the tips are deep gold and the valleys are still pale. It takes about a minute. A torch heats only what it touches, and the filling underneath barely notices.
No torch? Use the broiler, with ground rules. Set the rack 6 to 7 inches from the element, preheat the broiler fully, and put the pie on a baking sheet straight from the refrigerator. Stay at the oven door. Meringue goes from pale to burnt in about 20 seconds near the end, so expect 60 to 90 seconds and rotate the pie once. Do not go back to a 350°F oven. That is the French method’s rule, and it is the one you are avoiding.
Margaret’s Tip
Slide the finished, unbrowned pie into the freezer for 15 minutes before you torch it. A colder filling gives you more room to get deep color on the meringue.
Questions People Ask
Do I really need a thermometer for Swiss meringue?
I would use one. The finger-rub test tells you the sugar has dissolved, not that the whites have reached 160°F, and the safety of the pie is the whole reason for the heating step. Any instant-read thermometer works. Dip the probe into the center of the mixture while you whisk, without touching the bowl.
Can I put the meringue on a warm pie?
No. A warm filling softens the bottom of the meringue and the topping slides. The pie should be fully chilled, at least 4 hours, before the meringue goes on. A cold filling also gives you a better margin when you brown.
Why won’t my Swiss meringue whip to stiff peaks?
The usual cause is fat: a speck of yolk, or a bowl or whisk that was not clean. Wipe everything with lime juice or vinegar before you start. Under-whipping is the other cause, since it can take a full 8 minutes. If you see cooked flecks, the whites overheated at the bowl’s edge and you will need to start over.
Can I bake the meringue instead of torching it?
You can, but there is no reason to. The Swiss meringue is already cooked, so baking would only warm the filling again and put you back where the French method left you. The torch or a short pass under the broiler gets the color while the filling stays cold.
About This Article

Written by Margaret Chen. Margaret Chen is a home baker and recipe developer with over 15 years of experience perfecting cookie recipes through rigorous testing and detailed experimentation. She tests every recipe multiple times, documents every variable, and applies the same rigor professional bakers use, with the warmth and accessibility of home baking. More about this site.
Scope and limits. Margaret is a home baker and recipe developer with no formal culinary training. Follow current food safety guidance for egg handling, storage, and anything you are serving to other people.
Verify this against a primary source
Specifics change, and your situation may differ from the one described here. These are the authorities worth checking directly:
- USDA FoodData Central — ingredient composition and nutrition data
- FoodSafety.gov — safe handling, storage and egg safety