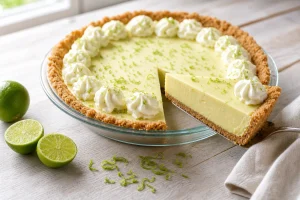
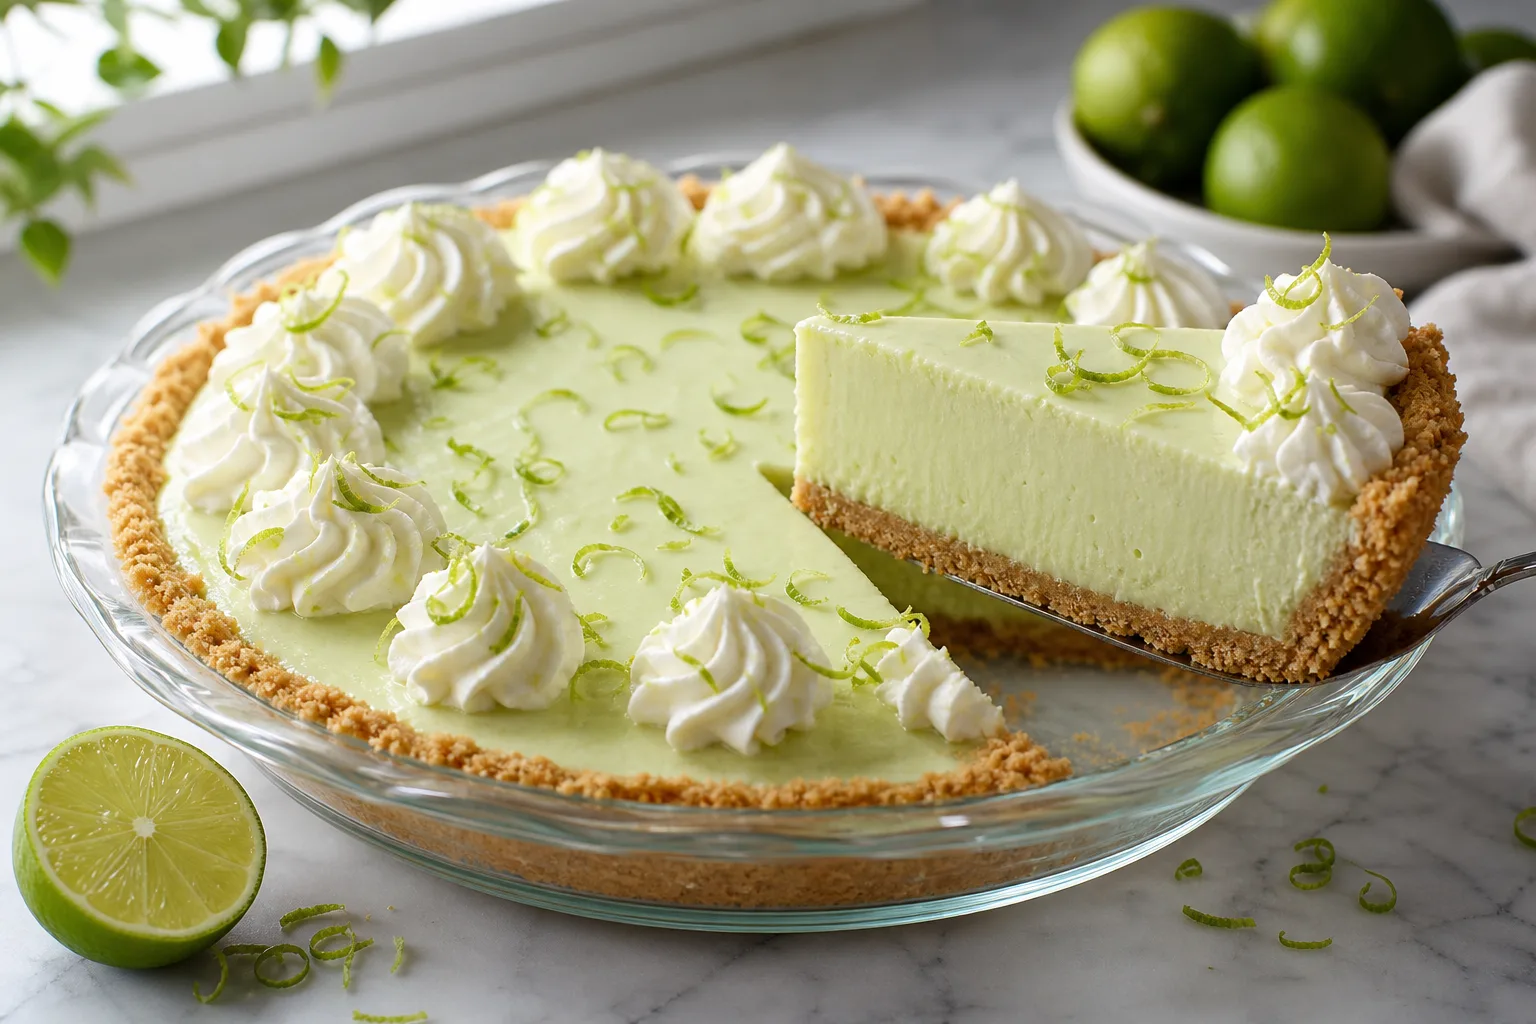

No-Bake Key Lime Pie That Still Slices Cleanly
No-bake Key lime pie with no eggs and no oven. Learn what really sets the filling, how long to chill it, and how to tell set from merely cold.
Ingredients
- 1 1/2 cups graham cracker crumbs (about 10 full sheets)
- 6 tablespoons unsalted butter, melted
- 1/4 cup granulated sugar
- Pinch of fine salt
- 1 can (14 ounces) sweetened condensed milk, well chilled
- 1/2 cup fresh Key lime juice (or see the juice note below)
- 1 tablespoon finely grated lime zest
- 1 cup cold heavy cream
- 1/4 cup powdered sugar
- 1 teaspoon vanilla extract
- Extra lime zest
- Lightly sweetened whipped cream, optional
Instructions
- Stir the graham cracker crumbs, sugar and salt together in a medium bowl. Pour in the melted butter and mix with a fork until the crumbs look like damp sand and hold together when you squeeze a handful.
- Press the crumbs firmly into a 9-inch pie plate, starting with the bottom and then working up the sides. Use the flat bottom of a measuring cup to pack the base tightly. A loose crust crumbles when you cut, so press harder than feels necessary. Freeze the crust for 15 minutes while you make the filling.
- Pour the cold heavy cream into a large chilled bowl. Add the powdered sugar and vanilla. Whip with an electric mixer on medium-high until the cream holds stiff peaks, about 2 to 3 minutes. It should stand up straight when you lift the beaters. Stop there, because overwhipped cream turns grainy.
- In a separate bowl, whisk the cold condensed milk with the lime zest. Add the lime juice in a slow stream while whisking. Within a minute the mixture will visibly thicken and turn from runny to a loose, glossy custard. That thickening is the acid at work, and it is what you are looking for.
- Fold about one-third of the whipped cream into the lime mixture to lighten it. Add the rest and fold gently with a rubber spatula until no white streaks remain. Use broad, slow strokes and stop as soon as it is uniform so you do not knock out the air.
- Scrape the filling into the chilled crust and spread it to the edges. Smooth the top with an offset spatula or the back of a spoon, then tap the pie plate firmly on the counter two or three times to knock out any air pockets.
- Cover loosely with plastic wrap, or use a pie dome so the wrap does not touch the surface. Refrigerate for a minimum of 6 hours, and 8 to 12 hours is better. Do not cut it earlier to check. See the sections below for how to tell whether it is set.
- For cleaner slices, run a thin knife under hot water, wipe it dry, and cut with a single downward push, then wipe the blade between slices. Top with extra zest and whipped cream just before serving.
Notes
- Makes one 9-inch pie, about 8 slices. Use a standard 9-inch pie plate, not a deep-dish one, or the filling will sit too thin.
The first no-bake Key lime pie I made looked perfect in the dish. Smooth top, pale green, a little dusting of zest. Then I cut into it after three hours in the refrigerator and the slice slumped sideways onto the plate like a dropped scoop of pudding. It tasted wonderful and held no shape at all.
That is the whole problem with a pie that never sees an oven. A baked Key lime pie gets its structure from egg yolks setting in the heat. Take away the eggs and take away the oven, and something else has to hold the slice up. Once you know what that something is, the rest is just patience and a few specific choices.
This version uses four filling ingredients, a graham cracker crust, and a long, honest chill. It slices cleanly, it is safe to serve to anyone worried about raw eggs because there are none, and it tastes bright and sharp instead of sugary.
Why This Works
Nothing in this pie cooks, so the structure comes from two things working together: the proteins in sweetened condensed milk thickening when the acid in the lime juice hits them, and the fat in the heavy cream, which turns firm and sliceable when it gets properly cold. The acid does the first half of the setting within minutes. The cold does the second half over many hours. Skip either one and you get a soft, spoonable filling instead of a pie.
Ingredients
Makes one 9-inch pie, about 8 slices. Use a standard 9-inch pie plate, not a deep-dish one, or the filling will sit too thin.
For the Crust
- 1 1/2 cups graham cracker crumbs (about 10 full sheets)
- 6 tablespoons unsalted butter, melted
- 1/4 cup granulated sugar
- Pinch of fine salt
For the Filling
- 1 can (14 ounces) sweetened condensed milk, well chilled
- 1/2 cup fresh Key lime juice (or see the juice note below)
- 1 tablespoon finely grated lime zest
- 1 cup cold heavy cream
- 1/4 cup powdered sugar
- 1 teaspoon vanilla extract
To Serve
- Extra lime zest
- Lightly sweetened whipped cream, optional
Easy Swap
For a crunchier, less sweet crust, use gingersnaps or digestive biscuits in place of graham crackers and cut the sugar to 2 tablespoons. For a dairy-free version, full-fat sweetened condensed coconut milk and a coconut whipped topping work, but expect a slightly softer set and add an extra hour of chilling.
How to Make It
Prep: 25 minutes | Cool or chill: 6 hours | Serves: 8 slices
- Stir the graham cracker crumbs, sugar and salt together in a medium bowl. Pour in the melted butter and mix with a fork until the crumbs look like damp sand and hold together when you squeeze a handful.
- Press the crumbs firmly into a 9-inch pie plate, starting with the bottom and then working up the sides. Use the flat bottom of a measuring cup to pack the base tightly. A loose crust crumbles when you cut, so press harder than feels necessary. Freeze the crust for 15 minutes while you make the filling.
- Pour the cold heavy cream into a large chilled bowl. Add the powdered sugar and vanilla. Whip with an electric mixer on medium-high until the cream holds stiff peaks, about 2 to 3 minutes. It should stand up straight when you lift the beaters. Stop there, because overwhipped cream turns grainy.
- In a separate bowl, whisk the cold condensed milk with the lime zest. Add the lime juice in a slow stream while whisking. Within a minute the mixture will visibly thicken and turn from runny to a loose, glossy custard. That thickening is the acid at work, and it is what you are looking for.
- Fold about one-third of the whipped cream into the lime mixture to lighten it. Add the rest and fold gently with a rubber spatula until no white streaks remain. Use broad, slow strokes and stop as soon as it is uniform so you do not knock out the air.
- Scrape the filling into the chilled crust and spread it to the edges. Smooth the top with an offset spatula or the back of a spoon, then tap the pie plate firmly on the counter two or three times to knock out any air pockets.
- Cover loosely with plastic wrap, or use a pie dome so the wrap does not touch the surface. Refrigerate for a minimum of 6 hours, and 8 to 12 hours is better. Do not cut it earlier to check. See the sections below for how to tell whether it is set.
- For cleaner slices, run a thin knife under hot water, wipe it dry, and cut with a single downward push, then wipe the blade between slices. Top with extra zest and whipped cream just before serving.
Don’t Do This
Do not use warm or room-temperature condensed milk, and do not rush the chill in the freezer. A quick blast in the freezer makes the outside of the pie icy while the center stays loose. When you cut it, the firm edges mislead you and the middle runs out. Slow, steady refrigerator cold is what sets the whole pie evenly.
Can You Make This Pie Ahead?
Yes — Here Is the Timeline
Make the whole pie the day before you serve it. Because it needs at least 6 hours to set, the overnight chill is the intended method, not a workaround. Add the zest and any whipped cream topping only when you are about to serve.
The finished, unadorned pie keeps well covered in the refrigerator for up to 3 days. The crust softens a little each day as it absorbs moisture from the filling, so it is at its crispest on day one and perfectly good through day two. By day three it is noticeably softer, though still tasty.
You can also freeze the whole pie. Wrap it tightly in plastic and then foil, and it holds for up to a month. Move it to the refrigerator for about 4 hours before serving, or cut slices straight from frozen and let them sit for 15 minutes. The texture comes out closer to an ice cream pie than a chilled one, which many people enjoy.
Hold back any topping until serving. Whipped cream piped on early weeps and goes flat, and zest loses its brightness after a day under plastic.
What Actually Holds the Slice Up When Nothing Bakes
A baked Key lime pie is basically a custard. The egg yolks coagulate in the oven, and once they cool, the pie is firm because the eggs are firm. This pie has no eggs and no heat, so it relies on two different mechanisms that are worth understanding, because they explain every instruction in the recipe.
The first is the acid. Sweetened condensed milk contains milk proteins, mostly casein, that are suspended in a thick, sugary liquid. When you stir in lime juice, the acid lowers the pH, and the proteins start to clump and link together. You can watch it happen in about 60 seconds: the mixture goes from pourable to something closer to a loose pudding. This is a real chemical thickening, and it needs no heat. It is the same reason the classic Key lime pie recipe worked in the early 1900s before many kitchens had reliable ovens.
The second is the fat. Heavy cream is about 36 percent butterfat, and fat crystals firm up as they get colder, the same way butter is soft on the counter and hard in the refrigerator. When you whip the cream, you trap air in a network of those fat globules. As the pie chills for hours, that network firms up and gives the filling its sliceable body. This is why the cream must be cold when you whip it, and why the pie must be cold when you cut it.
Notice what is not doing the work: gelatin, cornstarch, cream cheese, or eggs. Many no-bake recipes add one of those as insurance, and they will absolutely work. But a pie held together by acid-thickened milk and cold fat has a lighter, silkier texture than one held up by a stabilizer, which tends to feel rubbery or dense. It takes a bit longer, and it is worth it.
A Note on the Juice
Use fresh Key lime juice or a fresh Persian lime juice blend, not the concentrated bottled kind, since the flavor and acidity are both more reliable.
How Long to Chill It, and the Difference Between Set and Merely Cold
Here is the mistake I made with that first pie. I assumed that once the pie felt cold, it was ready. It was not. Cold and set are two different things, and learning to tell them apart is the most useful skill in a pie that never bakes.
A pie that is merely cold has surfaces that feel chilled when you touch them, but the filling underneath is still loose. If you gently shake the pie plate, the center wobbles in one fluid wave, like a thick milkshake. Cut it at this point and the slice spreads on the plate. This usually happens around hours 2 to 4.
A pie that is truly set holds still when you tilt the plate slightly. The surface has a slightly matte, firm look instead of a wet shine, and when you press a fingertip very lightly near the edge, it springs back instead of leaving a deep, soft dent. The center might still tremble a hair, but as a single mass, not as a liquid. That is the signal that the fat has firmed and the protein network has tightened throughout.
In my testing, the filling reaches this point at about 6 hours in a refrigerator set to 38°F. It gets noticeably better by 8 hours and reaches its best, cleanest-slicing texture at 10 to 12 hours. That is why I recommend making it the night before. If your refrigerator runs warmer, add an hour or two.
The Tilt Test
Before you cut, tilt the pie plate about 15 degrees and watch the surface. If the filling creeps toward the low edge, it is not ready. Give it another 2 hours and test again. This takes ten seconds and has saved me from a lot of puddled slices.
Margaret’s Tip
Chill your mixing bowl and beaters for 15 minutes before whipping the cream. Colder cream whips faster, holds a stiffer peak, and gives you a filling with more body. It is a tiny step that visibly improves the slice.
Questions People Ask
Why is my no-bake Key lime pie runny?
Almost always it is simply not chilled long enough, since the filling needs at least 6 hours to firm up. The second most common cause is too much lime juice, which loosens the mixture rather than thickening it. Stay at 1/2 cup and boost flavor with zest instead.
Can I speed up the chill time in the freezer?
You can, but it gives uneven results. The edges freeze while the center stays loose, so the pie seems firm and then slumps when cut. If you are really short on time, freeze for 2 hours, then move it to the refrigerator for 3 more, and expect a softer slice than the overnight version.
Do I need gelatin or cream cheese to make it set?
No. The acid thickens the condensed milk and the chilled cream firms the filling, which is enough for a clean slice. Gelatin or cream cheese will make it firmer faster, but the texture becomes denser and less silky.
About This Article

Written by Margaret Chen. Margaret Chen is a home baker and recipe developer with over 15 years of experience perfecting cookie recipes through rigorous testing and detailed experimentation. She tests every recipe multiple times, documents every variable, and applies the same rigor professional bakers use, with the warmth and accessibility of home baking. More about this site.
Scope and limits. Margaret is a home baker and recipe developer with no formal culinary training. Follow current food safety guidance for egg handling, storage, and anything you are serving to other people.
Verify this against a primary source
Specifics change, and your situation may differ from the one described here. These are the authorities worth checking directly:
- USDA FoodData Central — ingredient composition and nutrition data
- FoodSafety.gov — safe handling, storage and egg safety