
Homemade Oreos
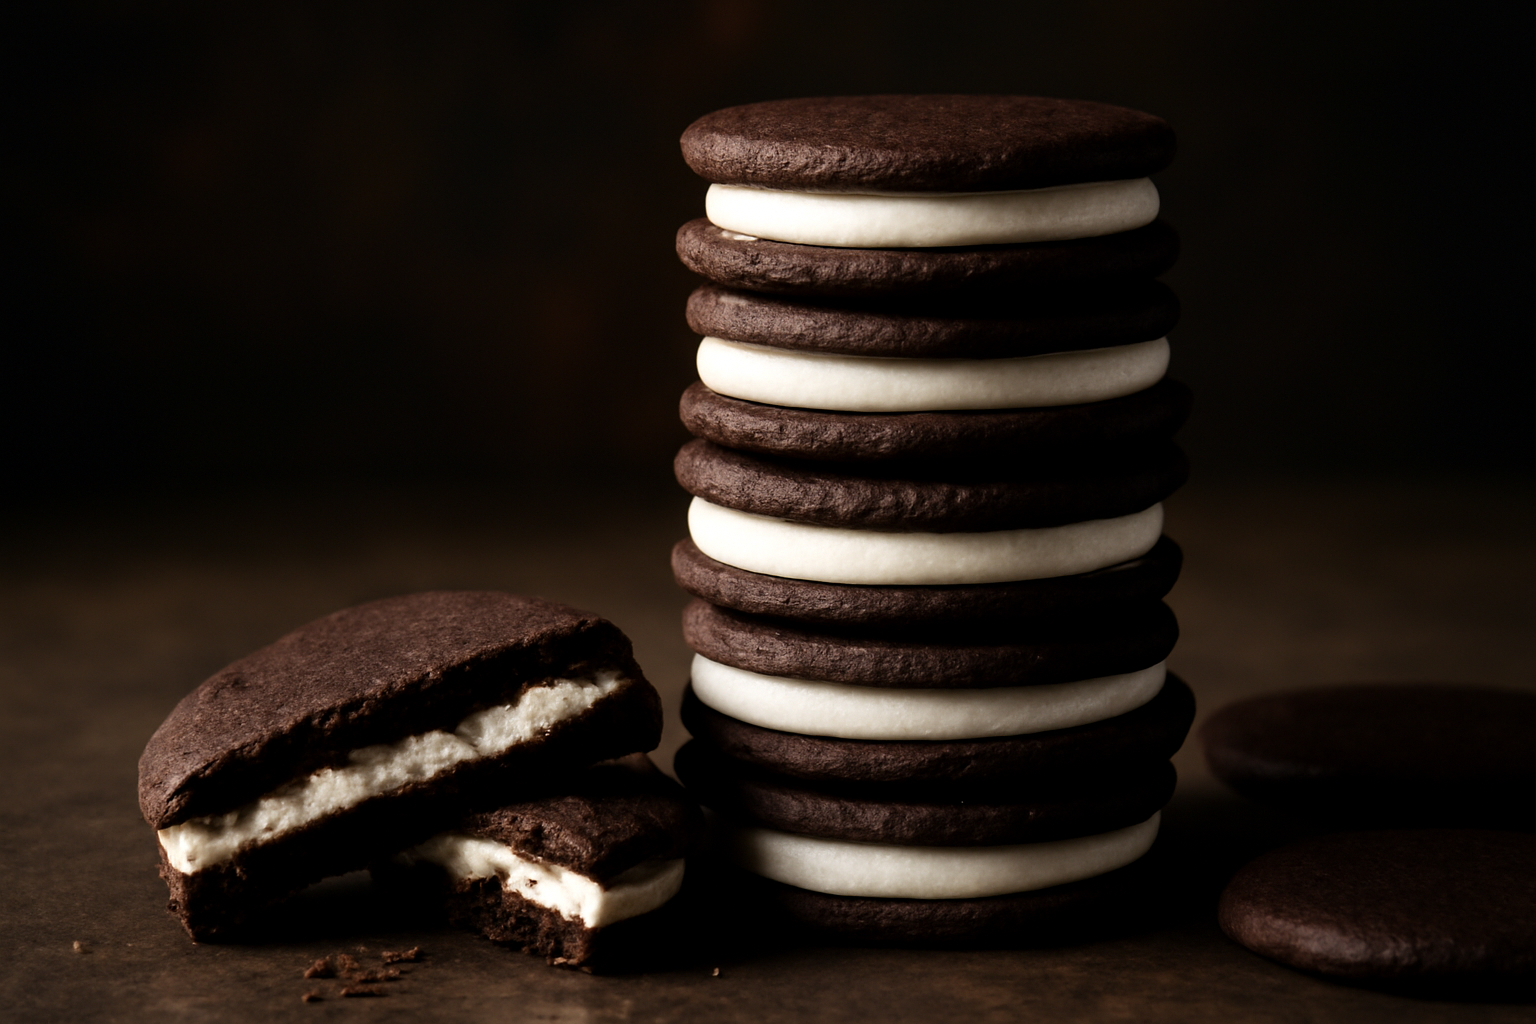
Dark, crispy chocolate wafers with creamy vanilla filling that snaps when you bite into it—homemade Oreos that taste better than the store-bought version.
Ingredients
- 1½ cups (180 grams) all-purpose flour
- ½ cup (43 grams) Dutch-processed cocoa powder
- ½ cup (113 grams) unsalted butter, softened
- ¾ cup (150 grams) granulated sugar
- ¼ cup (55 grams) light brown sugar
- 1 large egg
- 1 teaspoon vanilla extract
- 1 teaspoon baking soda
- ½ teaspoon salt
- ½ cup (113 grams) unsalted butter, softened
- 1 cup (120 grams) powdered sugar
- 1 teaspoon vanilla extract
- 2 to 3 tablespoons heavy cream or whole milk
Instructions
- In a medium bowl, whisk together the flour, cocoa powder, baking soda, and salt. Set aside.
- In a large bowl, beat together the softened butter, granulated sugar, and brown sugar until light and fluffy, about 3 minutes.
- Beat in the egg and vanilla extract until well combined, scraping down the sides of the bowl as needed.
- Add the flour mixture to the wet ingredients in two batches, mixing on low speed until just combined.
- Divide the dough in half, flatten each half into a disk, wrap in plastic wrap, and refrigerate for at least 30 minutes.
- Preheat your oven to 325°F (163°C).
- On a lightly floured surface, roll out one portion of dough to about ⅛ inch thick.
- Cut into rounds using a 1½-inch cookie cutter and place on parchment-lined baking sheets, spacing them about 1 inch apart.
- Bake for 10 to 12 minutes, until the edges are set and the centers look just barely done.
- Let cool on the baking sheet for 2 minutes, then transfer to a wire rack to cool completely.
- Beat together the softened butter and powdered sugar until light and fluffy, about 2 minutes.
- Add the vanilla extract, then add the cream or milk 1 tablespoon at a time until you reach a spreadable consistency.
- Once the wafers are completely cool, turn half of them over so the flat side is facing up.
- Pipe or spread about 1 teaspoon of filling onto each flat side, then top with another wafer, flat side down, pressing gently so the filling spreads to the edges.
Notes
- Do not overmix the dough after combining wet and dry ingredients.
- Roll dough thin—about ⅛ inch thick—for the signature snap.
- The filling should be thick enough to hold its shape between cookies but creamy enough to spread easily.
The first time I made a homemade Oreo cookies recipe from scratch was the winter of 2018, right before the holidays. I had confidently promised my daughter Emma a “better than the blue package” cookie, and what came out of my oven that first evening was… not that. The cookies spread, tasted like sad chocolate crackers, and the filling had the consistency of sweetened lard. Emma was diplomatic. My husband was not. That failure sent me down a rabbit hole that consumed the next four months of my baking life and produced, conservatively, 47 test batches before I landed on something I was genuinely proud of.
Here is what I discovered: the store-bought Oreo you grew up with is an industrial product optimized for shelf stability and mass production, not for flavor. Once you understand that, you stop trying to replicate it and start trying to surpass it. The homemade version I am sharing today is darker, more intensely chocolatey, and snappier than anything in a plastic tray. The filling is actually creamy and tastes like something real. When Emma finally tried batch 47, she went silent for a full three seconds — which, for a nine-year-old, is basically a standing ovation.
One quick note before we dig in: this post is about chasing that specific “blue package” flavor. If you’d rather skip the copycat angle and just make gorgeous cream-filled chocolate sandwich cookies from scratch — classic wafers, real vanilla buttercream, plus a lower-sugar variation — I have a full recipe for those too.
The Cocoa Powder That Finally Stopped My Homemade Oreos From Tasting Like Cardboard
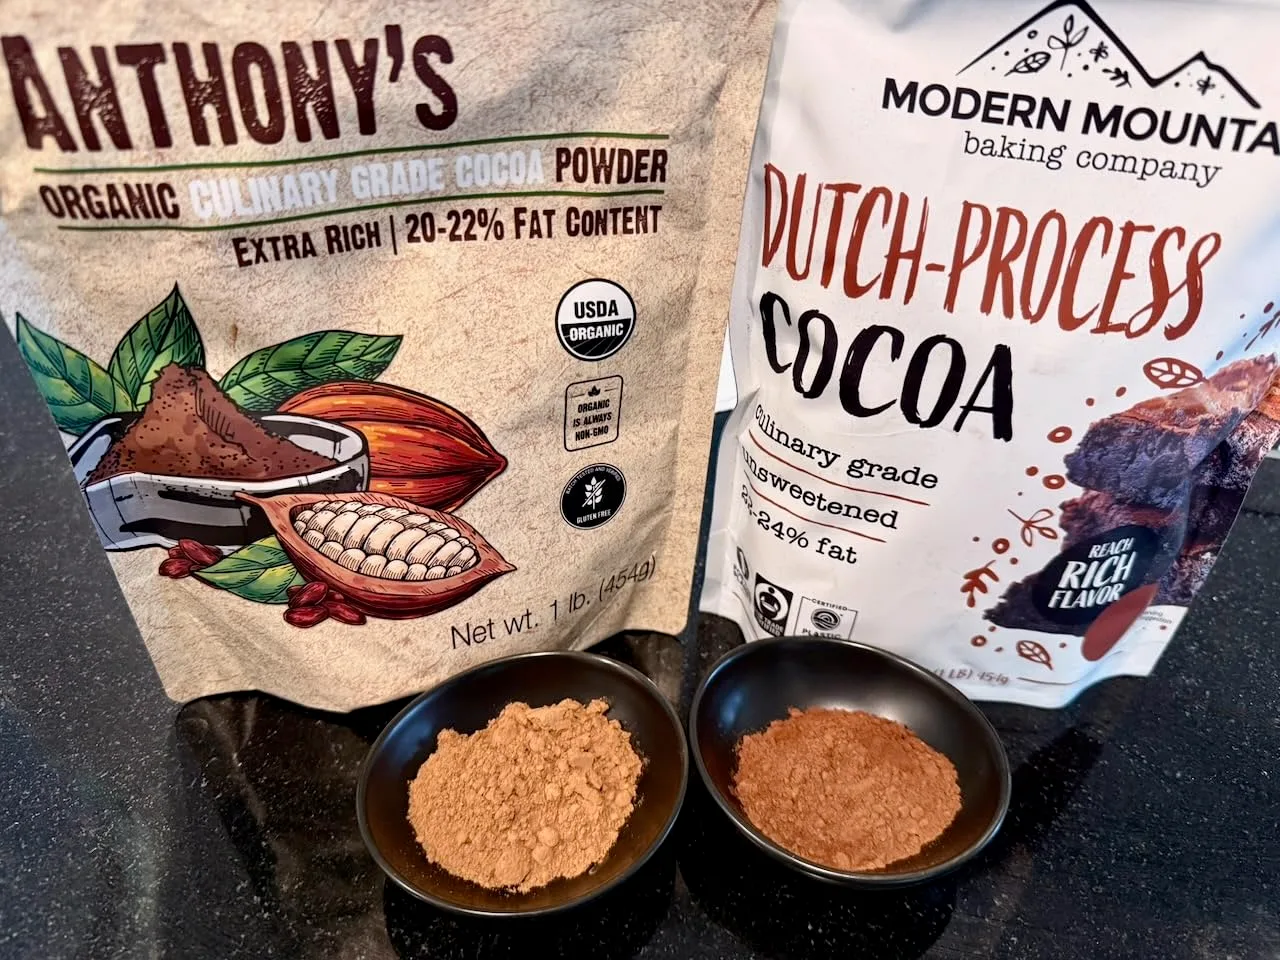
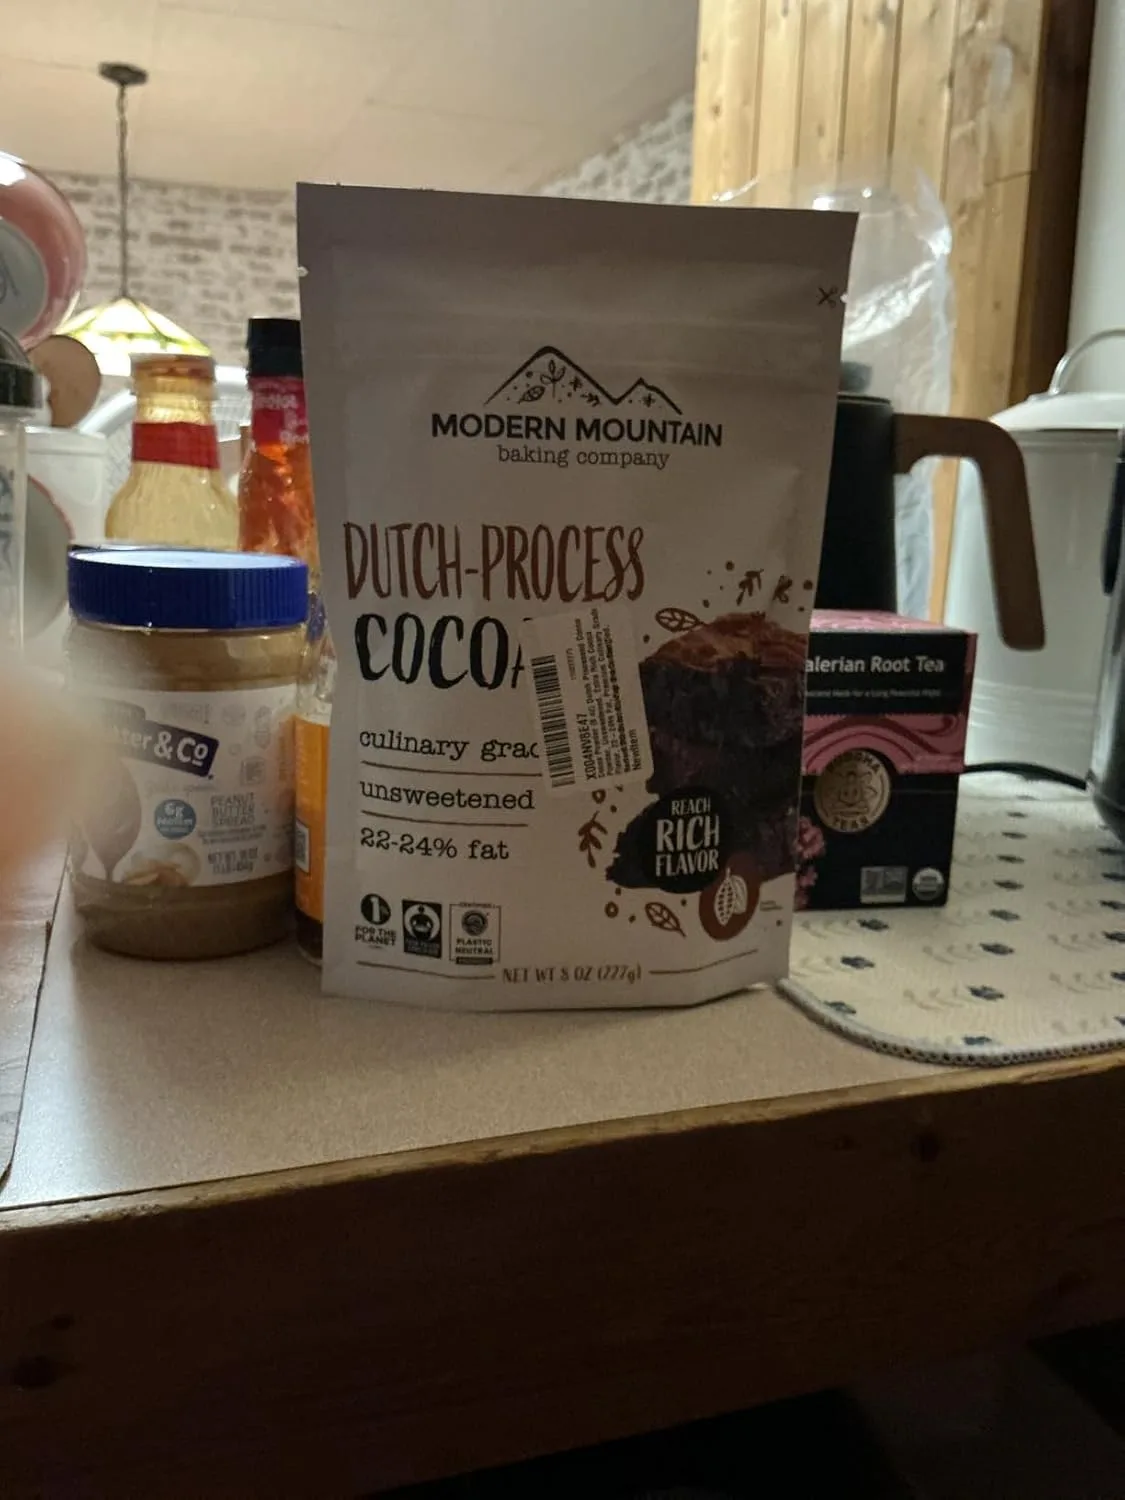
That first batch I made used whatever cocoa powder was on sale at the grocery store, and I think that’s where my “sad chocolate crackers” problem started. Dutch processed cocoa with the right fat content gives you the deep, almost creamy chocolate flavor that makes homemade Oreos actually taste like something worth eating.
What works
- The cookies actually taste dark and rich instead of bitter or hollow—this cocoa has enough fat that it rounds out the flavor instead of just adding dryness.
- The dough stays workable and doesn’t crack at the edges when you’re rolling it out, which means your cookie shapes stay clean instead of looking ragged.
- One bag lasts through several batches, so you’re not constantly buying new cocoa powder and wondering if this one will be different from the last.
What doesn’t
- It’s pricier than the standard cocoa at the supermarket, so if you’re trying to keep your ingredient costs down, this will sting a little.
- The packaging is smaller than I expected on my first order—I almost thought I’d been shortchanged until I realized I was just comparing it to a jumbo tin from somewhere else.
I actually second-guessed whether the extra cost was worth it when I opened the bag and saw how dark it was—darker than what I was used to—but the moment I mixed the dough and tasted a test bite, I knew I’d found the missing piece. Dutch Processed Cocoa Powder with 22–24% fat
The Recipe: Homemade Oreos That Actually Taste Like Emma’s Approval
After 47 test batches, this is what finally worked. The dark, thin, crispy wafers hold up to the creamy vanilla filling, and the whole thing snaps when you bite into it—just like the real thing, except better. This recipe makes enough for about 36 sandwich cookies, which is more than enough to convince anyone that homemade is the way to go.
What You’ll Need
For the Chocolate Wafers
- 1½ cups (180 grams) all-purpose flour
- ½ cup (43 grams) Dutch-processed cocoa powder
- ½ cup (113 grams) unsalted butter, softened
- ¾ cup (150 grams) granulated sugar
- ¼ cup (55 grams) light brown sugar
- 1 large egg
- 1 teaspoon vanilla extract
- 1 teaspoon baking soda
- ½ teaspoon salt
For the Vanilla Cream Filling
- ½ cup (113 grams) unsalted butter, softened
- 1 cup (120 grams) powdered sugar
- 1 teaspoon vanilla extract
- 2 to 3 tablespoons heavy cream or whole milk
How I Make Them, Step by Step
- Make the dough. In a medium bowl, whisk together the flour, cocoa powder, baking soda, and salt. Set aside.
- Cream the butter and sugars. In a large bowl, beat together the softened butter, granulated sugar, and brown sugar until light and fluffy, about 3 minutes. This is the step that made the difference in my test batches—don’t skip the creaming time.
- Add the egg and vanilla. Beat in the egg and vanilla extract until well combined, scraping down the sides of the bowl as needed.
- Combine wet and dry. Add the flour mixture to the wet ingredients in two batches, mixing on low speed until just combined. Do not overmix—stop as soon as you see no streaks of flour.
- Chill the dough. Divide the dough in half, flatten each half into a disk, wrap in plastic wrap, and refrigerate for at least 30 minutes (or up to overnight).
- Roll and cut. Preheat your oven to 325°F (163°C). On a lightly floured surface, roll out one portion of dough to about ⅛ inch thick. This is thinner than you might expect, but it’s what gives you that signature snap. Cut into rounds using a 1½-inch cookie cutter (or whatever size you like—mine are small, traditional Oreo-sized). Place on parchment-lined baking sheets, spacing them about 1 inch apart.
- Bake the wafers. Bake for 10 to 12 minutes, until the edges are set and the centers look just barely done. These should not be cake-like; they should snap when cool. Let cool on the baking sheet for 2 minutes, then transfer to a wire rack to cool completely.
- Make the filling. Beat together the softened butter and powdered sugar until light and fluffy, about 2 minutes. Add the vanilla extract, then add the cream or milk 1 tablespoon at a time until you reach a spreadable consistency. You want it thick enough to hold its shape between two cookies but creamy enough to spread easily.
- Assemble the cookies. Once the wafers are completely cool, turn half of them over so the flat side is facing up. Pipe or spread about 1 teaspoon of filling onto each flat side, then top with another wafer, flat side down, pressing gently so the filling spreads to the edges.
Yield: About 36 sandwich cookies (using 1½-inch cutters and 1 teaspoon filling per cookie).
Storage: Keep the assembled cookies in an airtight container at room temperature for up to 5 days, or store the unfilled wafers in the freezer for up to 3 months.
About This Article

Written by Margaret Chen. Margaret Chen is a home baker and recipe developer with over 15 years of experience perfecting cookie recipes through rigorous testing and detailed experimentation. She tests every recipe multiple times, documents every variable, and applies the same rigor professional bakers use, with the warmth and accessibility of home baking. More about this site.
Scope and limits. Margaret is a home baker and recipe developer with no formal culinary training. Follow current food safety guidance for egg handling, storage, and anything you are serving to other people.
Verify this against a primary source
Specifics change, and your situation may differ from the one described here. These are the authorities worth checking directly:
- USDA FoodData Central — ingredient composition and nutrition data
- FoodSafety.gov — safe handling, storage and egg safety