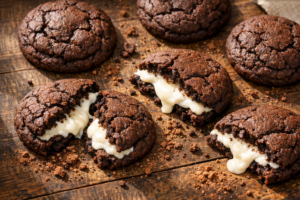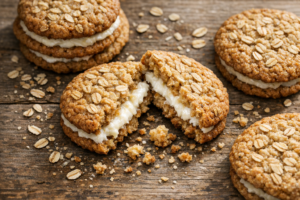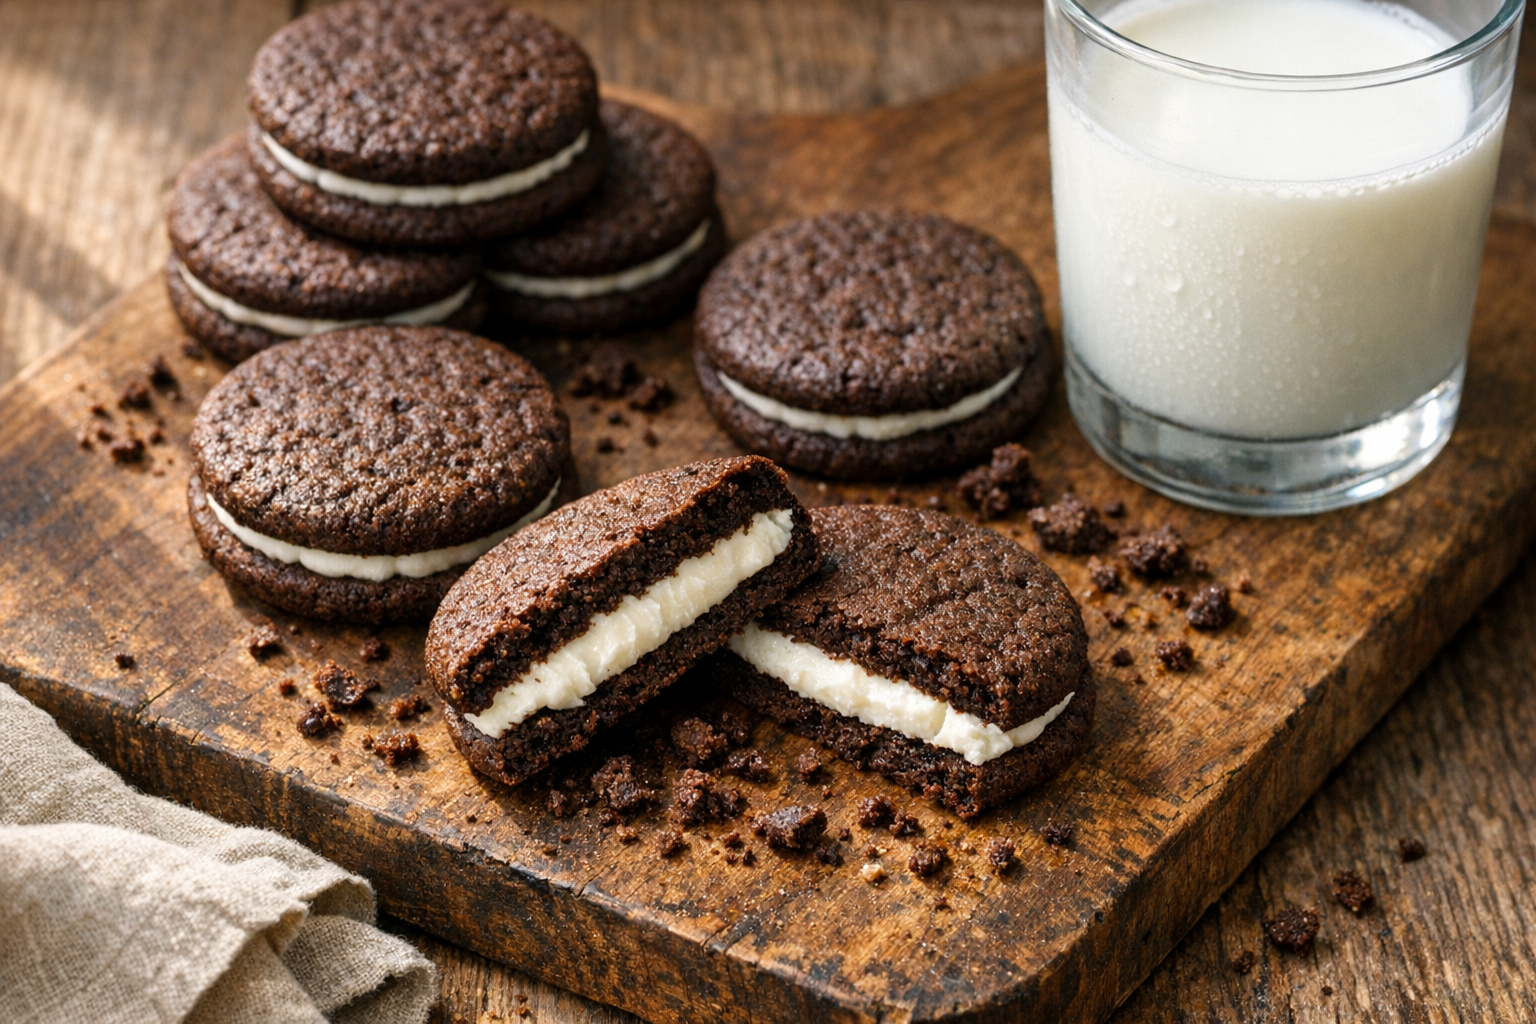
The moment I bit into my first homemade batch of cream filled chocolate cookies, I understood why I’d wasted money on store-bought versions for so long. It wasn’t snobbery—it was shock. The cookie itself was impossibly crisp, snapping between my teeth before giving way to that buttery cocoa crumb. Then came the filling: a cloud of silky, intensely vanilla-flavored cream that didn’t taste remotely like the waxy imitation I’d eaten from a box my whole life.
That was fifteen years ago, and I’ve been testing, refining, and obsessing over cream filled chocolate cookies ever since. Over two decades of home baking, I’ve developed dozens of variations—some elegant, some playful, all of them exponentially better than anything on a supermarket shelf. And I’m not exaggerating when I say that once you make your own cream-filled chocolate cookies recipe at home, you’ll never go back.
The difference isn’t magic. It’s about three things: better ingredients (specifically Dutch-process cocoa that costs pennies more), understanding the science of cookie structure (a crisp versus cakey crumb is all about fat ratios and baking temperature), and a filling that’s actually made from real butter and cream. Below you’ll find everything I’ve learned, with the classic recipe, a lower-sugar almond-flour variation, troubleshooting tips, and the flavor twists my family requests most.
Why Homemade Beats Store-Bought
Making chocolate sandwich cookies at home transforms a simple snack into something extraordinary. You control every ingredient that goes into your cookies. Store-bought versions contain preservatives and artificial flavors that you can easily avoid. Additionally, the satisfaction of biting into a cookie you made yourself cannot be matched.
The process requires attention to detail, but the results justify your effort. Your kitchen will fill with the aroma of fresh-baked chocolate cookies. Furthermore, you can adjust sweetness levels to match your preferences perfectly.
If what you’re really chasing is that exact “blue package” flavor from childhood, I went down that rabbit hole for four months and 47 test batches — the whole story and my copycat approach live in my homemade Oreos post. This page is the broader, better-than-the-box version.
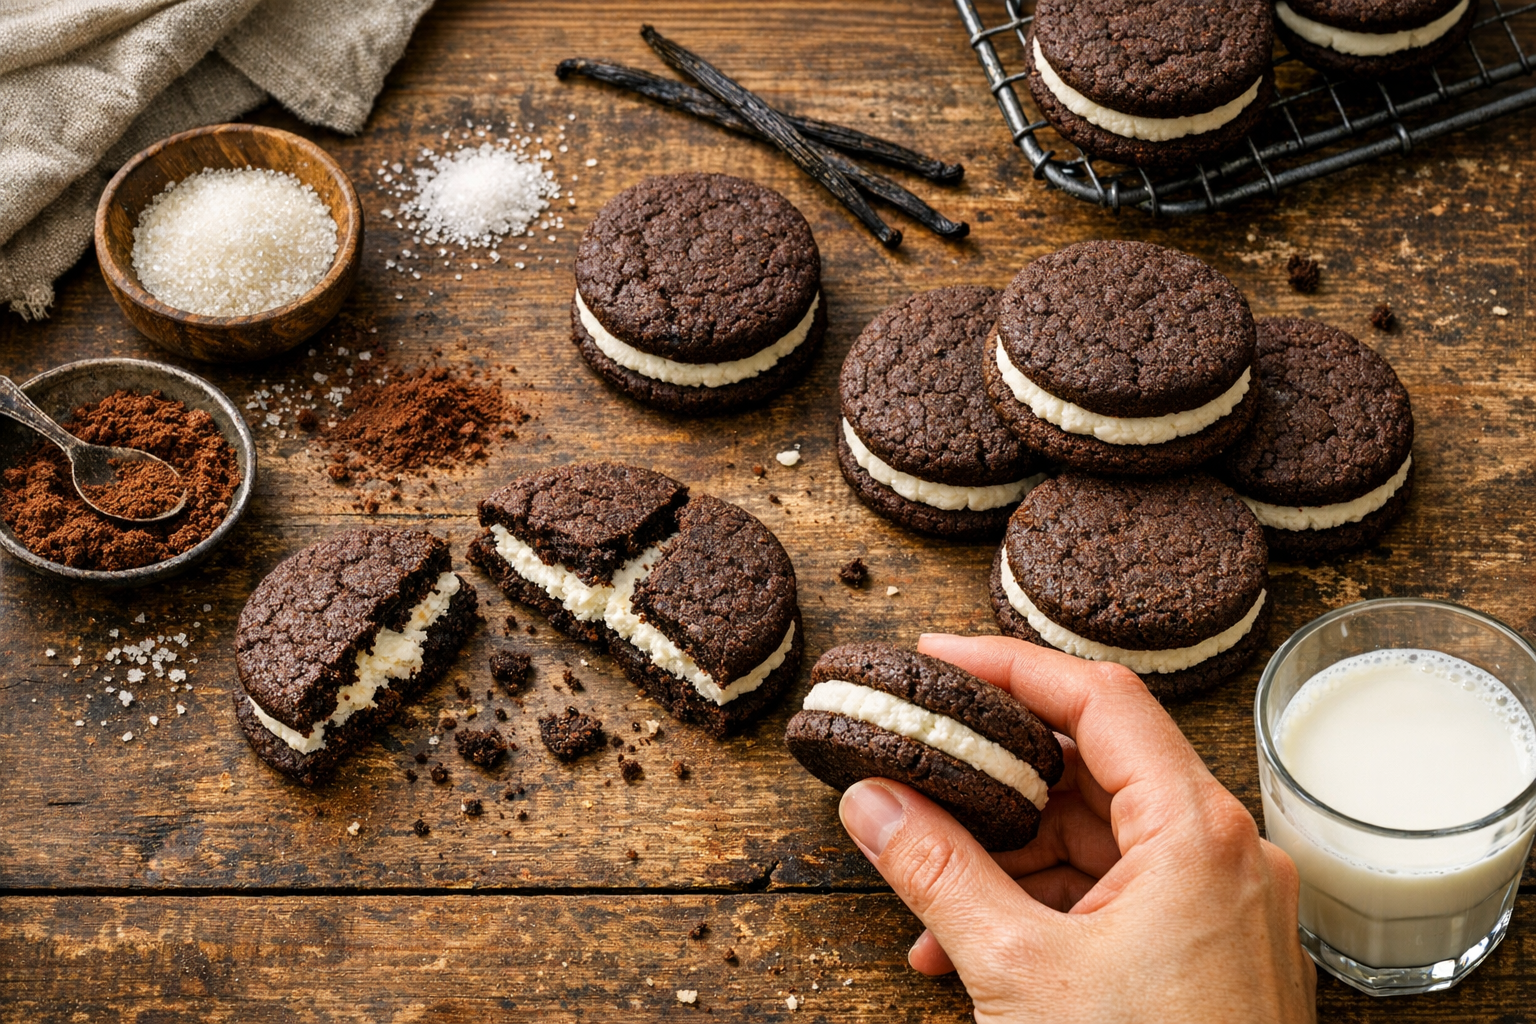
Understanding the Science Behind Perfect Cookies
Chemistry plays a crucial role in creating the ideal cookie texture. Baking soda affects both color and pH levels in your dough. The alkaline environment created by baking soda deepens the chocolate color significantly. Moreover, it helps achieve that characteristic snap when you bite into the cookie.
The right balance of ingredients determines whether your cookies turn out crispy or cakey. Too much baking soda creates an overly alkaline taste. Conversely, too little results in pale, soft cookies that lack structure. You need to measure precisely to hit the sweet spot.
The Role of Fat in Cookie Structure
Butter provides flavor, but it also affects texture dramatically. The water content in butter creates steam during baking. This steam helps cookies spread and develop their characteristic thin profile. However, butter alone cannot create the perfect texture.
Combining fats produces superior results in both cookies and filling. The filling requires a specific melting point to achieve the right consistency. Coconut oil melts at approximately 76°F, which makes it perfect for cream fillings. Therefore, your filling will soften slightly at room temperature while maintaining structure.
Essential Ingredients for Chocolate Cookies
Gathering quality ingredients sets the foundation for success. Dutch-processed cocoa powder delivers intense chocolate flavor and deep color. All-purpose flour provides the structure your cookies need. Granulated sugar sweetens while helping cookies spread during baking.
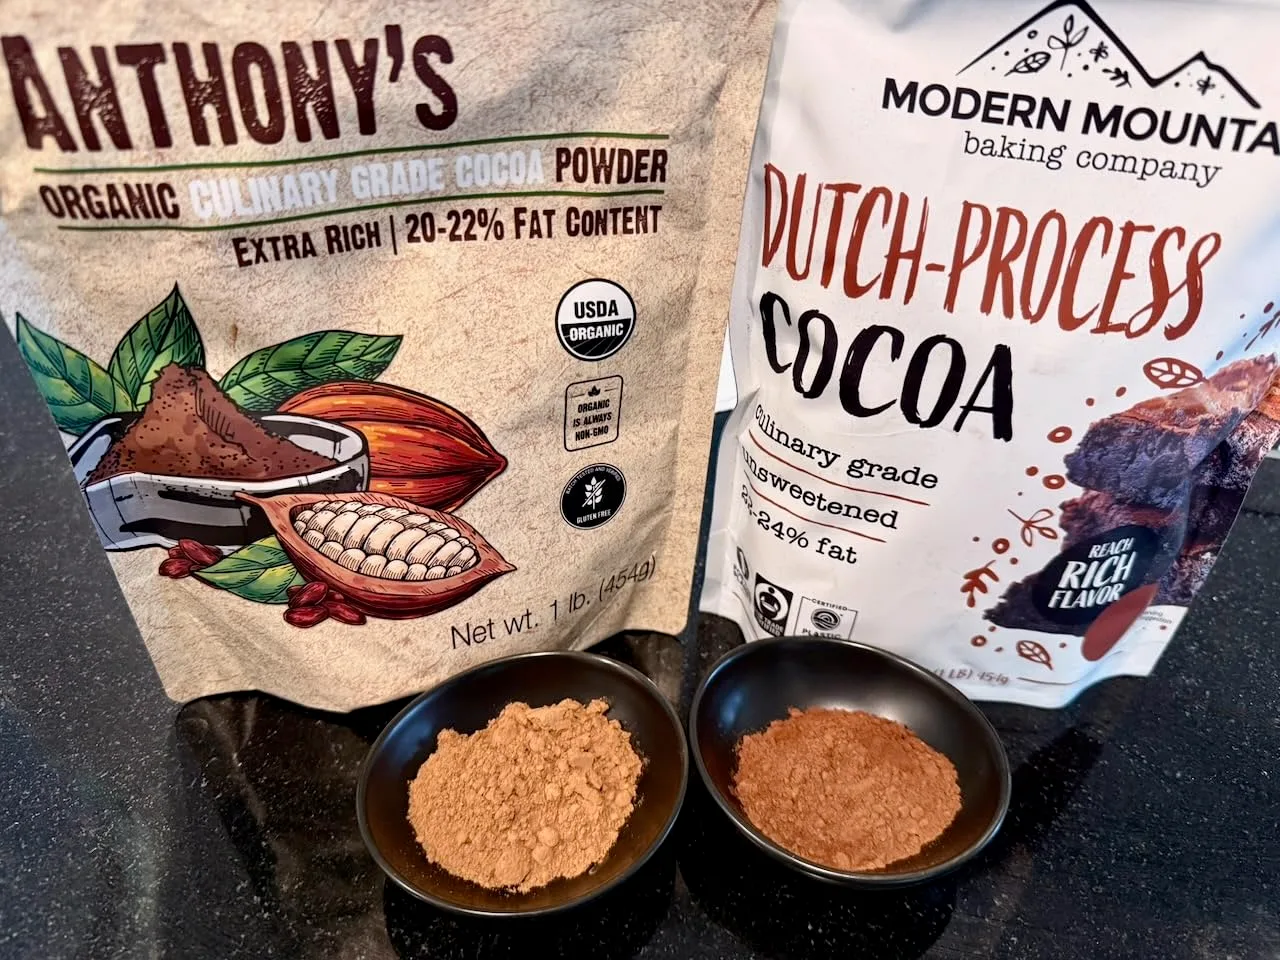
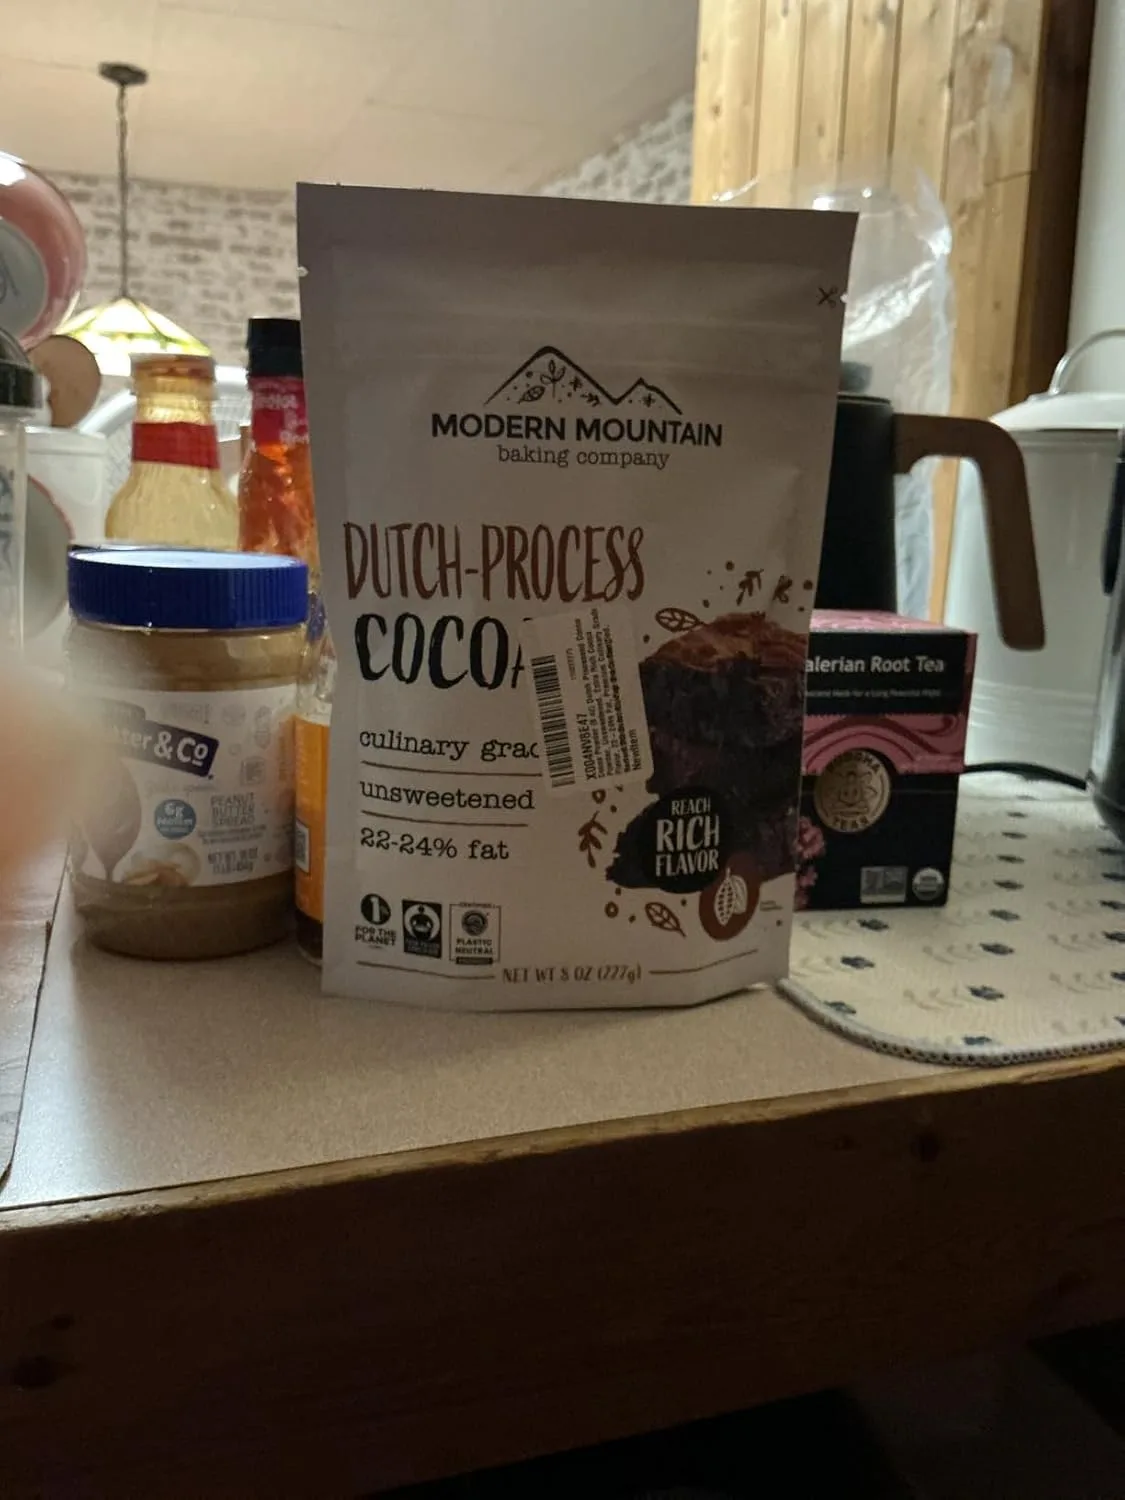
The Dutch-Process Cocoa That Finally Gave Me Rich, Deep Chocolate Flavor Without the Bitterness
For years, I made these chocolate cookies with whatever cocoa powder was on the shelf, and they always tasted a little flat and harsh. Switching to Dutch-process cocoa completely changed the game—it’s the difference between a one-note chocolate cookie and one that actually tastes like chocolate.
What works
- The cocoa dissolves smoothly into the wet ingredients without any gritty texture, which means the filling cream layer stays perfectly silky.
- The flavor is noticeably deeper and more complex—less acidic punch, more cocoa richness that doesn’t overpower the vanilla cream filling.
- The cookies come out with a more inviting color and shine, which makes a real difference when you’re stacking and photographing them.
What doesn’t
- It costs more than natural cocoa powder, which adds up if you’re baking these cookies regularly.
- You need to adjust your leavening slightly since Dutch-process cocoa is less acidic—using it in a recipe designed for natural cocoa can sometimes give you cookies that spread a little more than expected.
I almost gave up on this recipe entirely after my first batch came out tasting one-dimensional, but swapping in this Dutch-process cocoa powder reminded me why I started baking from scratch in the first place.
This post contains affiliate links. As an Amazon Associate, I earn from qualifying purchases at no extra cost to you.
The Classic Recipe: Chocolate Wafers with Vanilla Cream Filling
This is the version I make most often — a crisp, dense chocolate wafer sturdy enough to hold a generous layer of cream without crumbling, sandwiched around a classic vanilla buttercream.
Chocolate Wafer Cookies
Ingredients:
- 6 oz (170g) unsalted butter, softened
- ¾ cup (150g) granulated sugar
- 1 large egg
- 1 teaspoon pure vanilla extract
- ½ teaspoon salt
- ¾ cup (90g) all-purpose flour
- ¼ cup (25g) Dutch-process cocoa powder
Instructions: Cream the butter and sugar until light, then beat in the egg, vanilla, and salt. Whisk the flour and cocoa together and mix them in just until a soft dough forms. Chill the dough for 30 minutes, then roll it thin — about ⅛ inch — and cut into 2-inch rounds. Bake at 350°F for 8–10 minutes, until just set. They continue to crisp as they cool, so don’t wait for them to feel firm in the oven. Cool completely before filling; warm cookies will melt the cream.
Vanilla Cream Filling
Ingredients:
- 1 cup (226g) unsalted butter, softened to room temperature
- 2½ cups (300g) powdered sugar, sifted
- 2 tablespoons heavy cream
- 1 teaspoon pure vanilla extract
- Pinch of salt
Instructions: Beat the softened butter on medium speed for 3 minutes until pale and fluffy. Add the powdered sugar gradually — about ½ cup at a time — beating well after each addition to avoid lumps. Add the heavy cream, vanilla, and salt, then beat 2 more minutes until the texture resembles thick clouds. Pipe or spread about a tablespoon onto the flat side of one cookie, top with a second cookie flat side down, and press gently until the filling just reaches the edges.
If you want to branch out beyond vanilla — cream cheese, brown sugar, lemon, mint chocolate, strawberry — I keep a full lineup of fillings that work with this wafer base in my bakery-style cream-filled cookies guide.
The Lower-Sugar, Almond-Flour Variation
When I’m baking for friends who are watching sugar or eating low-carb, I switch to this almond-flour version. Each assembled cookie comes in around 4 grams of net carbs instead of the 12–15 grams in a traditional chocolate sandwich cookie, and honestly, nobody has ever handed one back.
Almond-Flour Chocolate Cookies
Ingredients:
- 2 cups blanched almond flour
- 1/4 cup coconut flour
- 1/2 cup unsweetened cocoa powder
- 3/4 cup powdered erythritol
- 1/2 teaspoon baking soda
- 1/4 teaspoon salt
- 1/2 cup unsalted butter, softened
- 1 large egg
- 1 teaspoon vanilla extract
- 2 tablespoons heavy cream
Instructions: Preheat the oven to 325°F and line two baking sheets with parchment. Whisk the almond flour, coconut flour, cocoa, erythritol, baking soda, and salt together. In a separate bowl, beat the butter until creamy, add the egg and vanilla, then gradually blend in the dry ingredients, adding the heavy cream to bring the dough together. Roll into 24 balls (about 1 tablespoon each), space them 2 inches apart, flatten to ¼ inch with the bottom of a glass, and bake 12–14 minutes until the edges feel firm. Cool 5 minutes on the sheet, then transfer to a rack and cool completely before filling.
Sugar-Free Cream Cheese Filling
Ingredients:
- 8 ounces full-fat cream cheese, softened
- 1/4 cup unsalted butter, softened
- 1/2 cup powdered erythritol
- 1 teaspoon vanilla extract
- Pinch of salt
Instructions: Beat the cream cheese and butter together until light and fluffy, about 3 minutes. Add the powdered erythritol gradually, then the vanilla and salt. Refrigerate the filling 15–20 minutes to reach a spreadable consistency before assembling. Store assembled cookies in an airtight container in the refrigerator for up to one week — the cream cheese filling needs cold storage.
Troubleshooting: How to Stop Your Cookies From Spreading
Almond-flour doughs (and butter-heavy doughs generally) love to spread, because there’s no gluten holding the structure upright and the extra fat melts fast in the oven. A few habits fix nearly every spreading problem:
- Chill the dough for at least 30 minutes (up to two hours) so the butter is solid when it hits the oven heat.
- Watch your butter temperature. Properly softened butter feels slightly cool and yields gently when pressed — never greasy. Over-softened or partially melted butter makes a batter that spreads uncontrollably.
- Freeze shaped dough balls for 10 minutes right before baking.
- Add a tablespoon of coconut flour to the low-carb dough if it still spreads — it absorbs moisture and adds structure, but go carefully, since too much makes cookies dry and dense.
- Pull cookies when they still look slightly soft. They firm up considerably on the sheet; overbaking gives you hard, brittle wafers.
Flavor Variations My Family Requests
Once you have the base recipe down, these cookies become a blank canvas. Add ½ teaspoon of instant espresso powder to the dough for mocha cookies — the coffee deepens the chocolate without announcing itself. A ¼ teaspoon of peppermint extract in the filling turns them into holiday cookies. Swapping some of the filling butter for cream cheese adds a tangy bite, and 2 tablespoons of cocoa powder whipped into the cream makes a chocolate-on-chocolate version.
My favorite finishing trick: roll the exposed filling edge of each assembled cookie in mini chocolate chips, crushed pecans, toasted coconut, or — in December — crushed candy canes. It adds crunch and makes a plain stack of sandwich cookies look intentional and festive.
Storage
Buttercream-filled cookies keep 2 days at room temperature or 5 days refrigerated in an airtight container, with parchment between layers. Unfilled wafers freeze beautifully for up to three months — wrap them tightly and thaw at room temperature before filling. I don’t recommend freezing assembled cookies with cream cheese filling, since the texture changes on thawing. Take refrigerated cookies out 10–15 minutes before serving; cold cookies taste less sweet and the cream shows off better with a little warmth.