The Irresistible Appeal of Chewy Coconut Cookies
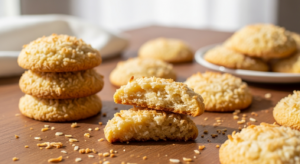
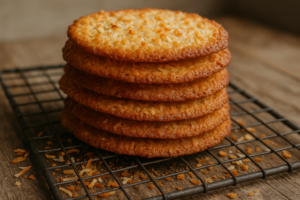
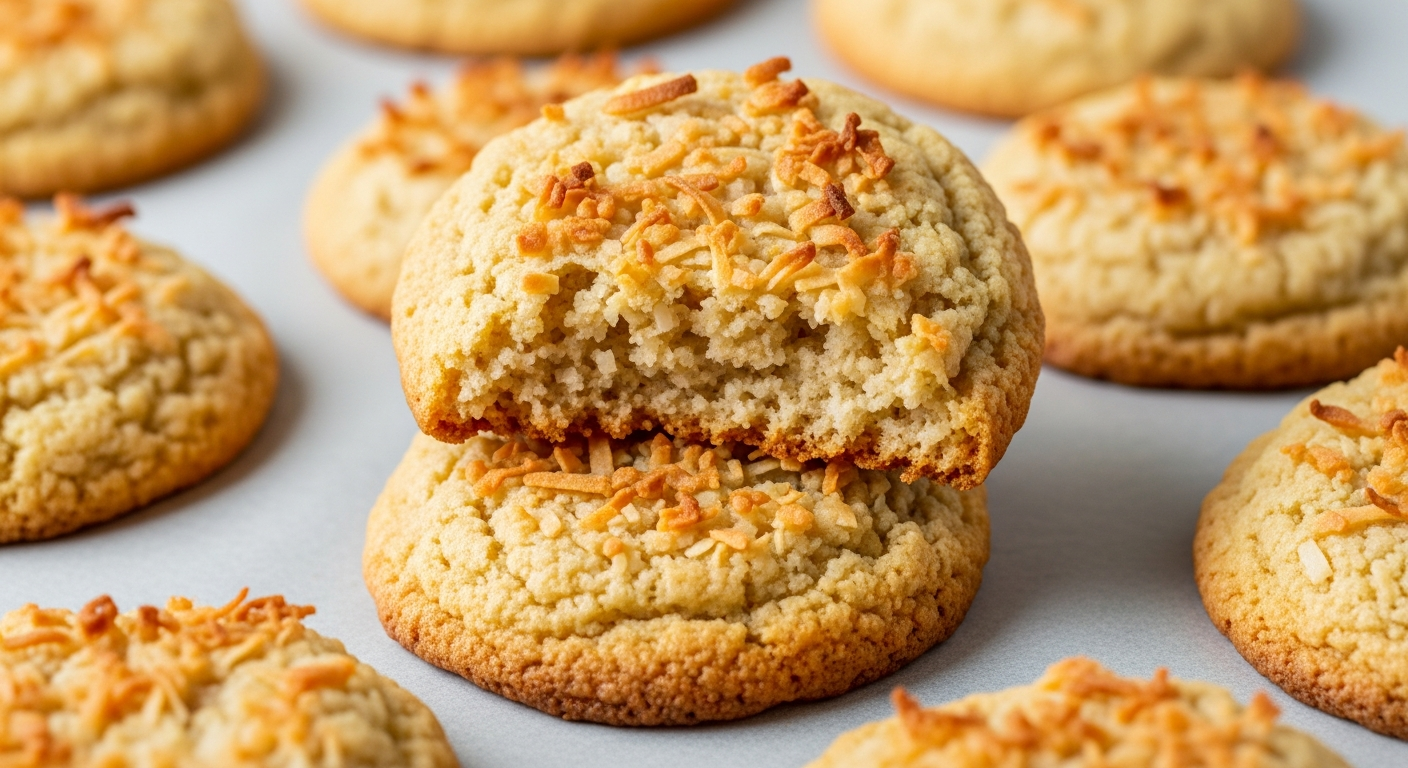
Chewy coconut cookies offer a unique sensory experience that sets them apart from ordinary baked goods. The tender, moist texture melts on your tongue with each bite. Meanwhile, the sweet coconut flavor transports you to sun-soaked beaches and palm-lined shores. These cookies strike the perfect balance between familiar comfort food and exotic indulgence.
What makes chewy coconut cookies so special is their ability to deliver that coveted soft, slightly underbaked texture that keeps them moist for days. Unlike crispy cookies that go stale quickly, a properly made chewy coconut cookie maintains its tender crumb and stays fresh when stored in an airtight container. This is one of the reasons they’ve become a staple in cookie jars everywhere.
Understanding the Science Behind Chewiness
Before we dive into equipment, it’s worth understanding what actually creates that chewy texture. The moisture content in coconut cookies comes from several sources: shredded coconut itself, eggs, and often a touch of extra fat from butter or oil. The key to achieving the perfect chew is baking the cookies just until the edges are set but the centers remain slightly underbaked. This requires precise oven temperature and even heat distribution—which brings us to the most important tool in your kitchen.
The Recipe: Chewy Coconut Cookies
What You’ll Need
- 1 cup (225g) unsalted butter, softened to room temperature
- 3/4 cup (150g) granulated white sugar
- 3/4 cup (165g) packed light brown sugar
- 2 large eggs, room temperature
- 2 teaspoons vanilla extract
- 2 1/4 cups (280g) all-purpose flour
- 1 teaspoon baking soda
- 1/2 teaspoon kosher salt
- 3 cups (270g) unsweetened shredded coconut (or sweetened, if preferred)
Yield: About 24-30 cookies | Prep Time: 15 minutes | Bake Time: 11-13 minutes | Oven Temperature: 350°F (175°C)
How I Make Them, Step by Step
- Preheat your oven to 350°F (175°C) for at least 15 minutes before baking. This steady, even heat is essential for getting those perfectly chewy centers.
- Cream together the softened butter, white sugar, and brown sugar in a large bowl using an electric mixer on medium speed for about 3 minutes, until the mixture is light and fluffy. This creaming process incorporates air into the dough, which helps give the cookies their tender crumb.
- Add the eggs one at a time, beating well after each addition. Pour in the vanilla extract and mix until fully combined. The mixture should look pale and slightly increased in volume.
- In a separate bowl, whisk together the flour, baking soda, and salt. Fold this dry mixture into the wet ingredients using a spatula or wooden spoon until just combined—don’t overmix, as this can make the cookies tough.
- Gently fold in the shredded coconut until evenly distributed throughout the dough. The dough will be thick and chunky, studded with coconut.
- Drop rounded tablespoons of dough onto your prepared baking sheet (with parchment paper or a silicone mat), spacing them about 2 inches apart.
- Bake for 11 to 13 minutes, until the edges are set and lightly golden but the centers still look slightly underdone—they may even appear a bit pale in the very middle. This is intentional and creates that signature chewy texture.
- Remove the baking sheet from the oven and let the cookies cool on the pan for about 2 minutes. This brief rest allows the residual heat to gently set the centers without overbaking them.
- Transfer the cookies to a wire rack to cool completely, or enjoy them warm with a cold glass of milk.
- Store in an airtight container at room temperature for up to 5 days. They’ll keep their chewy texture thanks to the moisture from the coconut.
The Heavy-Duty Baking Sheet That Finally Stopped My Coconut Cookies From Browning Unevenly
Chewy coconut cookies are all about moisture, but if your baking sheet has hot spots or warps under the oven’s heat, you’ll end up with burnt edges and an undercooked center. After years of rotating pans mid-bake, I realized the problem wasn’t my timing—it was the equipment.
Most home bakers don’t realize how much their baking sheets affect the final result. Thin, flimsy pans heat unevenly, causing cookies to brown too quickly on the edges while the centers remain pale and underbaked. This is especially problematic with coconut cookies, where you want that perfect golden-brown exterior while maintaining the chewy, moist interior.
What works
- The thick aluminum core distributes heat so evenly that I can bake a full batch without rotating the pan halfway through.
- It doesn’t warp even when I’m baking back-to-back batches on a busy Saturday afternoon, which means my cookies bake at a consistent temperature from start to finish.
- The slightly raised edges keep parchment paper and silicone mats from sliding around, so my cookies stay exactly where I place them.
What doesn’t
- They’re heavier than your average sheet pan, which makes pulling them out of a crowded oven feel awkward if you don’t have a firm grip.
- The pack comes with two sheets, but if you’re a prolific baker like me, you’ll wish you’d bought two packs.
I’ll admit I was skeptical about paying more for a “professional-grade” sheet when my old one seemed fine—until I pulled a batch of these cookies out of the oven and actually got an even golden color for the first time. Grab a baking sheet pack and you’ll wonder why you waited this long.
Tips for Success with Your New Baking Sheet
Now that you have the right equipment, here are some practical steps to ensure your chewy coconut cookies turn out perfectly every time. Always preheat your oven for at least 15-20 minutes before baking. This allows the baking sheet to reach a stable, even temperature. Use parchment paper or a silicone baking mat on your sheet to prevent sticking and allow for more even browning on the bottom of your cookies.
Don’t overbake your coconut cookies. This is the most common mistake home bakers make. The cookies should come out of the oven when the edges are set and golden but the centers still look slightly underdone. They’ll continue to cook on the warm pan for a minute or two after you remove them from the oven. Allow them to cool on the baking sheet for about two minutes before transferring to a wire rack.
Room temperature ingredients also make a difference. When your butter, eggs, and other ingredients are at room temperature, they incorporate more evenly into your dough, leading to a more consistent texture throughout your batch.
This post contains affiliate links. As an Amazon Associate, I earn from qualifying purchases at no extra cost to you.
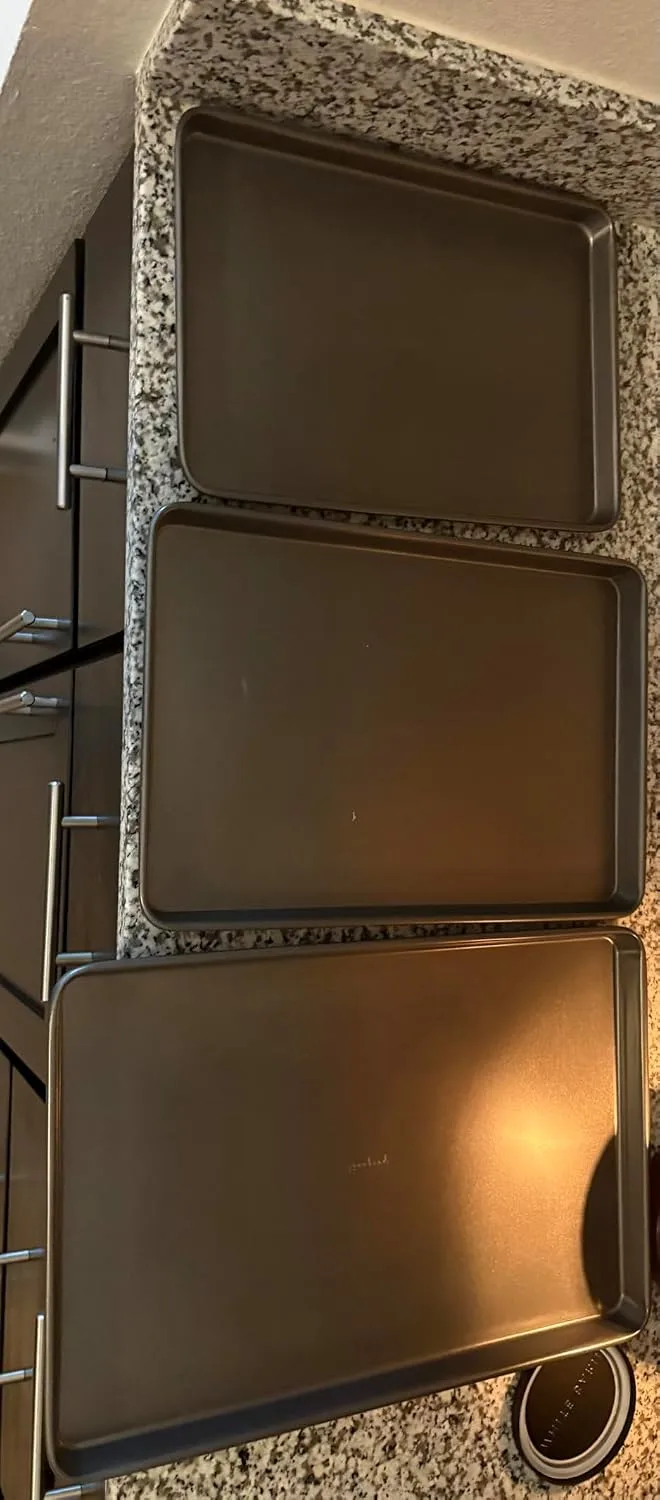
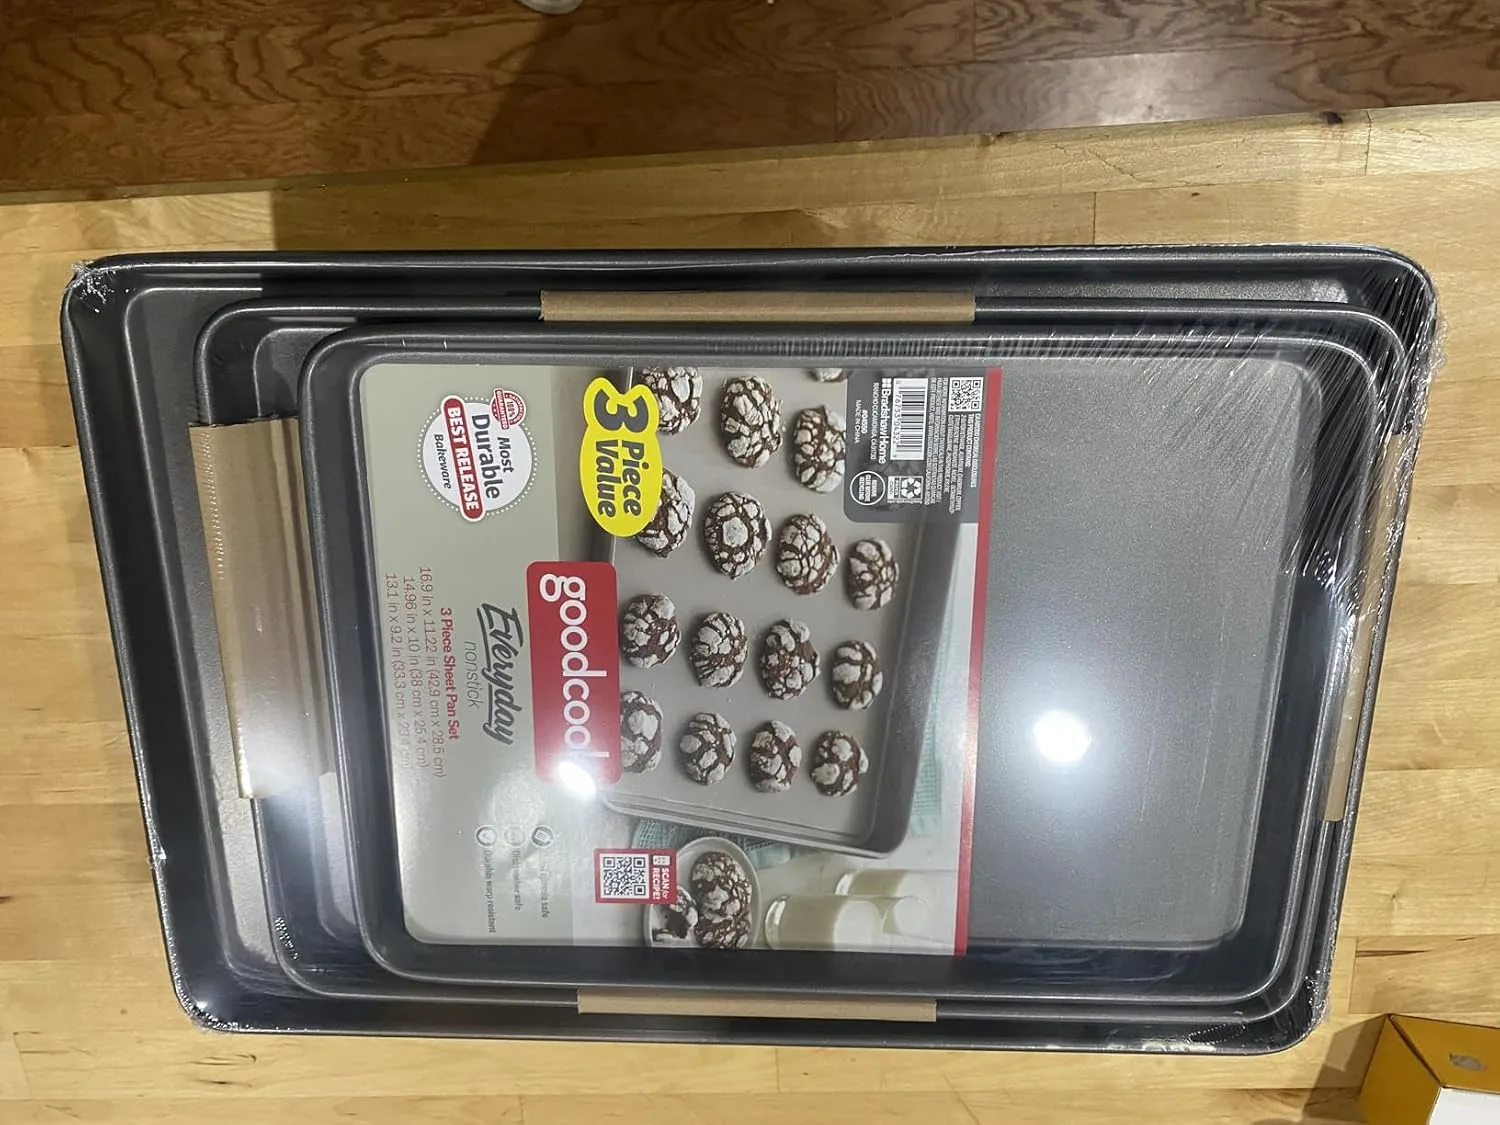
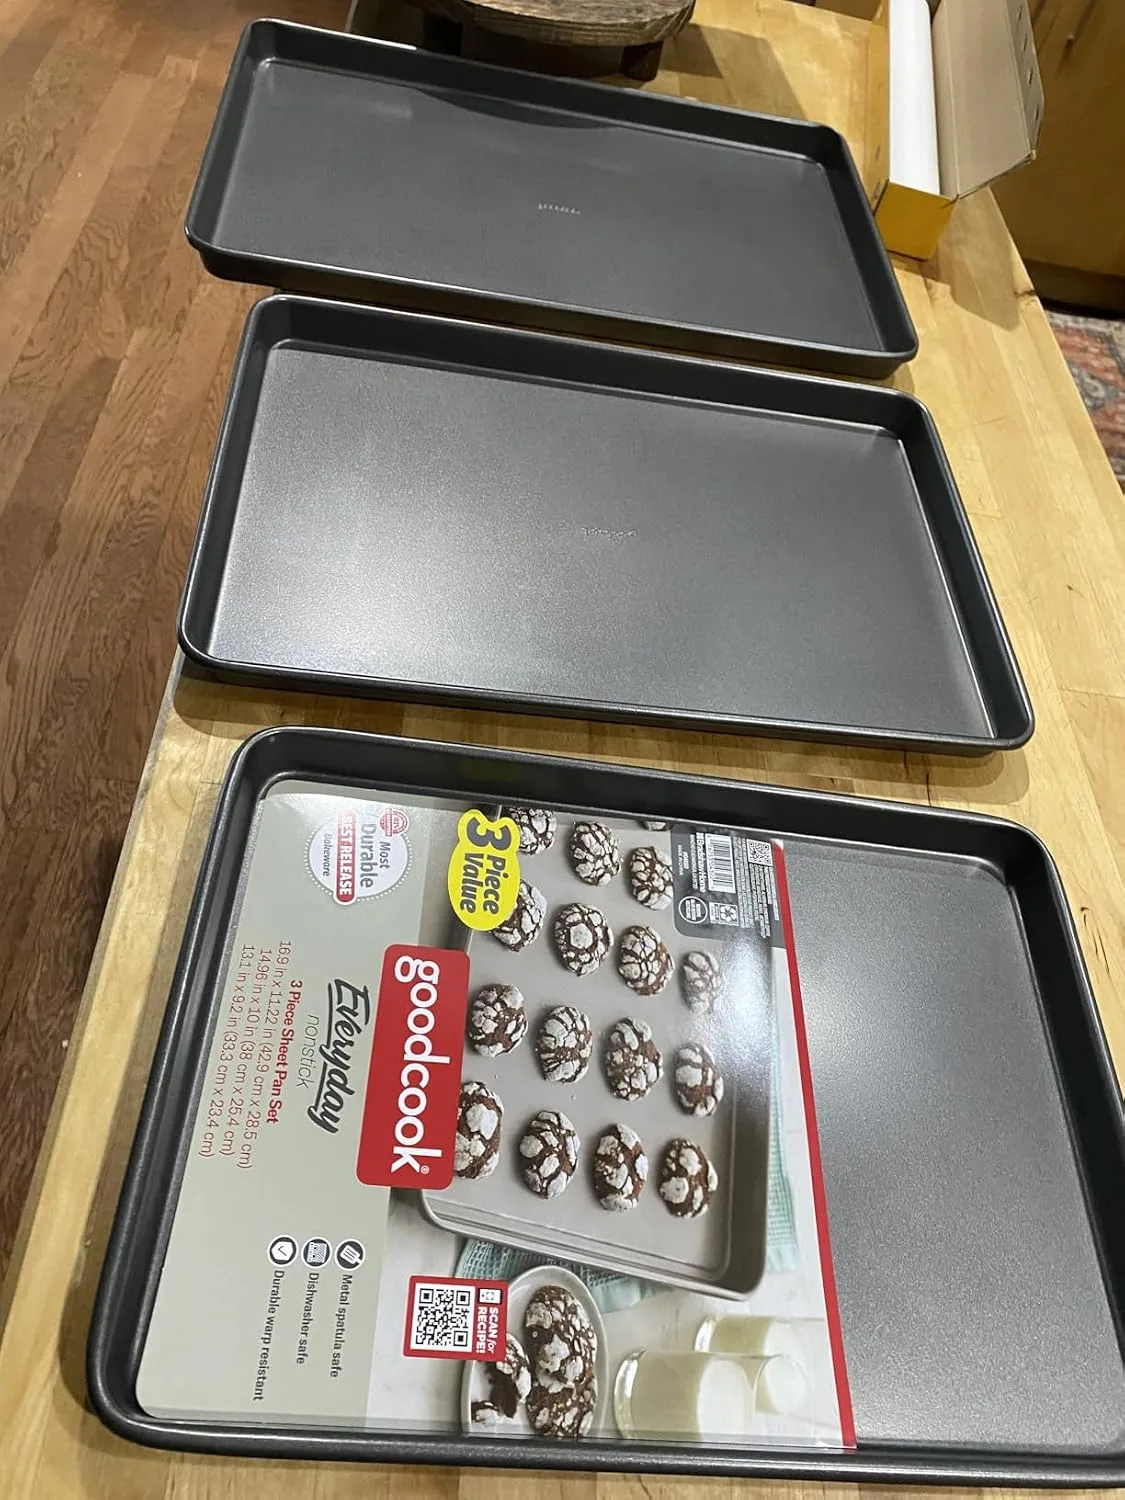
baking sheet pack
I bake back-to-back batches on weekends and these pans hold their shape every time.
Check Price on Amazon →