Crispy Coconut Cookies
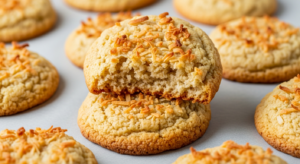
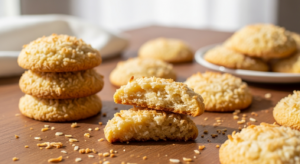
Thin, golden wafer cookies combining buttery base with tropical sweetness of toasted coconut and satisfying crunch.
Ingredients
- 1 cup (226g) unsalted butter, softened
- 1 cup (200g) granulated sugar
- 1 large egg white
- 1 teaspoon vanilla extract
- ½ teaspoon coconut extract (optional, but recommended)
- 1 cup (125g) all-purpose flour
- ¼ teaspoon salt
- 2 cups (200g) sweetened flaked coconut, toasted
Instructions
- Toast your coconut first—spread the 2 cups of flaked coconut on a baking sheet and place in a 325°F oven for 5-7 minutes, stirring halfway through, until it's golden brown and fragrant.
- Preheat your oven to 350°F (177°C).
- In a large bowl, beat together the softened butter and granulated sugar using an electric mixer on medium speed for about 2 minutes until the mixture is light and fluffy.
- Add the egg white, vanilla extract, and coconut extract (if using) to the butter-sugar mixture and beat on medium speed until everything is well combined.
- In a separate bowl, whisk together the flour and salt.
- Add the flour mixture to the wet ingredients and mix on low speed just until a few streaks of flour remain.
- Fold in the toasted coconut by hand using a spatula until evenly distributed throughout the dough.
- Drop rounded tablespoons of dough onto ungreased baking sheets, spacing them about 2 inches apart.
- Bake for 10-13 minutes, until the edges are golden brown and the centers have just set.
- Remove from the oven and let the cookies cool on the baking sheet for 2-3 minutes, then transfer immediately to a cooling rack.
Notes
- Do not overmix the dough—this keeps the cookies tender.
- Transfer cookies to cooling rack immediately after 2-3 minutes on baking sheet or they will soften.
- Coconut extract is optional but recommended for enhanced flavor.
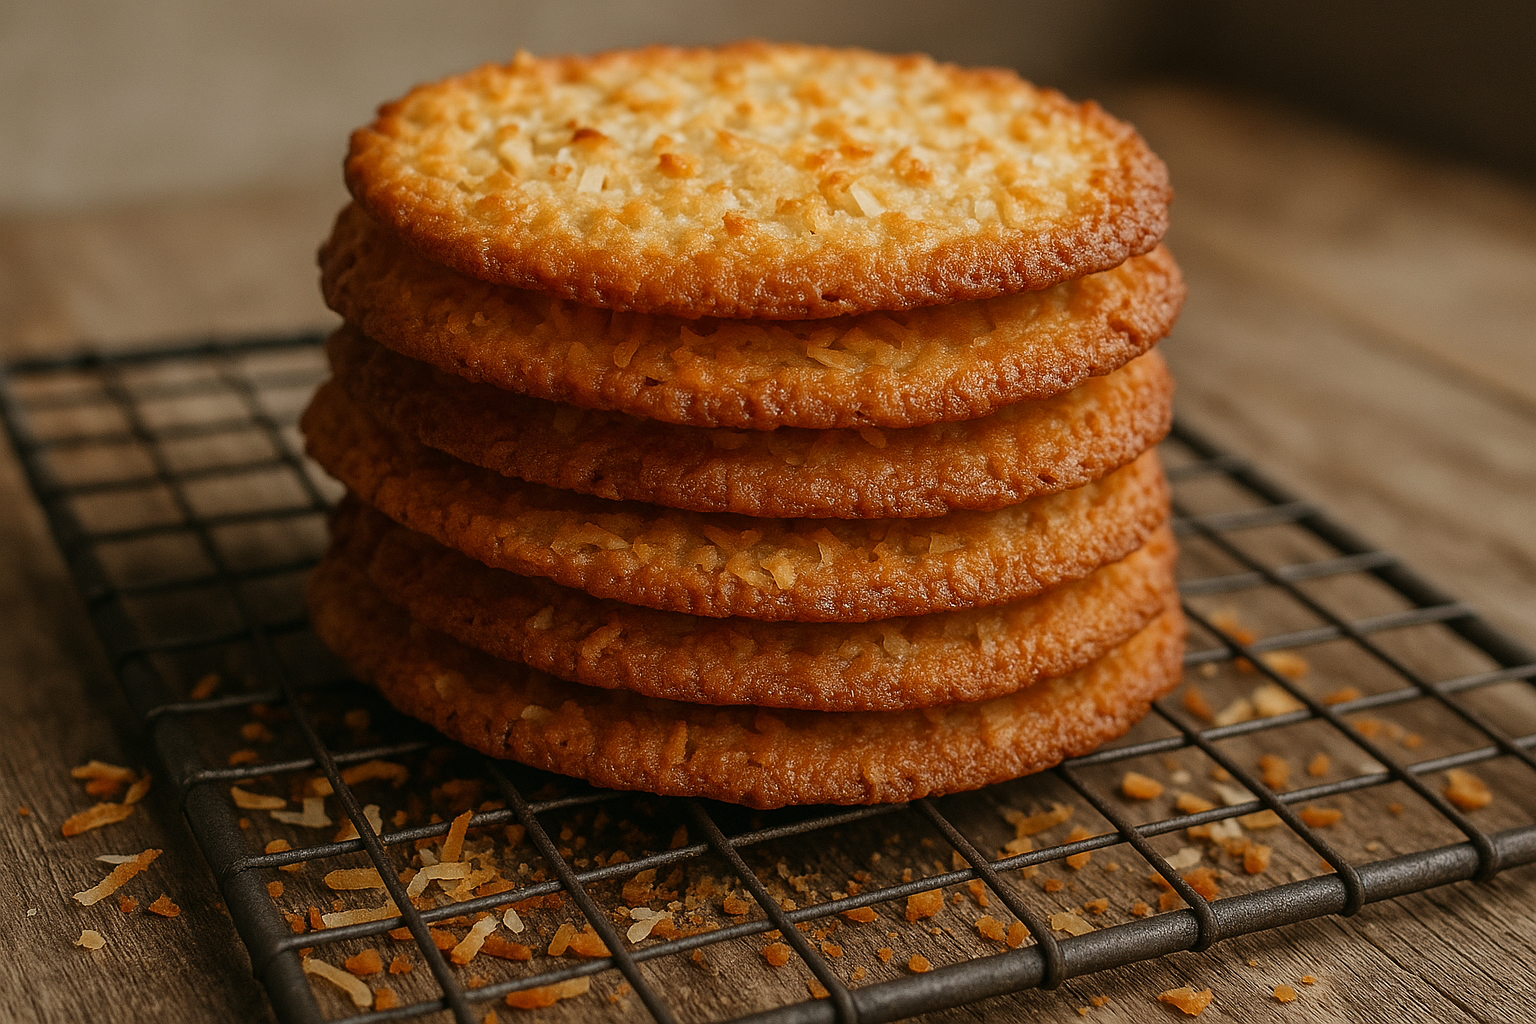
Nothing beats the satisfying snap of a perfectly baked cookie. While soft, chewy treats have their place, sometimes you crave a distinct crunch. These crispy coconut cookies deliver exactly that experience. They combine a buttery base with the tropical sweetness of toasted coconut. Furthermore, they pair beautifully with coffee, tea, or a cold glass of milk.
Many home bakers struggle to achieve that ideal crispy texture. Often, cookies turn out too cakey or soft. However, this recipe guarantees a thin, golden wafer every single time. The secret lies in the ratio of butter to flour and the baking technique. Additionally, we use standard pantry staples, making this an accessible project for beginners. You do not need fancy equipment. In fact, a simple hand mixer and a baking sheet will suffice.
The Recipe: Crispy Coconut Cookies
What You’ll Need
- 1 cup (226g) unsalted butter, softened
- 1 cup (200g) granulated sugar
- 1 large egg white
- 1 teaspoon vanilla extract
- ½ teaspoon coconut extract (optional, but recommended)
- 1 cup (125g) all-purpose flour
- ¼ teaspoon salt
- 2 cups (200g) sweetened flaked coconut, toasted
How I Make Them, Step by Step
- Toast your coconut first—spread the 2 cups of flaked coconut on a baking sheet and place in a 325°F oven for 5-7 minutes, stirring halfway through, until it’s golden brown and fragrant. This step makes all the difference in depth of flavor. Let it cool slightly before using.
- Preheat your oven to 350°F (177°C).
- In a large bowl, beat together the softened butter and granulated sugar using an electric mixer on medium speed for about 2 minutes until the mixture is light and fluffy.
- Add the egg white, vanilla extract, and coconut extract (if using) to the butter-sugar mixture. Beat on medium speed until everything is well combined.
- In a separate bowl, whisk together the flour and salt.
- Add the flour mixture to the wet ingredients and mix on low speed just until a few streaks of flour remain. Do not overmix—this keeps the cookies tender.
- Fold in the toasted coconut by hand using a spatula until evenly distributed throughout the dough.
- Drop rounded tablespoons of dough onto ungreased baking sheets, spacing them about 2 inches apart. These cookies will spread a little as they bake.
- Bake for 10-13 minutes, until the edges are golden brown and the centers have just set. The cookies should look almost pale in the very center—they’ll continue to cook slightly from residual heat.
- Remove from the oven and let the cookies cool on the baking sheet for 2-3 minutes, then transfer immediately to a cooling rack. This is crucial—do not leave them on the hot pan or they’ll soften.
Yield: About 24-30 cookies, depending on size. Prep time: 15 minutes. Bake time: 10-13 minutes per batch.
The Cooling Racks That Finally Stopped My Crispy Cookies from Turning Soft
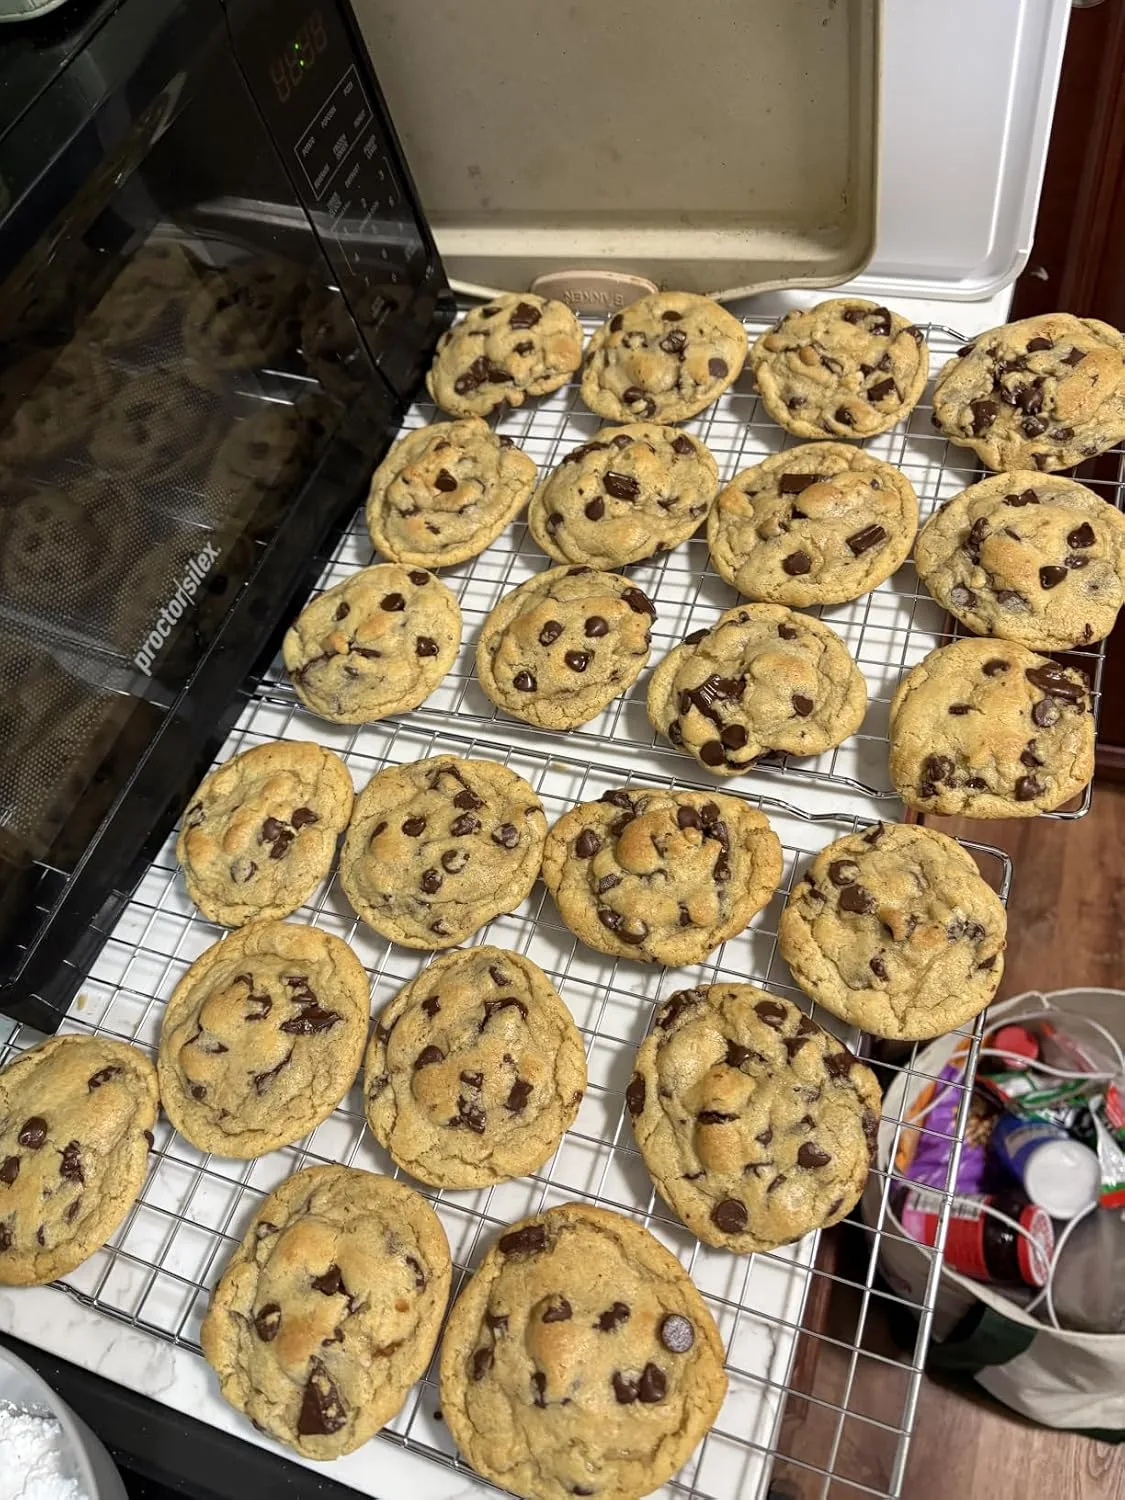
Getting cookies crispy is only half the battle—keeping them that way after they come out of the oven is where most home bakers stumble. If you leave these coconut cookies on a warm baking sheet, the residual heat will steam them right back into softness, undoing all your careful timing.
What works
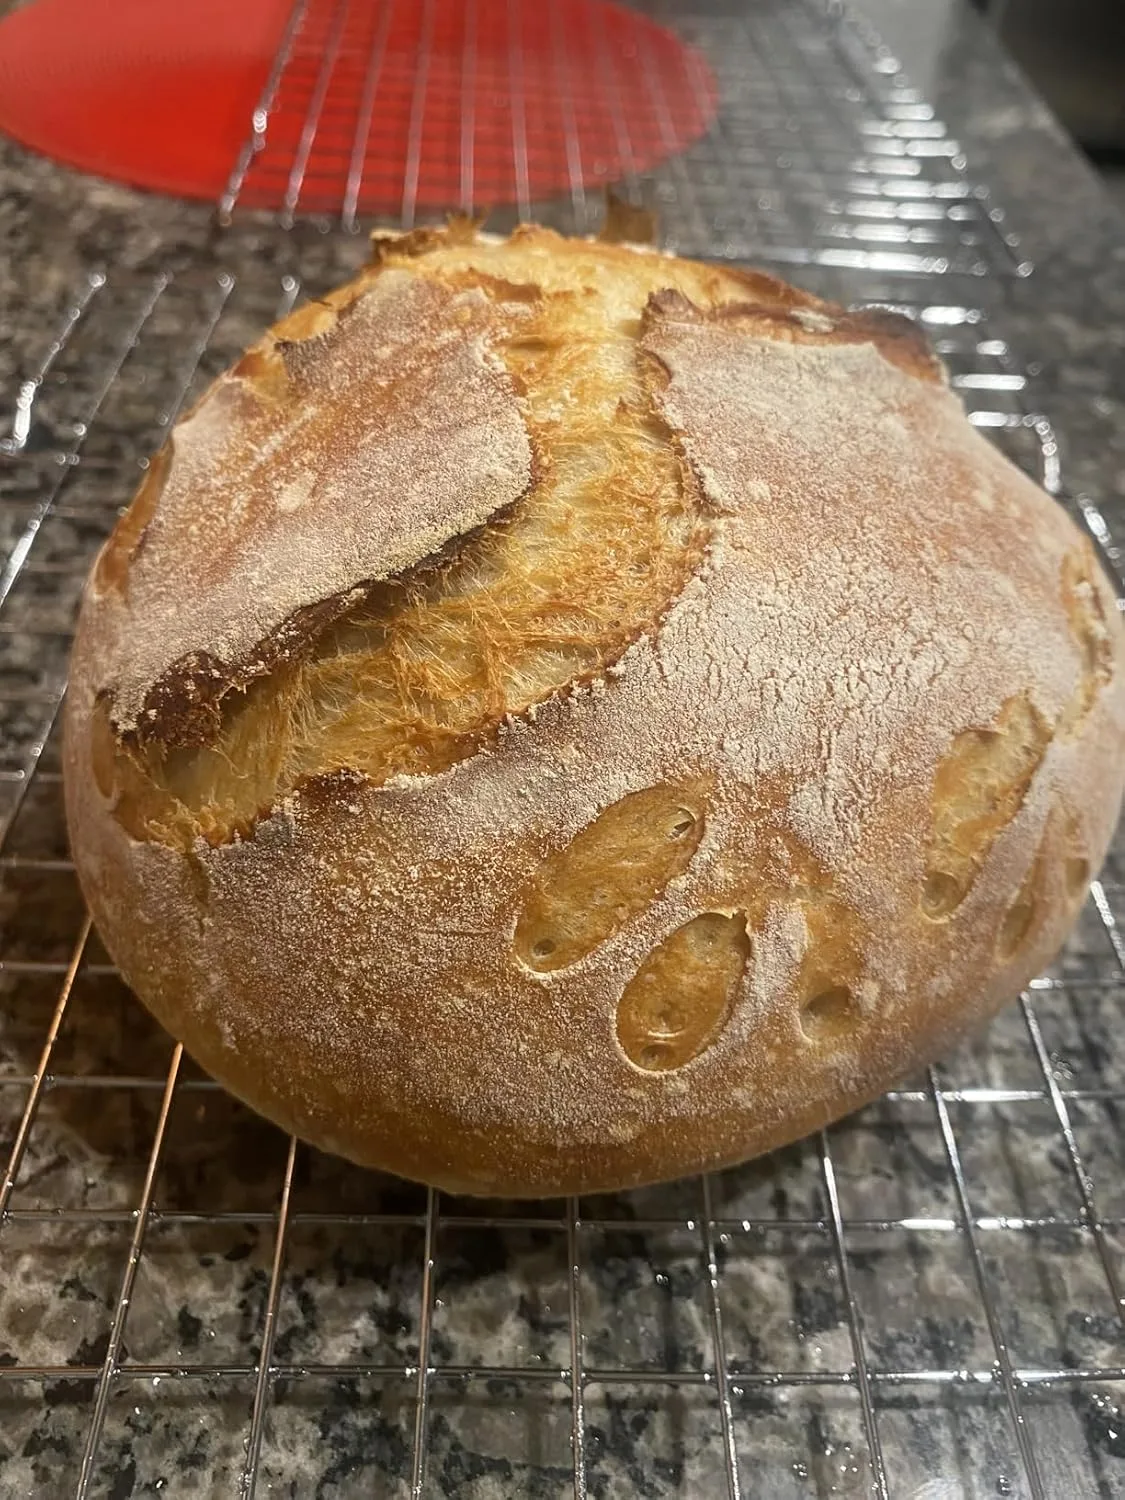
- The open grid design lets air circulate underneath immediately, stopping carryover baking the moment cookies leave the pan—I noticed the difference in texture within seconds.
- They’re tall enough that cookies don’t touch the counter or sit in any trapped moisture, which was my problem before when I’d rest them directly on the cooling surface.
- Multiple racks mean I can cool a full batch while the next one bakes, keeping my workflow moving without compromising crispness on earlier batches.
What doesn’t
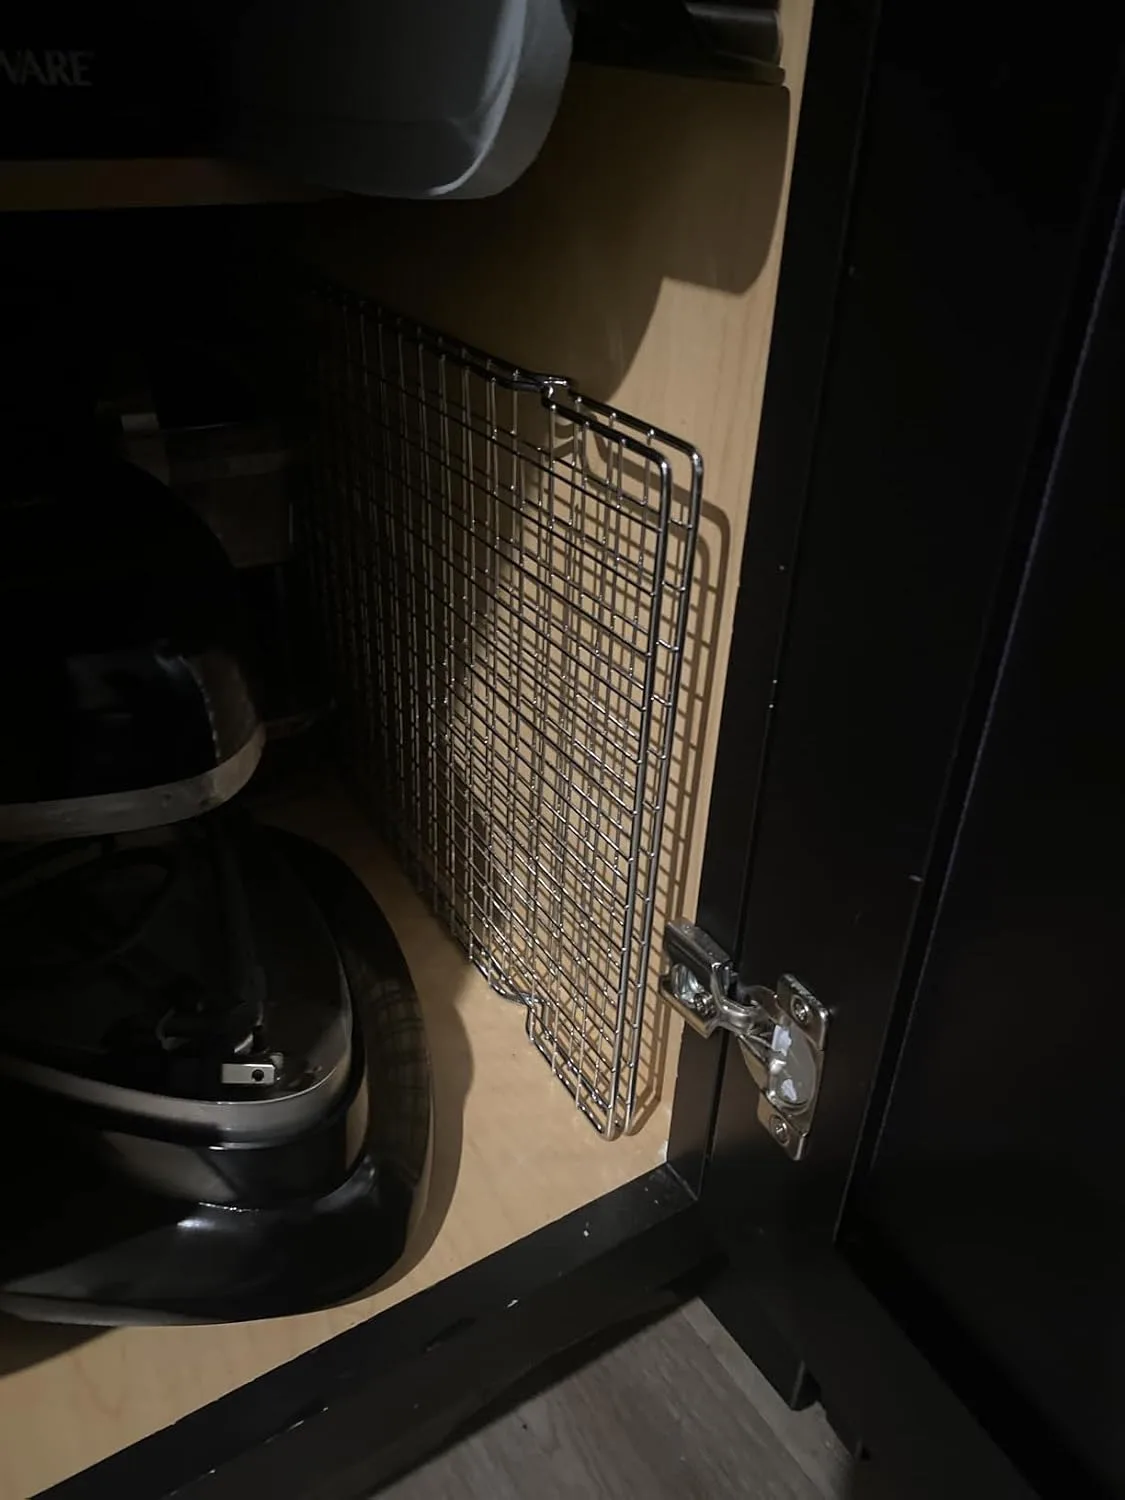
- They take up real vertical space in your kitchen—you’ll need room on your counter or shelf if you’re using multiple racks at once.
- Flimsy racks bend under the weight of denser batches, which defeats the purpose; you need sturdy construction or cookies will sit unevenly and cool inconsistently.
I almost gave up on these cookies entirely after my third batch softened within an hour of cooling, until I realized my old cooling surface was the culprit—switching to proper cooling racks changed everything.
About This Article

Written by Margaret Chen. Margaret Chen is a home baker and recipe developer with over 15 years of experience perfecting cookie recipes through rigorous testing and detailed experimentation. She tests every recipe multiple times, documents every variable, and applies the same rigor professional bakers use, with the warmth and accessibility of home baking. More about this site.
Scope and limits. Margaret is a home baker and recipe developer with no formal culinary training. Follow current food safety guidance for egg handling, storage, and anything you are serving to other people.
Verify this against a primary source
Specifics change, and your situation may differ from the one described here. These are the authorities worth checking directly:
- USDA FoodData Central — ingredient composition and nutrition data
- FoodSafety.gov — safe handling, storage and egg safety