After 15 years of testing cookie recipes in my home kitchen, I’ve learned that cream filled cookies occupy a completely different category than their decorated cousins. A beautifully piped royal-iced cookie is stunning to look at. But a cream-filled cookie? That’s an experience. It’s texture, structure, and flavor working in concert — the crack of a sturdy cookie shell followed by a creamy, sweet middle.
The ratio of cookie to cream matters enormously. Get it wrong, and you either squeeze the filling out with each bite, or the cookie goes soggy and falls apart in your hands within hours. I’ve made dozens of cream-filled cookie combinations over the years — some succeeded spectacularly, others taught me hard lessons about moisture content and structural integrity. This guide collects everything that survived the testing: the six filling recipes I return to again and again, the cookie bases that showcase them best, and the assembly tricks that make homemade cream filled cookies look genuinely bakery-made.
The Magic of Homemade Cream-Filled Cookies
Bakery-style cream-filled cookies bring back childhood memories for many of us. These soft, pillowy treats combine rich cookies with sweet, fluffy filling. Making them at home lets you control ingredients and customize flavors to your preference.
The beauty of these cookies lies in their simplicity. You don’t need professional equipment or advanced baking skills. Furthermore, homemade versions often taste fresher than store-bought alternatives. The combination of a well-built cookie and a creamy filling creates an irresistible treat.
What Are Small Creme Filled Cookies?
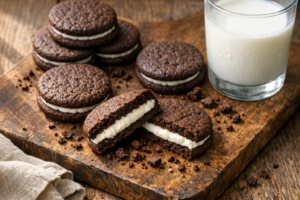
When people ask about small creme filled cookies, they usually mean the bite-sized commercial sandwich cookies — two crisp little wafers, usually chocolate or golden vanilla, with a disc of sweet white “creme” pressed between them. (That “creme” spelling is the industry’s way of admitting there’s no actual cream in the filling — it’s typically shortening, sugar, and flavoring.) Oreos and their store-brand cousins are the classic example.
Making them at home is easy: use any sturdy wafer base from this guide, roll it thin, and cut 1½-to-2-inch rounds instead of full-size cookies. Pipe about a teaspoon of filling — real butter and real vanilla this time — onto the flat side of one mini wafer and press a second on top. You get that same poppable, two-bite charm, but the filling actually tastes like something someone made on purpose.
The Rules for Perfect Cream-Filled Cookies
Before we dive into specific recipes, let me share the two non-negotiable rules I’ve discovered through extensive testing.
Rule #1: The cookie must be structurally sturdy. Thin, delicate cookies will crumble under the weight of the filling. In my experience, you need a cookie that’s at least ½ inch thick when rolled, or naturally dense like a chocolate wafer. The cookie should be crisp enough to hold its shape but not so hard it’s unpleasant to bite through.
Rule #2: The filling must be at the exact right consistency. Too soft, and it squeezes out when you press two cookies together. Too stiff, and it’s waxy and unpleasant on your tongue. A well-made homemade cream filling for cookies should be spreadable at room temperature—think of the texture of soft butter mixed with powdered sugar. It should hold its shape at room temperature for at least 2 hours without weeping or separating.
I test every filling combination by pressing two cookies together and gently squeezing. If any filling emerges from the sides, the consistency is too soft. If the filling resists spreading without warming the knife between strokes, it’s too stiff. This simple tactile test has become my gold standard for evaluating cream-filled cookies before I share a recipe.
Filling #1: Classic Vanilla Buttercream
This is my starting point for almost every cream-filled cookie project. Vanilla buttercream is simple, reliable, and endlessly adaptable. People always ask what’s in it, convinced there’s some secret ingredient they’re missing.
Classic Vanilla Buttercream Recipe:
- 1 cup (226g) unsalted butter, softened to room temperature
- 2½ cups (300g) powdered sugar, sifted
- 2 tbsp heavy cream
- 1 tsp pure vanilla extract
- Pinch of salt
Method: Beat softened butter on medium speed for 3 minutes until pale and fluffy. Add powdered sugar gradually—about ½ cup at a time—beating well after each addition to avoid lumps. Once all sugar is incorporated, add heavy cream and vanilla extract. Beat for 2 more minutes until the mixture is light, fluffy, and spreadable. The texture should resemble thick clouds.
That said, the quality of your vanilla extract matters here. I use Watkins All Natural Original Gourmet Baking Vanilla for most of my baking. The pure vanilla extract elevates the entire filling, giving it complexity that imitation vanilla simply can’t match. If budget is a concern, Nielsen-Massey Madagascar Bourbon Pure Vanilla Extract is an excellent alternative with impressive flavor depth.
Best paired with: chocolate wafer cookies, oatmeal cookies, chocolate chip cookies, or any sugar cookie. This filling is your reliable workhorse.
Filling #2: Cream Cheese Filling
Cream cheese filling brings tangy contrast to sweet cookies. The slight tartness prevents these cream-filled cookies from becoming cloying, especially when paired with rich chocolate cookies or spiced cookie bases.
Cream Cheese Filling Recipe:
- 8 oz (225g) full-fat cream cheese, softened to room temperature
- ½ cup (60g) powdered sugar, sifted
- 2 tbsp unsalted butter, softened
- 1 tsp vanilla extract
- Pinch of salt
Method: Beat cream cheese and softened butter together for 2 minutes until smooth and combined. Gradually add powdered sugar, beating well. Add vanilla and salt. Beat until light and fluffy, about 1 more minute. This filling should be slightly stiffer than vanilla buttercream.
One critical difference: cream cheese fillings need refrigeration. I always chill cream-filled cookies made with this filling for at least 30 minutes before serving. Specifically, store them in an airtight container in the refrigerator for up to 5 days. The cold temperature keeps the cream cheese firm and prevents it from softening too much at room temperature.
Best paired with: red velvet cookies, carrot cake cookies, lemon sugar cookies, or dark chocolate cookies. The tanginess of cream cheese complements spiced and fruity cookie bases beautifully.
Filling #3: Brown Sugar Cream Filling
This is my personal favorite filling. Brown sugar brings subtle caramel undertones without requiring you to make actual caramel. The molasses in brown sugar adds depth that regular white sugar can’t provide. This filling hits a sweet spot between richness and restraint.
Brown Sugar Cream Filling Recipe:
- ¾ cup (170g) unsalted butter, softened
- 1 cup (220g) light brown sugar, packed and sifted to remove lumps
- 2 tbsp heavy cream
- 1 tsp vanilla extract
- Pinch of salt
Method: Beat softened butter for 2 minutes. Add brown sugar gradually, beating well between additions—this takes longer than white sugar because of the density. Once combined, add cream and vanilla. Beat for 2 more minutes until light and fluffy. The mixture will be slightly darker and richer-looking than vanilla buttercream.
Best paired with: oatmeal cookies, snickerdoodle sandwich cookies, and graham cracker cookies. However, this filling also works beautifully with vanilla sugar cookies if you want to surprise people with unexpected depth of flavor.
Filling #4: Lemon Curd Cream
For citrus lovers, lemon curd cream is a game-changer. The tanginess of the curd combined with the sweetness of cream cheese creates a bright, balanced filling that feels sophisticated without being difficult to make.
Lemon Curd Cream Filling Recipe:
- ½ cup (120g) high-quality lemon curd (store-bought or homemade)
- 4 oz (115g) cream cheese, softened
- ¼ cup (30g) powdered sugar
- ½ tsp vanilla extract
Method: Beat cream cheese and powdered sugar until smooth. Fold in lemon curd gently until just combined—don’t overmix, as you want some visual swirl to the filling. Add vanilla. This filling will be slightly softer than cream cheese alone, so keep it refrigerated until ready to use.
In my experience, homemade lemon curd makes a noticeably better filling than the thinner commercial versions. That said, specific brands of store-bought curd vary widely in consistency. If your lemon curd is very liquid, reduce the amount to ¼ cup and increase cream cheese to 5 oz (140g).
Best paired with: lemon sugar cookies, shortbread, and almond flour cookies. The brightness of the filling elevates simple cookie bases into something memorable.
Filling #5: Mint Chocolate Cream
This filling is a crowd pleaser, especially when paired with chocolate cookie bases. The combination taps into the universal appeal of chocolate and mint—think Girl Scout Thin Mints, but homemade and infinitely better.
Mint Chocolate Cream Filling Recipe:
- ¾ cup (170g) unsalted butter, softened
- 2 cups (240g) powdered sugar, sifted
- 3 tbsp unsweetened cocoa powder
- 2 tbsp heavy cream
- ½ tsp peppermint extract (or ¼ tsp if you prefer subtle mint)
- Pinch of salt
Method: Beat butter for 2 minutes. Sift powdered sugar and cocoa powder together, then add gradually to butter, beating well. Add cream, peppermint extract, and salt. Beat for 2 more minutes until smooth and fluffy.
Be conservative with peppermint extract. It’s potent, and too much becomes medicinal. I start with ½ teaspoon and taste as I go. You want the mint to complement the chocolate, not overpower it.
Best paired with: chocolate wafer cookies and dark chocolate sugar cookies. The filling itself is dark and dramatic—it looks as good as it tastes.
Filling #6: Strawberry Cream
Fresh strawberry filling sounds simple until you realize the challenge: fresh fruit introduces moisture. Moisture makes cookies soggy. I solved this years ago by switching to freeze-dried strawberry powder. The flavor is intensely strawberry, and there’s no liquid to compromise your cream-filled cookies.
Strawberry Cream Filling Recipe:
- ¾ cup (170g) unsalted butter, softened
- 2 cups (240g) powdered sugar, sifted
- 3 tbsp freeze-dried strawberry powder
- 1 tbsp heavy cream
- ½ tsp vanilla extract
- Pinch of salt
Method: Beat butter for 2 minutes. Add powdered sugar gradually. Sift strawberry powder separately to break up any clumps, then add along with cream, vanilla, and salt. Beat for 2 more minutes until the filling is pale pink and fluffy.
Freeze-dried strawberry powder is available online and at specialty food stores. One small container lasts through dozens of batches. That said, if you can’t find it, you can substitute ¼ teaspoon of strawberry extract plus 2 tablespoons of finely minced fresh strawberries—just pat the strawberries very dry first and add them at the very end by folding gently into the finished filling.
Best paired with: vanilla sugar cookies, shortbread, and lemon cookies. The strawberry filling adds color and flavor contrast without overwhelming delicate cookie bases.
One more note: if you’re baking for someone watching their sugar, all six of these concepts adapt well — I keep four tested versions in my sugar-free cream filling for cookies post, and they genuinely taste indulgent.
The Stand Mixer That Finally Made Creamy Fillings Foolproof
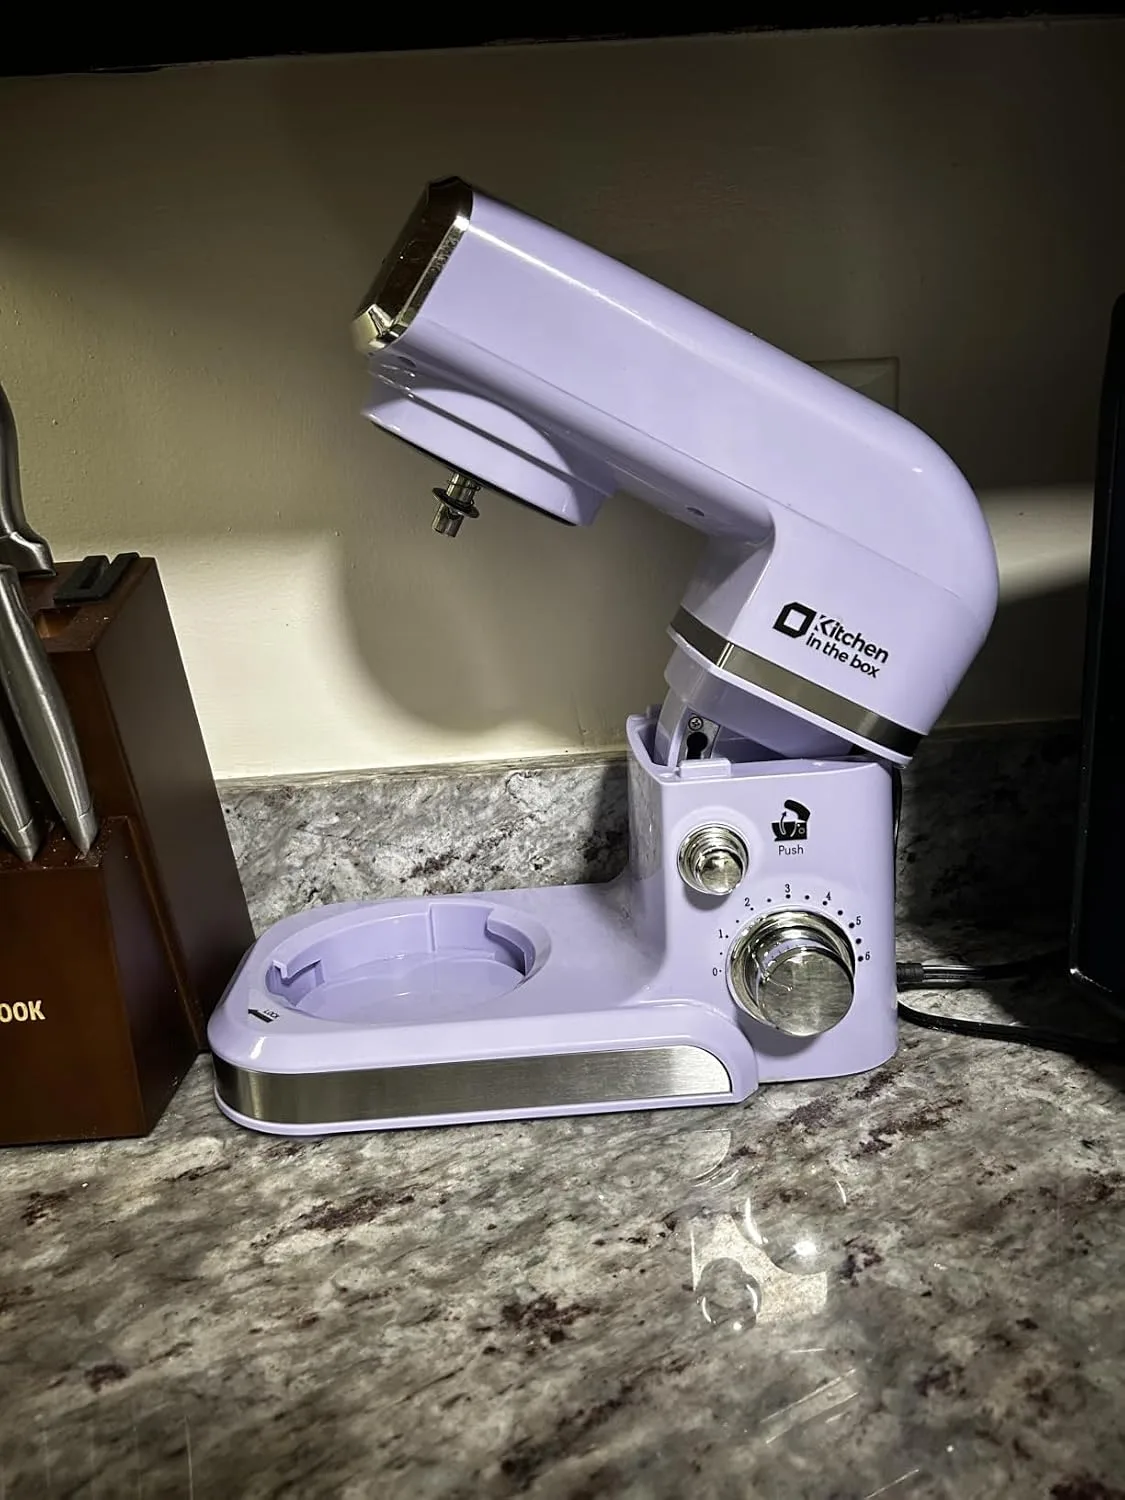
Getting a sandwich cookie filling light, fluffy, and spreadable used to mean my arm aching halfway through mixing, or worse—an unevenly whipped filling that looked curdled on one side and dense on the other. A stand mixer changed that, especially when it comes to beating butter and powdered sugar into that cloud-like consistency these cookies demand.
What works
- The paddle attachment aerates filling evenly across the bowl, so I get that silky, uniform texture every time instead of ending up with overmixed streaks or underbeaten pockets.
- I can walk away once it’s running—no hand-cramping, no risk of stopping too early or too late because I can visually check progress without wearing myself out.
- The cookie dough itself comes together in half the time, and the dough is noticeably more uniform in texture, which means the sandwich cookies bake evenly and look more professional.
What doesn’t
- It takes up serious counter space, so if you have a small kitchen, you’ll need to commit to finding it a permanent home or moving it in and out each baking session.
- For very small batches or single cookie recipes, it can feel like overkill—the bowl size is designed for bigger projects, so mixing a quarter batch of filling looks a bit lonely in there.
I once nearly skipped using it for a last-minute filling, thinking I could just use a hand mixer, and I regretted it within two minutes. If you’re serious about making sandwich cookies regularly, investing in a stand mixer is worth every penny.
This post contains affiliate links. As an Amazon Associate, I earn from qualifying purchases at no extra cost to you.

The Best Cookie Bases for Cream-Filled Cookies
Now that you have filling recipes, you need to know which cookies work best as the “shell” for cream-filled cookies. Structure matters. Flavor matters. Moisture content matters most of all.
A quick note on flour before we start: all-purpose flour delivers classic results with reliable texture—its protein content sits in the ideal range for tender-but-sturdy baked goods. Gluten-free blends absolutely work here too, but they need a binder like xanthan gum or your cookies will crumble during assembly; King Arthur’s gluten-free baking guide is my go-to reference for those adjustments.
Chocolate Wafer Cookies
These are my gold standard for cream-filled cookies. Chocolate wafers are thin, crisp, and dense enough to hold filling without crumbling. They’re also neutral enough to pair with almost any filling I’ve tested.
Make them by creaming 6 oz (170g) butter with ¾ cup (150g) sugar, then adding 1 egg, 1 tsp vanilla, ½ tsp salt, and a mixture of ¾ cup (90g) flour plus ¼ cup (25g) unsweetened cocoa powder. Roll thin (about ⅛ inch), cut into 2-inch rounds, and bake at 350°F for 8-10 minutes until just set. They continue to crisp as they cool. For a full walkthrough of this style—including a lower-sugar almond-flour version—see my cream-filled chocolate sandwich cookies recipe.
Classic Rolled Sugar Cookies
Sugar cookies work beautifully for cream-filled cookies when rolled to at least ½ inch thick. Thinner than that, and they become too delicate. Use a basic recipe: butter, sugar, egg, vanilla, flour, salt, and baking powder. Roll thick, cut into shapes, and bake at 350°F for 10-12 minutes until pale golden.
The key is not overbaking. Specifically, remove them when the edges barely show color. They’ll firm up as they cool, and you want them crisp but not hard.
Oatmeal Cookies
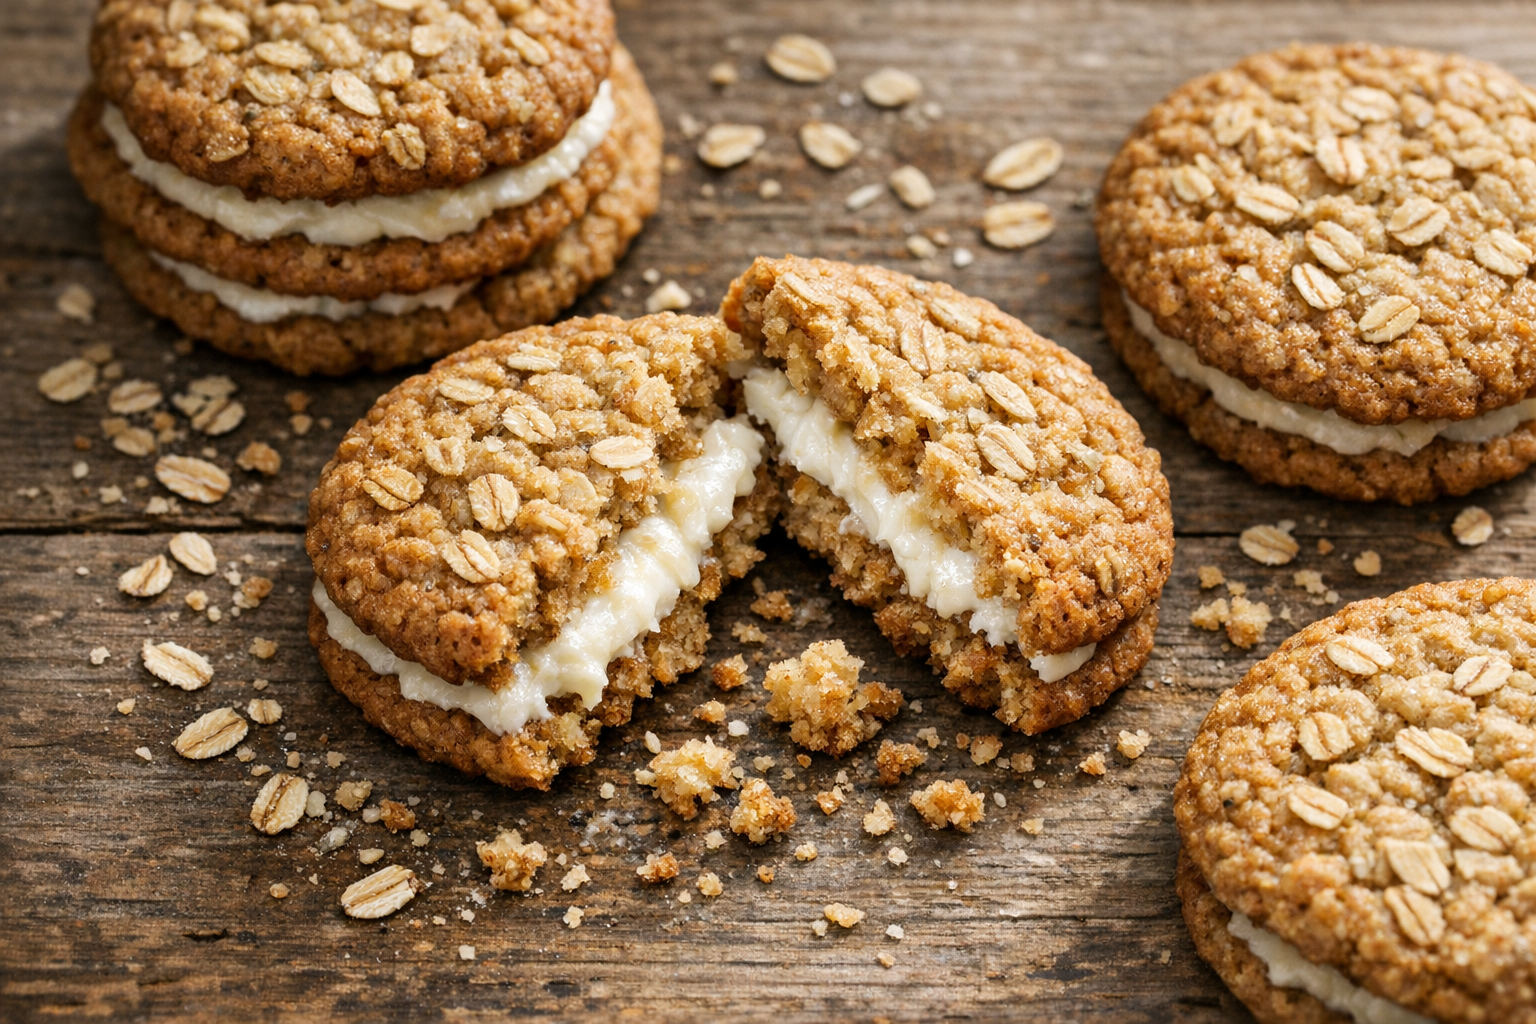
Oatmeal cookies bring a chewy texture that contrasts beautifully with creamy fillings. They’re structurally sturdy enough to hold filling, but still have enough give that they’re pleasant to bite through. If you’re drawn to that nostalgic oatmeal-creme-pie style, my dedicated cream filled oatmeal cookies recipe has the full base recipe plus three filling pairings.
Make them with rolled oats, butter, brown sugar, egg, vanilla, flour, baking soda, salt, and a pinch of cinnamon. Bake at 350°F for 12-14 minutes until set but still chewy.
Shortbread
Shortbread is buttery, sturdy, and pairs well with almost any filling. Make it with butter, sugar, flour, and salt in a 3:1:2 ratio by weight (12 oz butter, 4 oz sugar, 8 oz flour, ½ tsp salt). Roll to ¼ inch thickness, cut into shapes, and bake at 325°F for 12-15 minutes until pale golden.
However, shortbread is rich on its own. Specifically, I pair it with brighter fillings like lemon curd cream or strawberry cream rather than chocolate-based fillings.
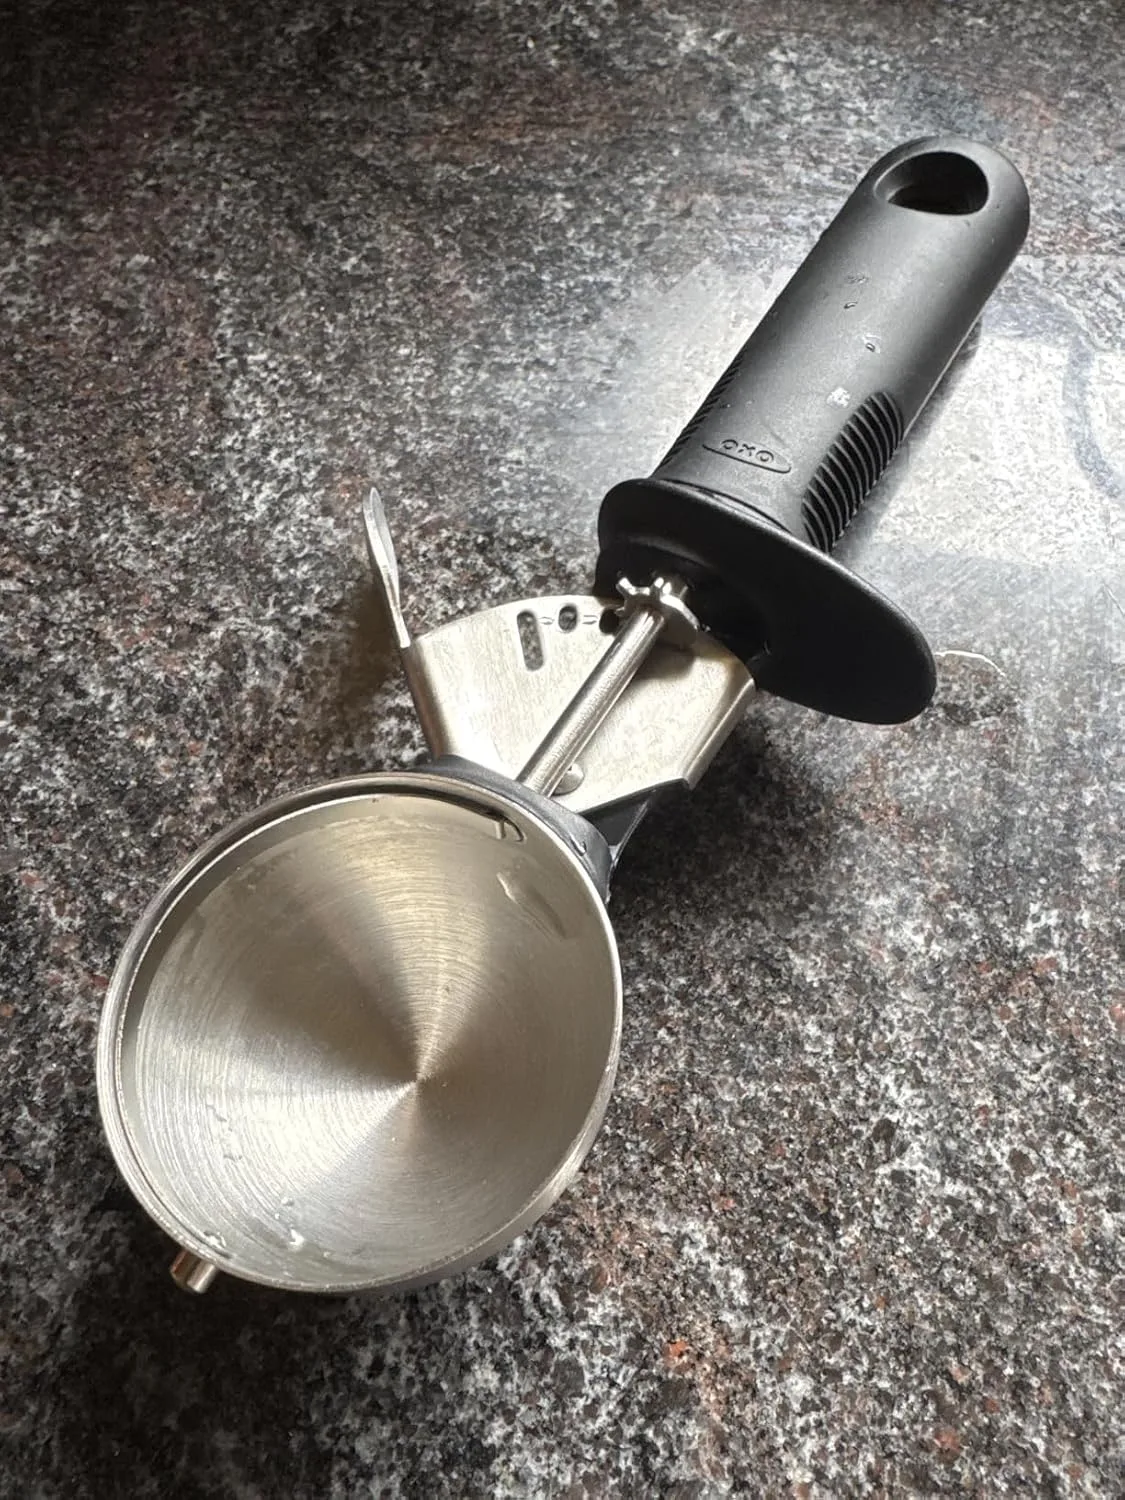
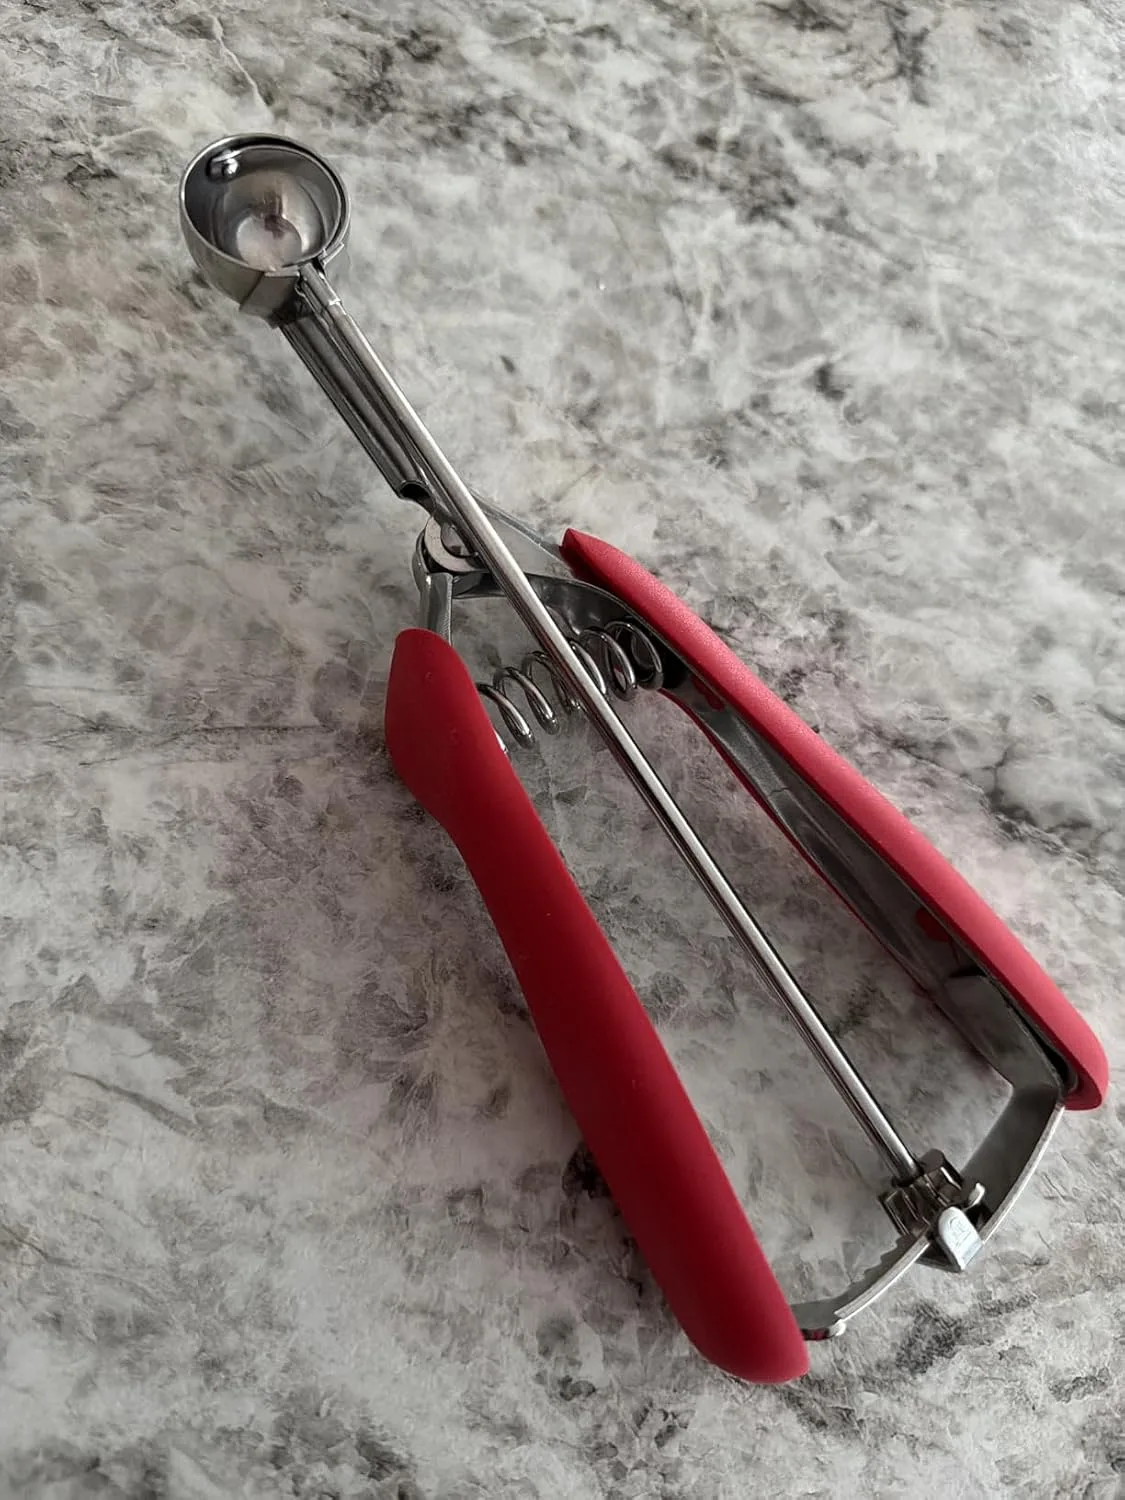
The Ice Cream Scoop That Finally Stopped My Cookies From Baking Unevenly
For years, I was eyeballing my cookie dough portions, which meant some cookies puffed up golden while others stayed thin and cakey. When you’re stacking two cookies around a delicate cream filling, uneven sizes mean wonky sandwiches that don’t look or bake the same way on both sides.
What works
- Every cookie comes out virtually the same size, so both halves of my sandwich bake at the same rate and look intentional rather than handmade.
- The mechanical release actually works—I’m not manually scraping dough off with a spatula, which was adding air and making portions inconsistent anyway.
- It’s fast enough that I’m not tempted to just “wing it” again; I can scoop an entire batch in under five minutes and still be excited about what I’m baking.
What doesn’t
- The handle gets sticky with oatmeal dough and you’ll need to wipe it between scoops, which isn’t a big deal but breaks your rhythm if you’re not expecting it.
- If your dough is too warm or too soft, the scoop won’t release cleanly—it’s finicky about dough temperature in a way that hand-scooping never was.
I almost abandoned it the first time I used it because I hadn’t chilled my dough enough and spent ten minutes fighting the release mechanism. But once I figured out that five minutes in the fridge made all the difference, this became the one tool I reach for every single time I make these cookies. You can find the ice cream scoop I use here.

How to Assemble and Store Cream-Filled Cookies
Assembly method matters. Piping looks more professional and uses less filling—you can control the amount precisely. Spreading is faster for everyday baking. Either method works; the choice depends on your goals and patience level.
Piping the Filling
Transfer your cookie cream filling to a piping bag fitted with a round or star tip. Pipe a small mound onto the flat side of one cookie. Top with a second cookie, flat side down, and press gently. The filling should reach just to the cookie edges, not squeeze out.
This method gives you the most control and looks beautiful. It’s my preferred method for gifts or special occasions.
Spreading the Filling
Spread a thin layer of filling onto the flat side of one cookie using an offset spatula. Top with a second cookie. Press together gently until the filling just reaches the edges. This method is faster and requires less precision.
In my experience, most home bakers find spreading easier than piping. That’s perfectly fine. The filling tastes the same regardless of how it gets there.
Storage and Shelf Life
Room temperature storage: Most cream-filled cookies stay fresh for 2 days at room temperature in an airtight container. The cookies themselves stay crisp, and the filling remains stable and spreadable.
Refrigerated storage: Cream-filled cookies last 5 days in the refrigerator. This is especially important for cream cheese fillings, which benefit from cool temperatures. Let them sit at room temperature for 10 minutes before serving if they feel too firm.
Frozen storage: These cookies freeze beautifully for up to 2 months. Wrap assembled cookies individually in plastic wrap, then place in a freezer-safe container. Thaw at room temperature for about 30 minutes before serving. The flavor and texture remain virtually unchanged.
Final Thoughts
Cream-filled cookies are simultaneously impressive and approachable. Master one filling recipe, understand the structural principles, and suddenly you have hundreds of flavor combinations at your fingertips. Vanilla buttercream on chocolate wafers. Brown sugar cream on oatmeal cookies. Mint chocolate on chocolate wafers. Strawberry cream on shortbread.
The variety comes from mixing and matching—from understanding which flavors complement each other and which cookie bases provide the right structure. You’re not just making one type of cookie anymore. You’re creating sandwich cookies with cream fillings that showcase your baking knowledge and taste in flavor development.
Start with whichever filling calls to you. Make a batch this weekend. Watch how people react when they bite into a perfectly balanced cream-filled cookie. Then make another. The investment in mastering these six fillings will pay dividends in your baking for years to come.
ice cream scoop
I scoop the same amount into each cookie every time, so they bake evenly and look like they came from a bakery.
Check Price on Amazon →This post contains affiliate links. As an Amazon Associate, I earn from qualifying purchases at no extra cost to you.