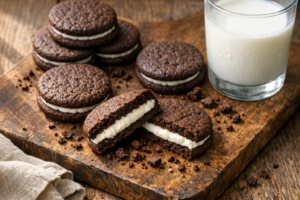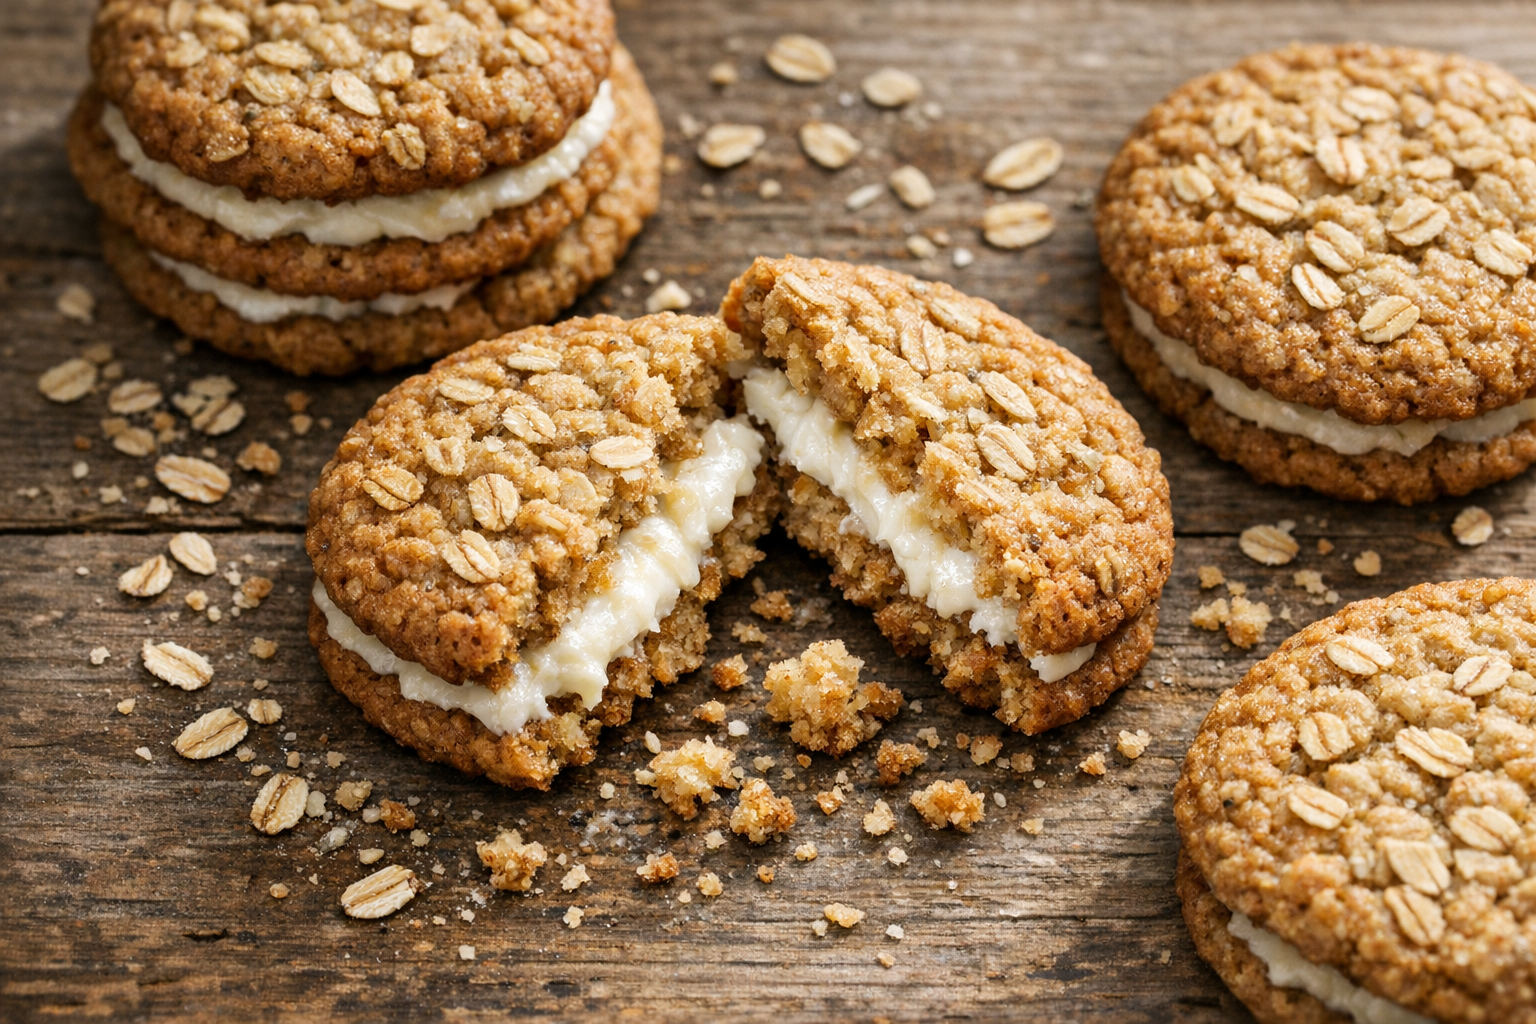

Bakery-Style Cream-Filled Cookies
Soft flat-topped vanilla sandwich cookies engineered to hold brown butter vanilla bean cream filling without leaking or cracking.
Ingredients
- 170 g (3/4 cup, 12 tablespoons) unsalted butter, softened to 65°F
- 150 g (3/4 cup packed) light brown sugar
- 65 g (1/3 cup) granulated sugar
- 1 large egg, room temperature (about 50 g out of shell)
- 1 large egg yolk, room temperature (about 18 g)
- 10 g (2 teaspoons) vanilla extract
- 250 g (2 cups plus 1 tablespoon, spooned and leveled) all-purpose flour
- 15 g (2 tablespoons) cornstarch
- 3 g (1/2 teaspoon, scant) baking soda
- 5 g (3/4 teaspoon) fine sea salt
- 200 g (7/8 cup, 14 tablespoons) unsalted butter, to be browned
- 30 g (2 tablespoons) additional unsalted butter, softened
- 360 g (3 cups) powdered sugar, sifted
- 1 vanilla bean, split and scraped (or 8 g / 1 1/2 teaspoons vanilla bean paste)
- 30 g (2 tablespoons) heavy cream, room temperature
- 2 g (1/4 teaspoon) fine sea salt
Instructions
- Whisk the flour, cornstarch, soda, and salt together in a bowl and set it aside.
- Beat the butter and both sugars on medium for exactly two minutes.
- Add the egg, then the yolk, then the vanilla, beating about 20 seconds after each, scraping the bowl down to the bottom.
- Add the dry ingredients all at once and mix on low just until no dry streaks remain, maybe 30 seconds, then finish the last few turns by hand with a spatula.
- Portion at 38 grams per cookie by scooping and weighing on a scale.
- Press each ball down to about 1/2 inch thick using the flat bottom of a drinking glass.
- Space them at least 2 1/2 inches apart on a half-sheet pan, twelve to a pan.
- Chill the portioned, flattened discs for at least 45 minutes and up to 24 hours.
- Bake at 350°F for 9 to 10 minutes, pulling them when the edges are set and lightly golden but the center 1/3 still looks glossy and slightly wet.
- Let them sit on the pan five minutes, then move them to a rack and cool completely.
- Melt the 200 g of butter in a light-colored saucepan over medium heat until the milk solids at the bottom turn amber and smell like toasted hazelnuts, about six to eight minutes, then scrape every browned speck into a bowl.
- Pour the browned butter into a shallow dish and refrigerate 60 to 90 minutes, stirring once at the halfway mark.
- Beat the cooled browned butter with the 30 g of fresh butter on medium-high for three minutes, until pale and noticeably lighter.
- Add the sifted powdered sugar in three additions on low.
- Add the vanilla seeds, cream, and salt, then whip on medium-high for a full four minutes.
- Sort your cooled cookies into pairs by diameter, flat side up for the base and flat side down for the lid.
- Pipe or dollop 22 grams of filling onto each base, leaving a 1/4-inch bare border around the edge.
- Press straight down with even pressure until the filling reaches the edge and stops.
Notes
- Cornstarch is not optional; it dilutes flour protein for a shorter, more tender bite.
- Use a spring-release scoop for consistent portions; unfilled cookies can be frozen up to 3 months.
- Assemble no more than four hours ahead and hold at room temperature in a single layer loosely covered.
Last February I lined up eleven sandwich cookies on a sheet of parchment and measured each one with a ruler, because I had reached the point where “close enough” was no longer close enough. Nine of them were between 2 3/4 and 3 inches across. Two were closer to 3 1/2, and those two had spread so thin at the edges that the filling pushed straight out the side when I pressed the lids on. That was the batch that finally made me stop treating cream filled cookies as a drop cookie with frosting shoved between two of them. A sandwich cookie is a different animal, and it needs a different formula, a different scoop, and a different definition of “done.”
What follows is the whole thing, start to finish, in one sitting. A soft flat-topped vanilla cookie engineered to be filled, and one filling I have made more times than I care to admit: brown butter vanilla bean cream. One filling, done properly. If you want a menu of options, I have written that elsewhere and I will point you there when we get to it.
Why a Sandwich Cookie Formula Is Not a Normal Cookie Formula
A good chocolate chip cookie is allowed to be lumpy. It can dome in the center, crack across the top, and have a rippled edge, and we call that character. A sandwich cookie has to mate to another cookie. Every one of those charming irregularities becomes a gap, and a gap becomes a place for filling to escape.
So I changed three things from my standard soft cookie, and I tested each change separately across six batches over about three weeks.
More brown sugar, less white
Brown sugar holds onto water. That water keeps the crumb soft for days, which matters enormously here, because a filled cookie sits around while the filling and the cookie exchange moisture. My first version ran half white sugar and half brown. By day two those cookies had gone stiff at the edges while the centers turned damp from the cream. The version below is roughly 70 percent brown sugar, and the texture holds steady from hour six through day three.
Less leavening, and only baking soda
Doming is a leavening problem more than a temperature problem. Baking powder gives you a second lift in the oven, right when the structure is setting, and that lift pushes the center up into a little hill. I cut the powder entirely and dropped to a scant half teaspoon of soda per 250 grams of flour. The cookies spread first and set second, which is exactly the order I want. They come out flat enough that a ruler laid across the top touches from edge to edge.
An extra yolk instead of an extra white
Egg white is mostly water and protein, and protein sets firm. Too much of it gives you a cookie that snaps when you press the two halves together. Yolk brings fat and lecithin, which is nature’s own emulsifier, and it keeps the crumb tender and slightly bendy. One whole egg plus one yolk gave me the only version out of four that survived a firm press without a hairline crack across the top.
The Cookie: Soft Flat-Top Vanilla Sandwich Base
This makes 24 cookies, which becomes 12 sandwiches. I have scaled it to 48 twice with no adjustments beyond a second sheet pan and a longer chill.
Portioning: The Single Biggest Difference Between Homemade and Bakery
Here is the uncomfortable truth I arrived at after that ruler incident. Flavor is not what makes a sandwich cookie look professional. Sameness is. A bakery case looks the way it does because every cookie in it is the same diameter, the same thickness, and carries the same weight of filling. Nobody consciously notices this. Everybody notices when it is missing.
Two spoons will not get you there. I weighed twelve two-spoon portions once out of curiosity and they ranged from 29 grams to 47 grams. That is a 60 percent spread, and a 47-gram cookie bakes longer and spreads wider than a 29-gram one on the same pan. A spring-release scoop with a consistent barrel volume is the fix, and it is the piece of equipment I would buy first if I were starting over.
The Ice Cream Scoop That Finally Stopped My Cookies From Baking Unevenly
For years, I was eyeballing my cookie dough portions, which meant some cookies puffed up golden while others stayed thin and cakey. When you’re stacking two cookies around a delicate cream filling, uneven sizes mean wonky sandwiches that don’t look or bake the same way on both sides.
What works
- Every cookie comes out virtually the same size, so both halves of my sandwich bake at the same rate and look intentional rather than handmade.
- The mechanical release actually works—I’m not manually scraping dough off with a spatula, which was adding air and making portions inconsistent anyway.
- It’s fast enough that I’m not tempted to just “wing it” again; I can scoop an entire batch in under five minutes and still be excited about what I’m baking.
What doesn’t
- The handle gets sticky with oatmeal dough and you’ll need to wipe it between scoops, which isn’t a big deal but breaks your rhythm if you’re not expecting it.
- If your dough is too warm or too soft, the scoop won’t release cleanly—it’s finicky about dough temperature in a way that hand-scooping never was.
I almost abandoned it the first time I used it because I hadn’t chilled my dough enough and spent ten minutes fighting the release mechanism. But once I figured out that five minutes in the fridge made all the difference, this became the one tool I reach for every single time I make these cookies. You can find the ice cream scoop I use here.
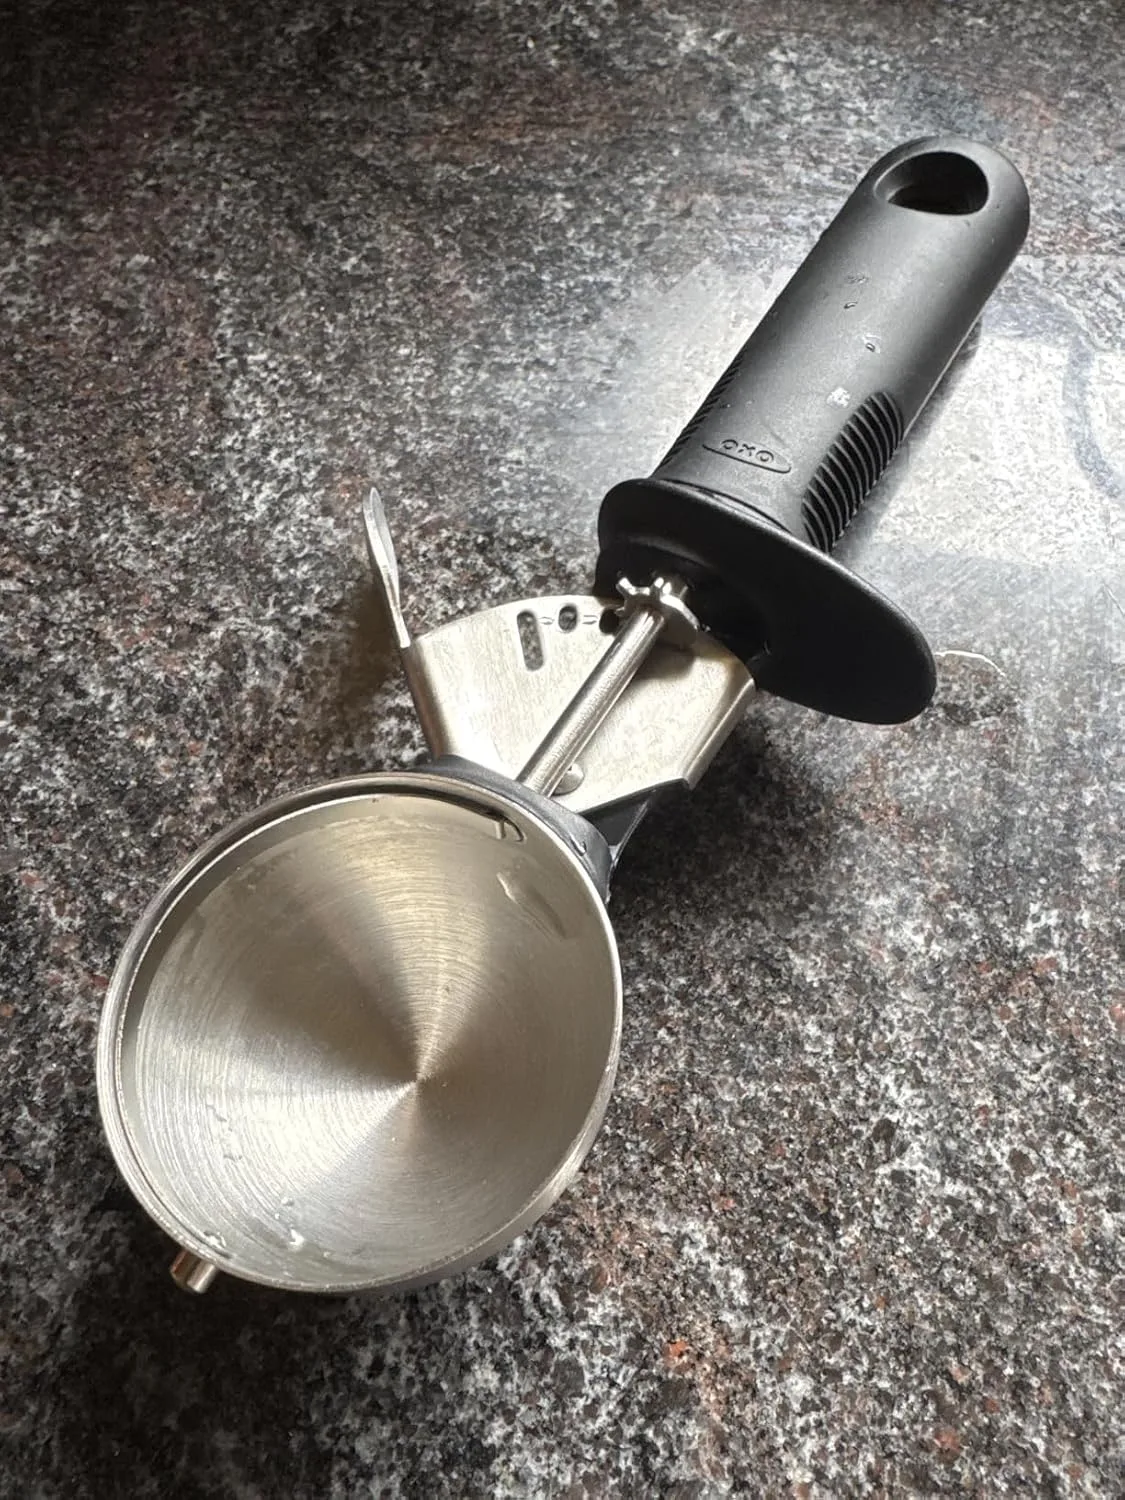
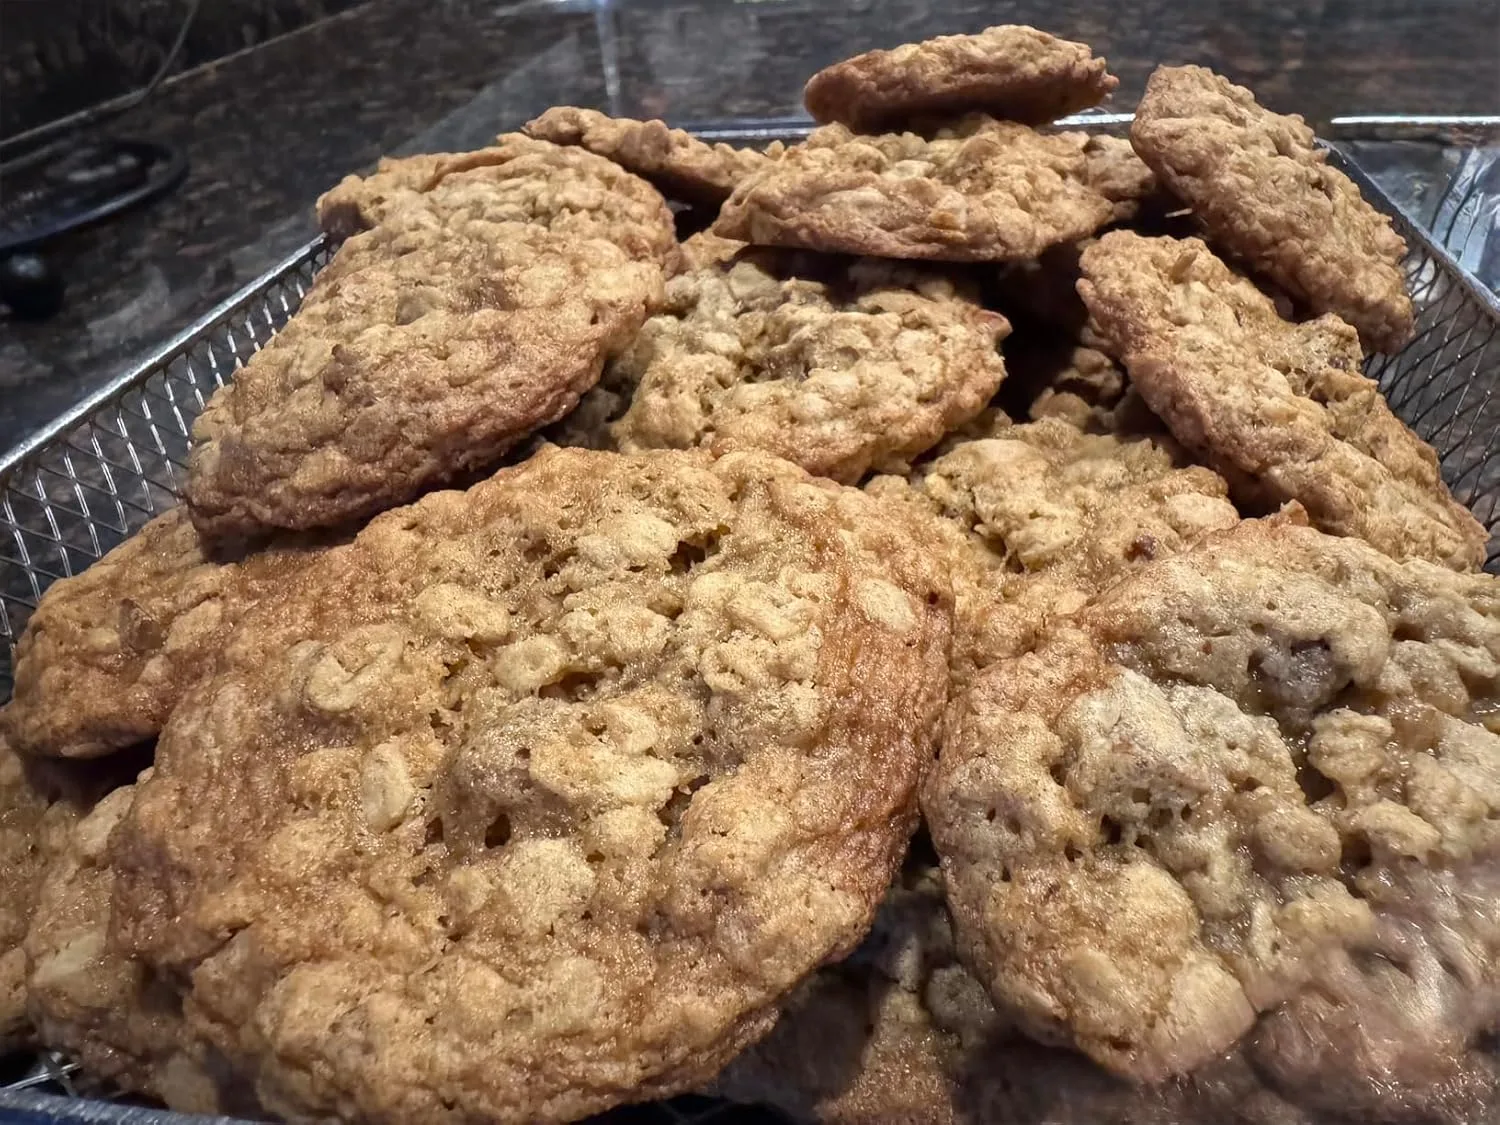
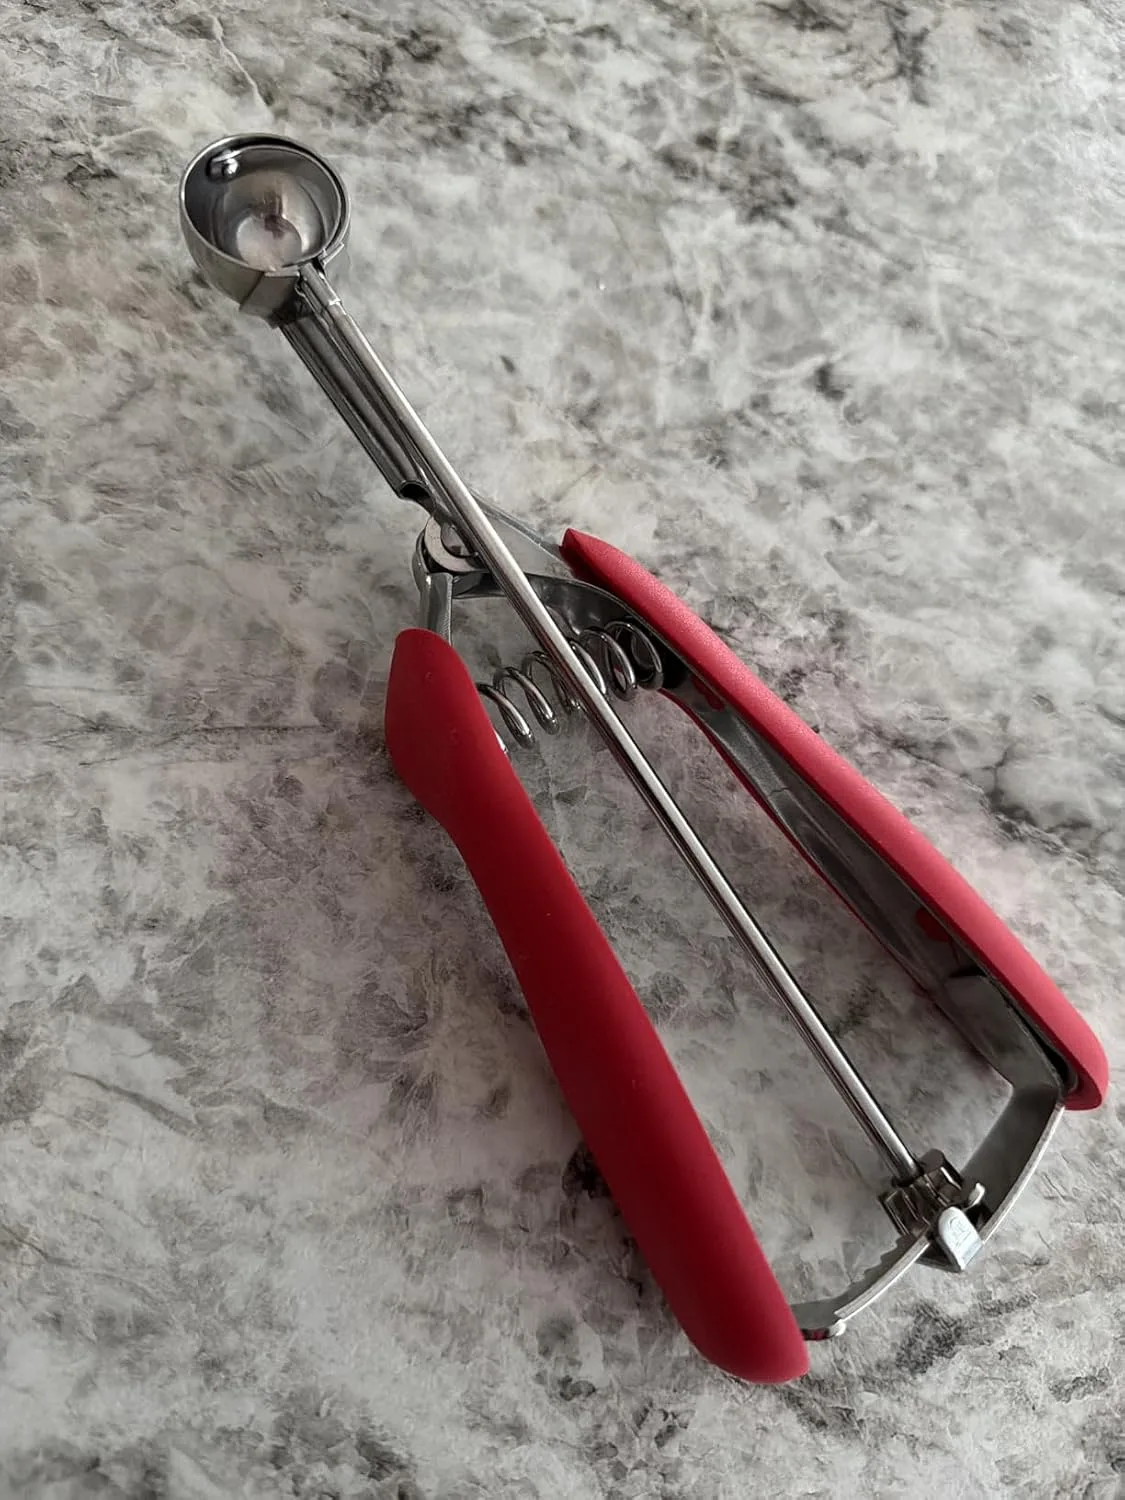
Portion at 38 grams per cookie. Scoop, then set each ball on a scale and pinch off or add a little until it reads 38. This sounds fussy and it takes four extra minutes for the whole batch. The payoff is that every cookie finishes baking at the same moment and every lid sits flush on its base.
Flattening for a flat top
After portioning, press each ball down to about 1/2 inch thick using the flat bottom of a drinking glass. A dough ball bakes from the outside in and the trapped center pushes upward as it heats. A pre-flattened disc has nowhere to push. In my testing, flattened portions came out an average of 3 millimeters shorter in the center than unflattened ones from identical dough.
Space them at least 2 1/2 inches apart. Twelve to a half-sheet pan, no more. Crowded cookies run into each other and you lose the clean round edge.
Chilling and Baking Cream Filled Cookies to the Right Doneness
Chill the portioned, flattened discs for at least 45 minutes and up to 24 hours. Cold butter melts more slowly, so the flour has time to set structure before the fat fully liquefies. Skipping the chill gave me cookies that spread to 3 1/2 inches and thinned out at the rim, which is exactly how you end up with squeeze-out later.
Bake at 350°F for 9 to 10 minutes. Not 12. This is the part most people get wrong, and I got it wrong for a solid year.
What “done” means for a cookie that will be filled
Pull them when the edges are set and lightly golden but the center 1/3 still looks glossy and slightly wet. They will look underdone. They are supposed to. Carryover heat on the hot pan finishes them for another three or four minutes after they leave the oven.
The reasoning is moisture math. A fully baked cookie has driven off most of its free water, so when you press wet filling against it, the cookie pulls moisture from the cream and turns from crisp to leathery. A slightly underbaked cookie already holds enough water that the exchange is much smaller. Specifically, my 12-minute test batch went spongy and sad by hour eighteen. The 9-minute batch was still exactly right at 72 hours.
Let them sit on the pan five minutes, then move them to a rack. Cool completely. Filling a cookie that is even faintly warm melts the butter in the cream and you get a slumped, greasy mess.
The Signature Filling: Brown Butter Vanilla Bean Cream
This is the filling I keep coming back to. Browning the butter turns the milk solids nutty and caramel-toned, and the vanilla bean seeds give it a speckled, expensive look that a bottle of extract never quite achieves. It also solves a problem: plain buttercream tastes flat against a brown-sugar cookie, because both are sweet in the same register. Browned butter adds a savory, toasted note that cuts across.
Ingredients
- 200 g (7/8 cup, 14 tablespoons) unsalted butter, to be browned
- 30 g (2 tablespoons) additional unsalted butter, softened, added after browning
- 360 g (3 cups) powdered sugar, sifted
- 1 vanilla bean, split and scraped (or 8 g / 1 1/2 teaspoons vanilla bean paste)
- 30 g (2 tablespoons) heavy cream, room temperature
- 2 g (1/4 teaspoon) fine sea salt
Browning, and the water you lose
Melt the 200 g of butter in a light-colored saucepan over medium heat. It will foam, then quiet down, then the milk solids at the bottom will turn amber and smell like toasted hazelnuts. That whole process takes six to eight minutes. Scrape every one of those browned specks into a bowl. They are the entire point.
Now the part nobody warns you about. Butter is roughly 16 to 18 percent water, and browning boils nearly all of it off. My 200 g of butter consistently weighs 168 to 172 g after browning. That is a real loss, and it changes the ratio of fat to sugar in your filling. Ignore it and your buttercream comes out stiff, dry, and prone to cracking at the edge of the sandwich.
That is why the recipe adds 30 g of fresh soft butter back in after browning. It restores the water and the un-toasted milk solids, so you land back near your original fat-and-moisture balance while keeping all the flavor. I go deeper on what actually happens in the pan in my write-up on brown butter cookie science, including why the pan color matters more than you would think.
Cooling it back to solid, which is not optional
Browned butter is liquid, and liquid fat cannot hold air. If you whip powdered sugar into warm brown butter, you get a pourable glaze that never sets. I know because I did it, twice, and told myself the second time would be different.
Pour the browned butter into a shallow dish and refrigerate 60 to 90 minutes, stirring once at the halfway mark so the solids redistribute instead of settling into a layer at the bottom. You want it back to the consistency of softened butter, roughly 65°F: opaque, scoopable, holding a thumbprint. Too cold and it will not whip; take it out and let it sit twenty minutes.
Whipping
Beat the cooled browned butter with the 30 g of fresh butter on medium-high for three minutes, until pale and noticeably lighter. Add the sifted powdered sugar in three additions on low. Add the vanilla seeds, cream, and salt, then whip on medium-high for a full four minutes. It will go from beige and dense to pale gold and fluffy, and it roughly doubles in volume.
Four minutes of high-speed whipping is more than a hand mixer enjoys, and this is one of the few places in cookie baking where the motor genuinely matters.
The Stand Mixer That Finally Made Creamy Fillings Foolproof
Getting a sandwich cookie filling light, fluffy, and spreadable used to mean my arm aching halfway through mixing, or worse—an unevenly whipped filling that looked curdled on one side and dense on the other. A stand mixer changed that, especially when it comes to beating butter and powdered sugar into that cloud-like consistency these cookies demand.
What works
- The paddle attachment aerates filling evenly across the bowl, so I get that silky, uniform texture every time instead of ending up with overmixed streaks or underbeaten pockets.
- I can walk away once it’s running—no hand-cramping, no risk of stopping too early or too late because I can visually check progress without wearing myself out.
- The cookie dough itself comes together in half the time, and the dough is noticeably more uniform in texture, which means the sandwich cookies bake evenly and look more professional.
What doesn’t
- It takes up serious counter space, so if you have a small kitchen, you’ll need to commit to finding it a permanent home or moving it in and out each baking session.
- For very small batches or single cookie recipes, it can feel like overkill—the bowl size is designed for bigger projects, so mixing a quarter batch of filling looks a bit lonely in there.
I once nearly skipped using it for a last-minute filling, thinking I could just use a hand mixer, and I regretted it within two minutes. If you’re serious about making sandwich cookies regularly, investing in a stand mixer is worth every penny.
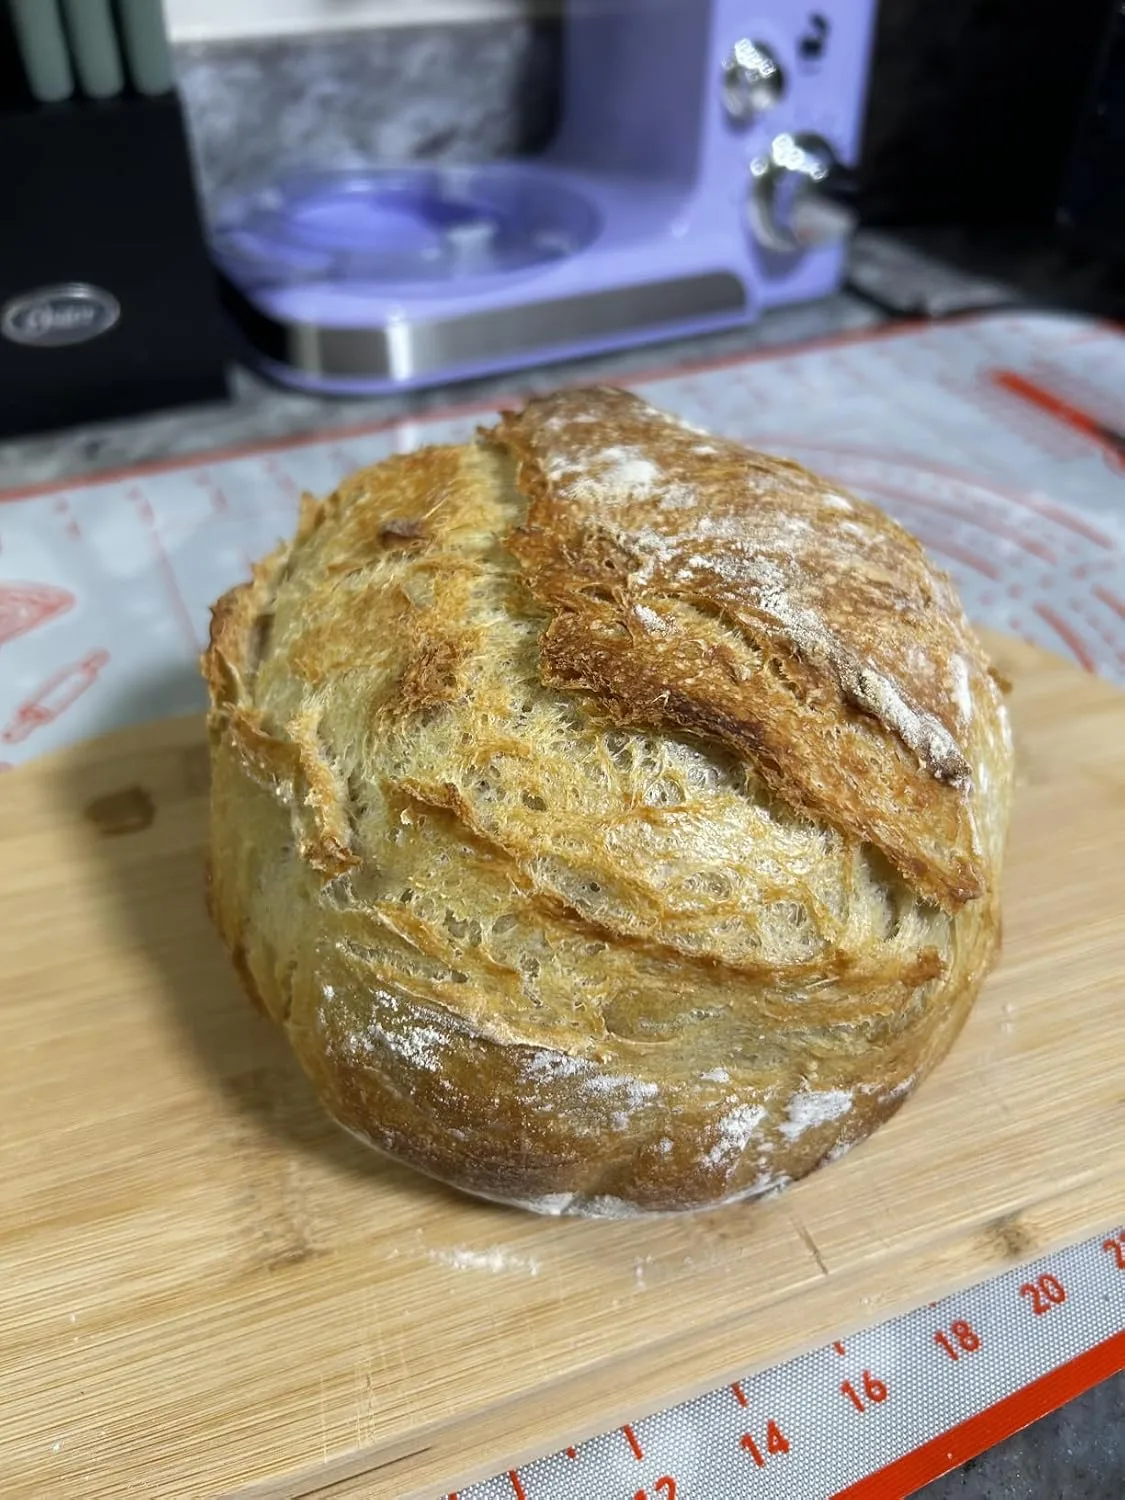

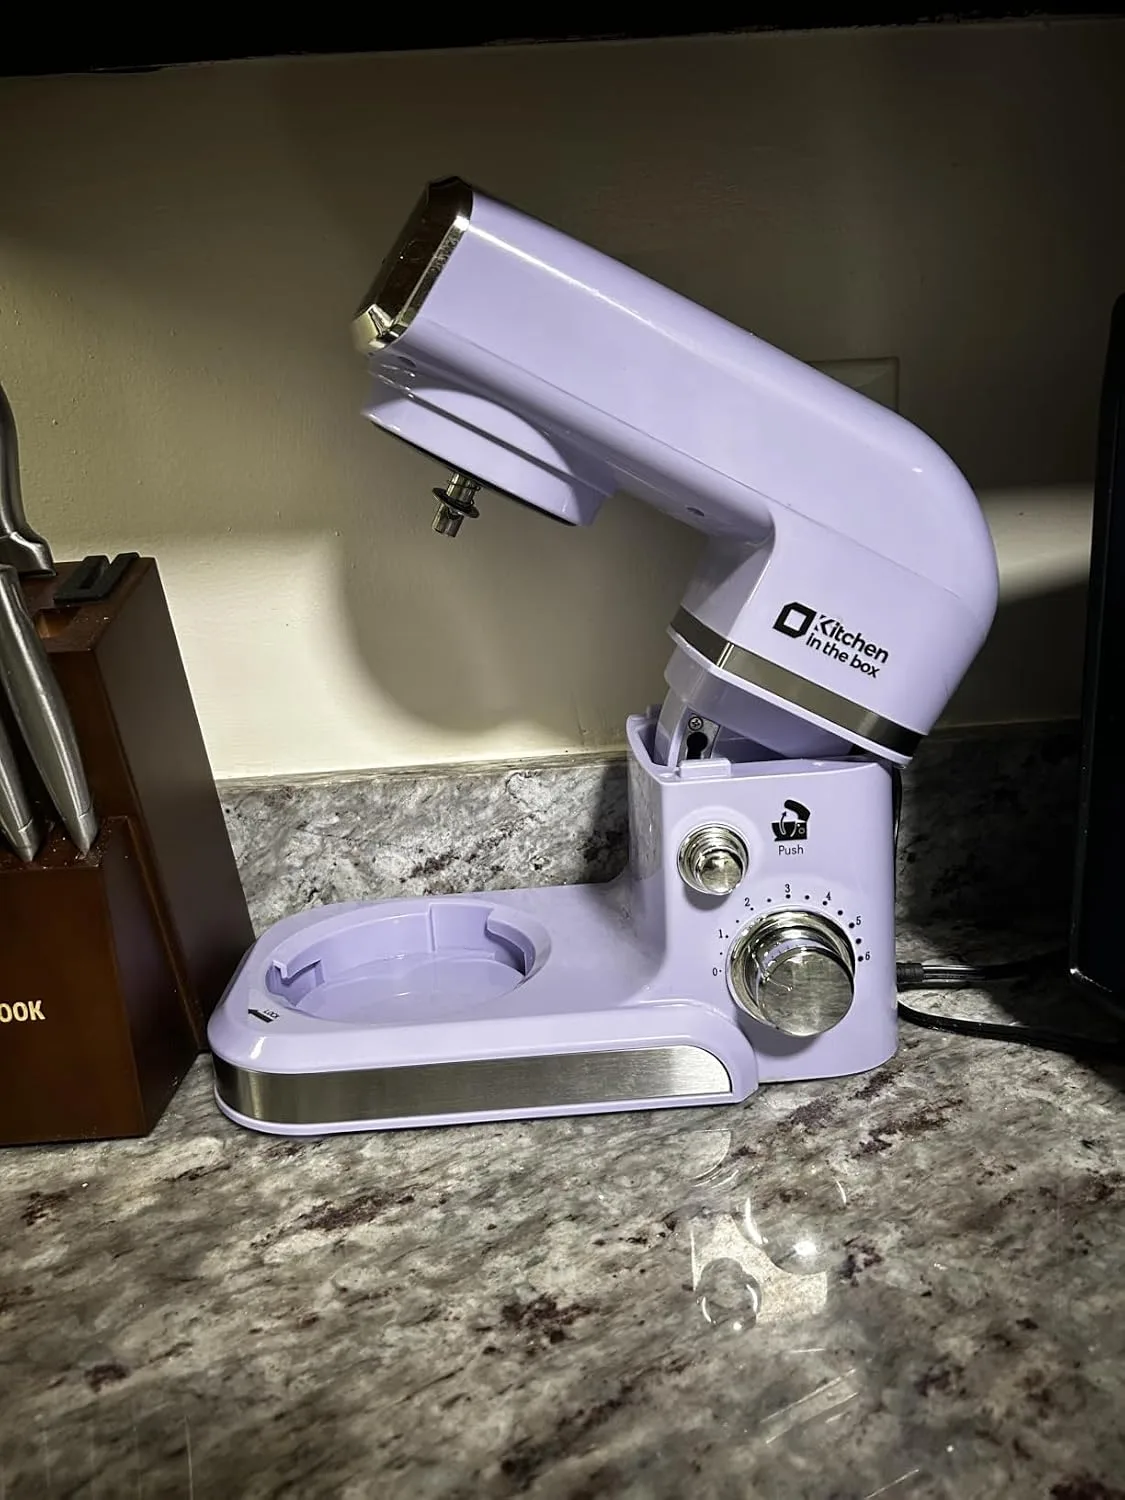
If you want to swap this out for something fruitier, tangier, or chocolate-based, I built a whole framework for that in my guide to filling recipes that work with any cookie base. Every one of them fits this cookie without adjustment.
Assembly: Weighing the Filling
Sort your cooled cookies into pairs by diameter. Match the two widest, then the next two, and so on. Flat side up for the base, flat side down for the lid.
Pipe or dollop 22 grams of filling onto each base. Weigh the first three, then trust your eye for the rest. Twenty-two grams on a 3-inch cookie gives you a filling layer just under 1/2 inch thick after pressing, which reads generous without overwhelming the cookie.
Leave a 1/4-inch bare border around the edge. The filling will migrate outward when you press, and that border is what it migrates into. Press straight down with even pressure until the filling reaches the edge and stops. Any twisting motion shears the filling sideways and pushes it out one side.
The Batch That Went Wrong
In March I made 36 of these for my daughter’s school bake sale. I assembled them the night before, boxed them in a single layer, and put the boxes in the refrigerator because it was a warm week and I was worried about the butter.
By morning the filling had set up like cold butter, because that is precisely what it is. The cookies had gone dense and slightly damp on their inner faces. Somebody bit into one and the entire lid slid off sideways, filling still attached, because the cold cream had lost all its grip and the cookie had gone soft against it.
What went wrong was the refrigerator, not the recipe. Buttercream at 38°F is a solid, and a cookie sealed in a box at that temperature has nowhere to send its moisture. Now I assemble no more than four hours ahead and hold them at room temperature in a single layer, loosely covered. If I truly must refrigerate, I pull them out ninety minutes before serving. That gap is enough for the filling to soften and re-grip.
Troubleshooting
The cookies domed instead of staying flat
Usually over-creaming. Check that you stopped at two minutes and that your butter was 65°F, not warm and greasy. Warm butter whips in more air. Second suspect is oven temperature running hot, which sets the outside before the center can spread; an oven thermometer costs very little and settles the argument. If they still dome, press each ball a bit thinner before chilling.
Filling squeezes out the sides
Three causes, in the order I would check them. Too much filling, so weigh it. No bare border, so leave the quarter inch. Or a filling that is too soft, which happens if your browned butter was still on the warm side when you whipped. Chill the assembled cookies fifteen minutes and the problem usually stops repeating.
They went soggy overnight
Airtight containers trap moisture, and the cookie and the filling then trade water with nowhere for it to go. Store loosely covered instead, or with a paper towel in the container. Refrigeration accelerates this considerably, as I learned at that bake sale. Assembling closer to serving is the real fix.
The filling turned rock-hard in the fridge
It is an all-butter filling, so this is expected behavior rather than a defect. Butter is solid below about 60°F. Let the cookies sit out ninety minutes. However, if you need something that stays soft cold, a filling with shortening or cream cheese behaves differently, and I cover those alternatives in the sibling post.
Make-Ahead and Storage
- Dough: refrigerate up to 3 days portioned and flattened, or freeze the discs up to 3 months. Bake from frozen, adding 90 seconds.
- Baked cookies, unfilled: 4 days at room temperature in a loosely sealed container, or 2 months frozen.
- Browned butter: 2 weeks refrigerated, 6 months frozen. I brown a pound at a time now.
- Finished filling: 5 days refrigerated. Bring to room temperature and re-whip 60 seconds before using.
- Assembled sandwiches: best within 24 hours at room temperature. Day two is good. Day three is acceptable.
Freezing unfilled cookies and browned butter separately is how I actually operate in December. Twenty minutes of whipping and assembly and you have a tray that looks like it came from a case.
A Few Variations Worth Knowing
This base takes 100 grams of quick oats swapped in for 60 grams of the flour if you want to move toward oatmeal cream pies, though you will need to add a minute of bake time. For anyone cutting sugar, the cookie is harder to adapt than the filling, and I have written up a sugar-free cream filling that pairs decently with this base if you accept a slightly less soft cookie.
Beyond that, I would make it as written at least once. The numbers in this recipe came out of a lot of mediocre batches, and the 38-gram portion, the 9-minute bake, and the 22 grams of filling are the three that changed everything. Get those right and your cream filled cookies will look like somebody sold them to you.
About This Article

Written by Margaret Chen. Margaret Chen is a home baker and recipe developer with over 15 years of experience perfecting cookie recipes through rigorous testing and detailed experimentation. She tests every recipe multiple times, documents every variable, and applies the same rigor professional bakers use, with the warmth and accessibility of home baking. More about this site.
Scope and limits. Margaret is a home baker and recipe developer with no formal culinary training. Follow current food safety guidance for egg handling, storage, and anything you are serving to other people.
Verify this against a primary source
Specifics change, and your situation may differ from the one described here. These are the authorities worth checking directly:
- USDA FoodData Central — ingredient composition and nutrition data
- FoodSafety.gov — safe handling, storage and egg safety