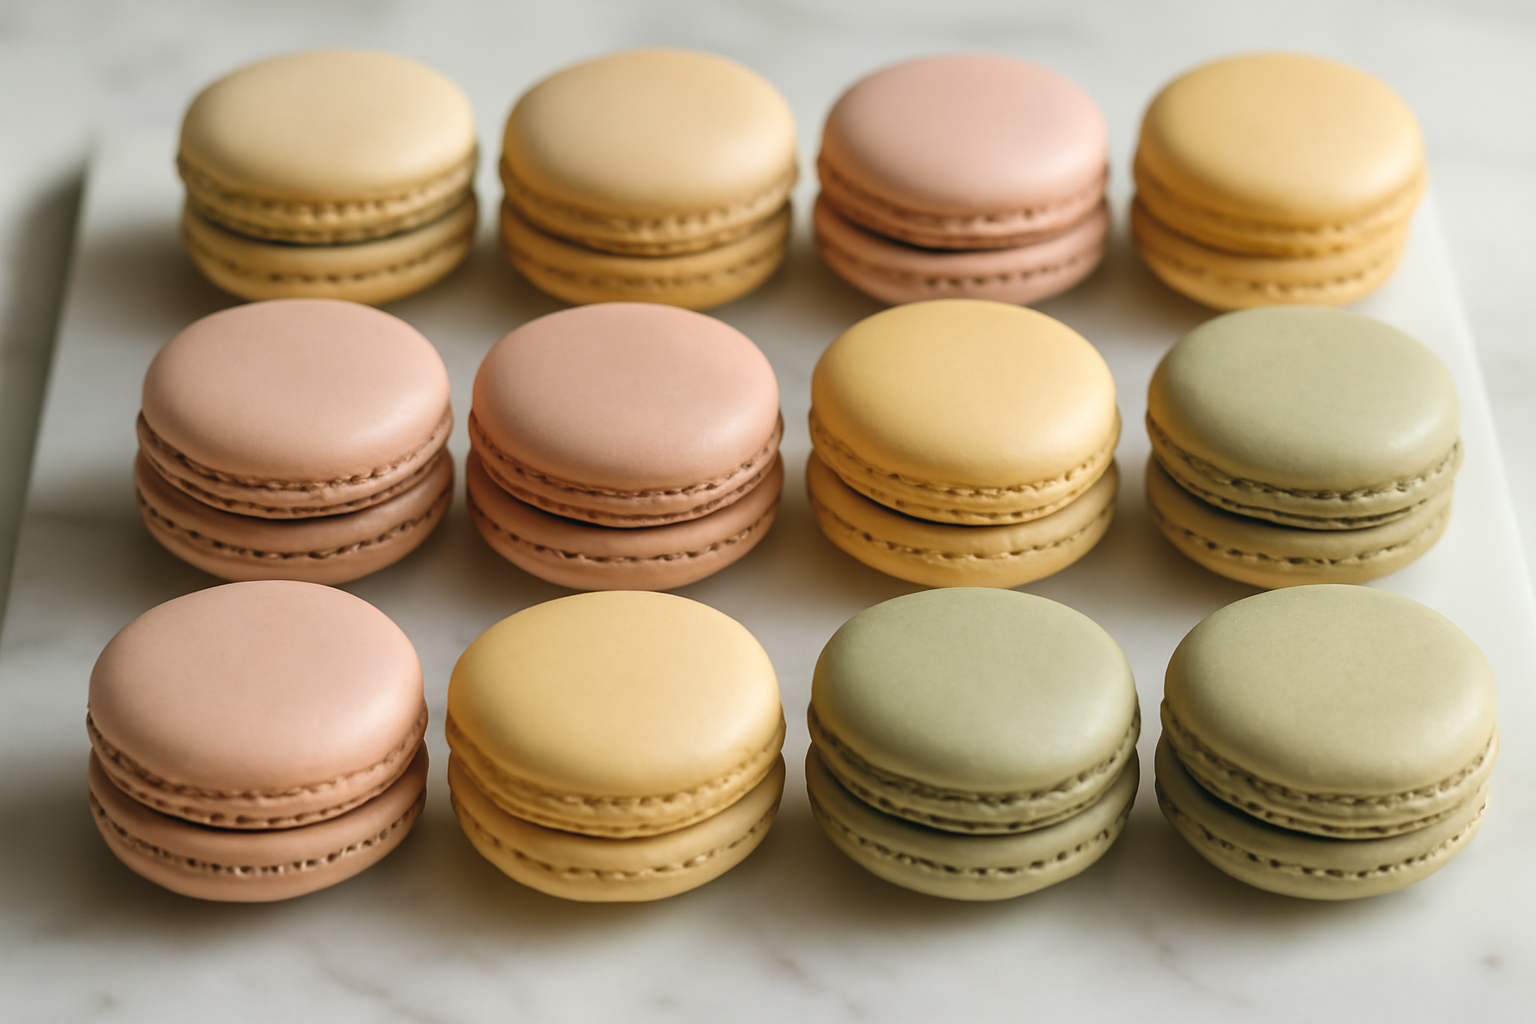

French Macarons
Smooth meringue-based cookies with almond flour and characteristic feet, requiring precise technique and timing.
Ingredients
- 200g blanched almond flour, sifted twice
- 200g powdered sugar, sifted
- 150g egg whites, aged at room temperature for 24–48 hours
- 150g granulated sugar
- Pinch of cream of tartar
- Gel food coloring
Instructions
- Age egg whites uncovered in the refrigerator for 24 to 48 hours, then bring to room temperature.
- Whip the aged egg whites with cream of tartar to stiff peaks.
- Add the granulated sugar to the whipped egg whites to make a meringue.
- Fold the sifted almond flour and powdered sugar into the meringue using about 10 to 15 deliberate folds until the batter reaches a lava flow or ribbon consistency.
- Pipe the batter onto a parchment-lined baking sheet using a round tip, holding the bag straight up and down about half an inch above the sheet, making circles approximately 1.5 inches in diameter.
- Bang the baking sheet firmly on the counter 5 or 6 times to release air bubbles.
- Let the piped shells rest uncovered at room temperature for 30 to 60 minutes until a dry skin forms on the surface.
- Bake at 300°F (150°C) on the middle rack for 14 minutes using double-stacked baking sheets.
- Cool the shells completely on the pan for at least 15 minutes before removing them.
Notes
- Use a kitchen scale and measure by weight, not volume
- For chocolate macarons, use high-fat Dutch processed cocoa powder
- Use an oven thermometer to verify actual oven temperature
I still remember sitting on my kitchen floor in December 2018, surrounded by twelve cracked, lopsided, hollow shells that were supposed to be French macarons. I had followed every online tutorial I could find. My feet were wrong. My shells had craters. My filling oozed out sideways. That was batch number three, and I genuinely considered never attempting a french macarons at home recipe beginner guide ever again. Instead, I became slightly obsessed. Forty-seven batches later — yes, I kept a spreadsheet — I finally pulled a tray from my oven that made me cry actual tears of relief.
French macarons have a reputation that I think scares people off unnecessarily. They are finicky, absolutely. However, they are not magic. Every single failure I experienced had a logical, scientific explanation. Once I understood the why behind the technique, everything clicked. That spreadsheet became my roadmap, and now I want to hand it to you so your journey takes forty-three fewer disasters than mine did.
This guide covers everything I learned through genuine, painful, delicious trial and error. I’ll walk you through ingredients, technique, troubleshooting, and the specific discoveries from my most pivotal batches. If you’re ready to finally conquer macarons at home, let’s get into it.
Why French Macarons Are Technically Challenging (And Totally Worth It)
A macaron shell is essentially a meringue-based cookie that relies on three competing forces held in perfect balance: protein structure from the egg whites, fat from the almond flour, and sugar chemistry from both the granulated and powdered sugar. When any one of those forces is off, the whole system fails. This is why a cookie that looks simple — it’s just two little sandwich cookies! — can defeat experienced bakers repeatedly.
The almond flour provides fat, which inhibits gluten development and gives the shell its characteristic chew. However, too much oil from improperly processed almonds can deflate your meringue during the macaronage step. The egg white proteins, when whipped to stiff peaks, create an air matrix that needs to survive folding, piping, resting, and baking. That’s a lot of stages where things can go wrong. Understanding this helped me stop guessing and start diagnosing.
Specifically, batch 23 was the breakthrough batch for me. That was the first time I used aged egg whites, sifted my almond flour twice, and measured my batter consistency by the “ribbon” test rather than by gut feel. The shells came out smooth, developed feet, and didn’t crack. I practically framed them.
The French Macarons at Home Recipe Beginner Guide: Ingredients and Ratios That Actually Work
After 47 batches, this is the base recipe I trust completely. These quantities make approximately 36 finished sandwich cookies — about 72 individual shells.
- 200g blanched almond flour — sifted twice, with any large pieces discarded
- 200g powdered sugar — also sifted, no shortcuts here
- 150g egg whites — aged at room temperature for 24–48 hours
- 150g granulated sugar — for making the Swiss or French meringue
- Pinch of cream of tartar — stabilizes the egg white foam
- Gel food coloring — liquid will destabilize your meringue
Aging the egg whites is non-negotiable in my kitchen. Fresh egg whites contain more moisture. Sitting uncovered in the fridge for 24 hours (then brought to room temperature) allows some of that moisture to evaporate, which creates a stronger, more stable foam. I learned this the hard way on batch 11, when I used fresh eggs in a hurry and produced beautifully piped circles that spread into flat puddles in the oven.
The ratio of almond flour to powdered sugar should always be 1:1 by weight. Do not measure by volume. A kitchen scale is the single most important tool you own for this recipe. I use an OXO Good Grips scale that I’ve had for eight years, and it has earned its counter space every single time I bake macarons.
Mastering Macaronage: The Folding Technique That Makes or Breaks Everything
Macaronage is the step where you fold your dry ingredients into your meringue. It is simultaneously the most important and most misunderstood step. Under-fold, and your shells will have peaks that don’t dissolve and crack in the oven. Over-fold, and your shells will spread flat with no feet. The window between these two outcomes is smaller than you’d think — roughly ten to fifteen deliberate folds.
The correct consistency is called the “lava flow” or “ribbon” stage. When you lift your spatula, batter should fall off in a thick, continuous ribbon and dissolve back into the bowl within about 10 seconds. I tested this with an actual timer starting around batch 19, and it genuinely transformed my results. If the ribbon disappears in under 8 seconds, stop folding immediately.
Here’s exactly how I fold: I use a wide silicone spatula and press the batter against the side of the bowl while rotating the bowl with my other hand. This deflates just enough air from the meringue to achieve the right fluidity. That said, I count strokes during the last ten folds and check consistency every two strokes. It sounds fussy. However, this precision is what separates batch 47 from batch 3.
Piping and Resting: Two Steps Most Beginners Rush
Pipe your shells onto a parchment-lined baking sheet using a round tip — I use a Wilton 1A. Hold the bag straight up and down, about half an inch above the sheet. Apply even pressure and release cleanly by twisting the bag slightly. Each circle should be about 1.5 inches in diameter. After piping the entire tray, bang the sheet firmly on the counter five or six times to release air bubbles.
Then comes the rest — and please don’t skip this. Let your piped shells sit uncovered at room temperature for 30 to 60 minutes until a dry skin forms on the surface. Touch one gently; it shouldn’t stick to your fingertip. This skin is what forces the shell to expand upward and outward at the base, creating those iconic feet. Skipping the rest means the steam escapes through the top, causing cracks.
Oven Temperature and Baking: The Variables I Tested Obsessively
Ovens lie. Every oven runs differently, and this matters enormously for macarons. I bake mine at 300°F (150°C) in a conventional oven with no convection fan, on the middle rack, for exactly 14 minutes. However, it took me testing batches at 275°F, 290°F, 300°F, 310°F, and 325°F to land on that number for my specific oven. You may need to do the same.
I strongly recommend an oven thermometer — mine is a simple CDN thermometer that cost about eight dollars and revealed my oven ran 15°F hot. That discovery alone explained probably twelve failed batches. At too-high temperatures, shells brown before they set and develop hollow interiors. At too-low temperatures, they never develop proper feet and remain sticky on the bottom.
Always bake one tray at a time. Always use double-stacked baking sheets to insulate the bottoms from direct heat. Let shells cool completely on the pan — at least 15 minutes — before attempting to remove them. As a result, the interiors finish setting up gently without collapsing. Rushing this step cost me entire trays in my early batches.
The Cocoa Powder That Finally Stopped My Macaron Shells From Cracking
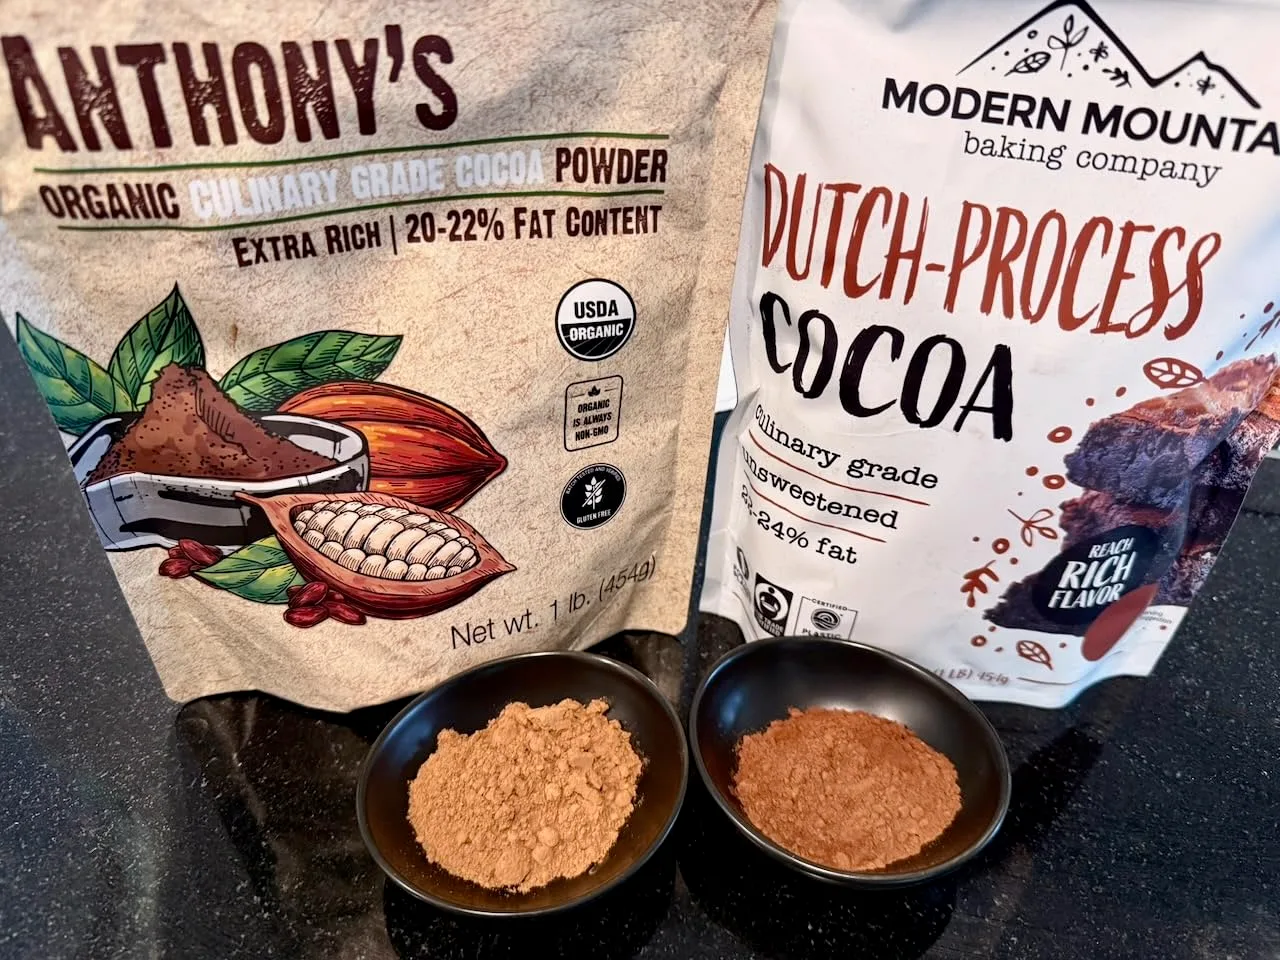
When you’re making chocolate macarons, the cocoa powder isn’t just flavoring—it’s structural. I spent years using whatever cocoa I had on hand, only to watch my shells develop hairline fractures during baking or taste thin and dusty. Switching to a high-fat Dutch processed cocoa completely changed the game.
What works
- The 22–24% fat content gives the batter a richer, smoother texture that pipes more consistently without tearing the macaron skin.
- Dutch processing means the cocoa dissolves cleanly into the almond flour mixture instead of leaving gritty specks that weaken the shell structure.
- The flavor is deep and rounded—not harsh or acidic—so your finished macarons taste like real chocolate, not a chalky afterthought.
What doesn’t
- It’s noticeably more expensive than standard grocery store cocoa powder, which adds up if you’re testing recipes obsessively like I do.
- The 8 oz size runs out quickly once you commit to making macarons regularly, so you’ll find yourself reordering often.
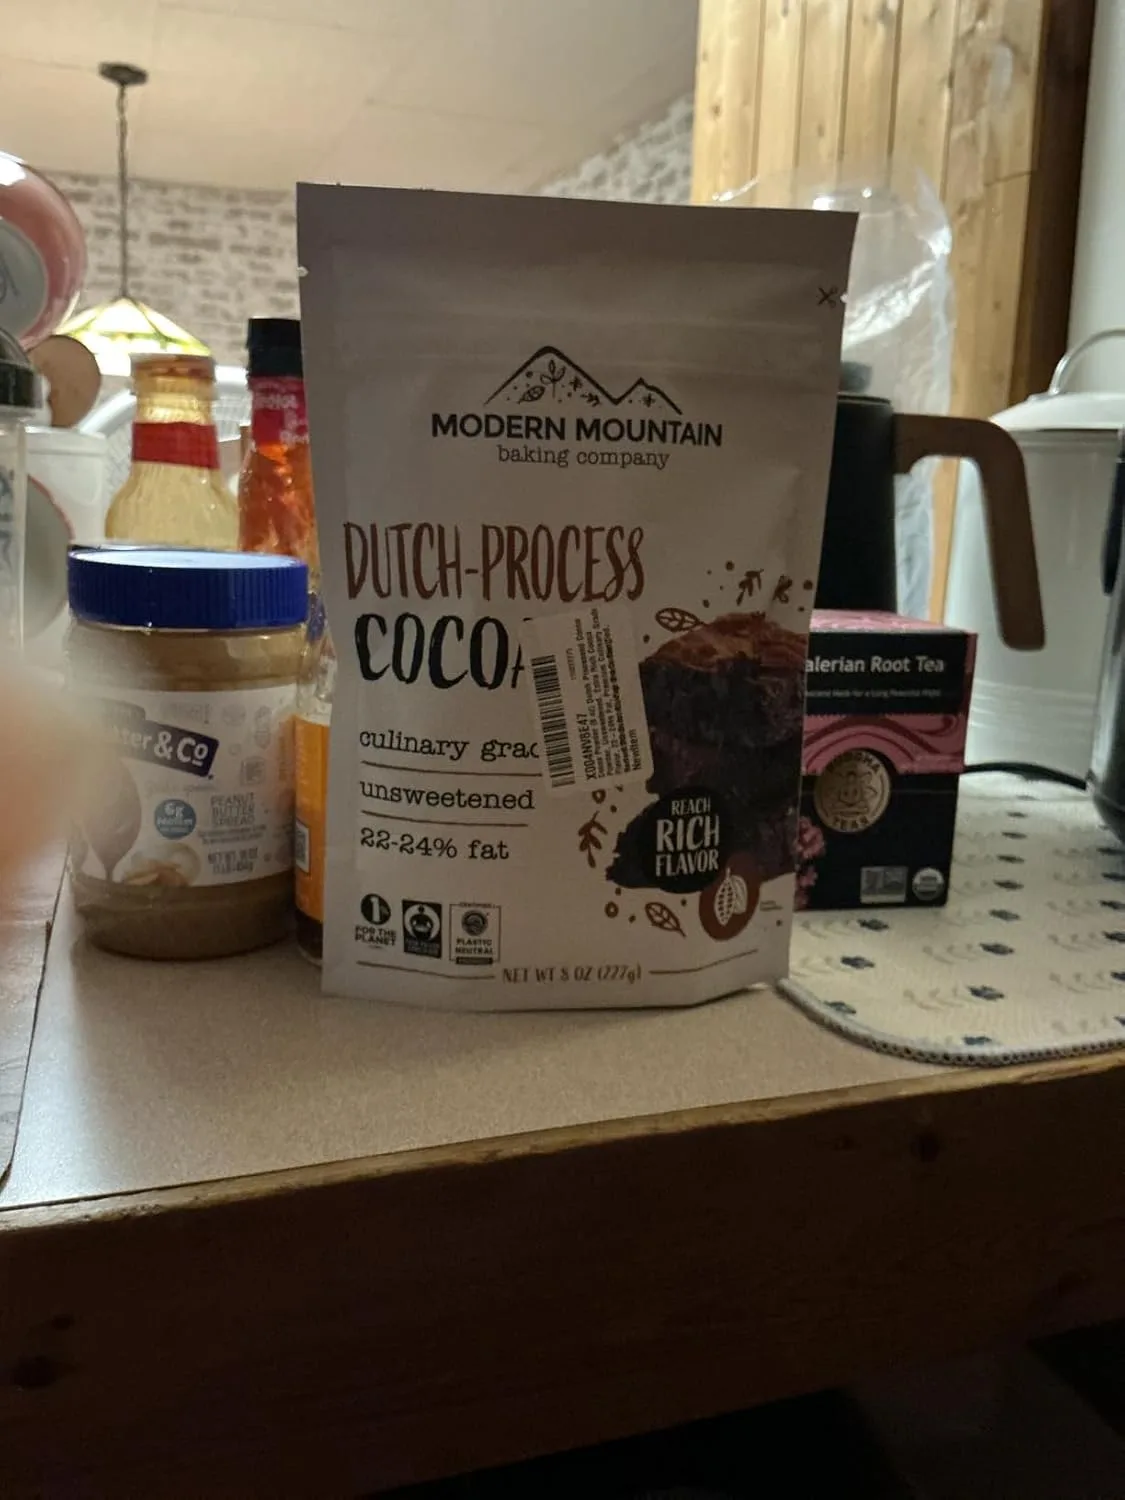
I was skeptical that cocoa powder quality could matter this much—until batch 31, when I switched brands and suddenly my shells baked smooth and stayed intact. If you’re serious about nailing chocolate macarons, grab the Dutch Processed Cocoa Powder (8 oz), 22–24% Fat, Premium Culinary Grade.
About This Article

Written by Margaret Chen. Margaret Chen is a home baker and recipe developer with over 15 years of experience perfecting cookie recipes through rigorous testing and detailed experimentation. She tests every recipe multiple times, documents every variable, and applies the same rigor professional bakers use, with the warmth and accessibility of home baking. More about this site.
Scope and limits. Margaret is a home baker and recipe developer with no formal culinary training. Follow current food safety guidance for egg handling, storage, and anything you are serving to other people.
Verify this against a primary source
Specifics change, and your situation may differ from the one described here. These are the authorities worth checking directly:
- USDA FoodData Central — ingredient composition and nutrition data
- FoodSafety.gov — safe handling, storage and egg safety