I’ve been trying to recreate Grandma Rose’s snickerdoodle cookies for thirty years.
Thirty. Years.
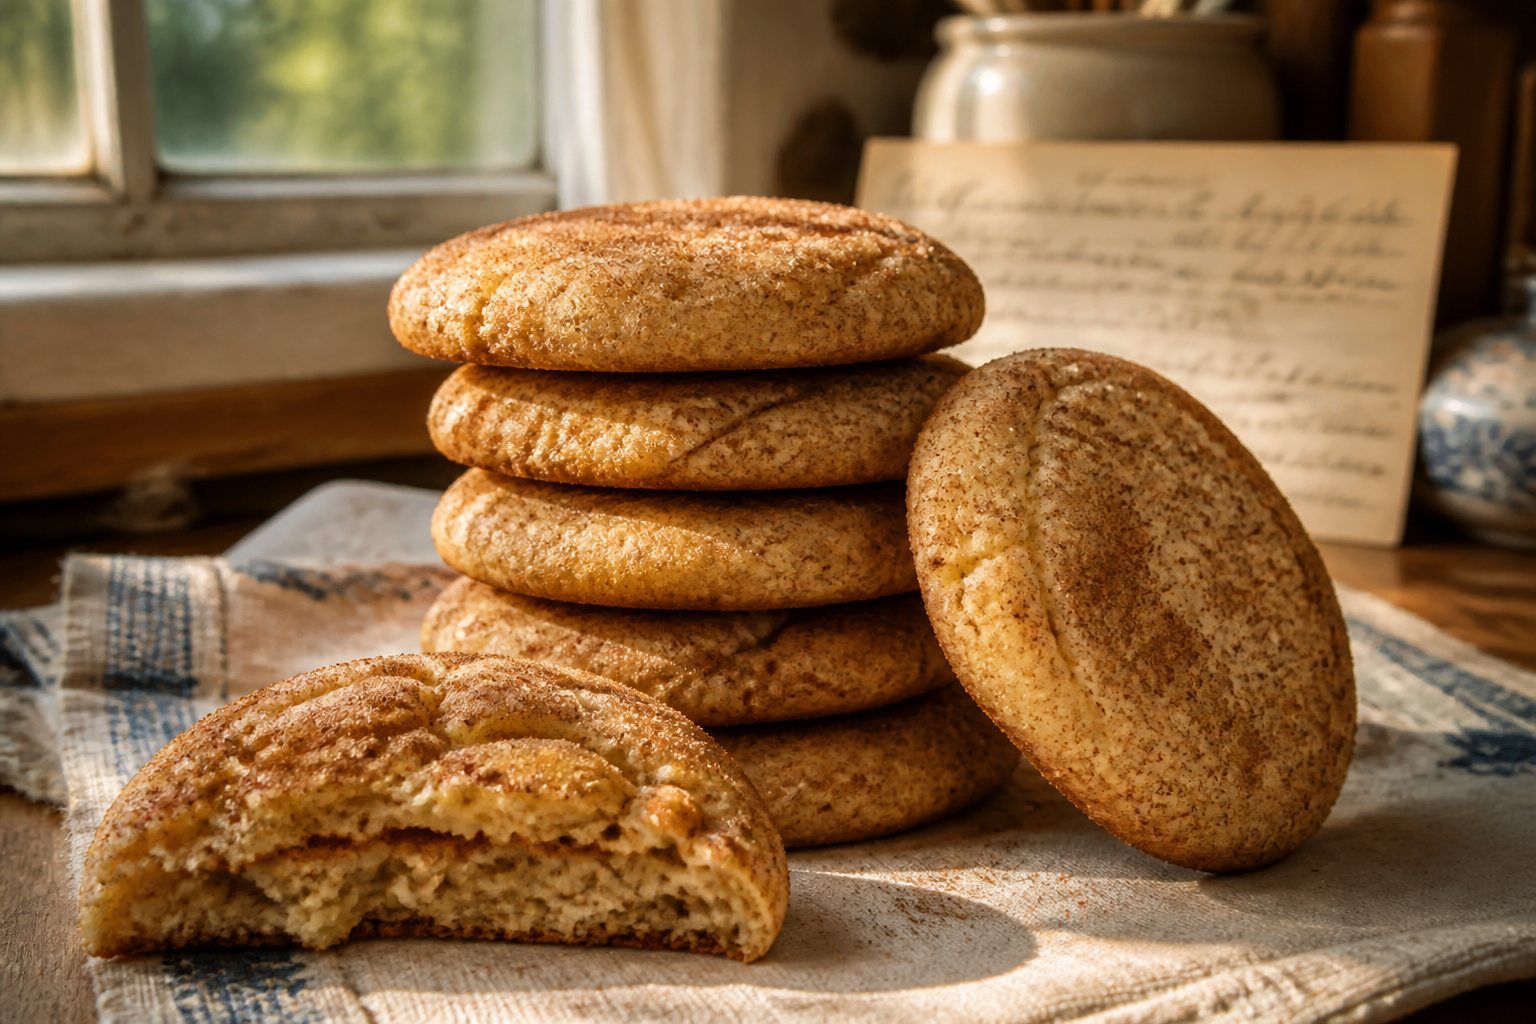
I’m not exaggerating for dramatic effect. I have notebooks filled with failed attempts, smudged notes, and crossed-out ratios. Some versions were too crispy. Others spread into flat discs. A few batches turned hard within a day. I added brown butter once—it was delicious, honestly—but it wasn’t Grandma Rose’s. I experimented with brown sugar, extra vanilla, even a pinch of nutmeg. Nothing matched the memory I carried: soft and thick cookies with a slight chew in the center, a barely-set edge, and so much cinnamon sugar coating that your fingers were dusted white when you picked one up.
Grandma Rose made the same grandma’s snickerdoodle cookies every single week for sixty years. No variations. No seasonal twists. Just flour, butter, sugar, eggs, cream of tartar, and an unwavering commitment to not changing what worked.
When she passed her handwritten recipe to me, I thought I finally had it. But the paper didn’t include the invisible knowledge—the feel in your hands, the exact moment to pull them from the oven, the reason cream of tartar mattered so much. That took me another decade to understand.
Now, at last, I’ve nailed it. And I’m sharing exactly how.
What Makes Grandma’s Snickerdoodle Cookies Different
The classic snickerdoodle recipe sits at the intersection of simplicity and precision. There’s nowhere to hide. With only six core ingredients, every single one matters. Every measurement counts.
Grandma Rose’s approach differed from most old-fashioned snickerdoodle recipes in three specific ways:
First: Real butter, never melted. Some vintage recipes called for margarine. I tested that path for an embarrassing number of batches. Margarine cookies spread too thin and baked too fast. Real, softened butter creates the tight crumb structure needed for that perfect chewy center with a set edge.
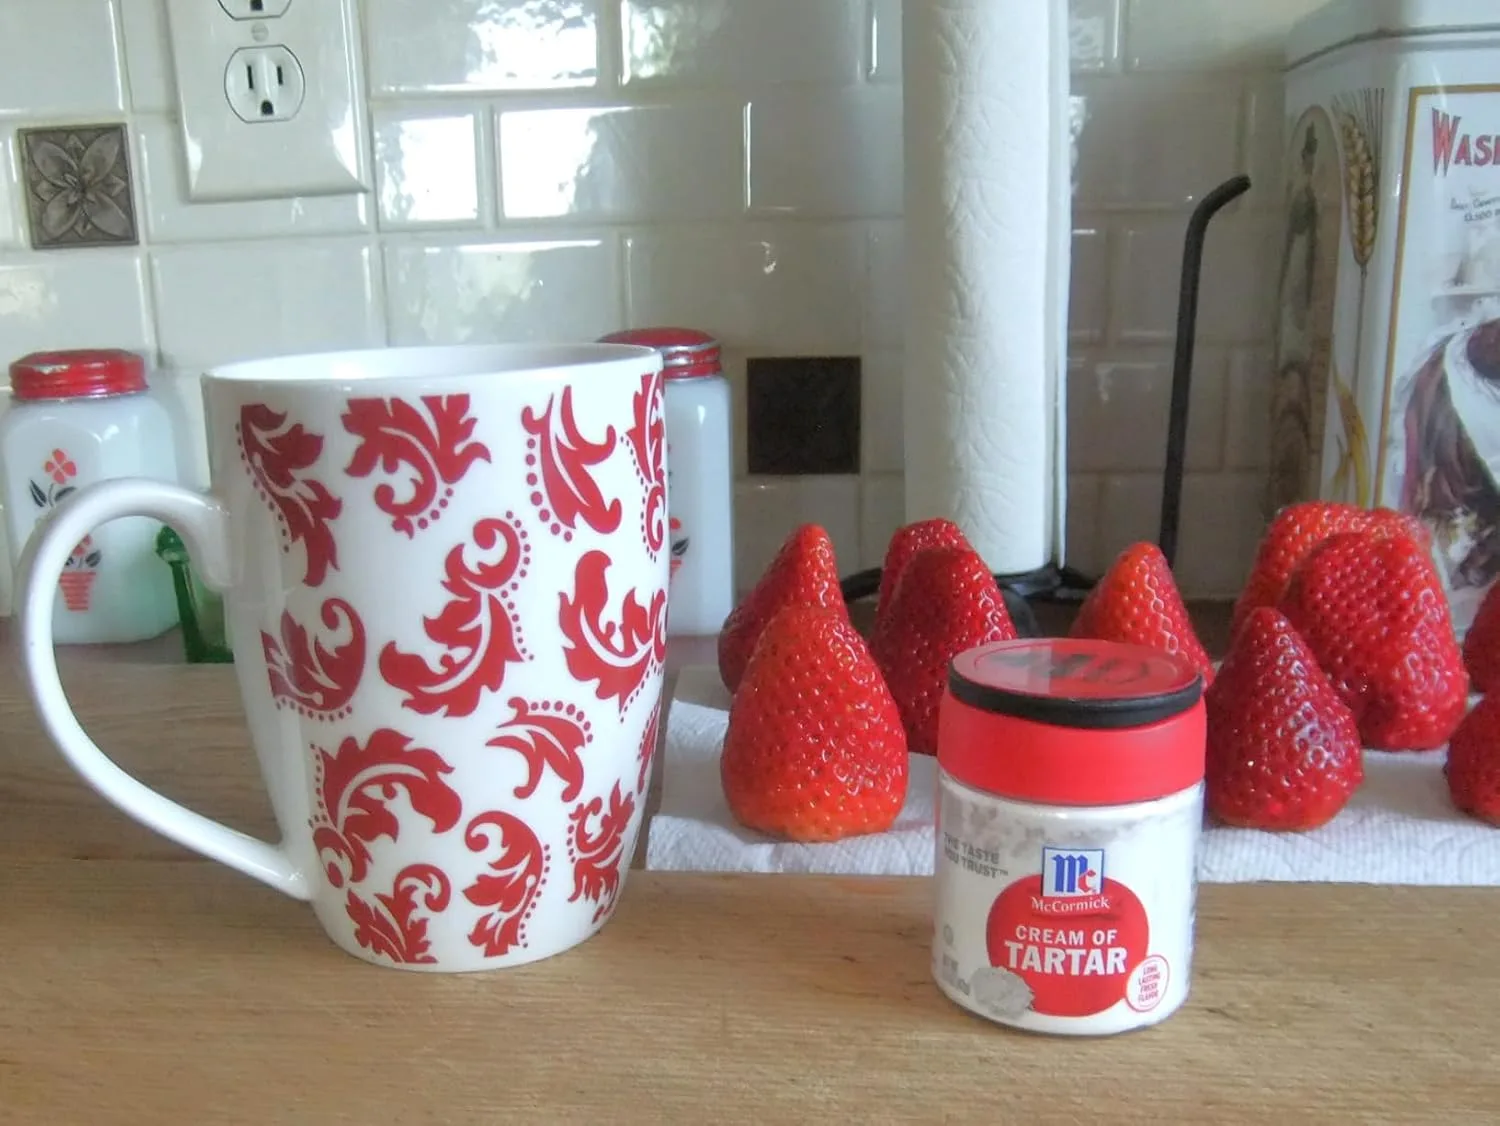
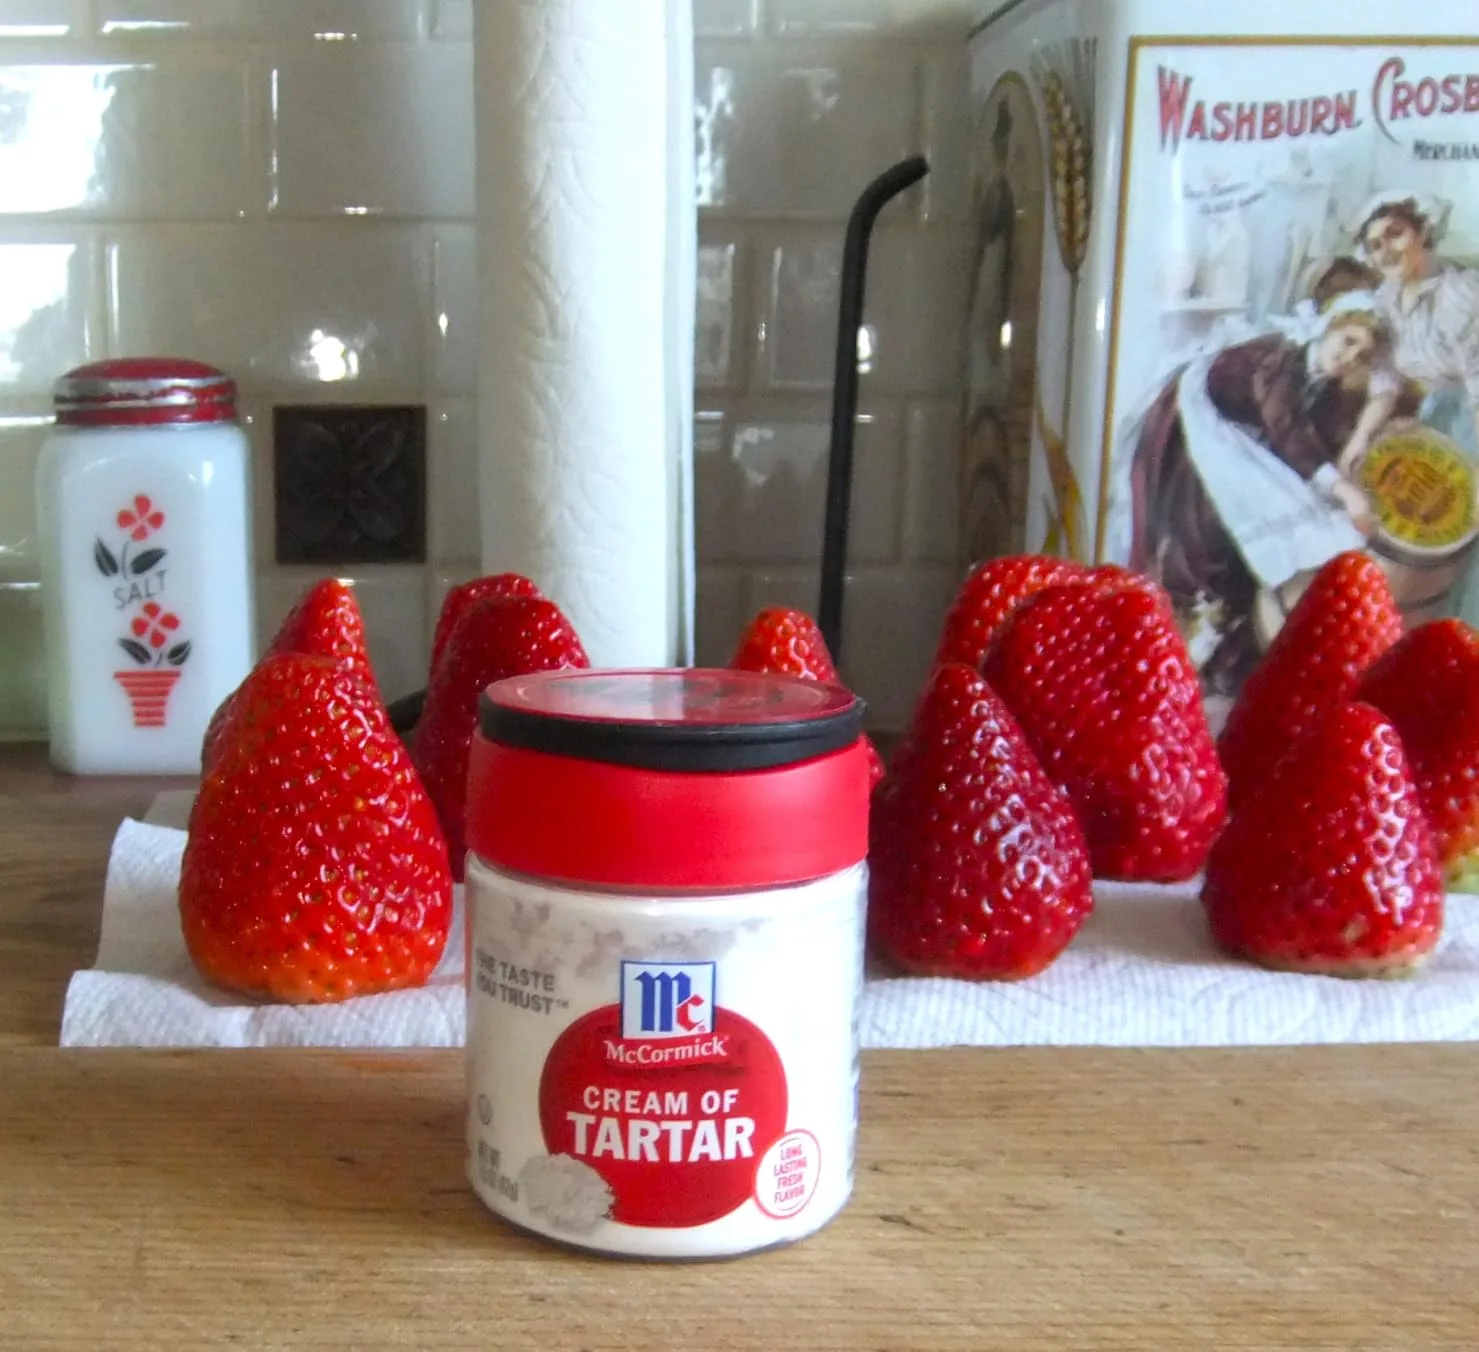
Second: The non-negotiable cream of tartar. This ingredient separates a snickerdoodle cookies recipe from a regular cinnamon sugar cookie. Cream of tartar reacts with baking soda for reliable leavening. It prevents sugar crystallization. It creates the characteristic subtle tang. Skip it, and you’ve got a different cookie entirely.
Third: Double rolling in cinnamon sugar. Roll the dough ball once, and you get a sparse coating. Roll it twice—once firmly before chilling, and again after scooping—and you achieve the thick, textured finish that makes these cookies unmistakable. The second coat creates small pockets that toast slightly during baking, delivering concentrated flavor in every bite.
The baking temperature and time also matter profoundly. Grandma Rose always used 375°F (190°C) for exactly ten minutes. Not nine. Not eleven. Ten.
The most crucial detail: the cookies will look underbaked when you pull them from the oven. The edges will be set. The centers will look soft, almost wet. That’s exactly right. They firm up as they cool on the pan for five minutes, then transfer to a wire rack.
This is what separates a traditional snickerdoodle from an over-baked disappointment.
Grandma’s Snickerdoodle Cookies — The Original Recipe
This is the exact grandma’s snickerdoodle cookies recipe Grandma Rose made every week. I’ve verified it with weight measurements and included technical notes based on thirty years of my own testing.
Ingredients
For the dough:
- 2¾ cups (345g) all-purpose flour
- 1 teaspoon (5g) cream of tartar
- ½ teaspoon (3g) baking soda
- ½ teaspoon (3g) fine sea salt
- 1 cup (225g) unsalted butter, softened to room temperature (NOT melted)
- 1½ cups (300g) granulated sugar
- 2 large eggs, room temperature
- 1 teaspoon (5ml) pure vanilla extract
For rolling:
- 3 tablespoons (38g) granulated sugar
- 1½ teaspoons (3g) ground cinnamon
Instructions
Step 1: Prepare the dry ingredients
In a medium bowl, whisk together flour, cream of tartar, baking soda, and salt. Set aside. Whisking these together ensures the cream of tartar and baking soda distribute evenly—critical for consistent rise and texture throughout the batch.
Step 2: Cream the butter and sugar
Using an electric mixer, beat softened butter and sugar together for exactly three minutes on medium-high speed. The butter should transform from pale yellow to pale, fluffy, and noticeably lighter. This step incorporates air, which affects rise and final texture. Undermixing creates flatter cookies; overmixing won’t damage these, but three minutes is optimal.
Step 3: Add eggs and vanilla
Add eggs one at a time, beating for about 30 seconds after each addition. The mixture will look slightly broken after the first egg—this is normal. Add vanilla and beat for another 15 seconds until combined. Room-temperature eggs incorporate more smoothly and create a better emulsion.
Step 4: Combine wet and dry
Add the flour mixture to the butter mixture. Using a wooden spoon or paddle attachment, stir until just combined. Stop as soon as no white flour streaks remain. Overmixing develops gluten, creating tough cookies instead of tender ones. This is where patience pays off.
Step 5: Chill the dough (optional but recommended)
Cover the dough and refrigerate for at least 30 minutes. This step prevents excessive spreading during baking, resulting in thicker, chewier cookies. If you’re short on time, you can skip it, but the cookies will be slightly flatter. Grandma Rose always chilled hers, though she never wrote it down—I learned it by watching her work.
Step 6: Roll and coat the dough balls
Combine 3 tablespoons sugar and 1½ teaspoons cinnamon in a small shallow bowl. Scoop dough using a 1.5-tablespoon cookie scoop (roughly 20g per ball). Roll each dough ball firmly between your palms to create a smooth sphere. Roll the ball in the cinnamon sugar mixture, coating heavily. Place coated balls on a parchment-lined baking sheet, spacing them about 2 inches apart.
Step 7: The critical bake
Preheat your oven to 375°F (190°C). Bake for exactly 10 to 11 minutes. The cookies are done when the edges appear set and golden, but the centers look slightly soft—almost underbaked. This is the most important moment. Pulling them out at this exact point creates that signature texture: crisp edges, chewy center, soft overall.
Step 8: Cool properly
Remove the baking sheet from the oven. Let the cookies rest on the pan for 5 minutes. This allows them to firm up slightly without drying out. Transfer to a wire cooling rack and cool completely. The cookies will continue to set as they cool, reaching perfect tenderness within 10 minutes.
Yield: About 24 cookies
Storage: Keep in an airtight container for up to 5 days. They stay soft due to the cream of tartar and proper baking method.
The One Ingredient That Finally Stopped My Snickerdoodles From Spreading Into Flat Discs
For years, I blamed my oven, my butter temperature, even the humidity in my kitchen — but the real culprit was cream of tartar. Without it, my snickerdoodles spread too much and lost that signature chewy-crispy texture Grandma Rose’s had. The acid in cream of tartar stabilizes the dough and gives these cookies their actual structure.
What works
- The freshness actually matters — I noticed an immediate difference when I stopped using the tin I’d had open in my pantry for two years and switched to a sealed container from McCormick.
- It dissolves completely into the dough when you mix it with baking soda, no gritty texture or surprise pockets of tartness in the finished cookie.
- The cinnamon-sugar coating actually adheres to the dough instead of sliding around, which means every bite tastes intentional.
What doesn’t
- It’s easy to skip if you’re in a hurry, and then you end up with cookies that feel like you forgot something (because you did).
- If you buy the tiny jars, you’ll run through them faster than expected once you start making snickerdoodles regularly, and the price per ounce creeps up.
I almost ditched cream of tartar entirely on batch number nineteen because I was convinced the problem was my mixer, not my ingredients — but the moment I added it back and pulled a batch from the oven with that perfect golden edge and chewy center, I understood why Grandma never deviated from the recipe. Grab a fresh container of McCormick Cream of Tartar before you start.
This post contains affiliate links. As an Amazon Associate, I earn from qualifying purchases at no extra cost to you.