
I get asked this question at least twice a week: “Margaret, does browning butter actually make cookies better, or is it just hype?”
After fifteen years of recipe testing, I can tell you the answer isn’t a simple yes or no. Brown butter does something real and measurable to cookie flavor and texture. However, it also introduces a specific technical problem that most recipes don’t account for—and that mistake can wreck your results if you’re not prepared for it.
That’s why I decided to run this like a proper experiment: side-by-side bakes, controlled variables, and honest notes about what works and what doesn’t. I’ve also learned some hard lessons along the way, which I’m sharing here so you don’t repeat my early mistakes.
What Browning Butter Actually Does to Cookie Flavor
Browning butter isn’t the same as melting it. When you melt butter gently, you’re separating the fat from the water and milk solids. When you brown butter, something chemical happens.
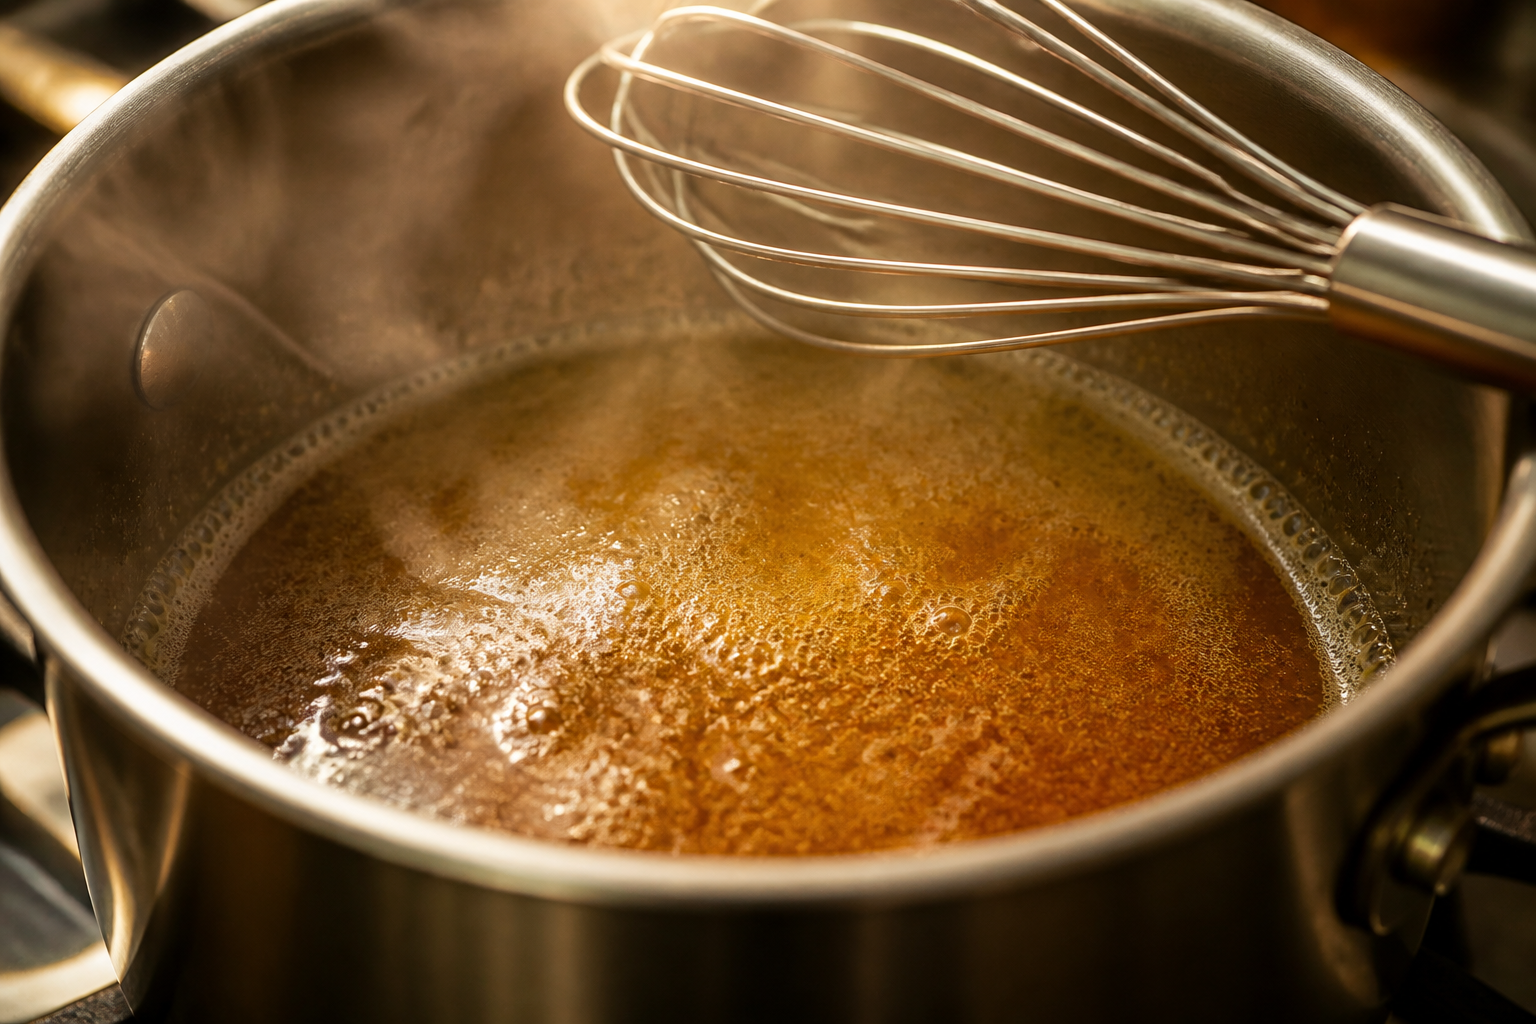
That something is called the Maillard reaction. As the butter reaches 250��F to 350°F, the milk solids begin to toast and break down. They transform into hundreds of new flavor compounds: nutty, toasty, almost caramel-like notes that aren’t present in plain melted butter.
I’m not exaggerating when I say this tastes fundamentally different. In my first deliberate test, I baked two identical batches of brown sugar cookies—one with regular melted butter, one with browned butter. The melted-butter batch was pleasant and straightforward. The brown butter batch had depth: toasted grain, dark honey, a whisper of toffee underneath.
That complexity doesn’t come from browning the butter longer or hotter. It comes from those milk solids caramelizing. And that’s the key insight: you’re not just warming butter. You’re building flavor from scratch, one molecule at a time.
Brown Butter vs. Regular Butter: My Side-by-Side Test
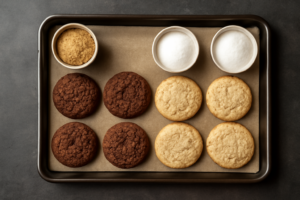
Three years ago, I decided to settle this question once and for all. I made a batch of classic chocolate chip cookies using my base recipe. I split the dough in half.
One half used melted butter at 180°F. The other half used butter I’d browned to a deep amber (around 320°F) and cooled to the same temperature before mixing. Everything else—flour, sugar, eggs, vanilla, chocolate chips—was identical.
The difference was clear the moment I bit into them. Brown butter cookies had a roasted, almost nutty undertone that the regular-butter batch didn’t touch. The flavor was more complex. More grown-up, somehow.
But texture shifted too, and this is important: the brown butter cookies spread slightly more during baking. The crumb was denser, chewier, less cakey. This wasn’t a bad thing—I actually preferred the texture. However, it was different enough that I had to understand why.
The answer? Water loss during browning. And that leads me to the technical issue I promised to explain.
The Liquid Loss Problem Nobody Warns You About
This is where I learned something the hard way. After my first brown butter experiment, I decided to convert all my recipes to use brown butter. I thought I’d found the secret to better cookies.
I was wrong. At least, I was partly wrong.
I started noticing that cookies made with brown butter were coming out drier and spreading more than expected. The first batch of brown butter snickerdoodles turned into crispy-thin discs instead of the soft, pillowy cookies I’d built the recipe around.
I spent two weeks troubleshooting before I realized: butter contains about 15 to 18 percent water by weight. When you brown butter, that water evaporates. A standard stick of butter (113 grams) loses roughly 15 to 20 grams of water during the browning process—about 13 to 18 percent of its original weight.
That’s significant. In cookie dough, water affects hydration, spread rate, and final texture. If you swap regular butter for brown butter without accounting for that loss, your dough becomes slightly drier. Drier dough spreads more and bakes up with less chew and more crispness.
Your brown butter vs. butter cookies will taste better (thanks to the Maillard reaction), but they’ll also bake differently than the original recipe intended.
How to Compensate for the Liquid Loss When Browning Butter
This is the fix that changed everything for me. You need a kitchen scale. I’m not suggesting this lightly—I genuinely believe every serious baker should own one. They’re inexpensive and they solve problems like this in seconds.
Here’s the exact process I use:
- Weigh the butter before browning. Let’s say it’s 113 grams (one stick).
- Brown the butter in a light-colored stainless steel saucepan (more on this in a moment) until it reaches a deep amber color and smells nutty—roughly 8 to 12 minutes over medium heat.
- Pour the browned butter into a measuring cup or small bowl and weigh it immediately while it’s still melted. Let’s say it now weighs 98 grams. That means 15 grams of water evaporated.
- Once the butter cools to about 110°F, whisk in 15 grams of water (or milk, or cream—any liquid works). Whisk until fully incorporated.
- Now your brown butter has the same total weight and hydration as the original butter. Use it exactly as the recipe calls for.
This approach restores your dough’s moisture balance. Brown butter cookies will still taste deeper and more complex. However, their texture won’t shift unpredictably.
Specifically, I’ve found that when you compensate for the liquid loss, brown butter cookies bake up with almost identical spread and chew compared to the regular-butter version of the same recipe. The only difference is flavor—which is exactly what you want.
What to Do When Brown Butter Separates
One more technical issue comes up constantly in my inbox: “Margaret, my butter looks weird while it’s browning. The fat and the browned bits are separating. Is it ruined?”
The short answer: no. This is completely normal.
As butter browns, the milk solids sink to the bottom of the pan and turn golden, then amber. The clarified fat floats on top. That separation looks alarming, but it’s not a problem. In fact, the browned solids at the bottom are where most of the flavor lives.
When the butter reaches the color you want, pour the entire contents into a bowl or measuring cup—every drop of fat and every browned solid. As it cools, the fat and milk solids will naturally re-emulsify. Whisk it occasionally to help the process along.
That said, there’s one scenario where you do have a genuine problem: if the milk solids have scorched completely black and smell acrid or burnt, the butter has gone too far. Start over. Scorched butter tastes bitter and ashy, not nutty and caramel-like. It will ruin your cookies.
The fix is using the right equipment. A light-colored stainless steel saucepan lets you see the exact color change as it happens. Dark non-stick pans hide the color, which is why I often see people burn their butter by accident.
I’ve been using the Farberware Classic Series Stainless Steel Butter Warmer for years. It’s specifically designed for this task—shallow, with a wide surface area so the butter browns evenly. The light interior makes the color progression obvious. At around fifteen dollars, it’s one of the best small kitchen investments I’ve made. If you prefer a slightly larger option with more versatility, the Stainless Steel Butter Warmer Measuring Pan works beautifully too and doubles as a small sauce pan.
Common Mistakes I’ve Seen (and Made)
After thousands of batches, I’ve watched people stumble on browning butter for cookies in predictable ways. Let me walk through the biggest ones so you can skip ahead.
Walking away from the pan. Butter goes from beautifully browned to burnt in under a minute. Don’t check your phone. Don’t start another task. Watch the pan. The moment you smell toasted nuts, start checking the color every 15 seconds.
Skipping the liquid-loss compensation. If you’ve read this far, you know better. Weigh your butter before and after. Make up the difference with water or milk. Your texture will stay consistent.
Using brown butter in every cookie. This is a nuance I want to emphasize: brown butter isn’t universally better. In delicate-flavored cookies—fresh lemon, matcha, cardamom, rose—the nutty toffee notes of brown butter fight the original flavor rather than complementing it. I reserve brown butter for recipes where those toasted, caramel-like notes make sense: chocolate chip, snickerdoodles, brown sugar cookies, oatmeal raisin, pecan shortbread.
For floral or bright citrus cookies, regular melted butter is genuinely the better choice.
When You Should Not Brown the Butter
I have browned butter for cookies that absolutely did not want it, and I have the flat, muddy-tasting batches to prove it. After a couple of years of testing this, I’ve landed on four situations where the answer to “when should I not brown butter” is a firm no. Some are about flavor. One is about physics, and it’s the one almost nobody talks about.
When the Cookie’s Flavor Is Delicate
Brown butter is not a background note. It’s a loud, nutty, toffee-forward flavor that sits right on top of everything else. Delicate flavors don’t layer underneath it — they get buried.
Specifically, these get flattened in my testing:
- Fresh citrus zest — lemon and lime especially. The brightness reads as dull within a day.
- Matcha. I ran this one twice, hoping I was wrong. The grassy, slightly bitter edge that makes matcha interesting just disappears.
- Lavender, rose, cardamom used as a floral note, and anything herbal.
- Almond extract. It goes from marzipan-clear to vaguely medicinal.
- White chocolate on its own. Both are dairy-sweet and toasty, and together they turn into one sweet blur.
What does survive: brown sugar, toasted nuts, dark chocolate, tahini, banana, oats, and salted caramel. Those flavors already live in the same toasty family, so brown butter deepens them instead of shouting over them. One exception worth noting — white chocolate with macadamia or raspberry can handle it, because there’s a second flavor giving the butter something to push against.
When the Recipe Depends on Creaming for Lift
This is the reason I wish more people understood, because it’s structural, not a matter of taste.
When you cream solid butter with sugar, the sugar crystals act like tiny blades cutting air pockets into the fat. Those pockets are the lift. Baking soda and steam expand into cells that already exist — they don’t create them from nothing. Solid butter is plastic enough to hold that air in place until the oven sets the structure around it.
Brown butter is liquid, and here’s the part that catches people: even fully chilled, it doesn’t return to the same texture. The milk solids have separated and the fat recrystallizes differently, so cooled brown butter is grainy and waxy rather than smooth and pliable. It won’t hold air cells the way fresh butter does. I’ve measured the difference at roughly 20 to 30 percent less spread-adjusted height on cakey drop cookies.
As a result, recipes that lean on creaming for structure suffer most — cut-out sugar cookies, cakey chocolate chip cookies, snickerdoodles, anything described as “soft and puffy.” They come out dense and a little squat.
If you want the flavor anyway, here’s the workaround. Brown the butter, pour it into a shallow dish, and chill it until it’s firm but gives to a thumbprint — about 40 minutes in the fridge, stirring once at the halfway mark to keep the solids distributed. Then cream it. You’ll get a little air in, and the flavor comes through. However, be honest with yourself: the cookie will be denser than the recipe intended. That’s a trade, not a fix.
When Something Else Already Dominates
Dark molasses, black cocoa, strong spice blends, and espresso powder all occupy the same toasty, roasted register as brown butter. Put them together and the butter has nowhere to stand out.
I ran a blind test on gingersnaps with five tasters. Nobody identified which batch had browned butter. Not one. You’re spending twenty minutes and losing butter volume for a flavor that gets completely absorbed by the molasses. Skip it and put that effort into blooming your spices in the melted butter instead — that one actually shows up.
When the Math Doesn’t Work
Browning costs you roughly 15 to 20 percent of your butter to evaporation, and it demands unbroken attention at the stove. For one batch, fine. For six dozen cookies at the holidays, that’s over an hour of standing and swirling plus extra butter to buy.
Same goes for baking with kids — hot fat, a narrow window between nutty and burnt, and impatient helpers is a bad combination. And on a Tuesday night when you want cookies in forty minutes, melted butter gets you 80 percent of the way there.
The One I Gave Up On
My grandmother’s almond crescents. I browned the butter for three consecutive Christmases, convinced I was improving them. The fourth year I made both versions side by side and my mother picked the plain one immediately — she said the browned batch tasted “like someone else’s cookie.”
She was right. Those crescents are built on almond extract and a sandy, tender crumb from creamed butter. Browning worked against both at once. Some cookies are already finished, and in my experience, that’s the hardest thing to admit.
When Brown Butter Cookies Are Worth the Extra Step
So: does browning butter actually make cookies better? The answer depends on the cookie.
Brown butter cookies absolutely shine in warm, toasty recipes. The flavor is deeper, more complex, more memorable. You’re adding a layer of sophistication that regular butter simply can’t match. People will taste it. They’ll ask what you did differently.
However, browning butter requires attention and planning. You need a scale to manage the liquid loss. You need the right pan so you can see the color. You need to stay present while it browns.
In my experience, that effort is worth it for cookies you’re baking intentionally—a batch you’re bringing to someone’s house, a recipe you’re refining, something you care about. For weeknight baking, a quick batch to satisfy a craving, or recipes with delicate flavors, regular melted butter is faster and honestly just as good.
The best cookie is the one you actually make. If browning butter feels like a burden, your cookies will taste like you felt obligated to make them. Skip it. Use regular butter. Enjoy the process.
But if you want to taste what browning butter can do—if you want to experience a real, measurable difference in flavor and depth—now you know exactly how to do it right.
Happy baking.
—