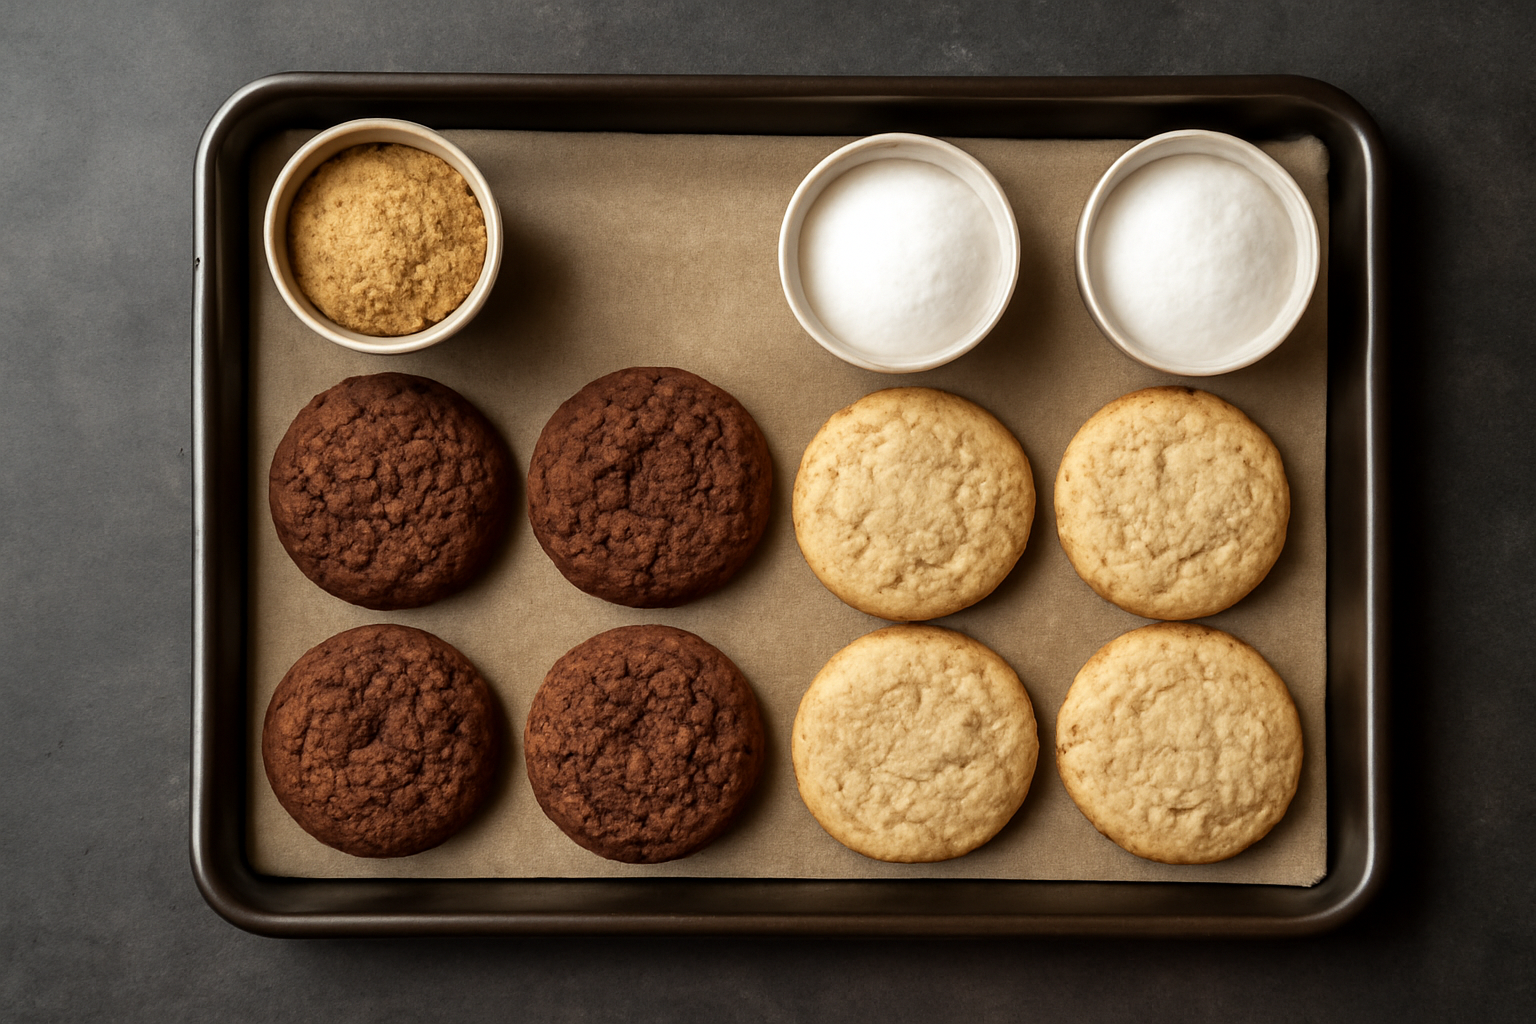

It started with a ruined batch of chocolate chip cookies and a very stubborn argument with my mother-in-law. She insisted that white sugar was “cleaner” and brown sugar made cookies “too heavy.” I had always done the opposite — reaching for brown sugar by default — but I couldn’t actually explain why. That gap bothered me enough that I spent the better part of three months baking over 200 cookies to settle the brown sugar vs white sugar cookies difference once and for all. What I found completely changed how I approach every recipe I develop.
I know what you’re thinking. Two hundred cookies is a lot. It is. However, I needed controlled variables, consistent batches, and real data — not just vibes and guesswork. I used the same base dough every single time: 2¼ cups of King Arthur all-purpose flour, 1 teaspoon baking soda, 1 teaspoon salt, 2 sticks of Land O’Lakes unsalted butter, 2 eggs, and 1 teaspoon vanilla. The only thing I changed was the sugar — type, ratio, and combination. Batch after batch, I photographed, tasted, and measured spread, texture, and color. This is what I learned.
The Real Brown Sugar vs White Sugar Cookies Difference Starts at the Chemistry Level
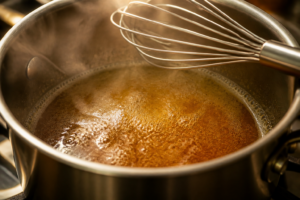
Most baking articles will tell you that brown sugar adds moisture and white sugar adds crispness. That’s true, but it barely scratches the surface. Brown sugar is simply white sugar with molasses added back in — typically 3.5% molasses for light brown and 6.5% for dark brown. That molasses is doing a tremendous amount of work inside your dough.
That 3.5%-versus-6.5% gap sounds small, but it’s the reason light and dark brown sugar don’t behave like slightly different versions of the same ingredient — they behave like two points on a real gradient between white sugar and pure molasses. I confirmed this by weighing, not eyeballing: a packed cup of dark brown sugar in my kitchen consistently ran 5-8 grams heavier than the same cup of light brown, purely because of how much more moisture that extra molasses holds. If you’re measuring by volume instead of weight across a big batch, that difference compounds — one of the quieter reasons two bakers can follow the same “cup of brown sugar” recipe and get noticeably different cookies.
Molasses is hygroscopic, meaning it actively attracts and holds onto water molecules from the air and from within the dough itself. As a result, cookies baked with brown sugar retain more moisture during and after baking. They stay chewier for longer — even on day three. In my testing, cookies made with 100% dark brown sugar (¾ cup total) were measurably thicker and softer 48 hours after baking compared to their white sugar counterparts baked at the same 375°F for 11 minutes.
White sugar, on the other hand, promotes spread and crispness. It dissolves more readily into butter during creaming, creating a smoother emulsion that encourages cookies to flatten out in the oven. The absence of molasses also means less acidity in the dough, which affects leavening — specifically, how quickly your baking soda reacts. In my experience, this is one of the most overlooked factors in cookie texture troubleshooting.
What Happens to Spread, Color, and Texture When You Swap the Sugar
Here’s where my testing got genuinely exciting. I baked identical portions — 1.5 tablespoons of dough each — using five different sugar combinations. The results were striking even to an untrained eye. My daughter walked into the kitchen during batch 47 and immediately said, “Those flat ones look crispy. Can I have one?” She pointed directly at the 100% white sugar batch without knowing anything about the experiment.
Spread was the most dramatic difference. The 100% white sugar cookies spread an average of 3.8 inches in diameter. The 100% dark brown sugar cookies spread only 3.1 inches. That’s nearly a ¾-inch difference — significant when you’re trying to hit a specific cookie size or prevent them from merging on the pan. The brown sugar batches also rose slightly more in the center due to the increased Maillard reaction activity from the amino acids and reducing sugars in molasses.
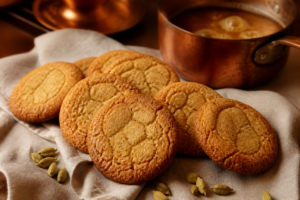
Color was another clear differentiator. Brown sugar cookies baked to a deep, almost caramel-toned golden brown — even at the same oven temperature and timing. White sugar cookies were paler and more uniform. Specifically, the flavor difference was the most surprising part. Brown sugar adds a subtle toffee, almost butterscotch-like depth. White sugar keeps the cookie flavor clean and simple, letting butter and vanilla take center stage. Neither is better — they’re just different tools for different goals.
My Five Test Ratios and What They Produced
- 100% white sugar (¾ cup): Thin, crispy edges, pale color, clean buttery flavor, maximum spread
- 75% white / 25% light brown: Slightly chewy center, still good spread, mild caramel undertone
- 50% white / 50% light brown: My personal everyday winner — balanced chew, moderate spread, beautiful golden color
- 25% white / 75% dark brown: Noticeably chewier, richer flavor, less spread, slightly denser crumb
- 100% dark brown sugar (¾ cup): Maximum chew, thick centers, deep toffee flavor, minimal spread, very moist on day two
Measuring the Difference Instead of Just Describing It
Descriptive words like “noticeably chewier” are useful, but they’re also exactly where home baking articles usually stop, so I pushed further on two of the five ratios where I had complete batches left over: 100% white and 100% dark brown. I measured spread on six cookies per batch with a ruler at the widest point and averaged them, rather than eyeballing one representative cookie, and I weighed a sample cookie from each batch on day one and again on day three on a kitchen scale to track actual moisture loss instead of just biting one and calling it “moist” or “dry.”
- Spread, averaged across six cookies: 100% white landed at 3.8 inches with a standard spread of about 0.2 inches between the widest and narrowest cookie in the batch — fairly consistent. 100% dark brown averaged 3.1 inches with a tighter spread variance of roughly 0.1 inches, which tracks with a stiffer, less liquid dough behaving more predictably tray to tray.
- Weight loss, day one to day three, same airtight container: The white sugar cookie lost close to 6% of its original weight — you could feel the difference as a lighter, drier cookie by day three. The dark brown sugar cookie lost under 2% over the same window. That is the hygroscopic effect of molasses made visible on a kitchen scale, not just something you’re told to believe.
None of this requires lab equipment — a $15 kitchen scale and a ruler are enough to turn “brown sugar keeps cookies softer” from a claim you take on faith into a number you can watch happen in your own kitchen. If you want to replicate just one part of this test at home, the day-one-versus-day-three weigh-in is the fastest way to see the molasses effect for yourself.
When to Use Each Sugar (And When to Combine Them)
After 200+ cookies, I’ve developed strong opinions about when each sugar earns its place. White sugar belongs in recipes where you want a delicate, crisp texture — think thin and lacy florentines, classic snickerdoodles, or shortbread where a clean, fine crumb is the goal. It’s also the right call when you’re adding other strong flavors like citrus zest or espresso, and you don’t want molasses competing.
Brown sugar — light or dark — is your best friend for thick, bakery-style chocolate chip cookies, ginger molasses cookies, oatmeal raisin, and anything where chew and warmth of flavor are priorities. However, don’t default to dark brown sugar automatically. Light brown sugar gives you most of the moisture benefit with a subtler flavor. I use dark brown sugar specifically when I want that pronounced caramel depth, like in my brown butter toffee cookies.
That said, the real magic is in the combination. My go-to ratio for an all-purpose chocolate chip cookie is ½ cup white sugar and ½ cup light brown sugar — splitting them evenly. This ratio gives you enough spread to look like a “real” cookie, enough chew to satisfy, and a golden color that photographs beautifully. Batch 23 was the one that finally locked in this ratio for me, and I haven’t deviated much since.
The Oven Thermometer That Saved My 200-Cookie Experiment
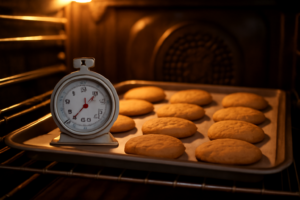
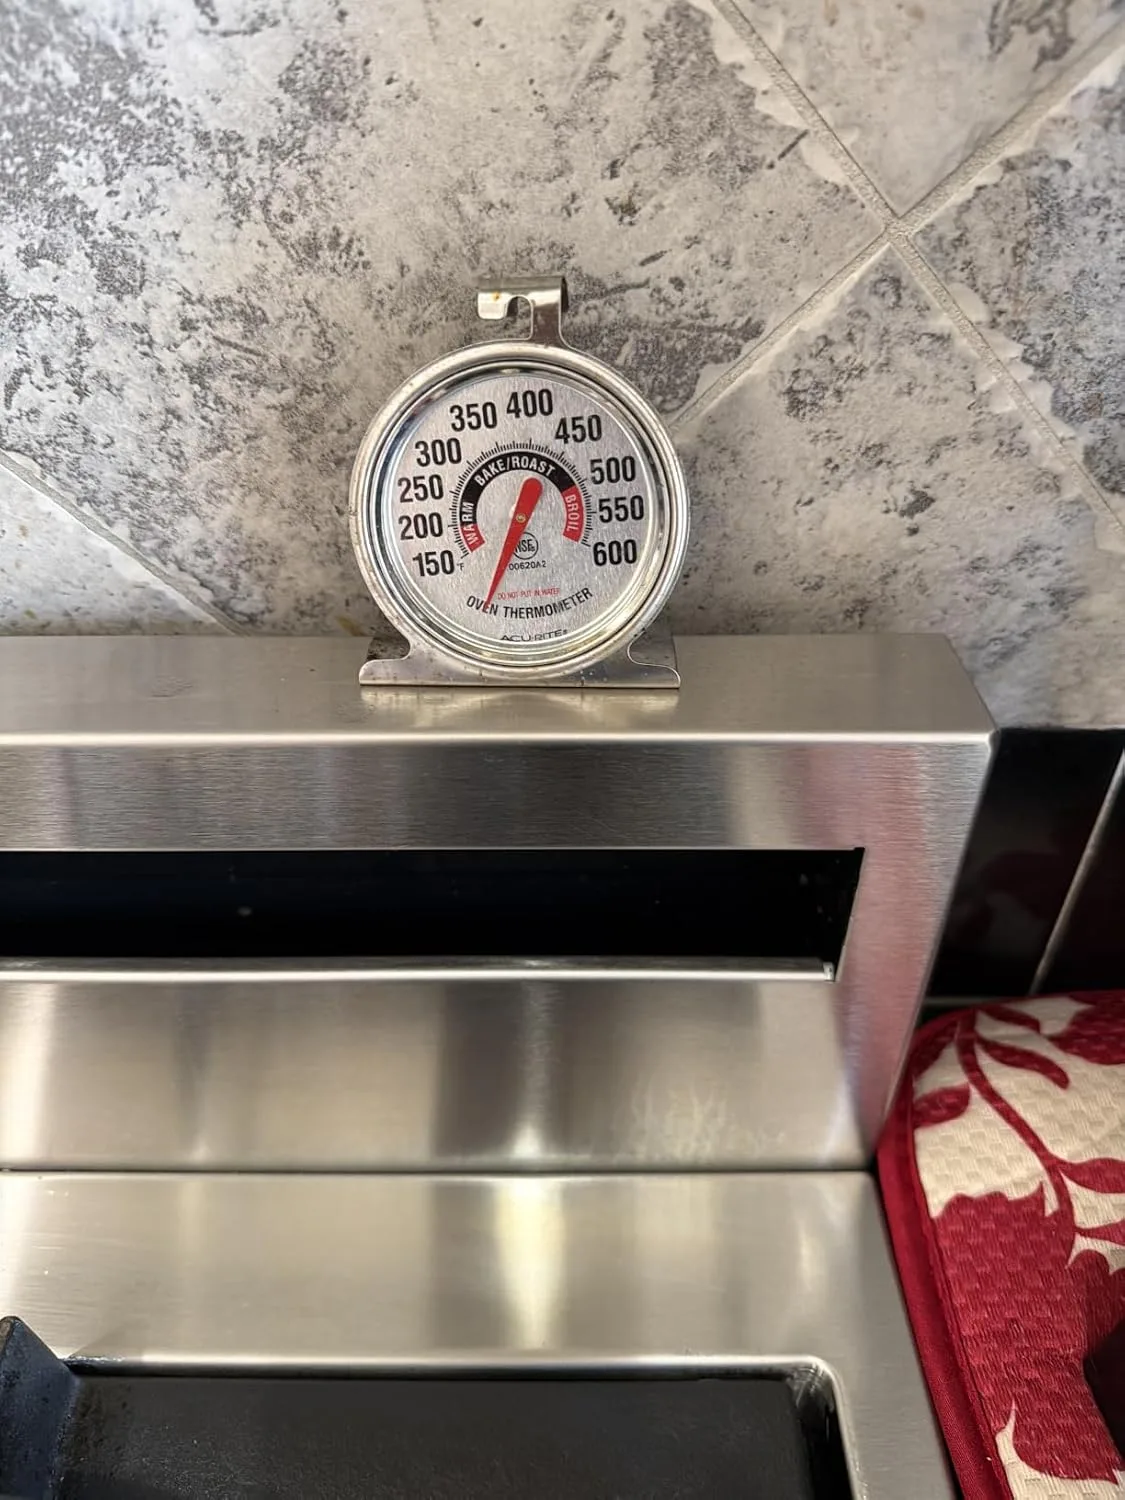
When you’re baking 200 cookies to compare brown sugar vs. white sugar, you can’t afford to have oven temperature fluctuations throwing off your results. I quickly realized my oven’s built-in dial was wildly unreliable — some batches were browning too fast, others barely setting at all — and I couldn’t trust any of my conclusions until I fixed that variable.
What works
- Reads temperature within a degree or two, which is honestly all a home baker needs to catch major oven drift before it ruins a batch
- Sits stable on the rack without tipping, even when I’m reaching in and out to check cookies — no wobbling, no guessing whether it’s sitting flat
- The analog dial is easy to read at a glance while wearing oven mitts, and it stays accurate week after week without needing recalibration
What doesn’t
- The dial can be hard to read from certain angles, especially if your oven light isn’t great or you’re standing to the side
- It only tells you the temperature where it’s sitting — if your oven has hot spots, you won’t catch those without placing it in different spots, which takes extra time
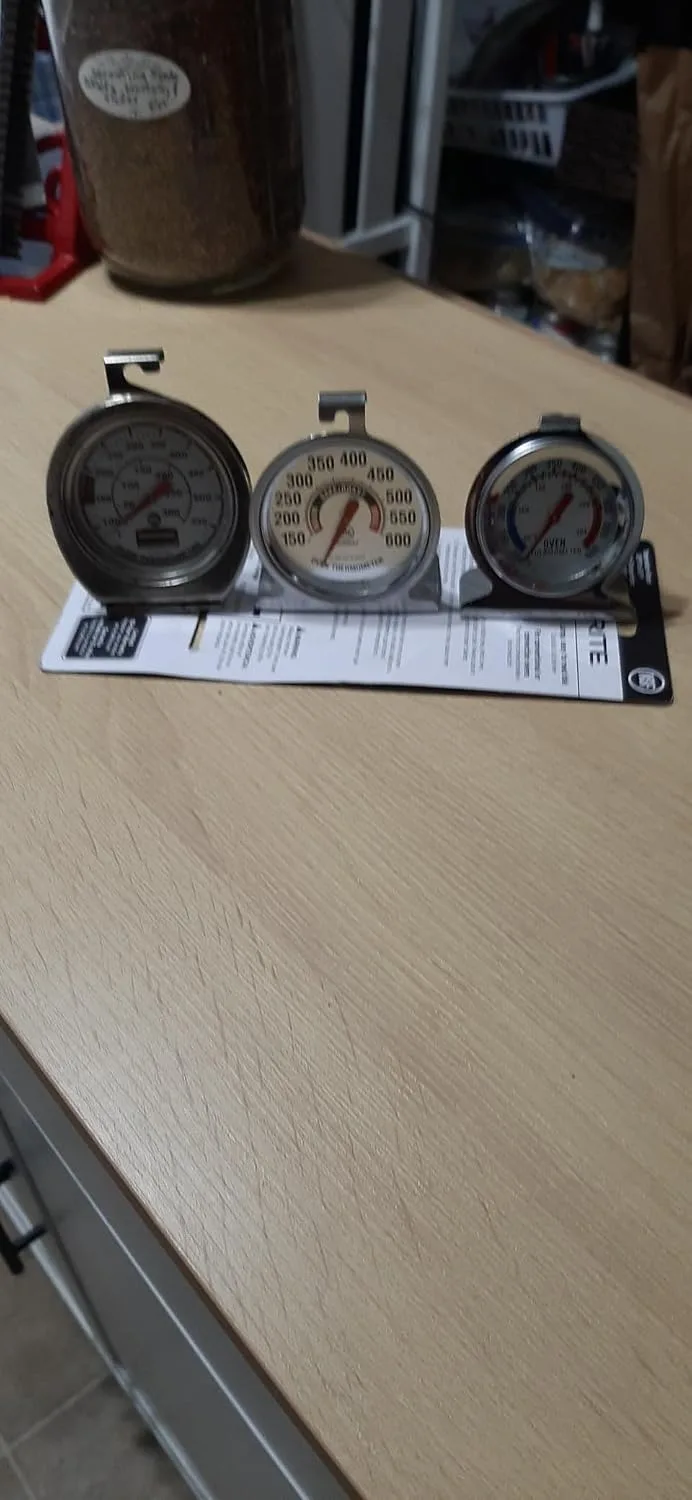
Halfway through my experiment, I second-guessed whether a $10 thermometer could really be more accurate than my oven’s own settings, but the first time I saw my actual oven running 25°F hot, I knew it was the best decision I’d made. If you’re serious about testing recipes, grab the AcuRite 00620A2 Stainless Steel Oven Thermometer.
About This Article

Written by Margaret Chen. Margaret Chen is a home baker and recipe developer with over 15 years of experience perfecting cookie recipes through rigorous testing and detailed experimentation. She tests every recipe multiple times, documents every variable, and applies the same rigor professional bakers use, with the warmth and accessibility of home baking. More about this site.
Scope and limits. Margaret is a home baker and recipe developer with no formal culinary training. Follow current food safety guidance for egg handling, storage, and anything you are serving to other people.
Verify this against a primary source
Specifics change, and your situation may differ from the one described here. These are the authorities worth checking directly:
- USDA FoodData Central — ingredient composition and nutrition data
- FoodSafety.gov — safe handling, storage and egg safety