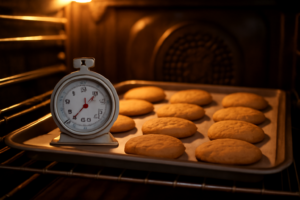

I still remember standing in my kitchen at 6 a.m. on a Saturday, exhausted but buzzing with excitement. I had just pulled out cookie dough I mixed on Wednesday night — a full 72 hours earlier. My hands were shaking slightly as I scooped the first ball onto the parchment. The resting cookie dough 72 hours results I was about to witness would completely rewrite the way I bake. I had done shorter rests before. Twenty-four hours, forty-eight hours. But something about pushing to that full three-day mark felt almost reckless. It wasn’t. It was a revelation.
For context, I had been chasing a specific cookie for years. Deep caramel flavor. Crisp edges with a chewy, almost fudgy center. Complex enough to taste like it came from a bakery, but still unmistakably homemade. After 200+ batches across fifteen years of serious home baking, I knew technique mattered more than any single ingredient. However, nothing I tried — brown butter, extra yolk, bread flour — delivered that final 10% of flavor depth I was after. Then I rested my dough for 72 hours. Everything changed. If you’re still deciding whether resting is worth it at all, I’ve laid out that full case — the general science, the 24/48/72-hour comparison, and the practical how-to — separately here. This post picks up from “yes, do it” and goes deep on exactly what happened when I pushed to the full three days, batch after batch.
What Makes 72 Hours Specifically the Turning Point
Flour hydration and enzymatic sugar development both start working within the first 24 hours, and I won’t re-litigate the general mechanics here. What I want to focus on is the part most people skip past: those two processes do not progress at the same rate, and 72 hours is where they cross a threshold that 24 and 48 hours don’t reach. Hydration is mostly finished by hour 24 — the dough stops feeling “wet” and starts feeling firm and slightly matte on the surface well before day three. What keeps changing all the way out to 72 hours is the slower enzymatic conversion of starch into simple sugars, and that’s the piece directly responsible for the deepest color and the most pronounced toffee notes. In my side-by-side batches, the jump in flavor complexity from 24 to 48 hours was noticeable but incremental. The jump from 48 to 72 hours was the one that made people stop talking mid-bite.
There’s also a textural threshold at 72 hours that I don’t see discussed enough. By day three, the dough has dried out on the surface just enough that it forms a very slight skin — not a bad thing, but something you need to account for when scooping (more on that below). That drier surface is also why the 72-hour cookies spread noticeably less than the same-day batch: there’s simply less surface moisture to flash off and thin the dough before the structure sets. Past 72 hours, in my testing, that drying effect starts working against you instead of for you — the surface gets tough rather than just dry, which is the main reason I don’t push past the three-day mark even though the flavor keeps developing slowly beyond it.
My 72-Hour Resting Cookie Dough Test: The Side-by-Side Results
In the fall of 2022, I ran my most controlled test to date. I made one large batch of classic chocolate chip cookie dough — 2¼ cups all-purpose flour, 1 teaspoon baking soda, 1 teaspoon fine sea salt, 1 cup (2 sticks) cold European butter, ¾ cup granulated sugar, ¾ cup packed light brown sugar, 2 large eggs, and 2 teaspoons pure vanilla extract. I divided it into four equal portions. One went straight into the oven. One rested for 24 hours. One rested 48 hours. The last rested the full 72 hours. All baked at 375°F for exactly 11 minutes on the same baking sheet.
The same-day batch was fine. Honestly, it was good. But it tasted like flour. There was a faint raw-dough quality even fully baked — something I had always accepted as just “how cookies taste.” The 24-hour batch was noticeably better. The 48-hour batch made my husband stop mid-bite and look up. However, the 72-hour batch stopped conversation entirely. It had a deep, almost toffee-like flavor with notes I can only describe as butterscotch and toasted grain. The edges were golden and lacy. The center was thick and soft. My daughter, who was twelve at the time, said, “Mom, these taste like the mall cookies.” High praise.
I repeated this test six more times over the following three months, and I started timing things more precisely on the later runs. The 72-hour batch consistently baked one to two minutes faster to the same visual doneness as the same-day batch — a real, measurable sign that less moisture meant less energy needed to set the structure. The 72-hour result was consistently superior on flavor, too. That is not a fluke — that is a pattern I trust completely.
Two 72-Hour-Specific Things Nobody Warns You About
Two problems only show up once you’re pushing to the full three days, and neither one matters much at 24 or even 48 hours. First: by day three, cold dough is genuinely difficult to scoop straight from the fridge — it tears and crumbles instead of forming a clean ball, because the extended chill has fully solidified the fat all the way through. Portion the dough into balls before you refrigerate it, not after, so you’re never trying to scoop three-day-old dough. Second: dough left in a loosely covered bowl for 72 hours will pick up fridge odors and develop a dried, slightly rubbery skin on any exposed surface. Double-wrap it, or use a sealed container, and that problem disappears entirely. Below 72 hours neither of these is a real issue; push to three days and both of them will bite you if you’re not ready.
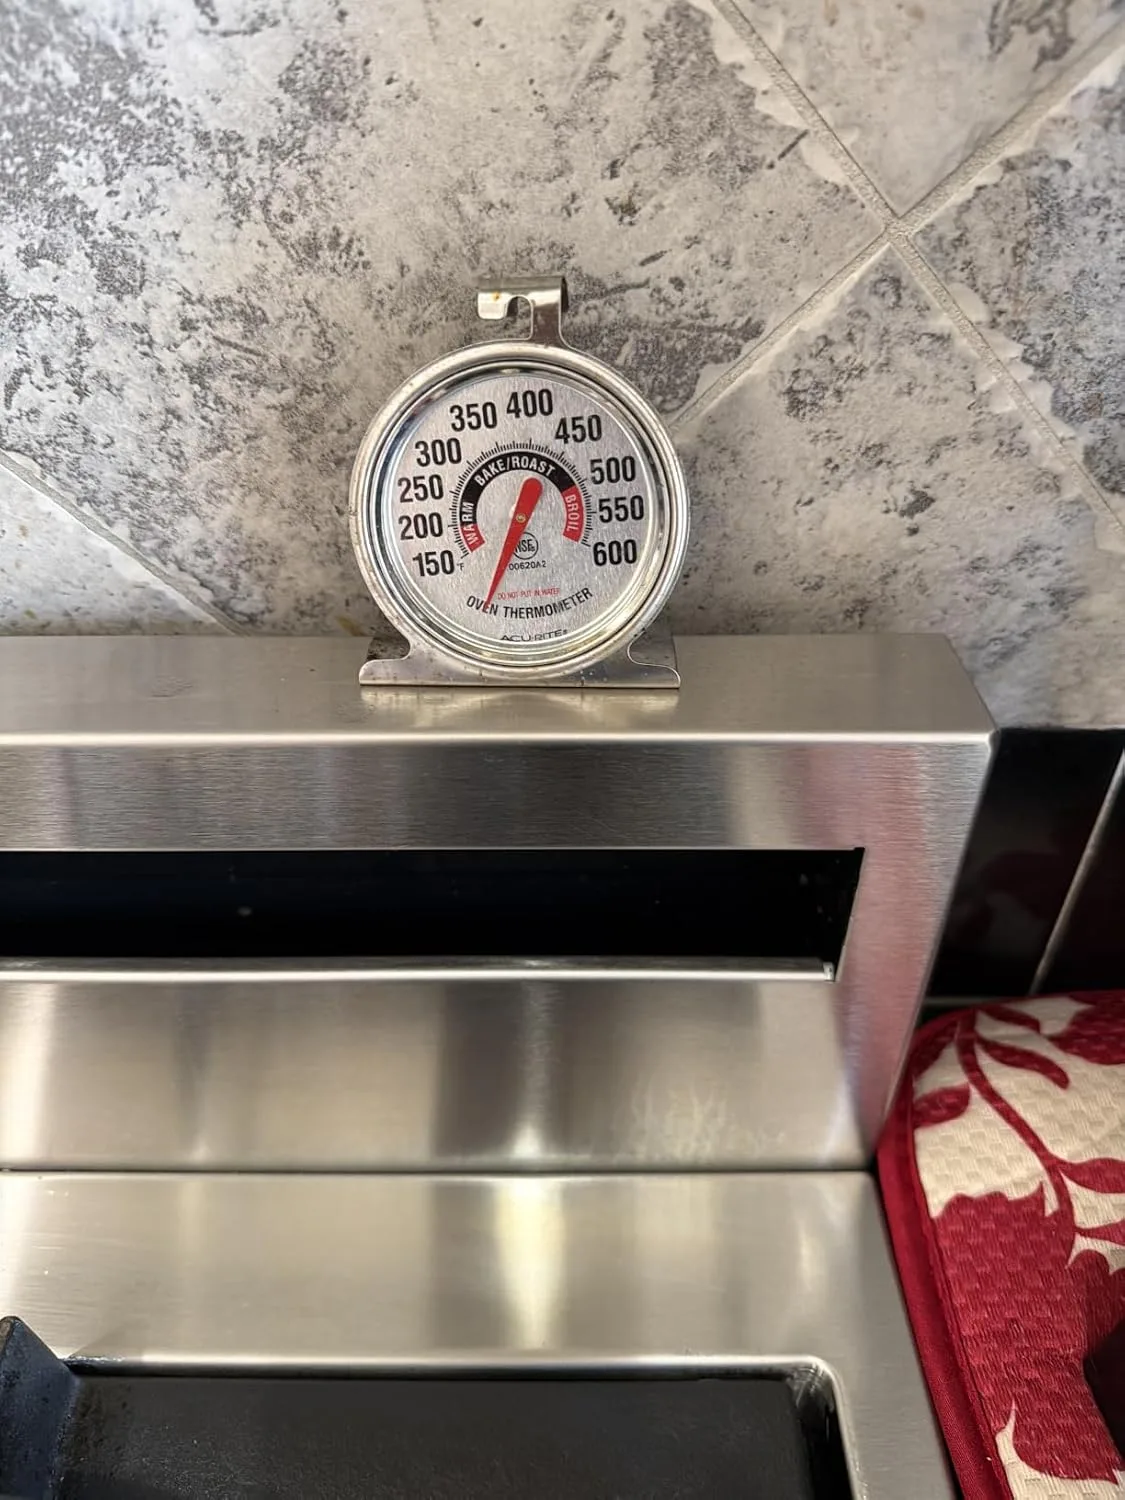
The Oven Thermometer That Stopped Me from Ruining 72-Hour Dough
After waiting three full days for cookie dough to develop, the last thing you want is an oven temperature swing ruining the whole experiment. I learned this the hard way — twice — before I realized my oven was swinging 15 degrees during bake time, sabotaging my long-rest results before they even had a chance.
What works
- Catches oven temperature swings instantly — I spotted a 12-degree dip mid-bake that my oven’s built-in display never showed me, which explained why my edges weren’t caramelizing evenly on long-rest batches.
- The dial is large enough to read from across the kitchen without squinting, and it sits stable on the rack so I can glance at it while rotating pans.
- Stainless steel construction means it handles the humidity from 72-hour dough sessions and frequent oven openings without rust or calibration drift.
What doesn’t
- The metal frame gets genuinely hot — I’ve burned my knuckle twice reaching in without a potholder because I forgot it was there.
- If your oven has tight corners or a crowded rack setup, finding a stable spot where you can actually see the dial takes some trial and error.
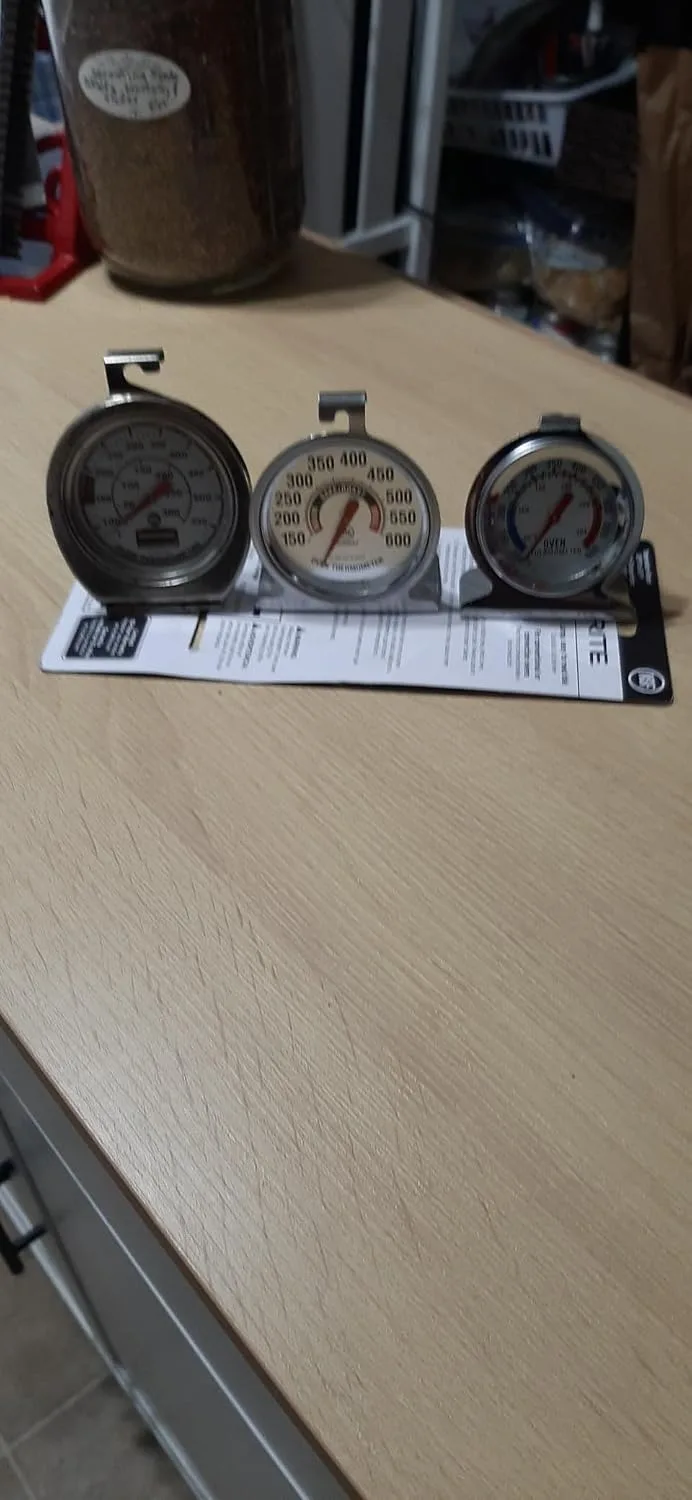
I almost gave up on this thermometer after my third batch of 72-hour cookies still came out inconsistent, convinced the problem was my dough — until I realized I’d been placing the thermometer too close to the heating element, getting false hot-spot readings. AcuRite 00620A2 Stainless Steel Oven Thermometer
About This Article

Written by Margaret Chen. Margaret Chen is a home baker and recipe developer with over 15 years of experience perfecting cookie recipes through rigorous testing and detailed experimentation. She tests every recipe multiple times, documents every variable, and applies the same rigor professional bakers use, with the warmth and accessibility of home baking. More about this site.
Scope and limits. Margaret is a home baker and recipe developer with no formal culinary training. Follow current food safety guidance for egg handling, storage, and anything you are serving to other people.
Verify this against a primary source
Specifics change, and your situation may differ from the one described here. These are the authorities worth checking directly:
- USDA FoodData Central — ingredient composition and nutrition data
- FoodSafety.gov — safe handling, storage and egg safety