I did not mean to burn the butter. I want to make that very clear. But standing in my kitchen at 10 p.m. on a Tuesday, pan in hand, watching what was supposed to be golden-brown butter turn the color of a very strong espresso, I made a decision that changed my entire approach to toffee brown butter blondies forever.
Here is what happened. I was distracted by my cat, Gerald, who had decided that this was the exact moment to knock an entire succulent off the windowsill and then stare at me like I was the one who had done something wrong. By the time I turned back to the stove, my butter had gone well past the usual nutty-brown stage. It smelled deeply caramelized, almost smoky, borderline terrifying. I almost dumped it. Instead, I poured it into my batter anyway, mostly out of stubbornness and partly because I did not want to unwrap another stick of butter at that hour. Reader, those were the best blondies I have ever made.
Why Toffee Brown Butter Blondies Are Worth Every Minute of Attention
Blondies already have so much going for them. They are fudgy, chewy, rich with vanilla and brown sugar, and they come together without a mixer or any particularly heroic effort. But the moment you introduce deeply browned butter and real toffee bits into the equation, something genuinely magical occurs. The flavor becomes layered. You get that classic blondie sweetness underneath a backdrop of toasted, almost nutty depth, and then those little pops of crunchy, buttery toffee scattered throughout. It is a lot of personality in a modest little bar.
The key thing to understand about brown butter in blondies is that it is not just a technique — it is actually flavor insurance. When you brown butter, you are cooking off the water content and toasting the milk solids, which creates hundreds of new flavor compounds. In a blondie, where vanilla and brown sugar are already doing their best work, browned butter acts like a volume knob turned up to eleven. And if you accidentally push it just a little further than you intended, like I did that Tuesday night, you can land in genuinely extraordinary territory.
Technique Tips for Getting This Exactly Right
Browning the Butter
Use a light-colored saucepan so you can actually see what color the butter is reaching. Swirl rather than stir. The butter will foam up, then settle, then foam again right before it is done. That second foam is your cue to watch closely. The milk solids will turn golden, then amber, then — as I discovered — a deep mahogany that smells like a cross between toffee and roasted hazelnuts. For a standard blondie, you want it golden to amber. For the deeper, more intense version I accidentally invented, go just a little further. You want it dark but not acrid. If it smells burnt rather than toasted, you have gone too far. Let it cool for at least ten minutes before mixing into your batter, or your eggs will scramble and you will have a whole new problem.
Mixing the Batter
Blondie batter is a one-bowl situation, which is one of the reasons I love making them late at night. Whisk the cooled brown butter with your brown sugar first, then add eggs and vanilla. Here is an important tip that most recipes gloss over: mix vigorously at this stage. You are not in danger of overdeveloping gluten yet, and beating air into the butter-sugar-egg mixture creates that slightly crinkled, slightly shiny top that makes blondies look as good as they taste. Once you add your flour and salt, switch to a spatula and fold gently. Overmixing after the flour goes in is how you end up with tough, cakey blondies instead of fudgy ones.
The Toffee Bits Question
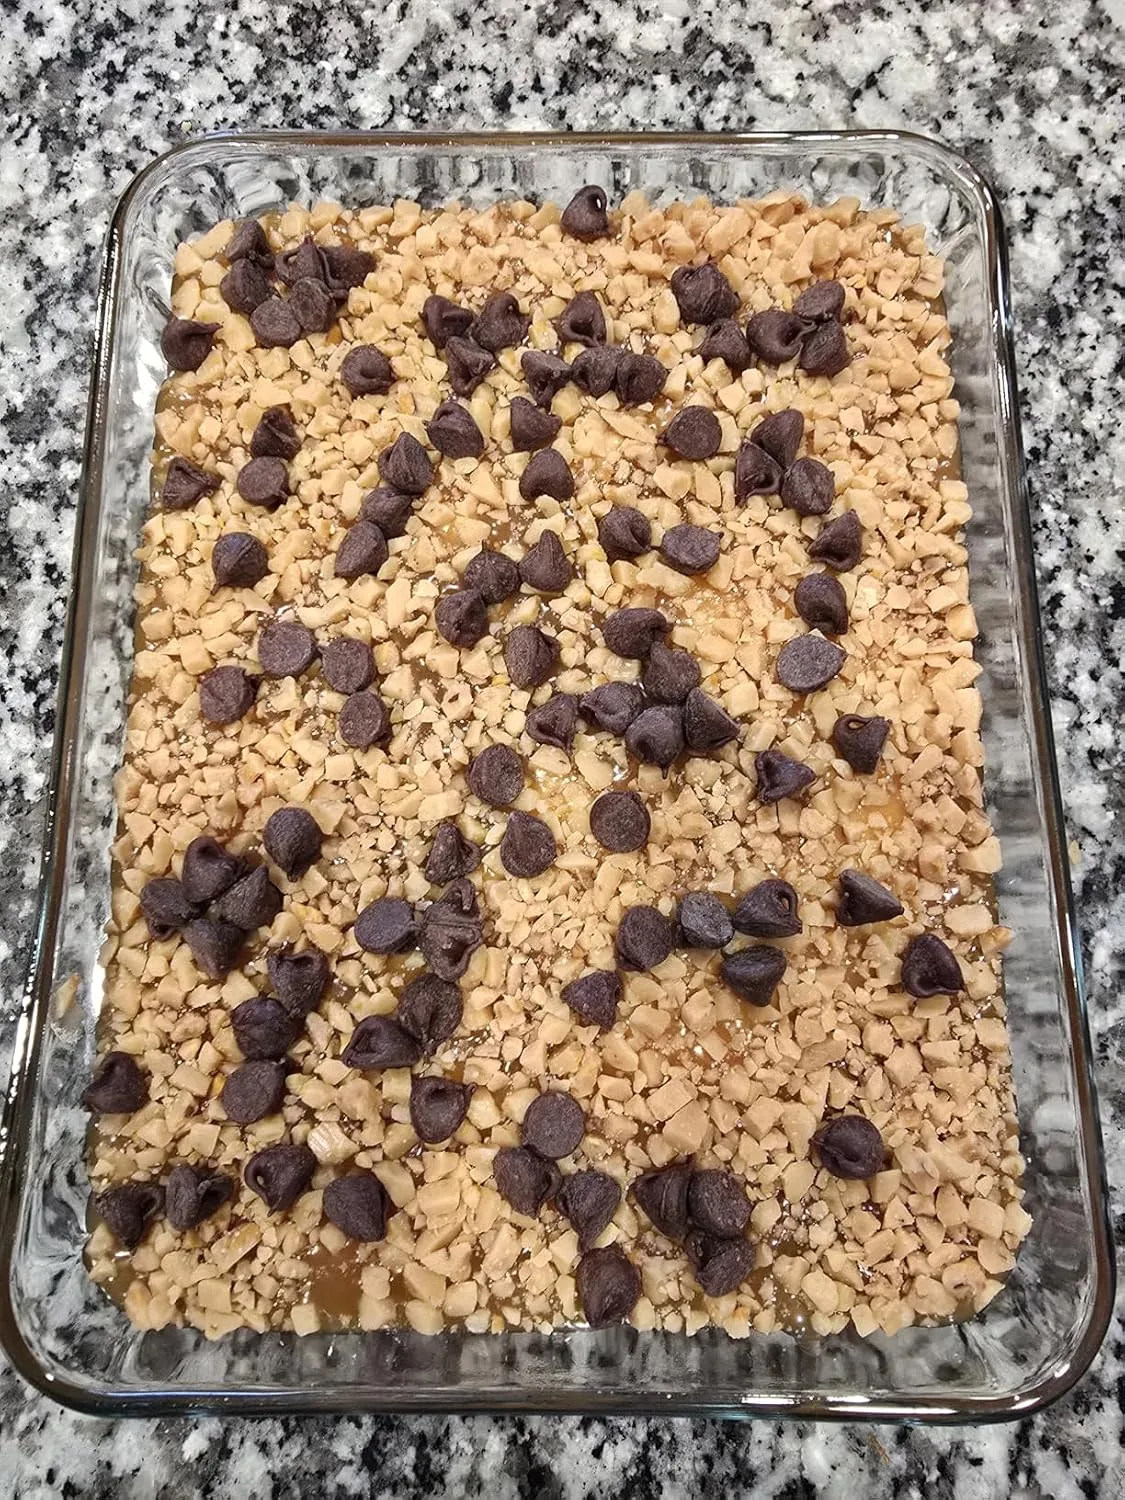
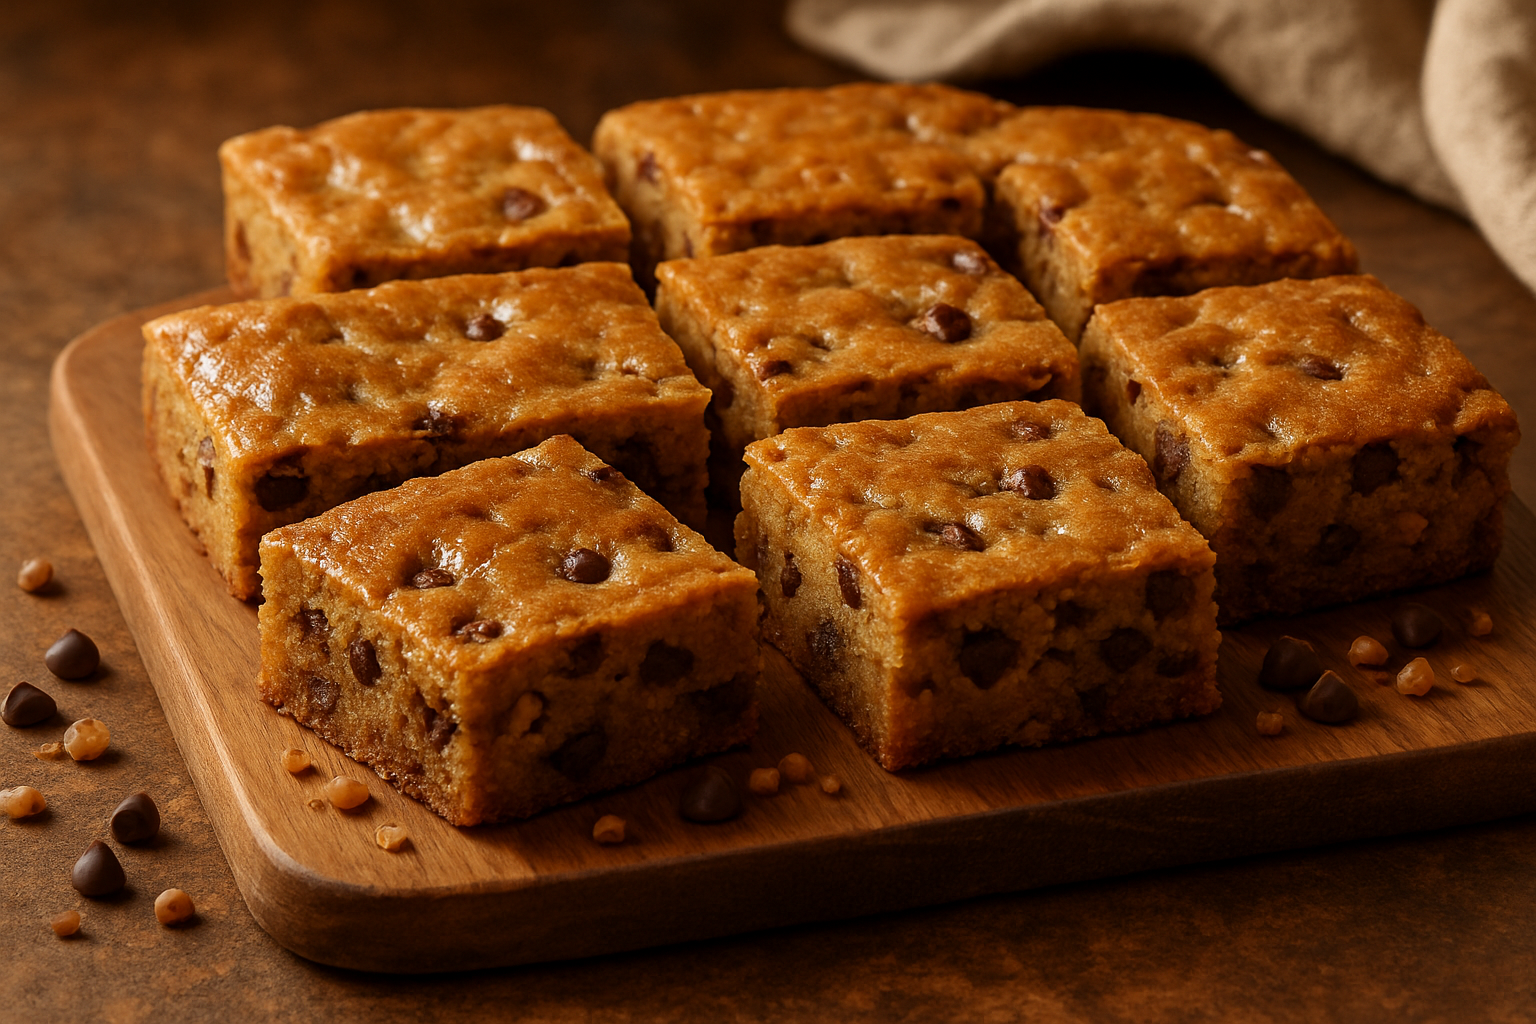
Fold the toffee bits in at the very end, and reserve a small handful to press into the top before baking. This gives you two textural experiences: bits that have melted and caramelized into the blondie itself, and bits on the surface that stay crunchy and get a little toasted in the oven. Do not skip that top layer. It makes the presentation dramatically better and the texture dramatically more interesting.
Bake low and slow — 325°F rather than 350°F. Blondies are done when the edges are set and the center still looks just slightly underbaked. They will continue cooking as they cool, and pulling them a touch early is the difference between fudgy and dry. Let them cool completely in the pan before cutting. I know. I know it is hard. Set a timer and walk away. Go deal with whatever Gerald has knocked over this time.
The Recipe: Toffee Brown Butter Blondies
This is the exact recipe that emerged from my accidental butter-burning adventure. It yields a pan of deeply golden, fudgy blondies with real toffee presence and that mahogany-butter complexity I discovered that Tuesday night. Use a 9-by-13-inch pan for the classic thickness, or go for a 8-by-8-inch if you prefer taller, chewier bars.
What You’ll Need
- 1 1/4 cups (2 1/2 sticks / 284 grams) unsalted butter
- 2 cups (400 grams) packed light brown sugar
- 1/2 cup (100 grams) granulated sugar
- 3 large eggs
- 2 1/2 teaspoons pure vanilla extract
- 2 1/4 cups (280 grams) all-purpose flour
- 1 1/2 teaspoons baking powder
- 1 1/2 teaspoons salt
- 1 cup (150 grams) toffee bits, divided
- Optional: 1 cup (120 grams) chopped toasted walnuts or pecans
How I Make Them, Step by Step
- Preheat your oven to 325°F (163°C). Line a 9-by-13-inch baking pan with parchment paper, letting the edges hang over the sides for easy removal later.
- Brown the butter in a light-colored saucepan over medium heat. Watch carefully as it melts, foams, and the milk solids settle and toast. For standard blondies, stop when it turns golden to amber. For that deeper, almost-burnt intensity I love, let it go a shade further — deep mahogany, smelling like toffee and roasted nuts. Once it reaches your target color, pour it into a bowl and let it cool for at least 10 minutes. Do not skip this step, or your eggs will scramble.
- In a large mixing bowl, whisk the cooled brown butter together with both sugars (brown and granulated) until well combined. Do not use a mixer yet — a whisk and some elbow grease is fine here.
- Add the eggs one at a time, whisking well after each addition. Then add the vanilla extract and whisk until the mixture is light and slightly fluffy, about 2 minutes of vigorous whisking. This step creates that signature crinkled, shiny top.
- In a separate bowl, whisk together the flour, baking powder, and salt.
- Fold the flour mixture into the wet ingredients using a spatula, stirring gently until just combined. Do not overmix — a few streaks of flour are fine. Overmixing after the flour goes in is how you end up with tough, cakey blondies.
- Fold in about 3/4 cup of the toffee bits (reserve the rest for topping). Add walnuts now if you are using them.
- Pour the batter into your prepared pan and smooth the top. Press the reserved toffee bits into the surface, scattering them evenly. This gives you two textural experiences: bits that melt into the blondie itself, and bits on top that stay crunchy.
- Bake for 28 to 35 minutes, depending on your oven and how fudgy you like them. The edges should be set and golden, but the very center should still look just slightly underbaked — it will continue cooking as it cools. A toothpick inserted near the center should come out with just a few moist crumbs, not wet batter.
- Transfer the pan to a wire rack and let the blondies cool completely in the pan — this is crucial for the fudgy texture. Yes, it is hard to wait. Set a timer and walk away.
- Once completely cool, use the parchment paper edges to lift the blondies out of the pan onto a cutting board. Cut into squares (about 2-by-3-inch pieces) and serve. Store in an airtight container at room temperature for up to 3 days, though they are best eaten within 24 hours.
Yield: About 12 to 15 blondies, depending on how large you cut them. Prep time: 15 minutes. Bake time: 30 to 35 minutes.
My Baking Essentials for This Recipe
A good recipe is only as good as the ingredients and tools behind it. Here is exactly what I keep stocked and what I reach for every time I make these.
The Toffee Bits That Actually Survive Burned Butter (And High Heat)
When you’re working with butter that’s gone nearly black, you need toffee pieces that won’t dissolve into the batter or turn bitter themselves in the oven’s heat. Regular chocolate chips won’t cut it here—I learned that the hard way on batch three.
What works
- The brickle texture holds its shape completely, even when folded into a batter made with deeply browned butter—no melting, no collapse.
- They add their own toffee complexity without competing with the nutty, almost burned-sugar notes already in the brown butter, which I was honestly worried about.
- The pack of two gives me enough for one full batch of blondies plus backup pieces for snacking (or quality control, as I call it).
What doesn’t
- If you overbake these blondies by even two minutes, the brickle bits can turn slightly hard and almost chalky—they’re not forgiving if you’re the type who leaves things in the oven while distracted.
- They’re not cheap for what you’re getting, and a single two-pack might not be enough if you’re doubling the recipe or baking multiple batches in succession.
I second-guessed myself halfway through my fourth batch, wondering if these brickle bits were actually making a difference or if I was just justifying the cost, but one bite of those first blondies straight from the cooling rack answered that question completely. Grab Heath English Toffee Bits O’ Brickle — Pack of 2 and you’ll understand why I keep a box in my pantry now.
This post contains affiliate links. As an Amazon Associate, I earn from qualifying purchases at no extra cost to you.