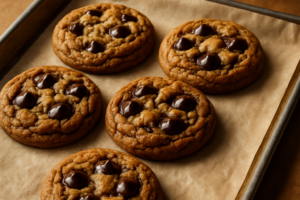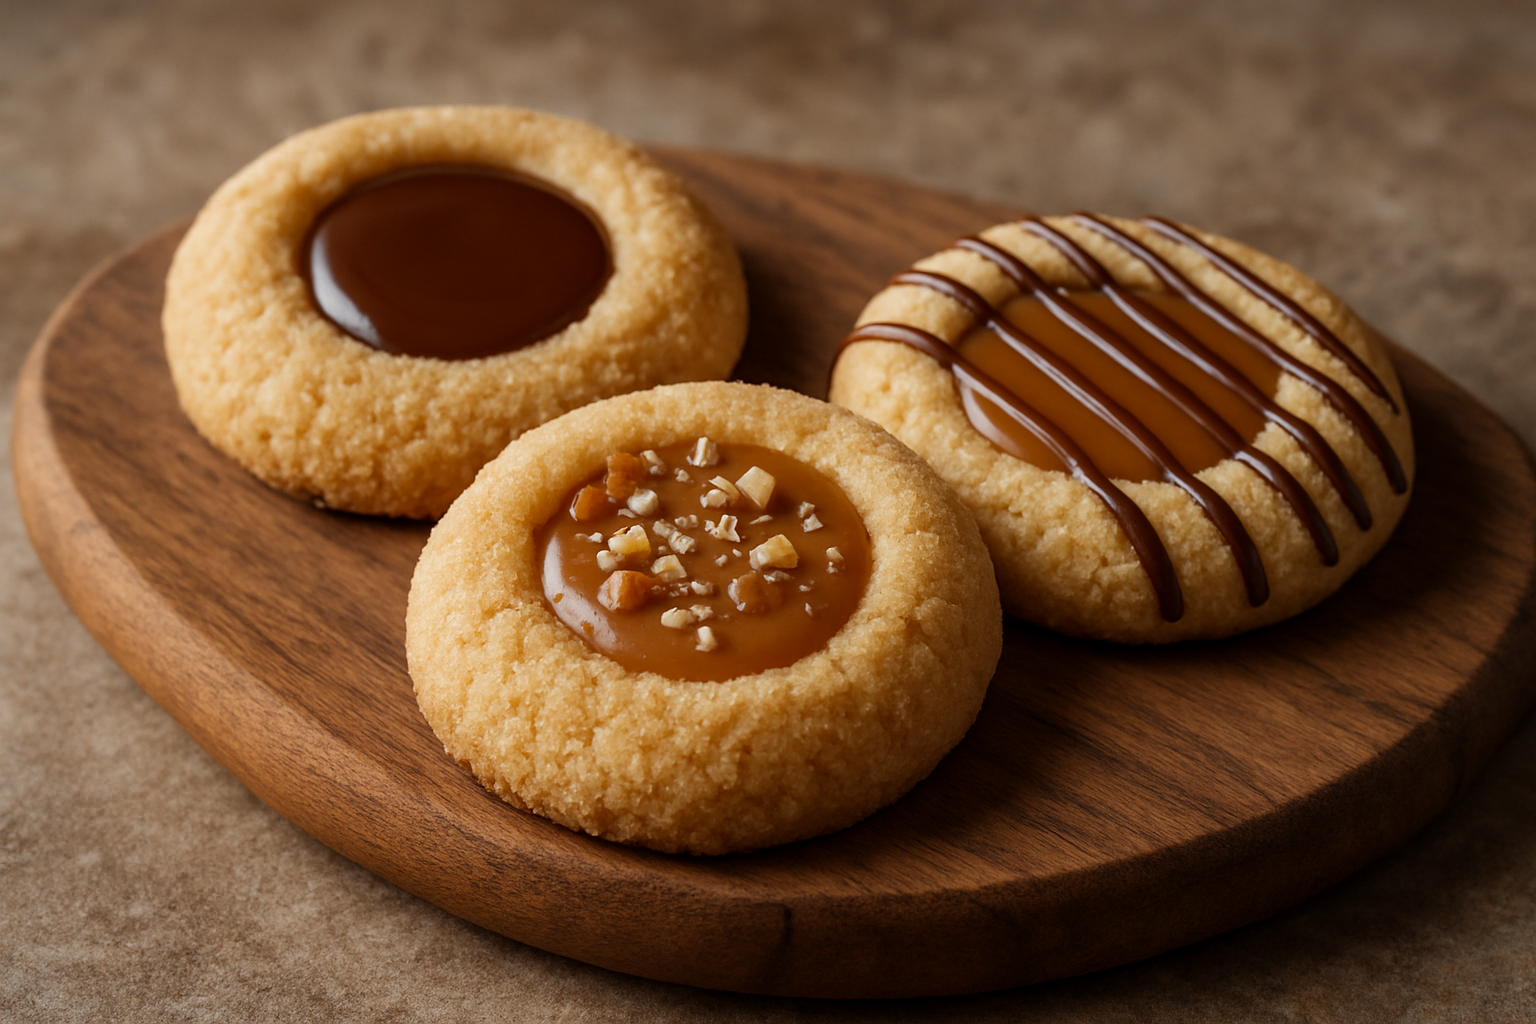

Caramel Thumbprint Cookies
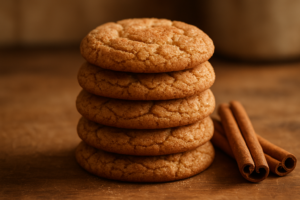
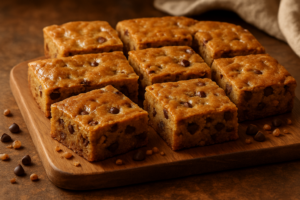
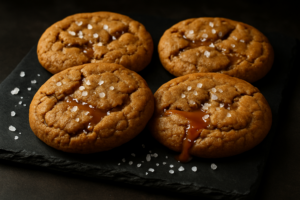
Buttery brown butter pecan shortbread thumbprint cookies filled with caramel, topped with toasted pecans.
Ingredients
- 1 cup (226g) unsalted butter, plus a bit more for browning
- 2/3 cup (133g) granulated sugar
- 2 cups (240g) all-purpose flour
- 1/2 cup (50g) finely chopped pecans
- 1/2 teaspoon salt
Instructions
- Heat 1 cup butter in a small saucepan over medium heat, stirring frequently until it foams and turns a light amber color with a nutty aroma, about 5-7 minutes.
- Pour the brown butter into a bowl and let cool for 10 minutes until it reaches room temperature.
- In a large bowl, whisk the cooled brown butter with the sugar until well combined.
- Add the flour and salt to the butter mixture and stir until just combined.
- Roll the dough into 1-tablespoon-sized balls and place them about 2 inches apart on a parchment-lined baking sheet.
- Press your thumb firmly into the center of each ball to create a deep indentation, rotating slightly to widen the well.
- Press the finely chopped pecans gently into the outside edges of each cookie, where they'll toast beautifully.
- Bake at 350°F (175°C) for 12-14 minutes, until the bottoms and edges are lightly golden brown.
- Remove from the oven and immediately fill the indentations with your chosen caramel filling.
- Let cool completely on the pan before serving.
Notes
- Brown butter is essential for nutty, toffee-like depth.
- Fill cookies while still warm from the oven.
- Press thumb firmly to create deep indentation for holding filling.
I want to tell you about the afternoon I accidentally made caramel thumbprint cookies recipe history in my kitchen — and nearly glued my thumb to the baking sheet in the process. It was a Sunday, the kind where you feel ambitious and slightly overconfident, and I had decided that ONE filling variation simply wasn’t enough. Three fillings, three sheet pans, one thumb that would not stop sticking to hot caramel. My kids watched from the kitchen doorway like little scientists observing a very chaotic experiment. Spoiler: it ended with everyone crowded around the cooling rack, arguing loudly about which cookie was the best — and every single variation got a vote.
Why Caramel Thumbprint Cookies Deserve a Permanent Spot in Your Rotation
Let me back up a little. I have been making thumbprint cookies for years — the classic jam version, the lemon curd version, even a chocolate hazelnut situation that got a little out of hand. But caramel? Caramel thumbprints feel like the grown-up, butter-and-brown-sugar upgrade that the humble thumbprint cookie was always destined to become. The base is a buttery, slightly nutty shortbread that barely holds its shape just long enough for you to press your thumb (or your knuckle, once you learn from my mistakes) into the center. Then you fill that little well with something gloriously sticky and golden and everything is right in the world.
The cookie base I use is a brown butter shortbread with finely chopped pecans pressed into the edges. The brown butter is non-negotiable. It adds this toasty, almost toffee-like depth that makes the caramel filling taste even more caramel-y, if that is even possible. Yes, it takes an extra five minutes. Yes, it is worth every single second.
The Base Recipe: Brown Butter Pecan Shortbread
Every variation starts with the same foundation — a tender brown butter shortbread that’s sturdy enough to hold a generous thumbprint indentation, but still melts on your tongue. This is the recipe I rely on, and it never lets me down.
What You’ll Need
- 1 cup (226g) unsalted butter, plus a bit more for browning
- 2/3 cup (133g) granulated sugar
- 2 cups (240g) all-purpose flour
- 1/2 cup (50g) finely chopped pecans
- 1/2 teaspoon salt
How to Make Them
- Heat 1 cup butter in a small saucepan over medium heat, stirring frequently until it foams and turns a light amber color with a nutty aroma, about 5-7 minutes. Pour into a bowl and let cool for 10 minutes until it reaches room temperature.
- In a large bowl, whisk the cooled brown butter with the sugar until well combined.
- Add the flour and salt to the butter mixture and stir until just combined — the dough will look a bit crumbly but should hold together when squeezed.
- Roll the dough into 1-tablespoon-sized balls and place them about 2 inches apart on a parchment-lined baking sheet.
- Press your thumb firmly into the center of each ball to create a deep indentation, rotating slightly to widen the well.
- Press the finely chopped pecans gently into the outside edges of each cookie, where they’ll toast beautifully.
- Bake at 350°F (175°C) for 12-14 minutes, until the bottoms and edges are lightly golden brown. The centers should still look slightly pale.
- Remove from the oven and immediately fill the indentations with your chosen caramel variation (see below). Let cool completely on the pan before serving.
Yield: About 30-36 cookies depending on size. Prep time: 15 minutes. Bake time: 12-14 minutes per batch.
The 3 Filling Variations (And How the Family Vote Actually Went Down)
So here is where the chaos truly began. I had set out three different caramel fillings across the counter and was blissfully spooning them into freshly baked cookie wells when I leaned a little too close to the first tray. My thumb went directly into a hot pool of dulce de leche. It was fine — barely warm, honestly more embarrassing than painful — but my eight-year-old screamed like I had touched the sun, and suddenly I had an audience for the rest of the baking session. They were not there to help. They were there to judge.
Variation 1: Classic Dulce de Leche
The Dulce de Leche That Doesn’t Require a Water Bath (Or a Second Pot)
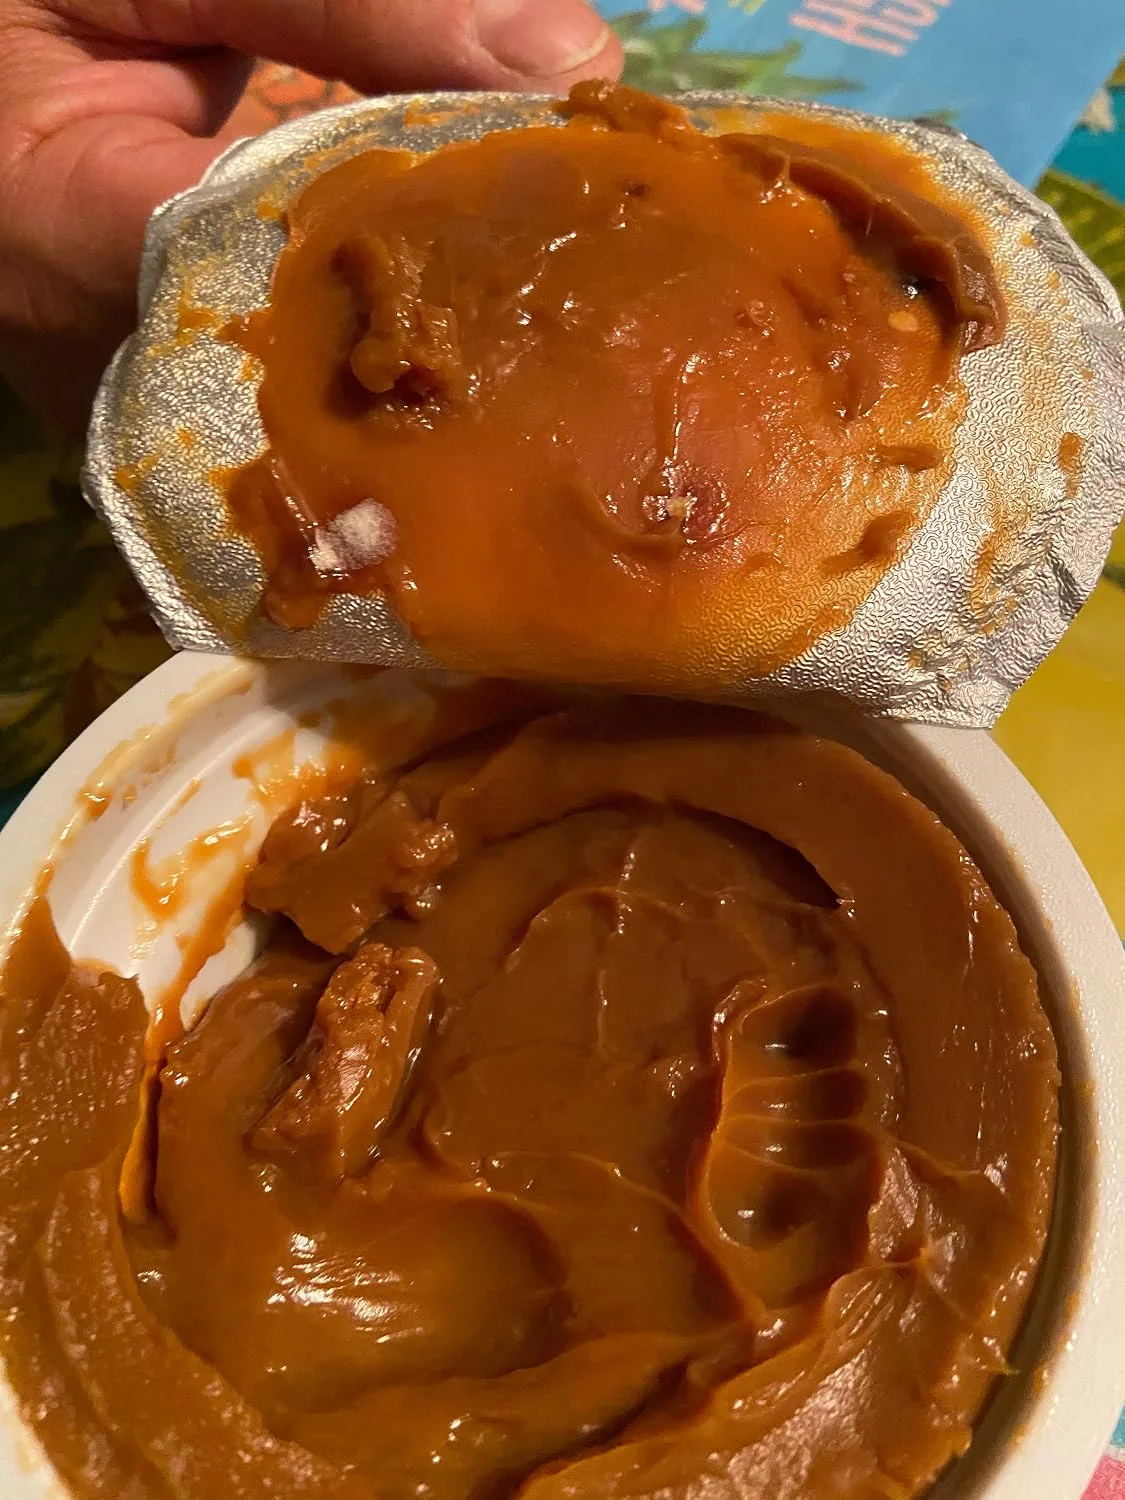
When you’re filling warm cookies straight from the oven, you need a caramel that’s already spoonable and thick — not something that needs cooking or tempering. The difference between a dulce de leche that cooperates and one that runs everywhere is the difference between feeling like a confident baker and standing in your kitchen at midnight still cleaning filling off the countertops.
What works
- It comes out of the jar at exactly the right consistency for filling thumbprints — thick enough to stay put, not so stiff that you’re wrestling it with a spoon.
- The flavor is genuinely caramel-forward, not overly sweet or tasting like sweetened condensed milk pretending to be something fancier — it lets the brown butter shortbread actually shine.
- A single jar goes the distance for an entire triple-batch afternoon, so you’re not opening three different containers and comparing labels while your cookies cool.
What doesn’t
- If you overfill a cookie well, it pools on the baking sheet and sets almost like caramel candy — which sounds good until you’re trying to pry a cookie loose and the whole bottom tears off.
- The jar can be tricky to scoop from when it’s full because the spoon never quite reaches the bottom without effort, and halfway through your batch you’ll be tilting the jar at angles that feel unnecessarily dramatic.
I once questioned whether this was too “store-bought” for a blog post, wondering if I should have simmered my own from scratch — until I realized the homemade version sat too thin on the warm cookies and the whole point was to actually enjoy the process instead of troubleshooting. You can grab La Lechera Dulce de Leche 13.4 oz. and move on to the part where your family actually votes on the cookies.
How to Fill This Variation
- Remove the baked cookies from the oven while they’re still warm.
- Spoon about 1/2 teaspoon of dulce de leche into each warm indentation — this is the secret to keeping it in place.
- If desired, add a tiny pinch of fleur de sel or coarse sea salt on top of the filling.
- Let cool completely on the baking sheet so the filling sets up firm and stays put.
Variation 2: Homemade Salted Caramel
If you want to feel like you’ve made everything from scratch (and you should, because you have), this homemade salted caramel filling strikes the perfect balance between fussy and foolproof. It takes about 10 minutes and tastes like butter, brown sugar, and better decisions.
Salted Caramel Filling Ingredients
- 1/2 cup (113g) unsalted butter
- 1 cup (220g) packed brown sugar
- 1/2 cup (120ml) heavy whipping cream, room temperature
- 1 teaspoon vanilla extract
- 1/2 teaspoon fleur de sel or coarse sea salt, plus more for topping
How to Make the Salted Caramel
- Combine butter and brown sugar in a heavy-bottomed saucepan over medium heat, stirring occasionally until the butter melts and the mixture begins to bubble gently, about 3-4 minutes.
- Continue cooking for exactly 1 minute more, stirring constantly — you’re not making hard caramel, just a deep brown sugar syrup.
- Remove from heat and let cool for 2-3 minutes, then very carefully pour in the room-temperature cream while stirring constantly. The mixture will bubble up and smell absolutely incredible.
- Stir in the vanilla extract and salt, then let the caramel cool to room temperature (about 15-20 minutes) until it reaches a spreadable consistency.
- Spoon about 1/2 teaspoon into each warm cookie indentation and sprinkle with a tiny pinch of fleur de sel while the caramel is still slightly warm.
- Let cool completely before serving.
Filling yield: About 36-40 cookies. Prep time: 5 minutes. Cook time: 5 minutes. Cool time: 20 minutes.
Variation 3: Chocolate & Caramel Swirl
This is the “show off” version — the one that makes people think you went to pastry school. It’s caramel and chocolate in every bite, and honestly, it’s the one my kids voted for. You can use either the homemade salted caramel from Variation 2 or the dulce de leche from Variation 1 as your base.
Chocolate Caramel Topping Ingredients
- 4 ounces (113g) semi-sweet or dark chocolate, finely chopped
- 2 tablespoons unsalted butter
- Your choice of caramel filling (dulce de leche or homemade salted caramel from above)
- Fleur de sel for topping (optional)
How to Assemble This Variation
- Melt the chocolate and butter together in a heatproof bowl over simmering water (or in 30-second microwave bursts), stirring until completely smooth. Let cool for 2-3 minutes.
- Spoon about 1/4 teaspoon of your chosen caramel filling into each warm cookie indentation.
- Top each caramel-filled cookie with 1/4 teaspoon of the melted chocolate mixture, allowing it to pool slightly.
- If desired, add a tiny pinch of fleur de sel on top before the chocolate fully sets.
- Let cool completely at room temperature so the chocolate and caramel set up firm together.
Topping yield: About 36-40 cookies. Assembly time: 10 minutes. Set time: 30 minutes.