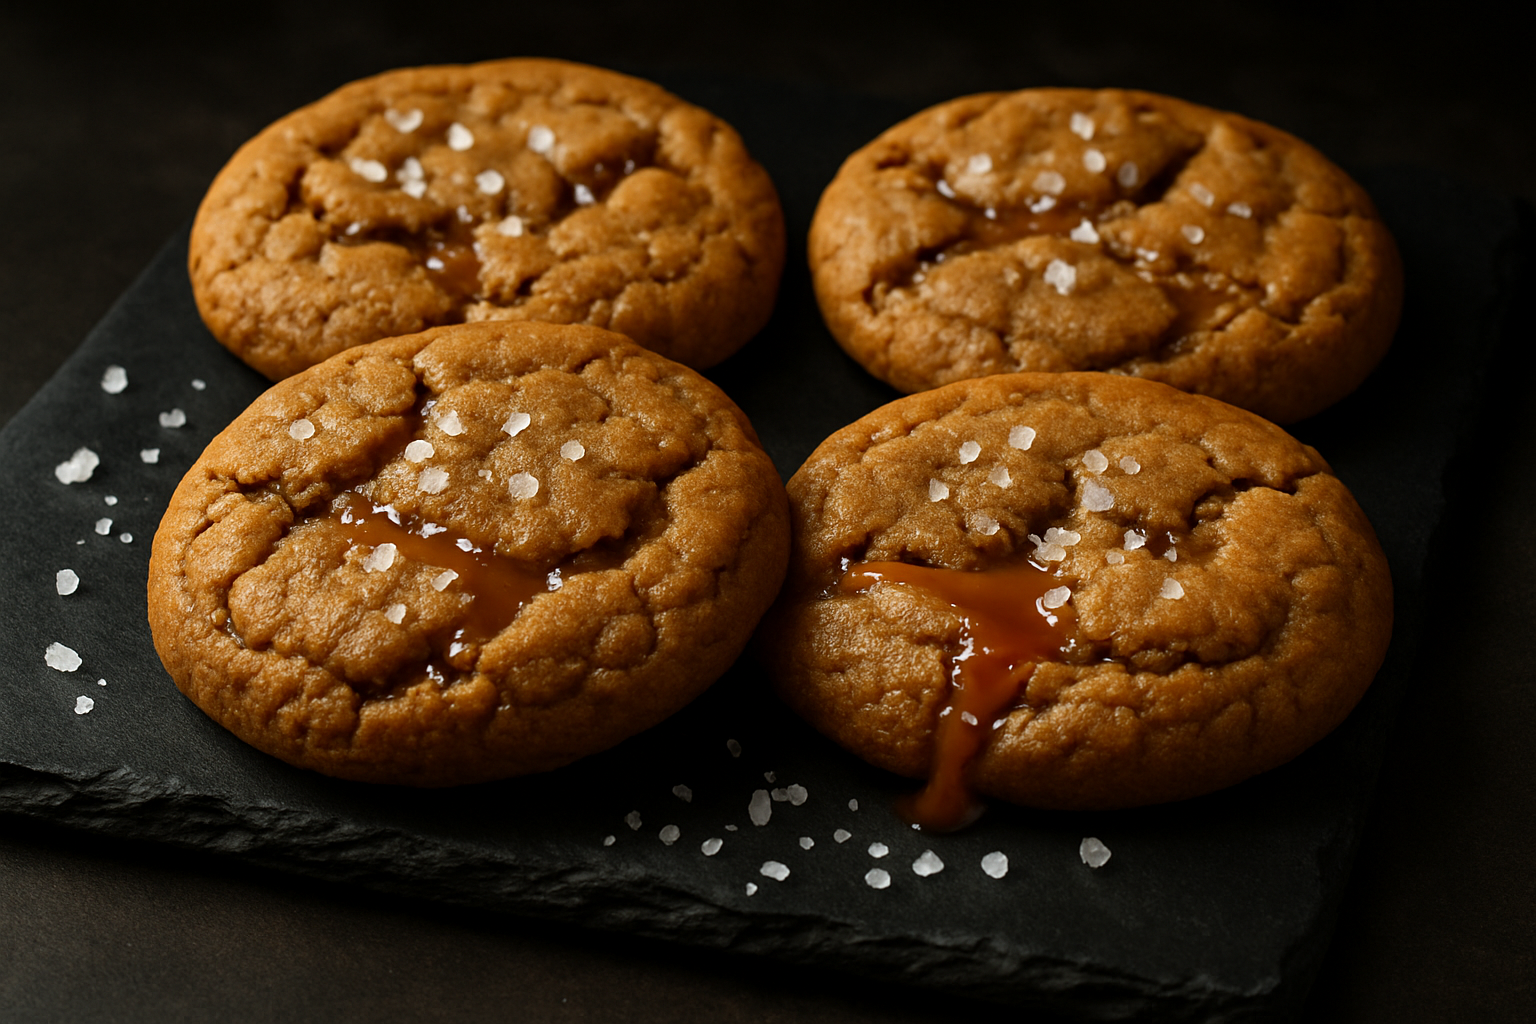

Salted Caramel Cookies
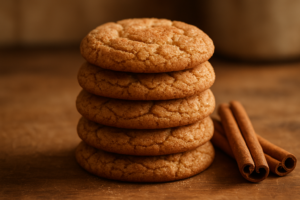
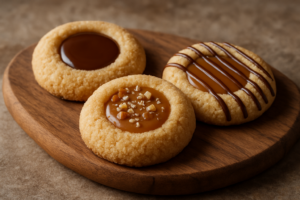
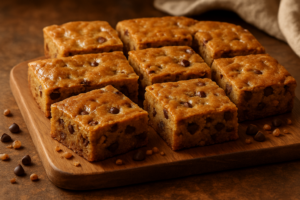
Crispy-edged, chewy-centered cookies studded with caramel bits and topped with flaky salt.
Ingredients
- 1 cup (2 sticks or 227g) unsalted butter
- 3/4 cup (165g) packed dark brown sugar
- 1/4 cup (50g) granulated white sugar
- 1 large egg
- 1 tablespoon vanilla extract
- 2 cups (250g) all-purpose flour
- 1 teaspoon baking powder
- 1/2 teaspoon baking soda
- 1/2 teaspoon table salt
- 1 1/2 cups (270g) caramel bits (unwrapped)
- Flaky finishing salt (such as Maldon) for topping
Instructions
- In a light-colored saucepan over medium heat, melt the 1 cup of butter and continue cooking, swirling occasionally, until the milk solids turn golden brown and smell nutty, about 5-7 minutes, then pour into a bowl and let cool completely.
- Once the brown butter has cooled, transfer it to a large mixing bowl, add the dark brown sugar and granulated sugar, then beat on medium speed for about 4 minutes until light and fluffy.
- Add the egg and vanilla extract to the butter-sugar mixture and beat on medium speed until fully combined and the mixture looks light and slightly pale, about 1-2 minutes.
- In a separate bowl, whisk together the flour, baking powder, baking soda, and table salt.
- Add the dry ingredients to the wet ingredients and mix on low speed until just combined.
- Gently fold the caramel bits into the dough using a spatula or wooden spoon, being careful not to crush them.
- Cover the dough and refrigerate for at least 1 hour.
- Preheat your oven to 350°F (175°C) and line baking sheets with parchment paper.
- Using a cookie scoop or your hands, form dough into 1.5-inch balls and place them 2 inches apart on the prepared baking sheets.
- Just before baking, sprinkle each cookie lightly with flaky finishing salt.
- Bake at 350°F (175°C) for 12-14 minutes, until the edges are set and lightly golden brown but the centers still look slightly underbaked and soft.
- Let the cookies cool on the baking sheet for 5 minutes before transferring to a wire rack.
Notes
- Brown butter is non-negotiable; watch it carefully and do not look away.
- Chill dough overnight if possible to deepen flavor and prevent spreading.
- Use unwrapped caramel bits and flaky finishing salt (not table salt) for best results.
- Cookies continue to cook slightly as they cool; remove from oven while centers still look soft.
I burned batch number three so badly that my smoke detector went off twice, my cat knocked over a full glass of water fleeing the kitchen, and I stood in the middle of it all holding a spatula like I had absolutely no idea how I got there. And yet — I made batch number four the very next morning. That is the power of a truly great salted caramel cookies recipe, and honestly, I have zero regrets about any of it.
What started as a casual Tuesday afternoon baking project turned into a full two-week obsession that produced fourteen batches, one very confused spouse, and the most glorious, gooey, salty-sweet cookie I have ever pulled from my oven. I am going to share everything I learned — the hard way, mostly — so you can skip straight to the good part.
How This Salted Caramel Cookies Recipe Took Over My Life
It started innocently enough. I had a bag of caramel bits sitting in my pantry, a half-finished stick of butter on the counter, and the kind of restless energy that only baking can fix. I figured I would throw together something quick — a simple drop cookie with caramel mixed in, a pinch of flaky salt on top, done in an hour. Cute little project, right?
Batch one was fine. Not wow, not terrible. The caramel bits melted unevenly, a few cookies spread too thin, and the salt got lost somewhere in the whole situation. I ate four of them standing over the pan anyway, but I knew there was more potential here. So I tried again the next day. And the day after that. By the end of the first week, my husband had started referring to our kitchen as “the caramel lab” without any trace of irony, and I had developed very strong opinions about brown butter temperatures.
Batch number three is where things went sideways in spectacular fashion. I got distracted reading about caramel chemistry on my phone (extremely relevant, very necessary) while the brown butter was on the stove. You can probably guess the rest. The smoke alarm screamed. The cat launched herself off the counter like a tiny furry missile, caught the edge of my water glass on the way down, and the whole kitchen smelled like sadness for about forty-five minutes. I threw open every window in February. My neighbor waved at me from across the yard with a look that said “again?”
But here is the thing about baking obsessions: they are not rational, and they do not care about your smoke alarm. I was back at it by morning.
What I Learned After 14 Batches (So You Don’t Have To)
After all that trial and error, I want to save you from my chaos. Here are the technique notes that genuinely changed everything for this cookie.
Brown Your Butter — And Watch It Like a Hawk
Brown butter is non-negotiable for this cookie. It adds a deep, nutty, almost toffee-like flavor that makes the caramel taste richer and more complex. Use a light-colored pan so you can actually see the color of the milk solids changing — they should look like golden toasted breadcrumbs and smell like heaven before you pull them off the heat. Do not look at your phone. I am speaking from experience. Let the brown butter cool completely before adding your sugars, otherwise you will melt your sugar prematurely and end up with a greasy, flat mess.
Chill the Dough — No, Really
I resisted this step through the first five batches because I am impatient and I wanted cookies immediately. Every single time, the cookies spread too much and the caramel bits pooled out onto the pan. Once I started chilling the dough for at least one hour — and ideally overnight — the cookies held their shape, the centers stayed thick and chewy, and the caramel bits stayed right where I put them. An overnight rest also deepens the flavor in a way that is genuinely noticeable. Worth the wait. I promise.
The Caramel Bits Make or Break the Whole Thing
Pre-unwrapped caramel bits are genuinely one of the great baking inventions of our time. I used to use wrapped caramels cut into pieces, and let me tell you — the unwrapping alone is enough to make a person reconsider their choices. Caramel bits melt evenly, distribute beautifully through the dough, and save you about fifteen minutes of sticky, annoying prep work.
Salt Is a Finishing Touch, Not an Afterthought
The salt you use matters enormously, and when you use it matters even more. Add it right before the cookies go in the oven, not before chilling. Flaky finishing salt has a completely different effect than table salt — it sits on the surface, gives little hits of brininess that contrast the sweetness, and makes the whole cookie feel intentional and sophisticated. Do not skip this step. Do not use regular table salt. This is where the magic lives.
The Recipe: Salted Caramel Cookies That Finally Got It Right
After fourteen obsessive batches, I have landed on a recipe that captures everything I was chasing. This is the one I make now — no more experimentation, no more smoke alarms, just consistently perfect cookies with crispy edges and a chewy, caramel-studded center.
What You’ll Need
- 1 cup (2 sticks or 227g) unsalted butter
- 3/4 cup (165g) packed dark brown sugar
- 1/4 cup (50g) granulated white sugar
- 1 large egg
- 1 tablespoon vanilla extract
- 2 cups (250g) all-purpose flour
- 1 teaspoon baking powder
- 1/2 teaspoon baking soda
- 1/2 teaspoon table salt
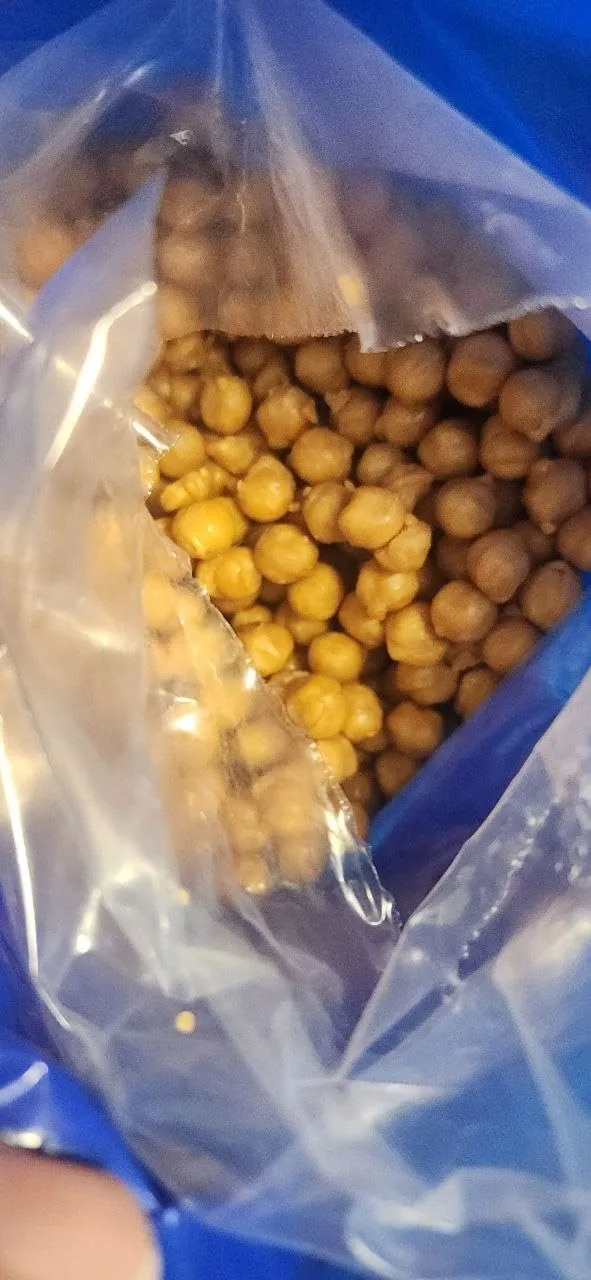
- 1 1/2 cups (270g) caramel bits (unwrapped)
- Flaky finishing salt (such as Maldon) for topping
How I Make Them, Step by Step
- Brown the butter (about 5 minutes): In a light-colored saucepan over medium heat, melt the 1 cup of butter. Continue cooking, swirling occasionally, until the milk solids turn golden brown and smell nutty — about 5-7 minutes. Pour into a bowl and let cool completely before proceeding. This is non-negotiable.
- Cream the sugars (about 4 minutes): Once the brown butter has cooled, transfer it to a large mixing bowl. Add the dark brown sugar and granulated sugar, then beat on medium speed for about 4 minutes until light and fluffy. This creaming step is what creates tender, cake-like cookies with great texture.
- Add egg and vanilla (about 1 minute): Add the egg and vanilla extract to the butter-sugar mixture. Beat on medium speed until fully combined and the mixture looks light and slightly pale, about 1-2 minutes.
- Combine dry ingredients (about 2 minutes): In a separate bowl, whisk together the flour, baking powder, baking soda, and table salt. This ensures even distribution of the leavening agents.
- Mix wet and dry (about 1 minute): Add the dry ingredients to the wet ingredients and mix on low speed until just combined — do not overmix, as this can lead to tough cookies. Scrape down the sides of the bowl as needed.
- Fold in caramel bits (about 1 minute): Gently fold the caramel bits into the dough using a spatula or wooden spoon, being careful not to crush them. They should stay relatively intact throughout the dough.
- Chill (at least 1 hour, or overnight): Cover the dough and refrigerate for at least 1 hour. If you have time, chilling overnight (8-12 hours) deepens the flavor and makes the dough much easier to handle. This step is absolutely critical for preventing spread and keeping the caramel bits exactly where you want them.
- Preheat and scoop (about 10 minutes): Preheat your oven to 350°F (175°C). Line baking sheets with parchment paper. Using a cookie scoop or your hands, form dough into 1.5-inch balls and place them 2 inches apart on the prepared baking sheets.
- Top with salt (1 minute): Just before baking, sprinkle each cookie lightly with flaky finishing salt. This is your moment — the salt on the surface creates that sophisticated salty-sweet contrast that makes this cookie sing.
- Bake (12-14 minutes): Bake at 350°F (175°C) for 12-14 minutes, until the edges are set and lightly golden brown but the centers still look slightly underbaked and soft. This is the key to chewy, gooey centers. They will continue to cook slightly as they cool on the pan.
- Cool and enjoy (at least 10 minutes): Let the cookies cool on the baking sheet for 5 minutes before transferring to a wire rack. This resting period helps them set without becoming too firm. They taste best when still slightly warm.
Yield: This recipe makes about 24-30 cookies, depending on size. In my testing across all fourteen batches, I consistently got 28 perfectly sized cookies.
Tools and Ingredients I Actually Recommend
After fourteen batches, I have some strong feelings about what makes the process easier and the cookies better. Here is what I keep stocked in my kitchen for this specific recipe.
Why I Finally Stopped Burning Caramel by Switching to Caramel Bits
Batch number three’s smoke-alarm incident wasn’t actually about the cookies—it was about me trying to make caramel from scratch and letting it scorch while I was distracted. Caramel bits solved that problem entirely, giving me the rich, reliable caramel flavor I needed without the split-second timing that separates “perfect” from “ruined.”
What works
- They melt evenly into the dough without the hard chunks I used to get when chopping homemade caramel, which meant more consistent texture across all 14 batches.
- The bulk size means I wasn’t running to the store mid-obsession, and having extras on hand let me experiment with different ratios without rationing.
- No scorching, no watching a pot like a hawk, no smoke detectors—just fold them in and move on to the next step.
What doesn’t
- They’re less forgiving than fresh caramel if you want to control the exact flavor profile—these bits taste good, but they taste like what they are, and there’s no room to adjust.
- The 2 lb bulk size is only worth it if you’re genuinely committed (like I was), otherwise it’s a lot of caramel sitting in your pantry.
I had one moment in batch seven where I questioned whether the bits were actually giving me that deep, sophisticated caramel note I was chasing, but then I tasted the finished cookie and stopped doubting. Bulk Classic Caramel Bits 24 oz – Mini Unwrapped Sweet