
Matcha Sandwich Cookies with Cream Filling
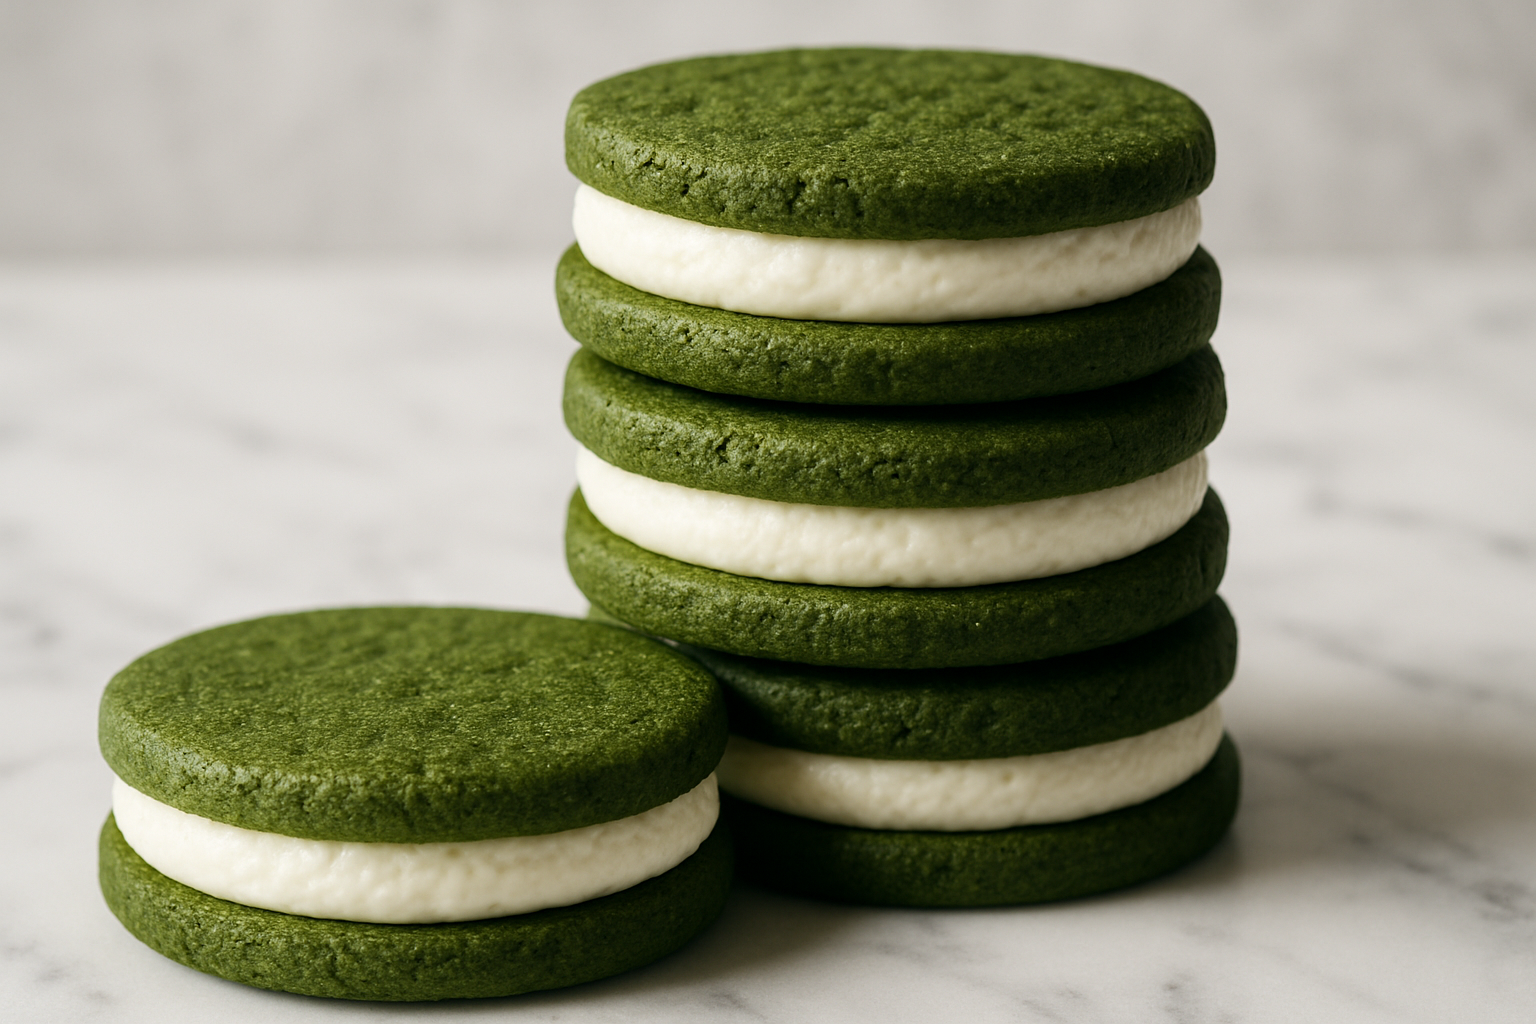
Elegant matcha wafers with delicate, crisp exterior and tender crumb, filled with sweet vanilla cream.
Ingredients
- 4 ounces unsalted butter, softened to room temperature
- 3/4 cup powdered sugar
- 1 large egg yolk
- 1/2 teaspoon vanilla extract
- 1 cup cake flour
- 2 tablespoons matcha powder, sifted
- 1/8 teaspoon salt
- 2 ounces unsalted butter, softened
- 1 cup powdered sugar
- 1/2 teaspoon vanilla extract
- 1-2 ounces white chocolate, melted and slightly cooled (optional)
Instructions
- Cream the butter and 3/4 cup powdered sugar together until light and fluffy, about 2-3 minutes.
- Mix in the egg yolk and 1/2 teaspoon vanilla extract until fully combined and uniform.
- Sift 1 cup cake flour, 2 tablespoons matcha powder, and 1/8 teaspoon salt together.
- Gently fold the dry ingredients into the wet ingredients using a rubber spatula until a soft, pale green dough forms.
- Cover the bowl and refrigerate for at least 30 minutes.
- Preheat your oven to 350°F (175°C) and line 2 baking sheets with parchment paper.
- Transfer the chilled dough into a piping bag fitted with a small round tip and pipe small rounds about 1 inch in diameter and 1 inch apart.
- Bake for 12-15 minutes, or until the edges are just set and the cookies are still pale green.
- Let the cookies cool on the baking sheet for 2 minutes, then transfer to a wire rack.
- Beat 2 ounces softened butter with 1 cup powdered sugar until fluffy and light.
- Add 1/2 teaspoon vanilla extract and fold in melted and cooled white chocolate if using.
- Pair up cooled wafers and spread about 1/2 teaspoon of filling on the flat side of one cookie.
- Press the flat side of a second cookie on top to create a sandwich.
Notes
- Use high-quality, bright green matcha powder for best flavor.
- Use sturdy piping bags and fill only 3/4 of the way to avoid splitting.
- Hold piping bag at a consistent 45-degree angle.
I almost threw an entire batch of matcha sandwich cookies cream filling and all straight into the trash — and I’m so glad I didn’t.
It started on a Tuesday afternoon when I decided, with absolutely zero planning, that I was going to make elegant, bakery-style matcha sandwich cookies with cream filling for my book club that was meeting in approximately four hours. Bold move. Iconic, even. What followed was a comedy of errors involving green-stained fingers, a piping bag explosion, and a very confused dog who kept staring at me like I was losing my mind. Spoiler: I was. But the cookies? The cookies were absolutely magnificent. And now I’m going to teach you everything I learned — including what NOT to do — so your experience is smooth, gorgeous, and completely un-chaotic.
Why Matcha Sandwich Cookies with Cream Filling Are Worth Every Second
Let me be upfront: these are not a lazy Tuesday cookie. They require a little patience, some chilling time, and at least a basic understanding of what a piping bag is supposed to do (more on that later). But the payoff is completely extraordinary. These matcha sandwich cookies have a delicate, slightly crisp exterior that gives way to a tender crumb, with that unmistakable earthy, slightly grassy flavor that matcha lovers absolutely live for. The cream filling — sweet, fluffy, with just a hint of vanilla — is the perfect counterpart. It’s like a grown-up Oreo went on a trip to Kyoto and came back deeply cultured and wearing linen.
Store-bought matcha cookies are fine. But fine is not what we do here. The flavor in homemade versions is incomparably more vibrant, the filling is rich and real, and you get to control exactly how much matcha intensity comes through. Plus, you made them. With your hands. That alone makes them taste better — science probably agrees with me on this.
Choosing the Right Matcha: This Step Is Everything
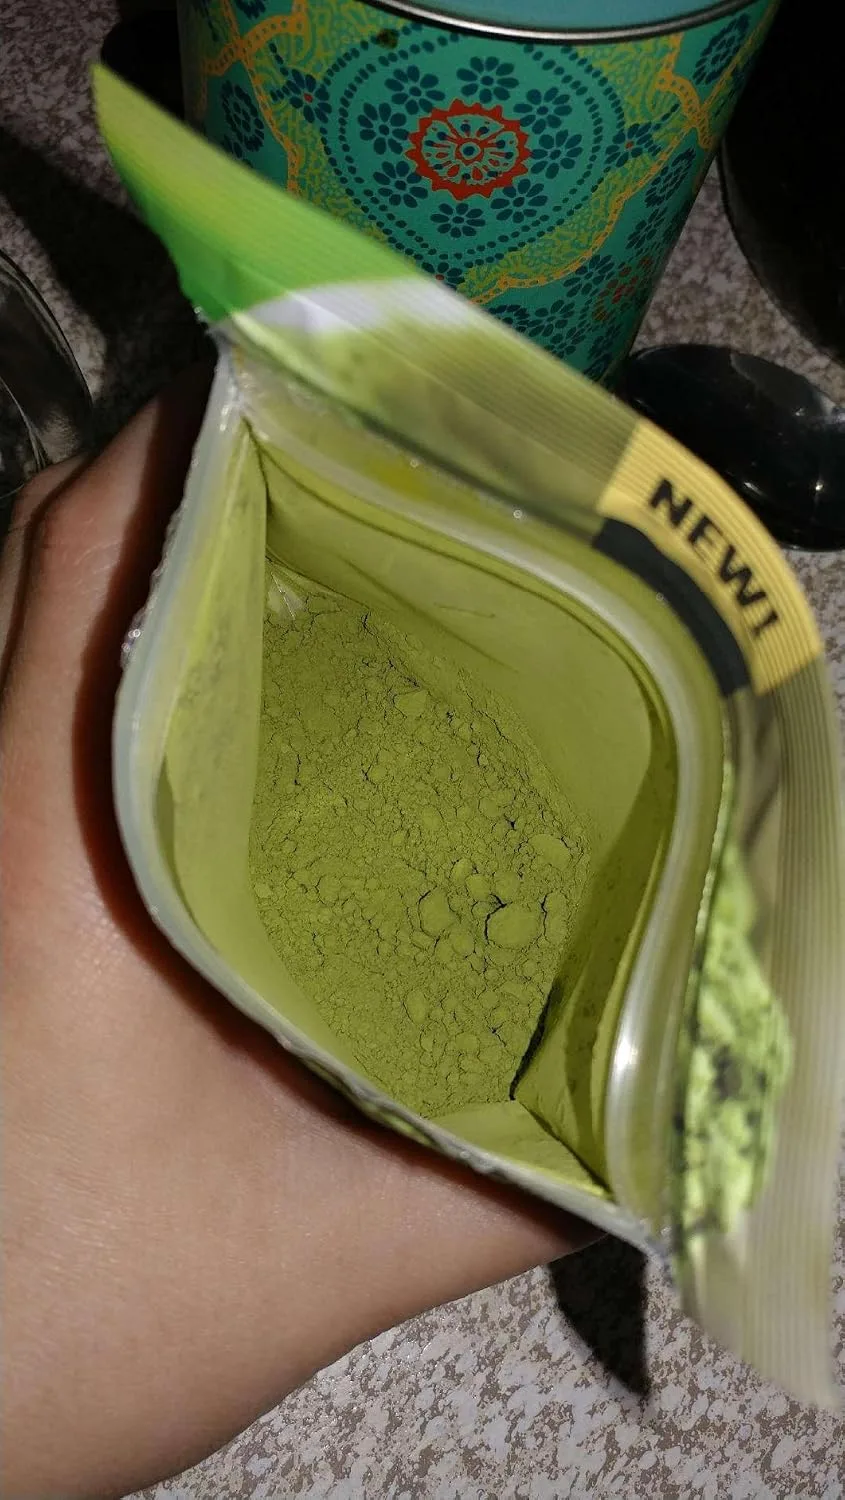
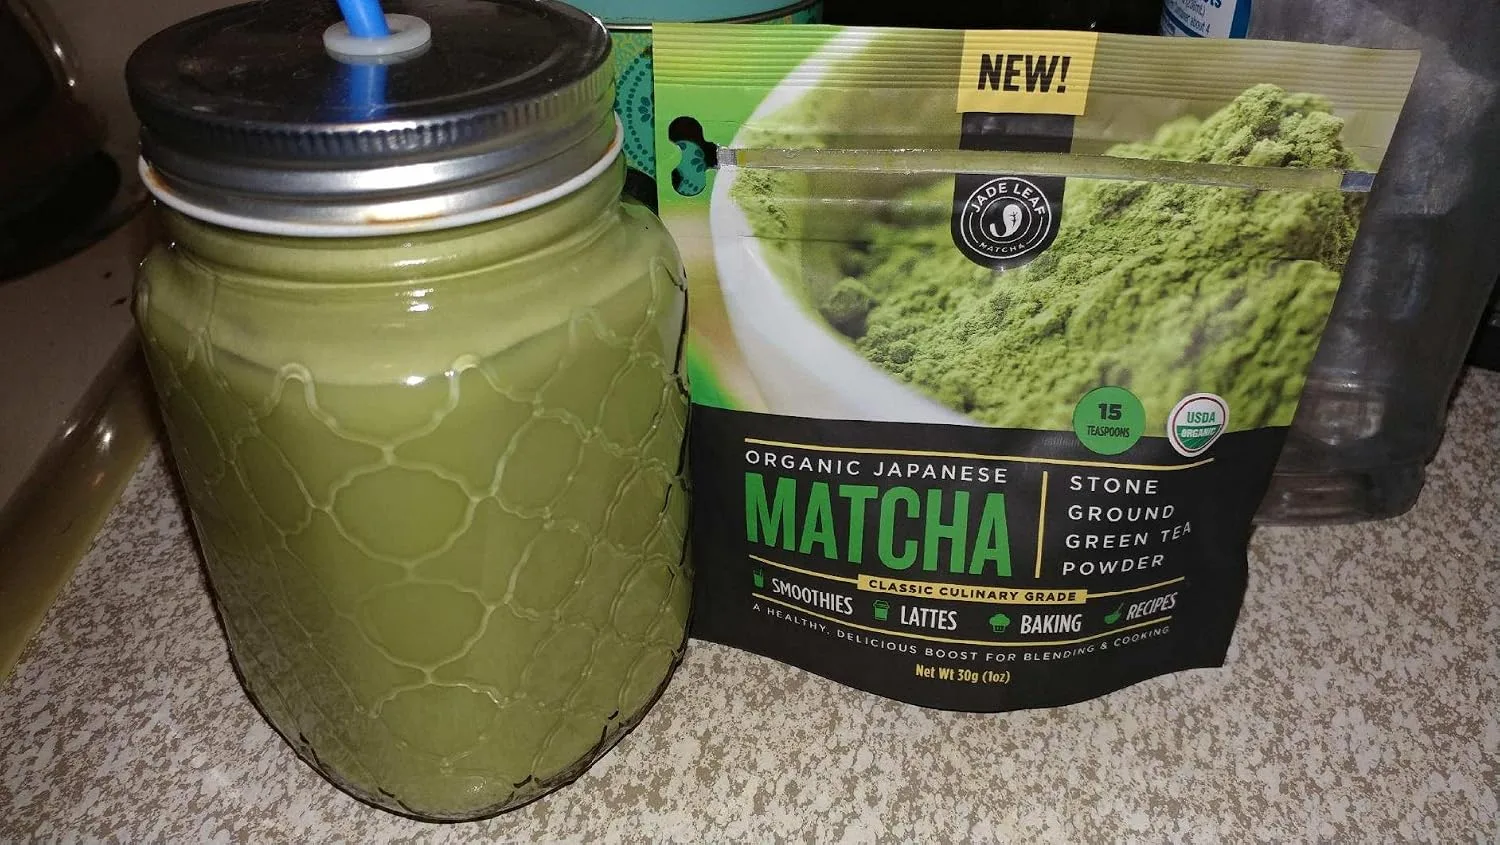
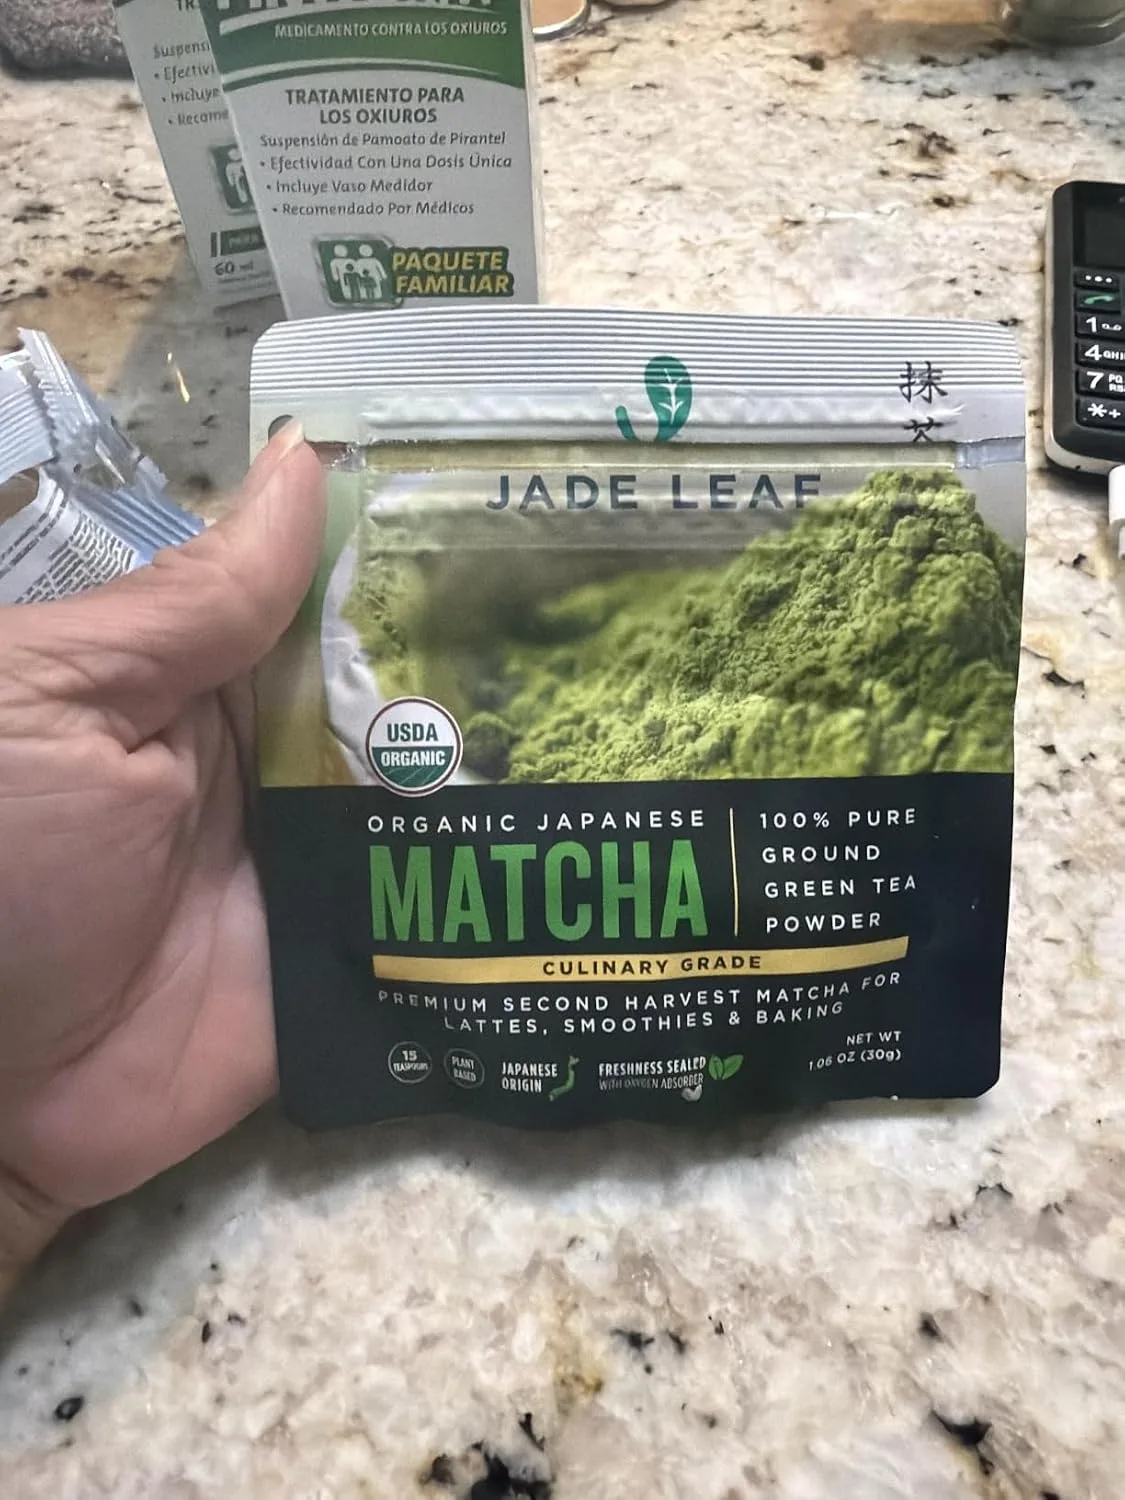
Here is the biggest baking lesson I’ve learned about matcha: not all matcha is created equal, and using a dull, yellowish, bargain-bin powder will give you cookies that taste like green dust and broken dreams. You want a matcha with a bright, vivid green color and a clean, slightly sweet aroma. For baking, culinary grade is perfectly appropriate and more cost-effective, but quality still matters enormously.
The Matcha That Actually Tastes Like Matcha (Not Like Disappointment)
I’ve learned the hard way that bargain matcha powder will sabotage even the most careful baker — those dull, yellowish powders give you cookies that taste flat and dusty, which is the opposite of what we’re after here. The matcha you choose is genuinely the foundation of these cookies, and it’s worth getting right.
What works
- The color is unmistakably vivid and bright green right out of the bag, which tells you the powder is fresh and hasn’t been sitting around losing its vibrancy — and that brightness carries directly into your finished cookies.
- It whisks smoothly into the butter and sugar without clumping, which means you get an even matcha distribution throughout the dough instead of little pockets of intense flavor or sad spots with barely any matcha taste.
- The flavor is that clean, slightly sweet, earthy matcha taste that actually makes people stop mid-bite and ask what they’re tasting — not a generic “green” flavor, but something with real character.
What doesn’t
- It costs more than the bargain bins, which stings when you’re just experimenting — but once you taste the difference, you’ll understand why it’s worth the investment.
- The container is smaller than some competitors, so if you’re planning to make matcha everything for the next month, you might find yourself reordering sooner than you’d like.
I once grabbed a cheaper matcha off the shelf thinking “green powder is green powder,” and those cookies tasted like I’d accidentally added seaweed to the dough — never again.
The Recipe: Matcha Sandwich Cookies with Vanilla Cream Filling
What You’ll Need
For the Matcha Cookie Wafers
- 4 ounces (113 grams or 1/2 cup) unsalted butter, softened to room temperature
- 3/4 cup (90 grams) powdered sugar
- 1 large egg yolk
- 1/2 teaspoon vanilla extract
- 1 cup (120 grams) cake flour
- 2 tablespoons (15-18 grams) matcha powder, sifted
- 1/8 teaspoon salt
For the Vanilla Cream Filling
- 2 ounces (57 grams or 1/4 cup) unsalted butter, softened
- 1 cup (120 grams) powdered sugar
- 1/2 teaspoon vanilla extract
- 1-2 ounces white chocolate, melted and slightly cooled (optional, for extra richness)
Time and Temperature
- Prep time: 20-25 minutes (plus 30 minutes chilling)
- Bake time: 12-15 minutes per batch
- Oven temperature: 350°F (175°C)
- Yield: 18-24 sandwich cookies (36-48 individual wafers)
How I Make Them, Step by Step
- Cream the butter and powdered sugar. In a medium bowl, beat softened butter and 3/4 cup powdered sugar together until light and fluffy, about 2-3 minutes. This is the foundation — don’t skip the aerating.
- Add the egg yolk and vanilla. Mix in the egg yolk and 1/2 teaspoon vanilla extract until fully combined and the mixture is uniform. Scrape down the sides of your bowl so nothing gets left behind.
- Sift and fold in the dry ingredients. Sift 1 cup cake flour, 2 tablespoons matcha powder, and 1/8 teaspoon salt together. Gently fold the dry ingredients into the wet ingredients using a rubber spatula — do this slowly and carefully to keep the dough light. You want a soft, pale green dough that holds together.
- Chill the dough. Cover the bowl and refrigerate for at least 30 minutes. This makes the dough much easier to pipe and helps the cookies hold their shape during baking.
- Pipe the wafers. Preheat your oven to 350°F (175°C). Line 2 baking sheets with parchment paper. Transfer the chilled dough into a piping bag fitted with a small round tip. Pipe small rounds about 1 inch in diameter and 1 inch apart (here’s where my piping bag explosion happened — hold it at a steady angle and don’t squeeze too hard). This dough is forgiving, I promise.
- Bake. Bake for 12-15 minutes, or until the edges are just set and the cookies are still pale green and delicate-looking. They should be slightly firm but not hard. Let them cool on the baking sheet for 2 minutes, then transfer to a wire rack.
- Make the filling. While the cookies cool, beat 2 ounces softened butter with 1 cup powdered sugar until fluffy and light. Add 1/2 teaspoon vanilla extract. If using white chocolate, fold in your melted and cooled white chocolate now. The filling should be spreadable but hold its shape.
- Assemble the sandwiches. Pair up cooled wafers and spread about 1/2 teaspoon of filling on the flat side of one cookie. Press the flat side of a second cookie on top to create a sandwich. That’s it — you’ve made an elegant, bakery-worthy cookie.
The Piping Bag Disaster and How to Avoid It
This is where my Tuesday went sideways. I loaded my piping bag, squeezed with what I thought was reasonable pressure, and the seam split like a tiny green explosion. My dog was not impressed. My hands were neon green. But I learned something valuable: use a sturdy piping bag (disposable pastry bags work great), fill it only about 3/4 of the way, hold it at a consistent 45-degree angle, and remember that this dough is forgiving. If a wafer cracks or breaks, crumble it, mix it back into your dough, and try again. No cookie police will come for you.