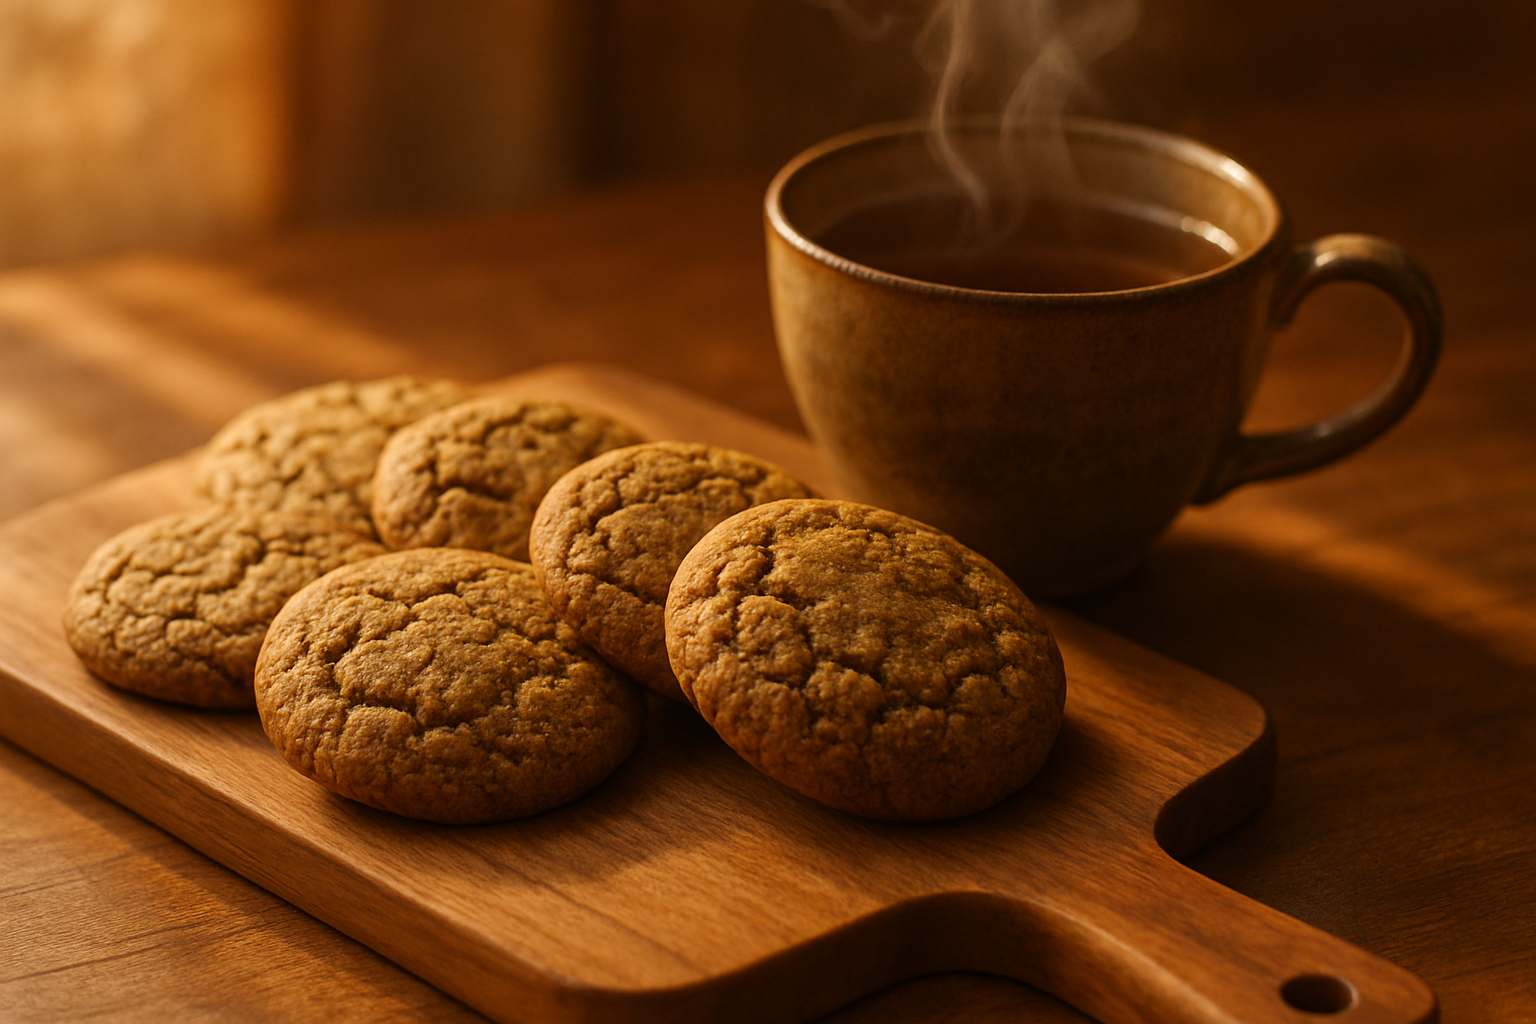

Hojicha Cookies
Delicate, buttery cookies with haunting roasted green tea flavor and a soft, slightly chewy center.
Ingredients
- 1/2 cup (115g) unsalted butter
- 1/3 cup (65g) granulated sugar
- 3 tablespoons (38g) powdered sugar
- 1 egg yolk, at room temperature
- 1/2 teaspoon vanilla extract
- 1 1/4 cups (150g) all-purpose flour
- 2 to 3 tablespoons (15–20g) hojicha powder, finely sifted
- 1/4 teaspoon fine sea salt
- 2 tablespoons (15g) cornstarch (optional, but helps prevent spreading)
Instructions
- Brown the butter in a small saucepan over medium heat, stirring occasionally, until it foams, turns light brown, and smells nutty, about 5–7 minutes.
- Pour the browned butter into a bowl and let cool to room temperature, then refrigerate until it is the consistency of soft butter, about 30 minutes.
- In a small bowl, whisk together the flour, hojicha powder, salt, and cornstarch if using, and set aside.
- In a larger bowl, beat the cooled browned butter with the granulated sugar and powdered sugar until light and fluffy, about 2–3 minutes.
- Beat in the egg yolk and vanilla extract until fully incorporated, then scrape down the sides of the bowl.
- Gently fold the flour mixture into the wet ingredients using a spatula until just combined, being careful not to overmix.
- Cover the dough and refrigerate for at least 1 hour, preferably overnight.
- Preheat your oven to 350°F (175°C) and line baking sheets with parchment paper.
- Using a 1-tablespoon cookie scoop or your hands, form small balls and place them about 1 1/2 inches apart, pressing down gently with the bottom of a glass if you prefer a flatter shape.
- Bake for 12–14 minutes, until the edges look set and golden-brown but the very center still looks slightly underbaked.
- Let the cookies cool on the baking sheet for 5 minutes, then transfer to a wire rack to cool completely.
Notes
- Use finely sifted hojicha powder to avoid dry pockets.
- Brown butter is essential for complementing the roasted tea flavor.
- Do not overbake; the center should still appear slightly underdone in the oven.
- Cookies keep well in an airtight container for up to 5 days.
I pulled open the oven door, absolutely convinced I was about to present my family with the most sophisticated cookies they had ever seen — and instead, I watched twelve perfectly round discs of what I had confidently called “the next big thing” slide off the baking sheet in a unified act of rebellion and land, one by one, onto the oven rack like tiny, caramel-colored pancakes staging a protest. That was my first attempt at hojicha cookies roasted green tea style, and honestly? It was the best baking disaster I have ever had, because it sent me straight down a rabbit hole that ended with the most hauntingly delicious cookie I now make on repeat.
So What Even Is Hojicha — And Why Are We Putting It in Cookies?
If you have spent any time on this blog, you know I am a devoted matcha person. Matcha lattes, matcha shortbread, matcha everything. But hojicha is matcha’s cozier, smokier, more laid-back cousin, and it deserves its own spotlight at the cookie party. While matcha is made from shade-grown green tea leaves that are stone-ground into a vivid green powder, hojicha is made from roasted green tea leaves or stems. That roasting process transforms the flavor completely — out goes the grassy bitterness, in comes something warm, toasty, almost nutty, with a soft caramel sweetness underneath it all. The color shifts from green to a rich reddish-brown, and the aroma is absolutely intoxicating. Think of that smell when you walk into a Japanese tea house and multiply it by a warm oven. That is what your kitchen will smell like when these cookies are baking.
Hojicha is also notably lower in caffeine than matcha or traditional green teas, which means these cookies are actually a reasonable evening treat without keeping you up counting sheep at midnight. That detail alone made my husband, who is caffeine-sensitive, extremely happy — and anyone who can make their spouse enthusiastically eat experimental tea cookies is winning at marriage and baking simultaneously.
My Hojicha Cookies Roasted Green Tea Disaster (And What It Taught Me)
Back to the oven rack incident. The problem, I eventually figured out, was threefold: I had used too much butter in the wrong state, I had skipped the chilling step because I was impatient and overconfident, and I had not accounted for the way hojicha powder behaves differently from flour in terms of absorbing moisture. My dough was essentially a warm, buttery puddle that had absolutely no intention of holding any shape under heat. The cookies spread so thin and fast that by the time I heard that ominous sizzling sound, it was already a full catastrophe. The smoke alarm went off. My dog barked. My daughter, who is eight, came into the kitchen, looked at the scene, and said, with genuine concern, “Mom, did you burn soup?”
I did not burn soup. But I did spend the next two weekends testing, adjusting, and tasting my way to a recipe that actually works — and works beautifully. Here is everything I learned so your cookies skip the chaos and go straight to the good part.
The Chilling Step Is Non-Negotiable
I know, I know. Chilling cookie dough feels like the universe punishing you for wanting cookies now. But with hojicha cookies, a minimum of one hour in the refrigerator — or ideally overnight — is what stands between you and flat, crispy sad discs. Cold dough holds its shape as it enters the oven, giving the cookies time to set before the fat melts too quickly. I promise the wait is worth it.
Use the Right Amount of Hojicha Powder
More powder does not always mean more flavor with hojicha. I found that two to three tablespoons per batch of about twenty-four cookies hits the sweet spot — enough to get that deep, roasted flavor in every bite without making the cookie bitter or dry. Hojicha powder is more absorbent than you might expect, so going overboard will make your dough stiff and crumbly. Start with two tablespoons if you are new to it, then adjust upward as your palate gets acquainted with the flavor.
Brown Butter Is Your Best Friend Here
This is the technique tip that changed everything for me. Brown your butter before mixing. The nutty, toasty notes in browned butter are practically a love language for hojicha, and the two flavors together create something genuinely complex and memorable. Just watch it carefully — hojicha cookies are already brown by nature, so you cannot rely on color to tell when they are done. Set a timer and trust it.
Do Not Overbake
Because of the deep color of the dough, it is incredibly easy to overbake hojicha cookies without realizing it. Pull them from the oven when the edges look set but the centers still appear slightly underdone. They will firm up on the pan as they cool, and that soft, slightly chewy center is exactly what you are working toward. If they look fully done in the oven, they are already overbaked.
The Recipe: Hojicha Cookies
After two weekends of testing and plenty of burned soup moments, here is the hojicha cookie recipe that actually works. These are delicate, buttery, with that haunting roasted tea flavor that makes people ask what you did differently. The secret is in three things: brown butter, proper chilling, and an honest respect for your oven timer.
What You’ll Need
- 1/2 cup (115g) unsalted butter
- 1/3 cup (65g) granulated sugar
- 3 tablespoons (38g) powdered sugar
- 1 egg yolk, at room temperature
- 1/2 teaspoon vanilla extract
- 1 1/4 cups (150g) all-purpose flour
- 2 to 3 tablespoons (15–20g) hojicha powder, finely sifted
- 1/4 teaspoon fine sea salt
- 2 tablespoons (15g) cornstarch (optional, but helps prevent spreading)
How I Make Them, Step by Step
- Brown the butter. In a small saucepan over medium heat, melt the butter, stirring occasionally. Once it melts, the milk solids will begin to separate and sink to the bottom. Watch carefully — it should foam, turn light brown, and smell nutty, not dark and burnt. This takes about 5–7 minutes. Pour into a bowl and let cool to room temperature, then refrigerate until it’s the consistency of soft butter, about 30 minutes.
- Mix the dry ingredients. In a small bowl, whisk together the flour, hojicha powder, salt, and cornstarch if using. Set aside. The hojicha powder especially needs to be sifted so there are no lumps that will create dry pockets in the dough.
- Cream the butter and sugars. In a larger bowl, beat the cooled browned butter with the granulated sugar and powdered sugar until light and fluffy, about 2–3 minutes. The brown butter won’t cream quite like regular cold butter, but you’re looking for a pale, airy mixture.
- Add the egg yolk and vanilla. Beat in the egg yolk and vanilla extract until fully incorporated. Scrape down the sides of the bowl.
- Fold in the dry ingredients. Gently fold the flour mixture into the wet ingredients using a spatula. Do not overmix — you want just enough stirring to bring the dough together. A slightly shaggy dough is fine.
- Chill the dough. Cover and refrigerate for at least 1 hour, preferably overnight. This is non-negotiable. The cold dough is what prevents the disaster of pancake-flat cookies.
- Shape and bake. Preheat your oven to 350°F (175°C). Line baking sheets with parchment paper. Using a 1-tablespoon cookie scoop or your hands, form small balls and place them about 1 1/2 inches apart. Press down gently with the bottom of a glass if you prefer a flatter shape, or leave them rounded.
- Bake until set but underdone. Bake for 12–14 minutes. The edges should look set and golden-brown, but the very center should still look slightly underbaked — almost like it needs another minute or two. This is the sweet spot. They will continue to cook on the pan as they cool, firming up into that perfect soft, slightly chewy texture.
- Cool completely. Let the cookies cool on the baking sheet for 5 minutes, then transfer to a wire rack to cool completely. They’ll firm up further as they reach room temperature.
Yield
This recipe makes approximately 24 cookies, depending on size. These keep well in an airtight container for up to 5 days (though they rarely last that long in my house).
The Hojicha Powder That Finally Stopped My Cookies From Spreading Like Pancakes
When I first started experimenting with hojicha cookies, I grabbed whatever matcha powder I had on hand — and that’s when the spreading began. The moisture content and particle size matter more than I realized when you’re building structure into a delicate cookie dough.
What works
- The powder stays finely ground and doesn’t clump when I fold it into the dough, which means even distribution of flavor without dry pockets or wet streaks.
- It has a lower moisture content than some other brands I’ve tried, which actually helps the dough hold its shape in the oven instead of melting into submission.
- The roasted flavor is bold enough that I can taste it in the final cookie without needing to use so much powder that it destabilizes the recipe.
What doesn’t
- It’s pricier than generic matcha, which means I’m more careful about using it — not a bad thing, but it does make you think twice about experimenting with large batches.
- A 50g bag runs out faster than I expect once you’re baking regularly, so I end up ordering more frequently than I’d like.
I second-guessed myself halfway through my third batch, wondering if the powder was actually the variable that mattered or if I’d just finally nailed the rest of the technique — but when I switched back to another brand out of curiosity, the cookies spread again, and that question was answered. Hojicha Powder Organic Matcha Roasted Green Tea Powder Japanese Style (50g)