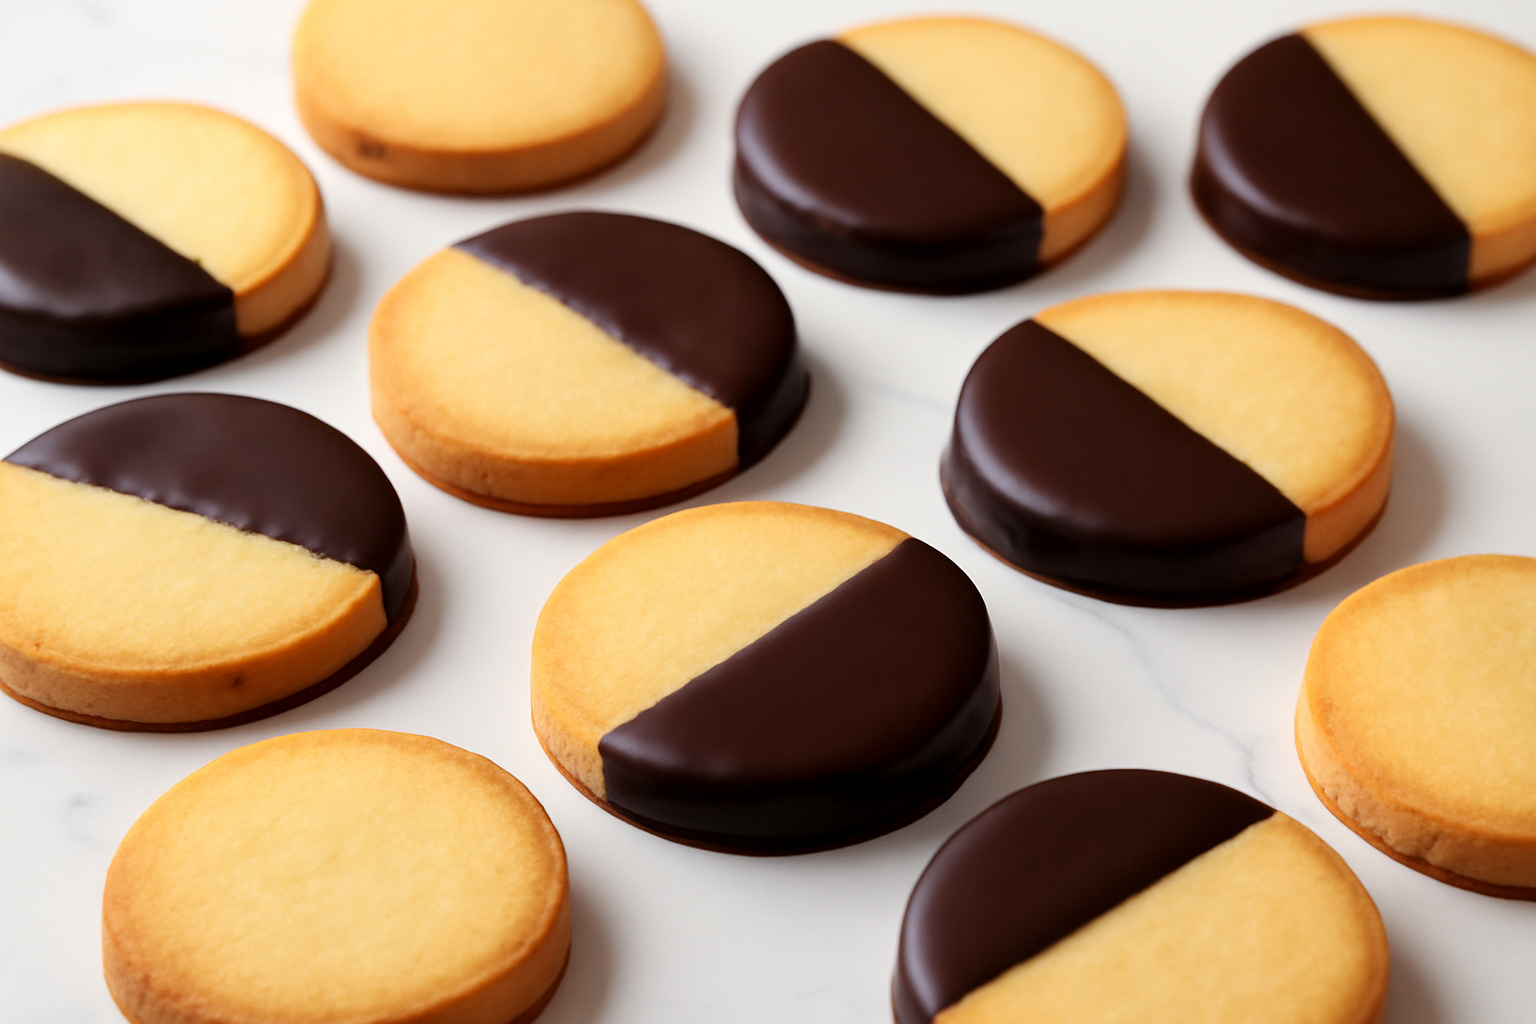

Classic French Sablés
A delicate, crumbly French butter cookie with subtle anise flavor that shatters slightly when bitten.
Ingredients
- 100 g unsalted European-style butter at 65°F
- 75 g powdered sugar
- 1 large egg yolk
- ¼ teaspoon pure anise extract
- 175 g all-purpose flour
- A pinch of fine sea salt
Instructions
- Bring the butter to 65°F.
- Cream the butter, powdered sugar, and egg yolk on medium speed for just 1 to 2 minutes, until the mixture looks unified, pale yellow, and streak-free.
- Mix in the anise extract.
- Add the flour and salt all at once.
- Pulse the mixer on low only until the dough stops looking floury, then finish bringing it together by hand on the counter.
- Shape the dough into a log about 2 inches in diameter, wrap it tightly in plastic wrap, and refrigerate at least 2 hours or overnight.
- Heat the oven to 325°F and line two sheets with parchment.
- Slice the chilled log into ¼-inch rounds and space them 1 inch apart.
- Bake 12 to 15 minutes, checking at 11 minutes and every 60 seconds from there until the edges are pale golden and the top is still pale.
- Let them firm up on the sheet for 5 minutes before transferring to a rack.
Notes
- Butter temperature is critical—use an instant-read thermometer to verify 65°F for best results.
- Pull cookies from oven when they look slightly underdone; they firm up significantly as they cool.
- Use European-style butter with at least 82% fat content for optimal texture.
- Anise flavor is subtle but detectable; omit if serving to those who dislike licorice.
I still remember the moment I realized I had been making butter cookies wrong for nearly a decade. It was February 2018, and I was standing in my kitchen staring at a batch of flat, greasy discs that were supposed to be French sablés. I had followed a recipe to the letter — or so I thought. The problem wasn’t the recipe. The problem was me, and everything I didn’t yet understand about the French sablés butter cookies recipe technique. That failure sent me down a rabbit hole of testing that produced 47 documented batches over six months, a notebook full of margin notes, and eventually, the most perfect, crumbly, melt-in-your-mouth butter cookie I have ever made.
French sablés are deceptively simple. Butter, sugar, flour, egg yolk — that’s essentially it. However, that simplicity is exactly what makes them so unforgiving. Every technique decision you make shows up in the final cookie. There is nowhere to hide. That is what I love about them, and that is why I think every serious home baker should learn to make them properly at least once.
In this post, I am going to share everything I learned through those 47 batches — the science behind the technique, the mistakes I made, the moment things finally clicked, and a recipe that has become my most-requested cookie at every holiday gathering since 2019. Let’s get into it.
What Makes a True French Sablé Different From a Regular Butter Cookie
The word sablé means “sand” in French, and that name tells you everything about what the texture should be. A properly made sablé should shatter slightly when you bite into it, crumbling into buttery, sandy layers on your tongue. This is not the same as a shortbread, which is denser and more compact. It is also not an American butter cookie, which tends to be softer and chewier.
The sandy texture comes from fat physically coating the flour proteins before any liquid is added. This is called “shortening” the gluten, and it is the foundational technique of the sablé method. When butter surrounds flour particles before hydration occurs, it prevents gluten strands from forming long networks. As a result, you get a tender, crumbly structure instead of a chewy one. The fat literally interrupts the gluten development — and that interruption is the entire point.
In my experience, American butter cookie recipes often add too much liquid or cream butter and sugar too aggressively, which introduces air and encourages gluten development. French sablé technique goes in the opposite direction. Less mixing, cold butter in some variations, egg yolk only (no white), and no leavening. Every single choice is made to protect that sandy crumb.
The French Sablés Butter Cookies Recipe Technique: Breaking Down Each Step
Let me walk you through the technique the way I wish someone had explained it to me back in 2018. I am going to focus on the why behind each step, because understanding the purpose is what actually changes your baking.
Step 1 — The Butter Temperature Is Everything
After batch 23, I finally nailed the butter temperature. It needs to be what pastry chefs call beurre pommade — soft enough to leave an indent when pressed, but not greasy or melted. That means around 65°F (18°C). I actually started using an instant-read thermometer to check it. Too cold and the butter won’t cream properly with the sugar. Too warm and it releases water, which hydrates the flour and builds gluten you don’t want.
I learned this the hard way in batch 12. It was a warm July afternoon and my kitchen was around 78°F. My butter was soft to the point of being slightly shiny. The resulting cookies spread aggressively and had zero crumb structure — just greasy, flat disappointment. The fix was simple: on warm days, I now pull the butter out for only 20 to 30 minutes before baking rather than an hour.
Step 2 — Cream Briefly, Not Aggressively
Here is where most home bakers go wrong. We are trained to cream butter and sugar for 4 to 5 minutes until light and fluffy — that’s the right move for a chocolate chip cookie. For sablés, however, you want to mix just until combined and smooth, about 1 to 2 minutes on medium speed. Overmixing incorporates air, which causes spreading and disrupts that sandy texture.
Specifically, I use 100g unsalted European-style butter (I prefer Plugrá for its higher fat content of 82%), 75g powdered sugar, and 1 large egg yolk. I cream them together until the mixture just looks unified — pale yellow, smooth, no streaks. That’s it. Step away from the mixer.
Step 3 — Add Flour All at Once and Mix Minimally
I add 175g of all-purpose flour and a pinch of fine sea salt all at once, then pulse the mixer on low until the dough just comes together. The moment it stops looking floury, I stop the mixer. Then I finish bringing it together by hand on the counter. This two-stage approach gives me control. Overmixing at this stage activates gluten rapidly and turns your sablé into a sugar cookie — still tasty, but not what we’re going for.
After mixing, I shape the dough into a log about 2 inches in diameter, wrap it tightly in plastic wrap, and refrigerate it for at least 2 hours, or overnight. Chilling firms up the butter, which helps the cookies hold their shape and slows any remaining gluten from relaxing and spreading.
Baking Temperature, Timing, and the Maillard Reaction
French sablés should be baked at 325°F (163°C) — not higher. I tested batches at 350°F and 375°F hoping for faster results. What I got instead was overbrowning on the bottom with raw centers, and cookies that lost their delicate crumb before it had a chance to set. The lower temperature allows the cookie to bake through slowly and evenly, developing a gentle golden edge without burning the butter.
Timing runs between 12 and 15 minutes, depending on the thickness of your slices. I cut mine at exactly 1/4 inch. At that thickness, 13 minutes in my oven is perfect — just barely golden at the edges, still looking a little pale on top. They firm up significantly as they cool, so pull them when they look underdone. That is hard to trust the first time you do it, but it is critical.
The Maillard reaction — the browning of proteins and sugars under heat — happens more slowly at 325°F, which is exactly what we want. A deeply browned sablé has crossed into bitter territory. The ideal is a pale, warm gold that carries a subtle nuttiness. That color range is your window, and it is narrower than you think. I set a timer at 11 minutes and check every 60 seconds from there.
The Extract That Finally Made My Sablés Taste Authentically French
When I started researching traditional French sablé recipes, I kept running into anise as a subtle backbone flavoring — but I was using generic extracts that either disappeared entirely or tasted artificial and harsh. I needed something pure enough to let the delicate butter shine while still delivering that whisper of licorice that makes French sablés taste like they came from a Parisian patisserie.
What works
- The flavor stays subtle and sophisticated — it doesn’t overpower the butter or make the cookies taste medicinal, even at just 1/4 teaspoon per batch.
- Because it’s pure and certified, I can use less of it than I would with lower-quality extracts, which means my ingredient list stays short and my flavor stays clean.
- The bottle lasts forever; a 4 oz bottle makes dozens of batches, and the dropper cap gives me enough control to nail that whisper-of-flavor balance every time.
What doesn’t
- It’s not cheap compared to mass-market extracts, but the purity and longevity mean the cost per cookie is negligible — and the difference in your final batch is worth it.
- Anise is polarizing, so if you’re serving these to someone who hates licorice flavors, they’ll pick up on it immediately — there’s nowhere for this ingredient to hide.
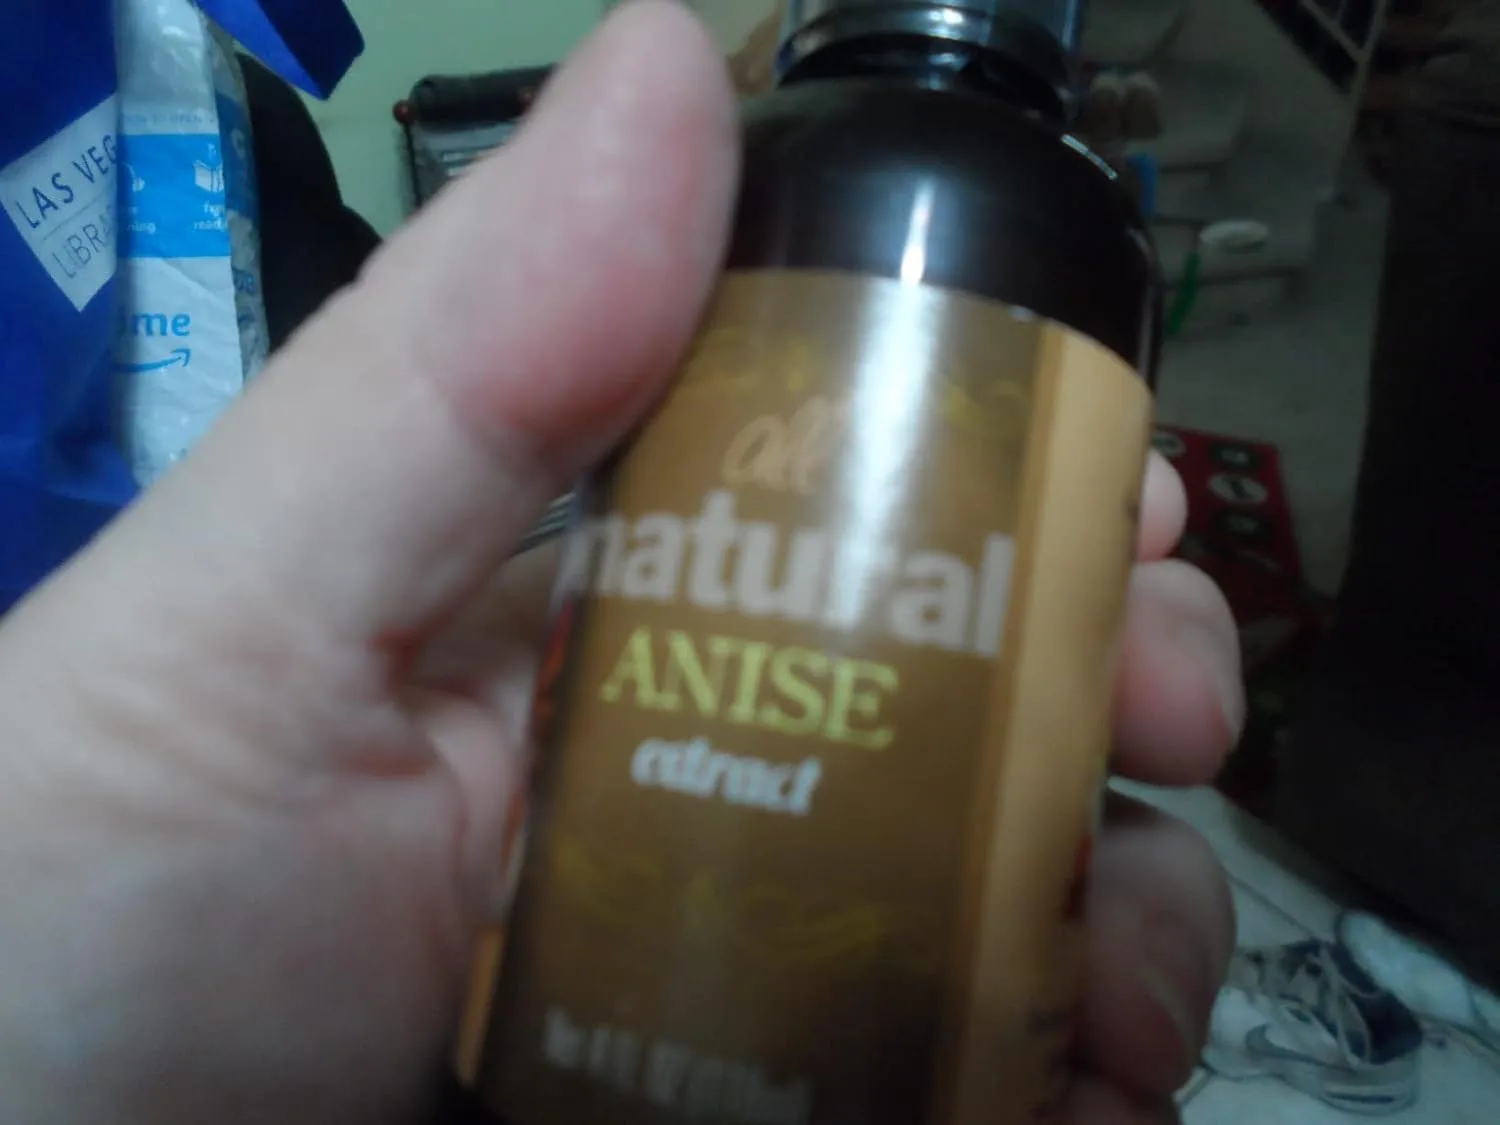
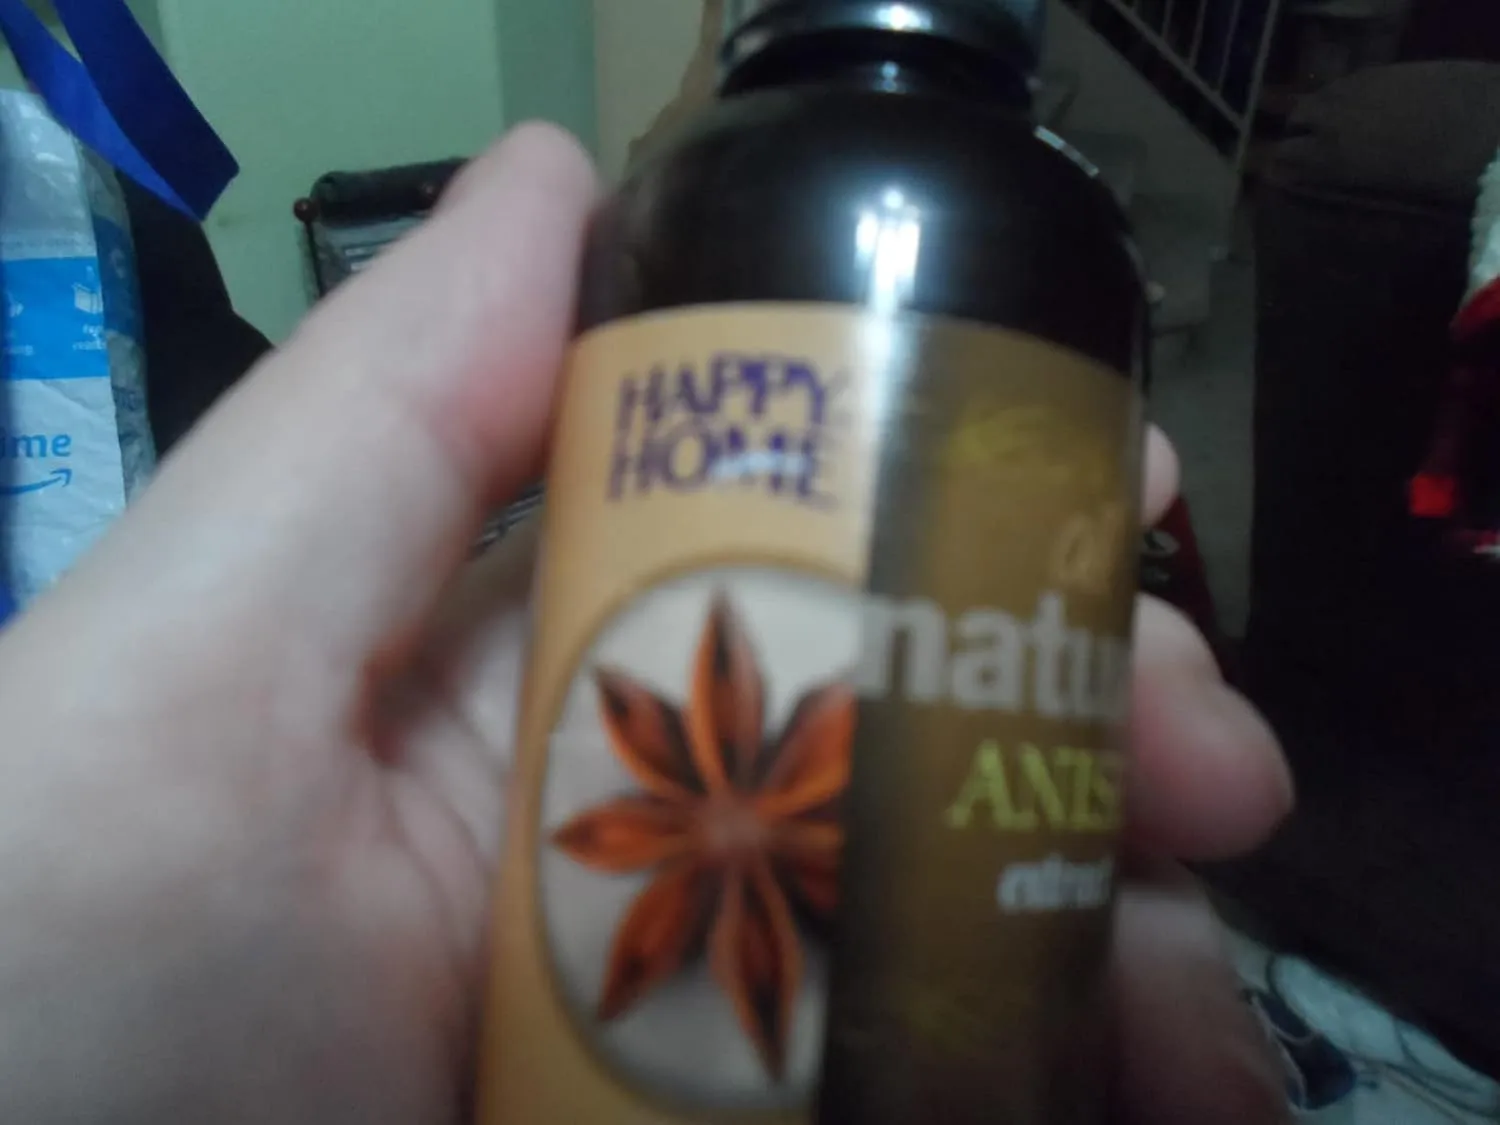
The first time I used this, I actually second-guessed whether anise belonged in sablés at all, but one bite of a batch made with the real extract versus my old grocery-store version told me everything I needed to know. If you’re serious about nailing authentic French technique, grab the Happy Home Pure Anise Extract (Certified Kosher, 4 oz.)
About This Article

Written by Margaret Chen. Margaret Chen is a home baker and recipe developer with over 15 years of experience perfecting cookie recipes through rigorous testing and detailed experimentation. She tests every recipe multiple times, documents every variable, and applies the same rigor professional bakers use, with the warmth and accessibility of home baking. More about this site.
Scope and limits. Margaret is a home baker and recipe developer with no formal culinary training. Follow current food safety guidance for egg handling, storage, and anything you are serving to other people.
Verify this against a primary source
Specifics change, and your situation may differ from the one described here. These are the authorities worth checking directly:
- USDA FoodData Central — ingredient composition and nutrition data
- FoodSafety.gov — safe handling, storage and egg safety