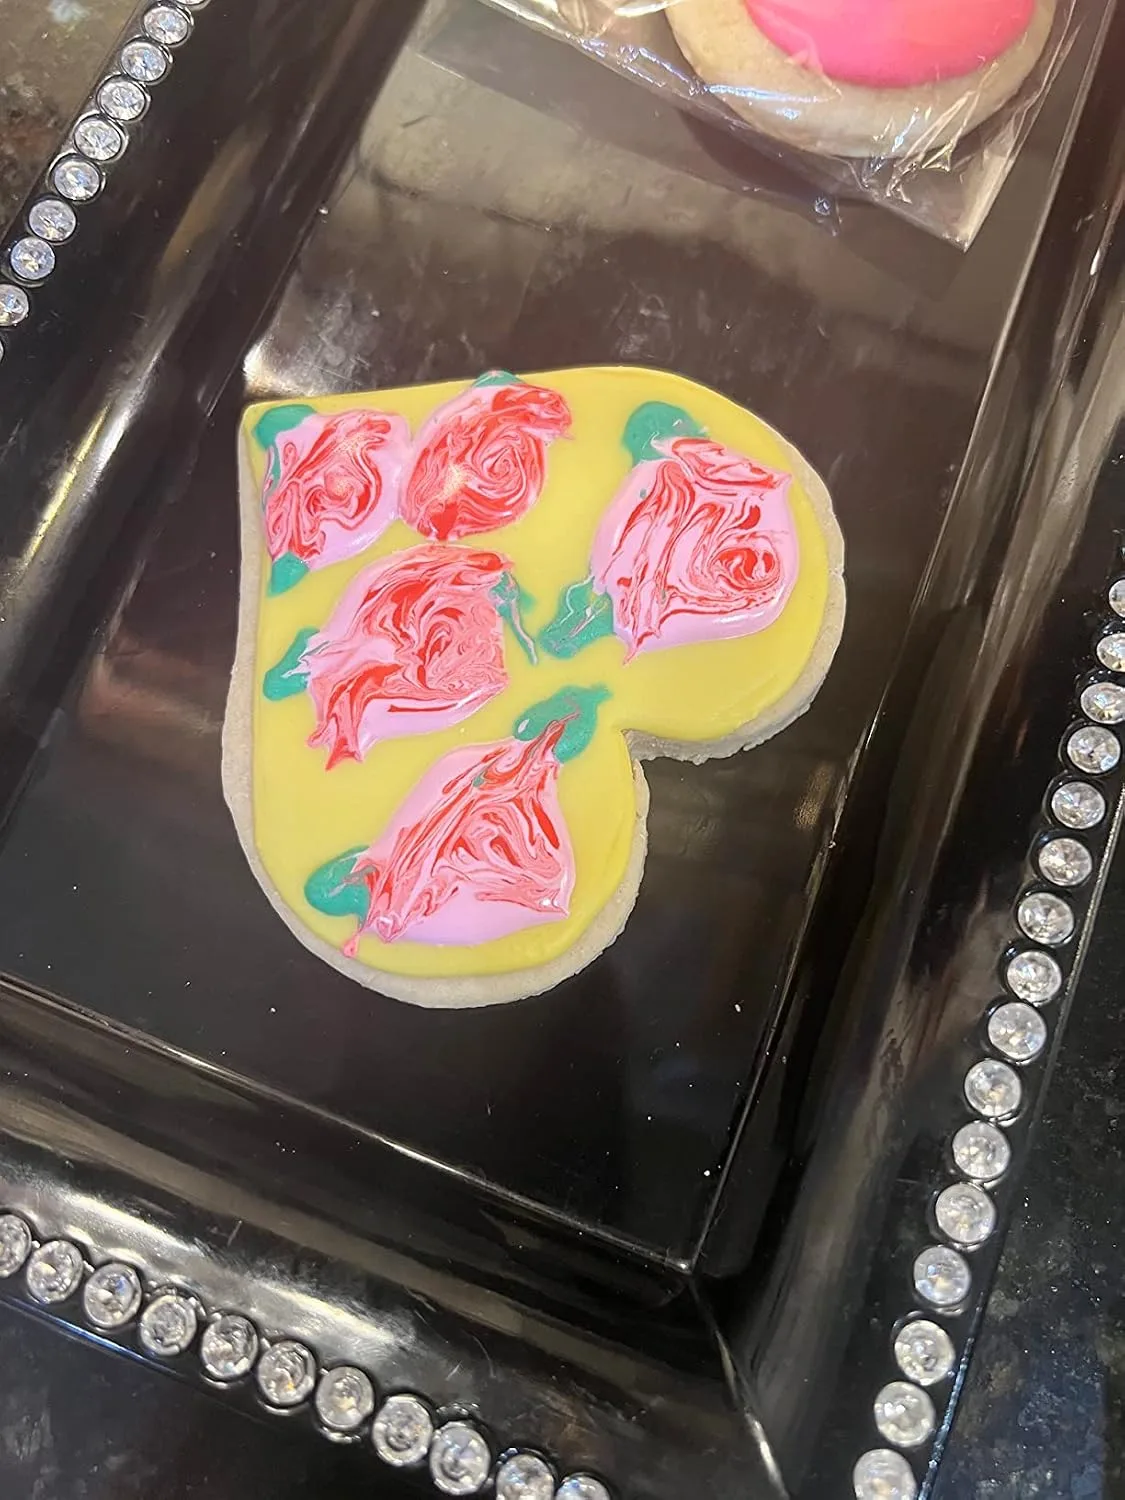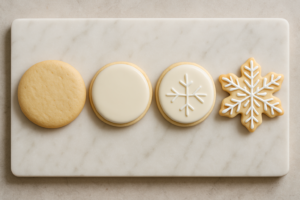
I still cringe — and also laugh until I cry — when I think about the holiday cookie party I hosted three years ago. I had grand visions of perfectly flooded royal icing cookies shaped like snowflakes, each one a little edible masterpiece. What I actually produced looked like a crime scene involving blue food dye and a piping bag with a vendetta. Icing pooled into weird lumps, air bubbles popped at the worst possible moments, and a rogue blob of white icing slowly crept off the edge of a snowflake and onto my brand-new tablecloth. That disaster was the moment I realized I was missing the right cookie decorating tools worth buying — and that I had spent way too much money on stuff that was absolutely, spectacularly useless.
How I Learned the Hard Way What Actually Matters
After the Great Blue Icing Incident of that fateful December, I did what any determined cookie baker does: I went on a frantic, slightly obsessive research spiral. I watched every royal icing tutorial I could find. I read forum posts at midnight. I bought things. Oh, how I bought things. A fancy stainless steel decorating turntable I never once used. A set of silicone piping bags that leaked from basically every seam. A “professional” embossing kit that left marks so faint you needed a magnifying glass to see them. I spent close to sixty dollars on tools that are now living in the back of a drawer, gathering crumbs and judgment.
But here is the thing — buried inside that expensive lesson was a genuinely happy discovery. When I finally stripped everything back and focused on simple, well-made tools that actually solved the specific problems I was having, decorating clicked. Not overnight, but session by session, cookie by cookie, I went from crime-scene snowflakes to cookies I was genuinely proud to stack on a plate and hand to people.
The Cookie Decorating Tools Worth Buying (Seriously, These Changed Everything)
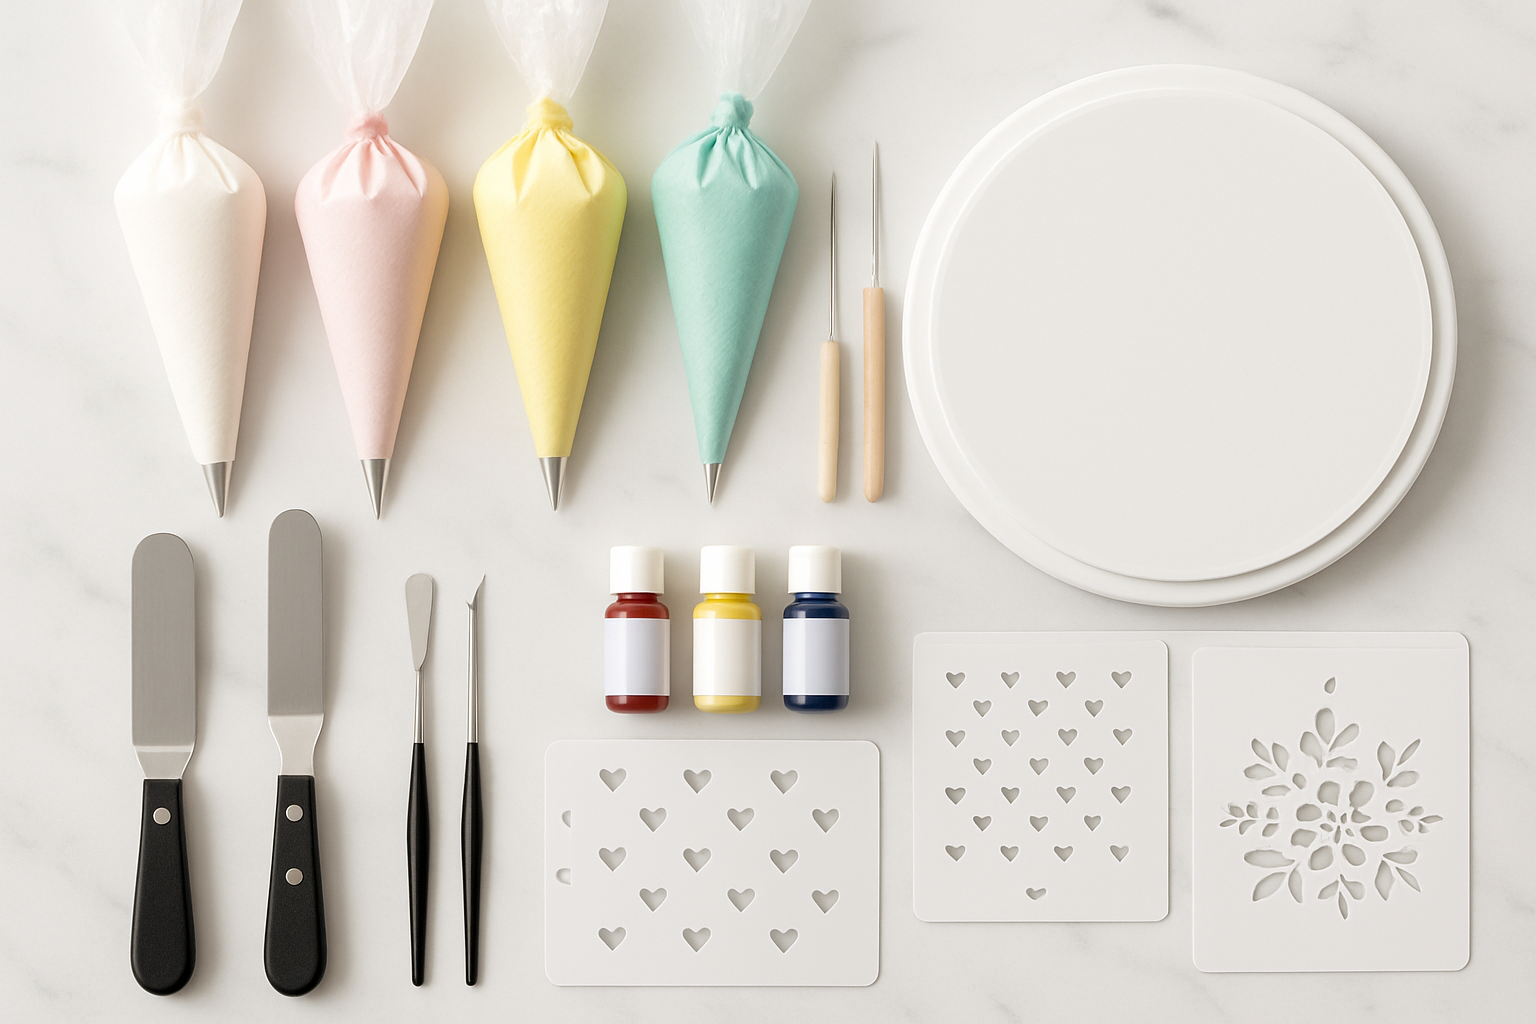
Scribe Needles and Sugar Stir Tools
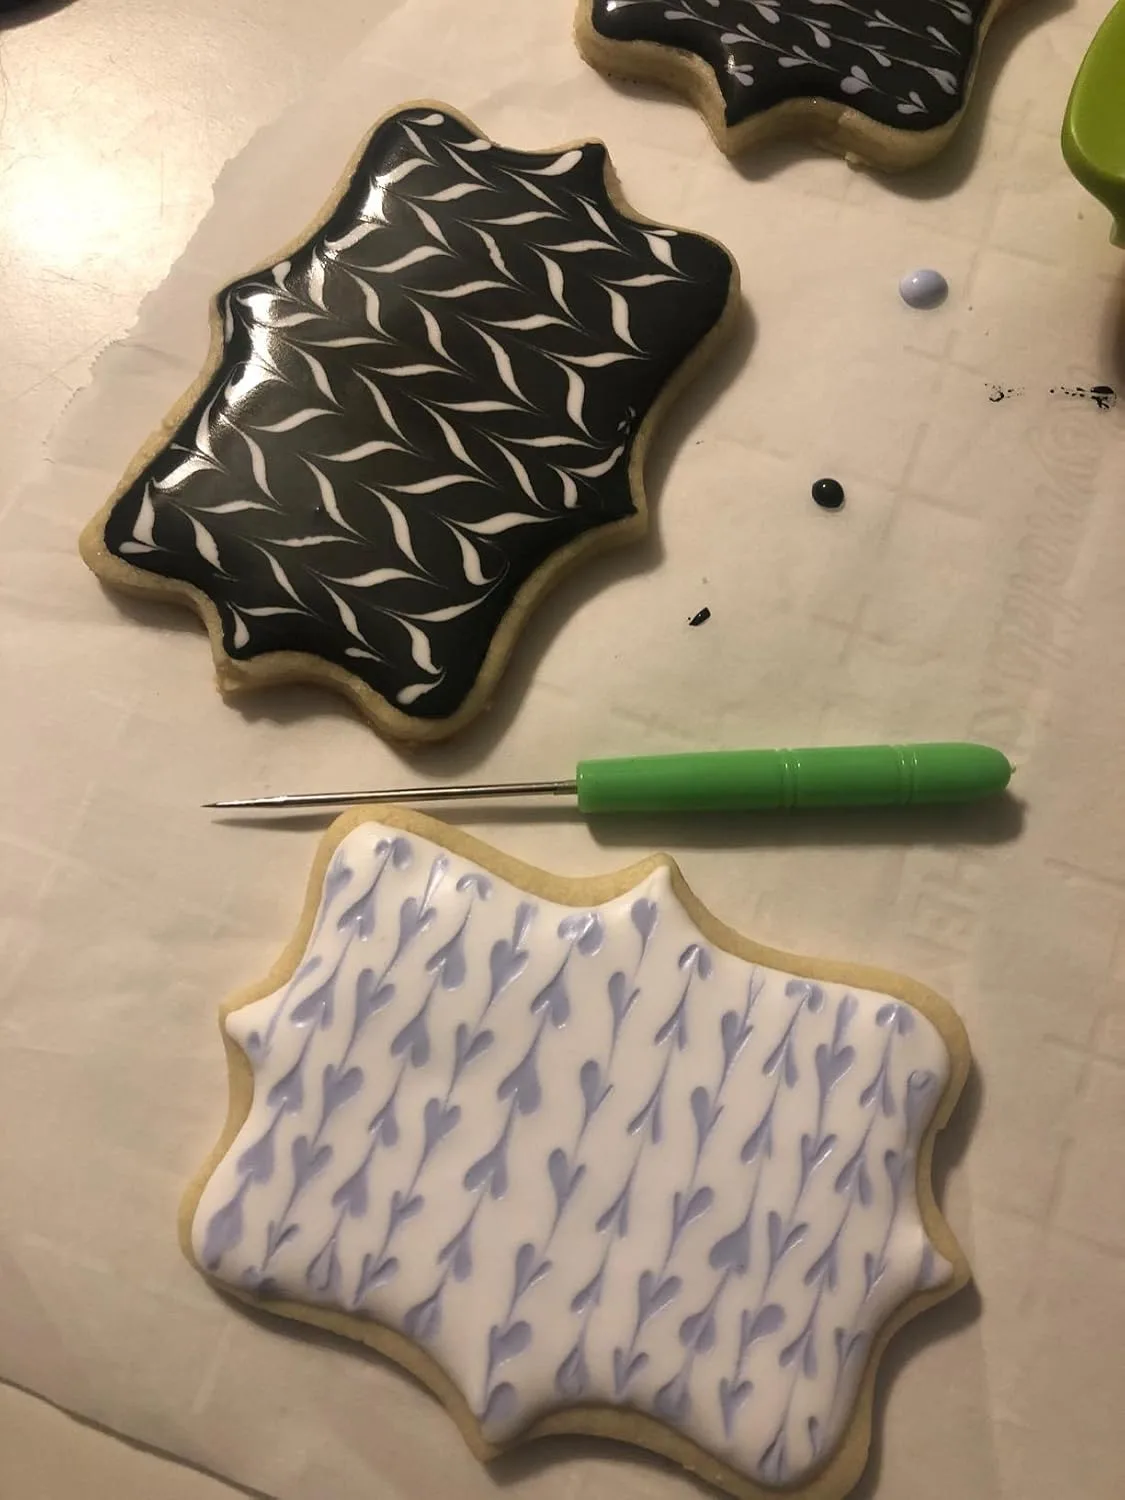
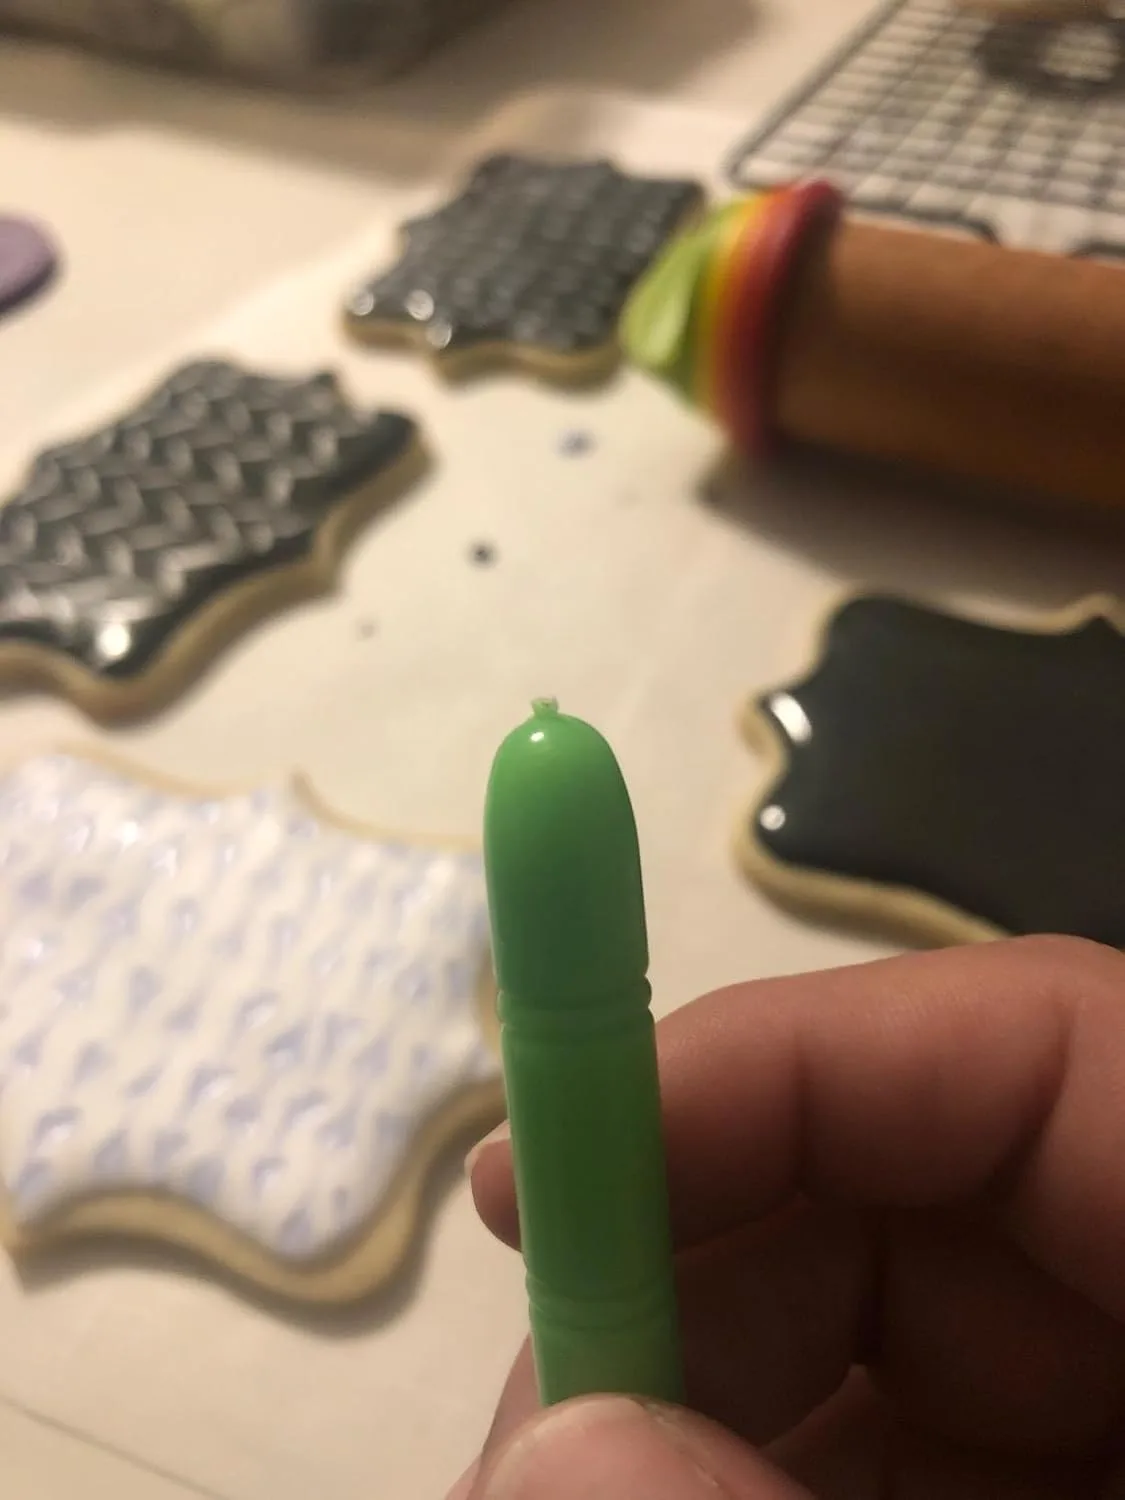
If I could go back and tell past-me one thing, it would be this: get a scribe needle before you do anything else. A scribe needle is a thin, pointed tool you use to guide wet royal icing into corners, pop air bubbles, and blend flooded sections together seamlessly. Without one, you are essentially trying to do fine detail work with your fingers and a prayer. With one, you feel like an actual professional.
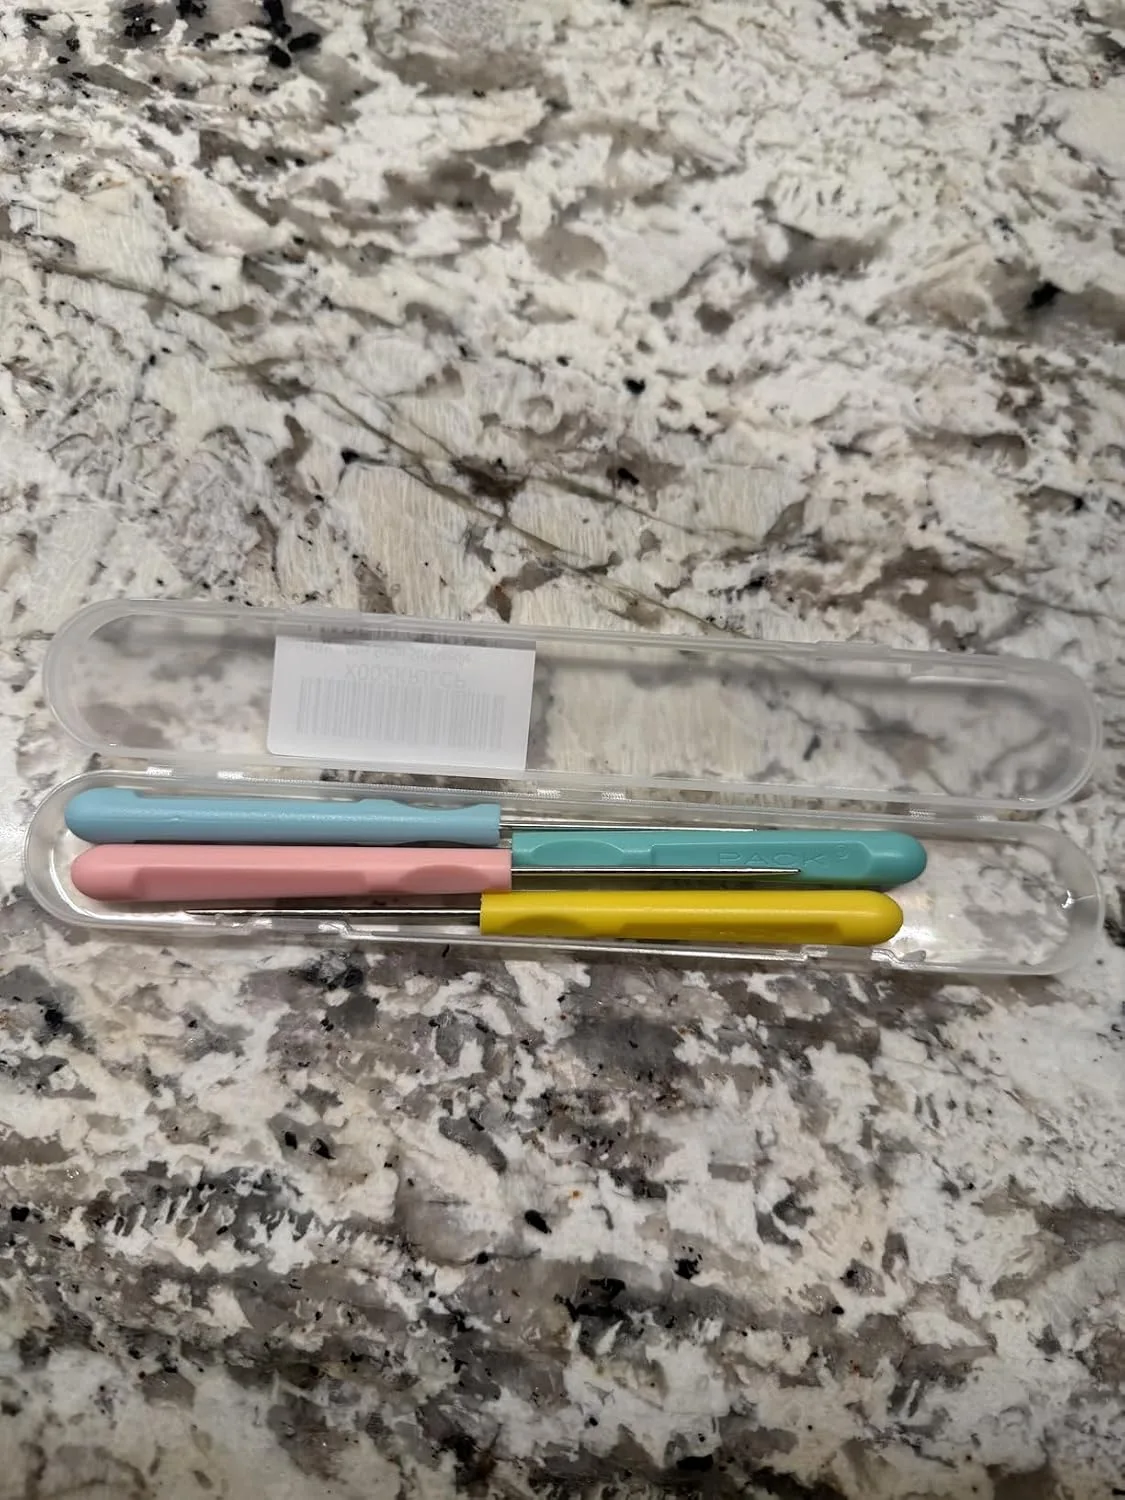
I now keep two options on hand depending on the project. For everyday decorating sessions, I love the Grosun 6 Pieces Cookie Scribe Tool Sugar Stir Needle Set. You get six stainless steel needle tools in one pack, which is wonderful because I always manage to misplace at least one mid-session. The needles are sturdy, the tips are sharp enough to guide icing with real precision, and they clean up easily. For a more compact set to tuck in my travel baking bag, I reach for the 4Pcs Sugar Stir Needle Scriber Needle Set, which at 5.2 inches hits just the right length for comfortable control without feeling unwieldy.
Technique tip: always work with your scribe needle while the icing is still wet. If you wait even a few minutes too long, dragging the needle creates ugly ridges instead of smooth blends. Move quickly and with light, confident strokes.
An All-in-One Decorating Set for Beginners and Beyond
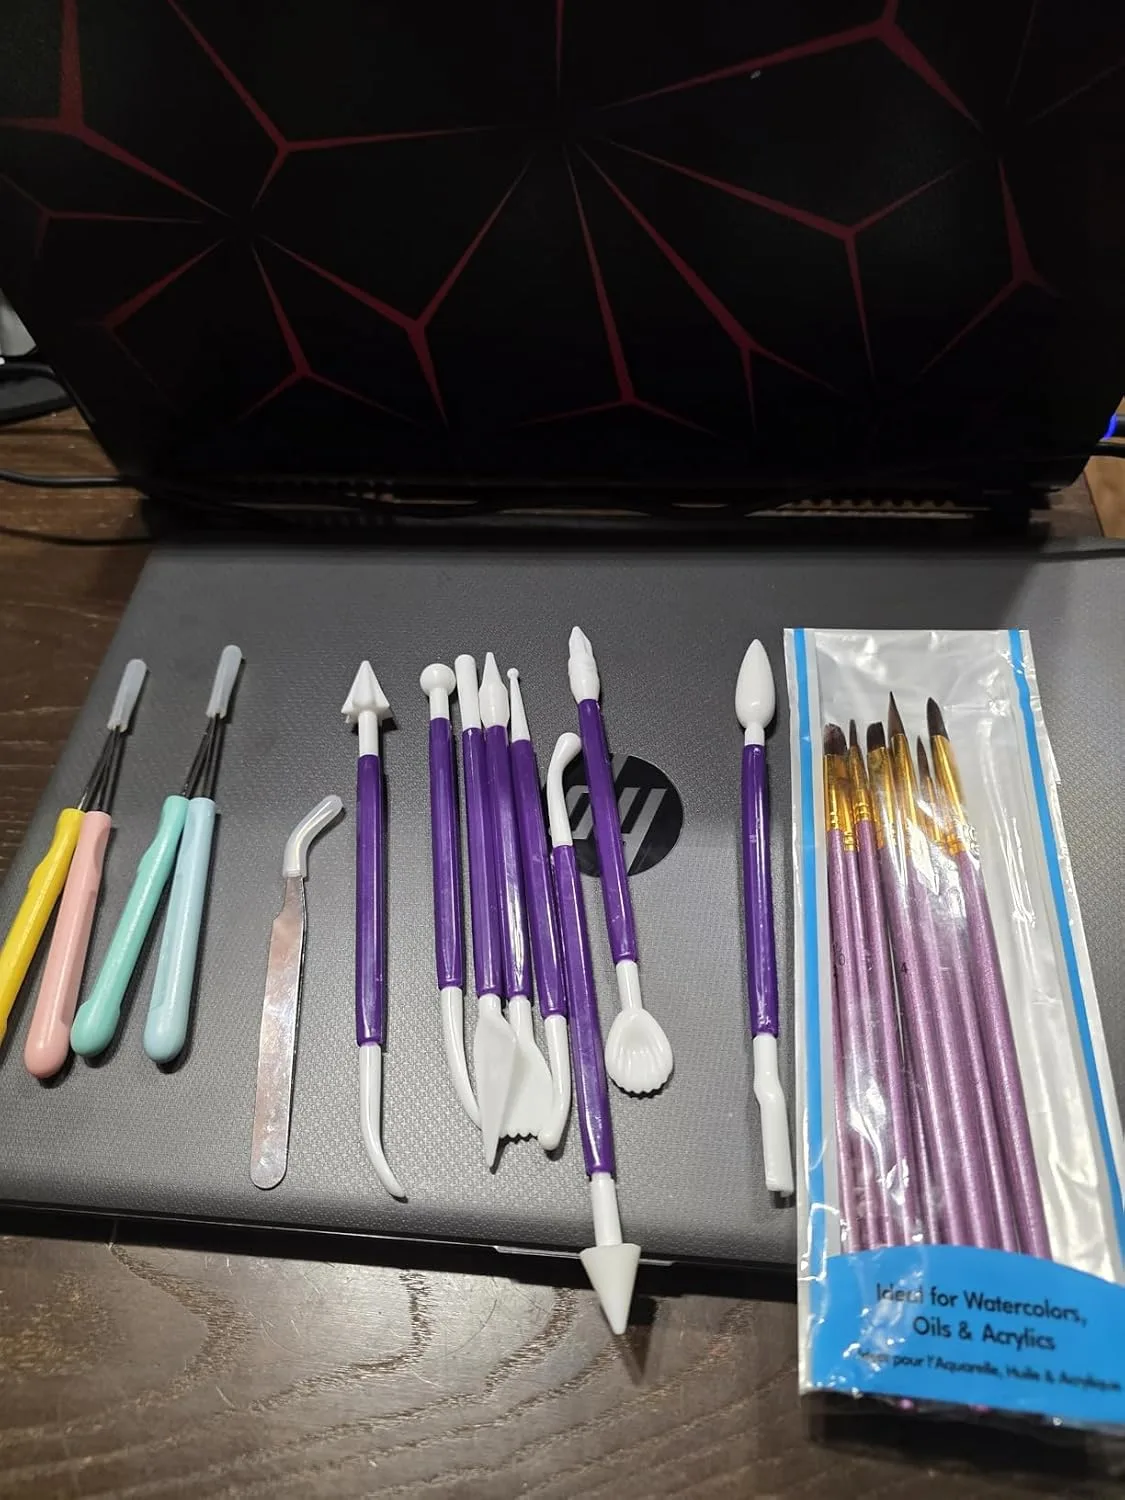
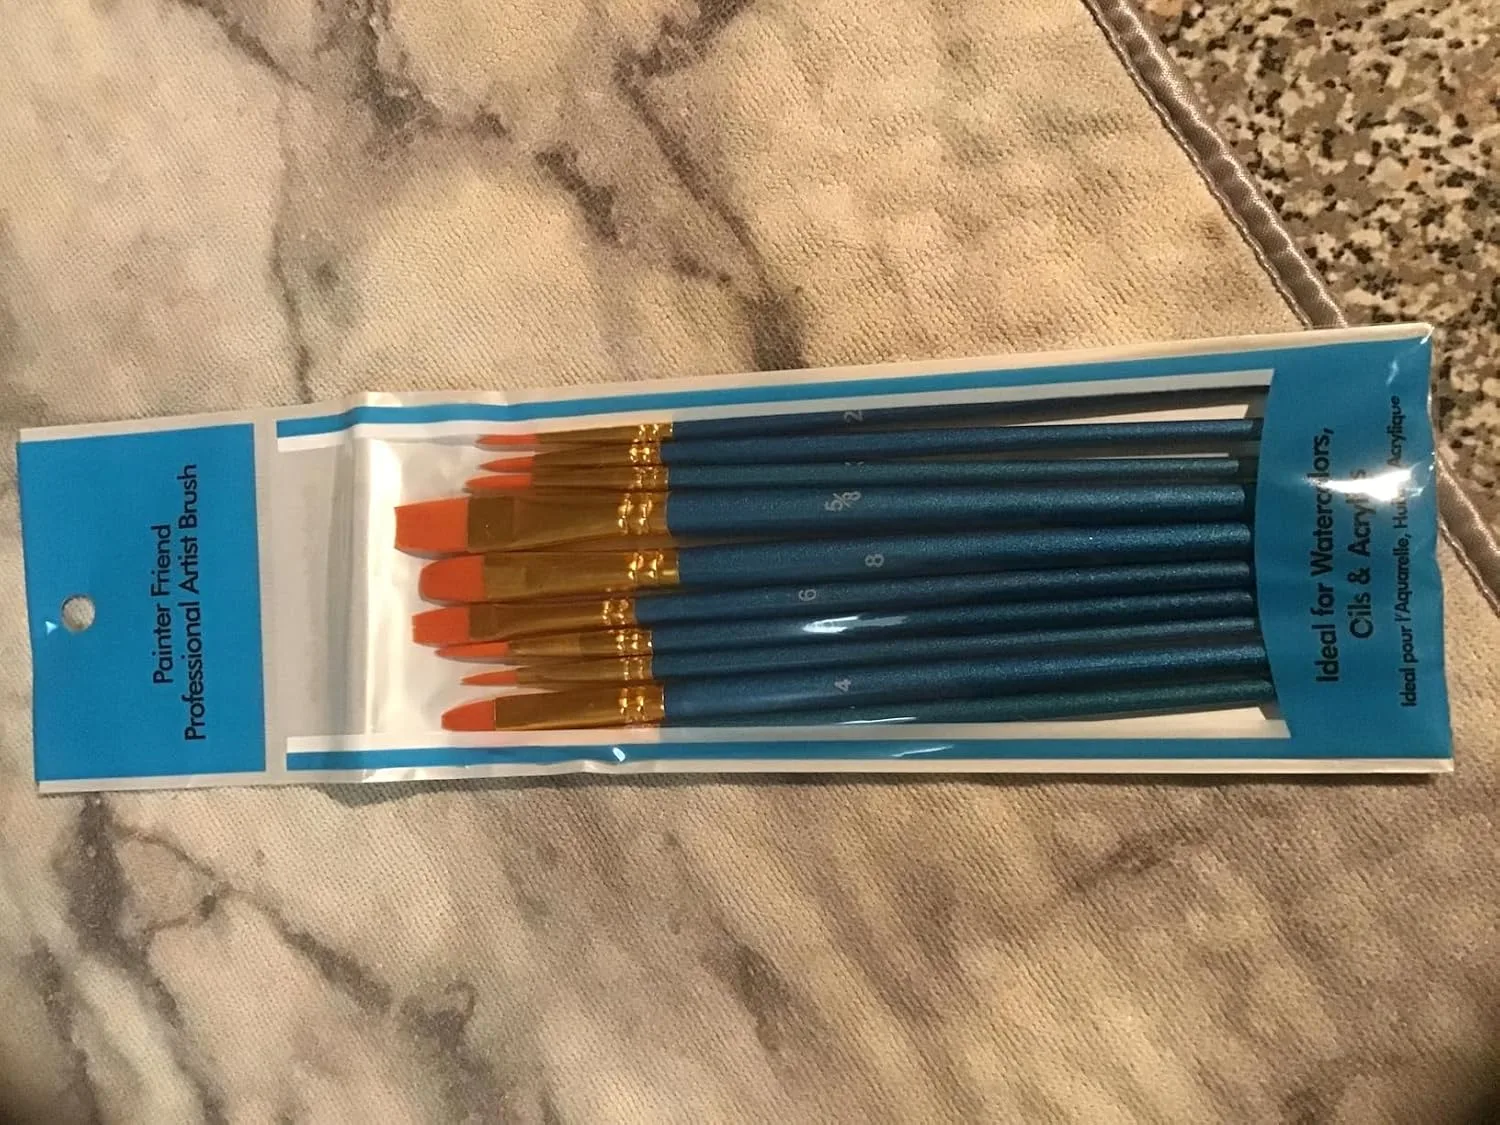
If you are brand new to cookie decorating and want to try a little of everything before committing to individual purchases, the 24 Piece Cookie and Fondant Decorating Tool Set is genuinely worth it. It includes scribe needles, food-safe brushes for painting on lustre dust or edible metallic accents, fondant modeling tools, and both straight and elbow tweezers for placing sprinkles and sugar pearls with accuracy. The tweezers alone have saved me from more “accidentally dropped the entire pile of nonpareils” situations than I can count. This set gives you room to experiment without requiring you to know exactly what you need before you start.
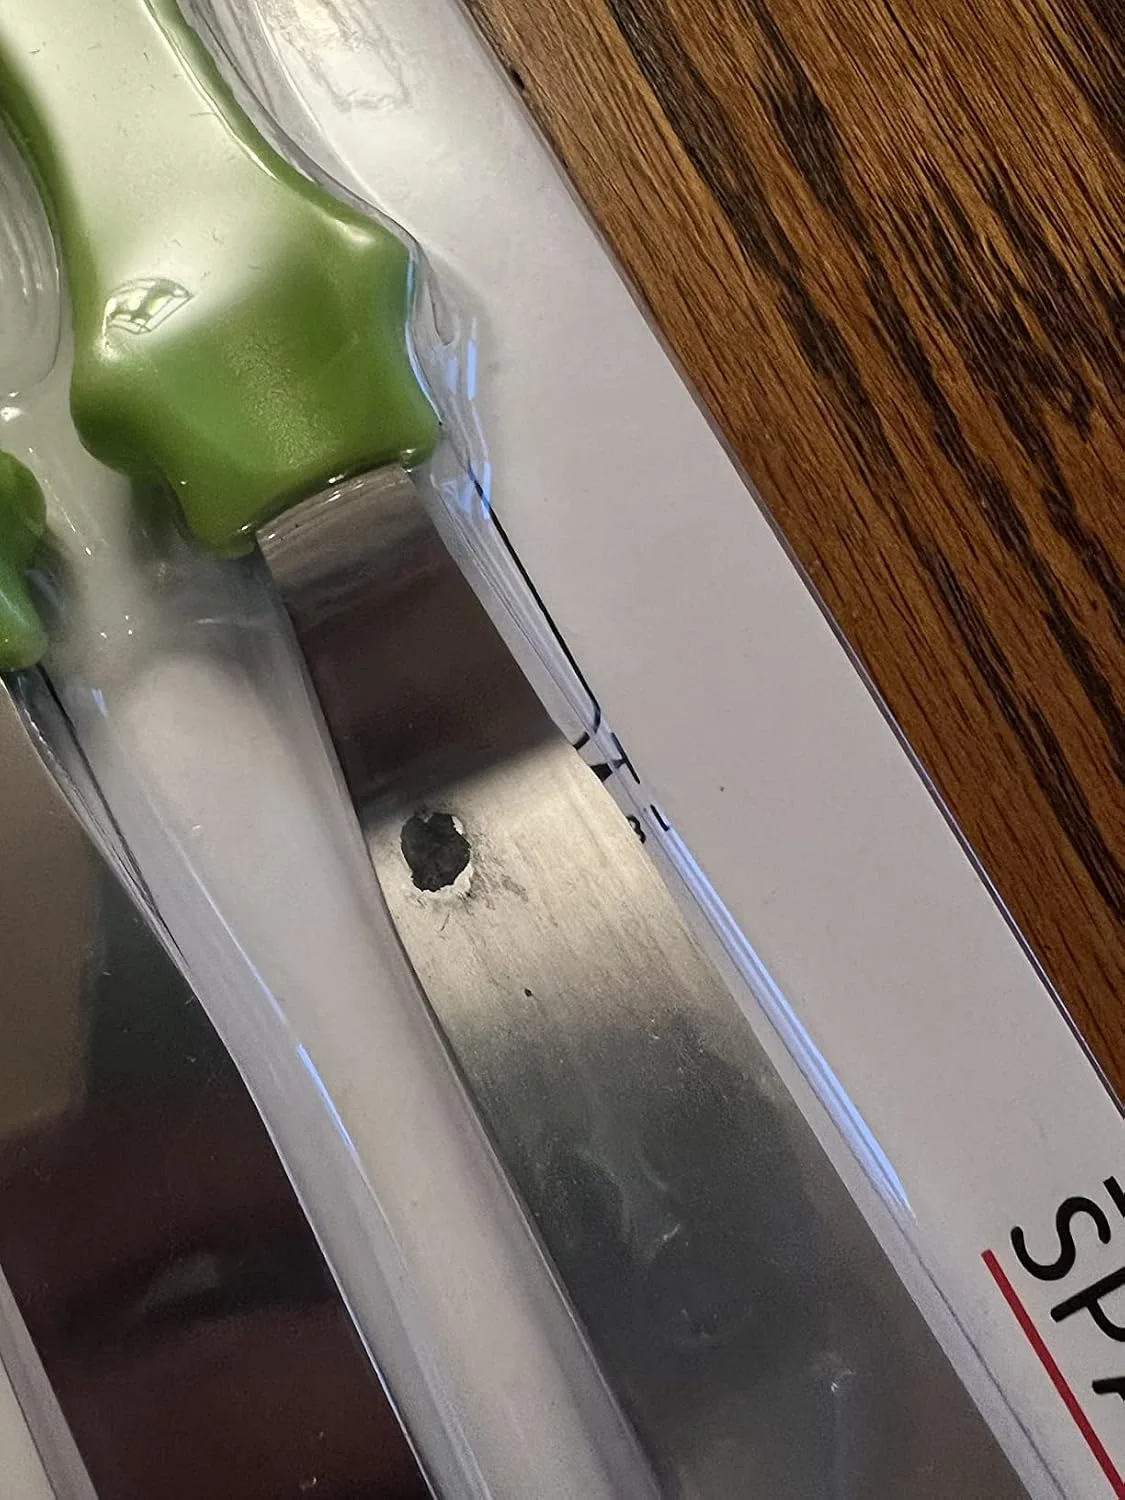
Small Offset Spatulas: The Unsung Heroes
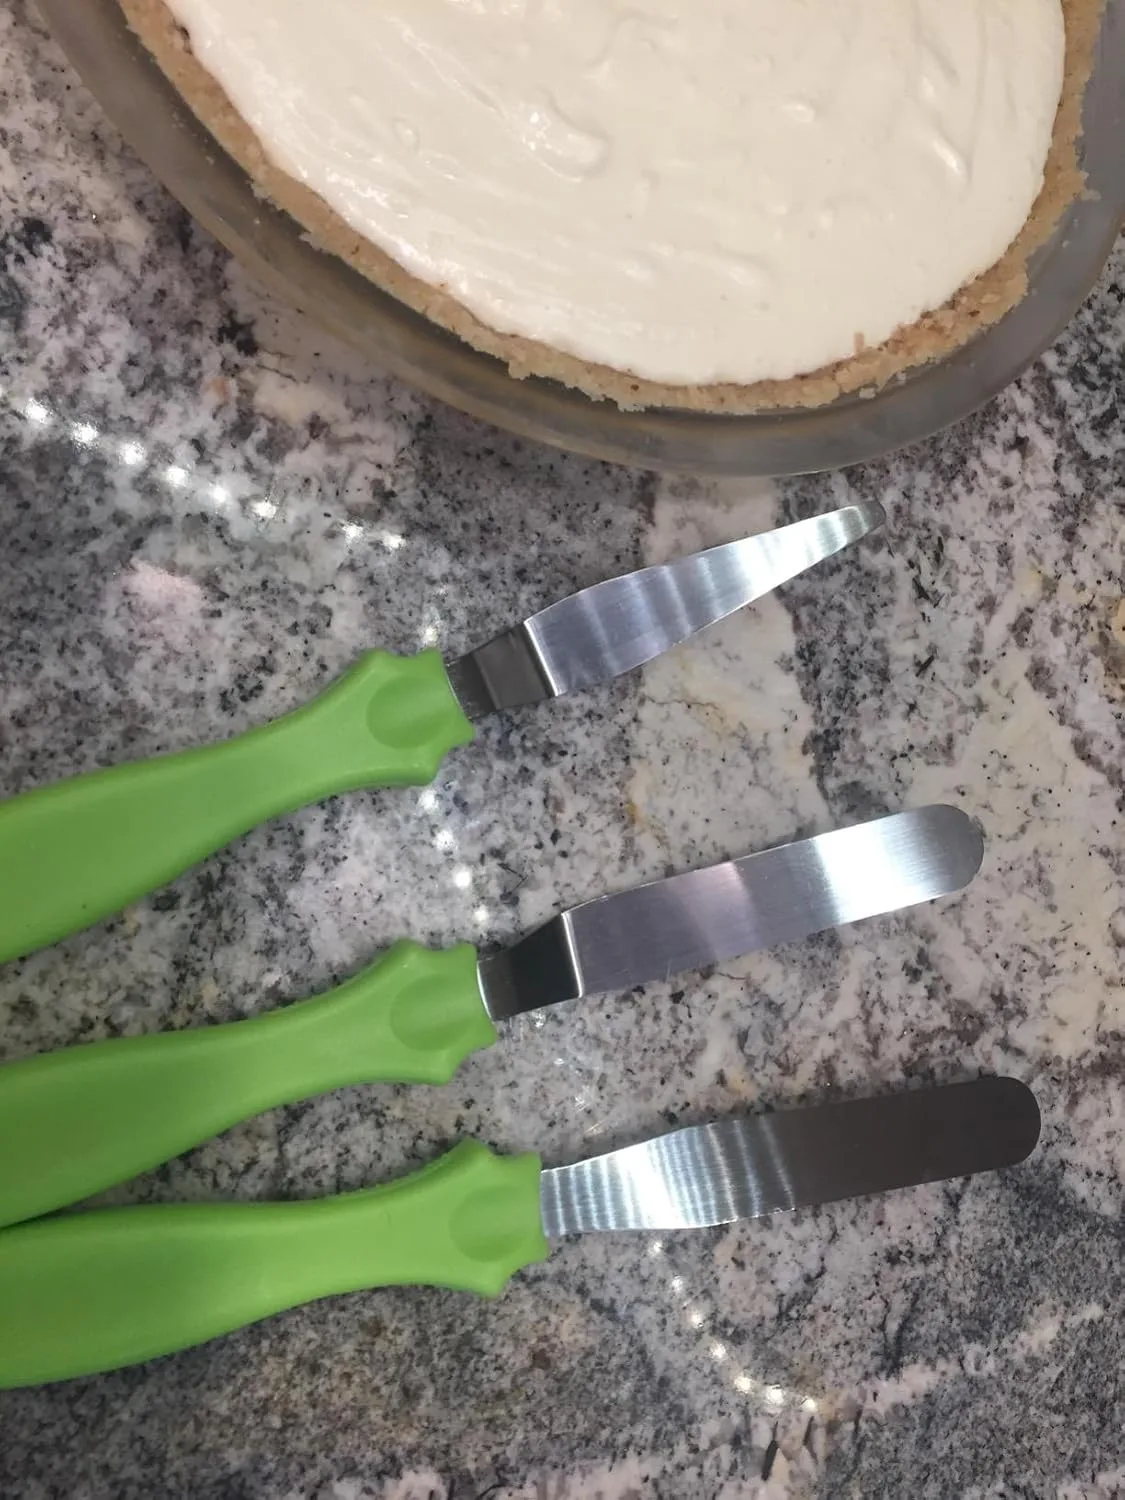
Nobody talks about offset spatulas enough in the cookie decorating world, and I will die on that hill. A small offset spatula lets you spread flooding-consistency icing smoothly across the surface of a cookie before it self-levels, which gives you much more control — especially on cookies with detailed borders or tight edges. It also lets you rescue a flooded cookie that starts pooling in the wrong direction.
I keep two options at my station. The Szxc Small Baking Spatulas Set gives you two angled offset spatulas and one straight blade, all with a 4.5-inch stainless steel blade, which is the ideal size for cookie work — small enough to maneuver on a 3-inch cookie without pushing icing off the edges. I also adore the Cookie Countess Mini Icing Spatula, which has a beautifully balanced weight and a slightly flexible blade that makes smoothing buttercream and royal icing feel almost effortless. Once you use a dedicated mini offset spatula for cookies, you will never go back to using the back of a spoon.
The Scribe Tool That Stopped My Royal Icing From Pooling Into Blobs
Those air bubbles and icing lumps? Half of them came from me not knowing how to smooth and manipulate the icing once it was on the cookie. A good scribe needle lets you pop bubbles before they ruin a whole section and gently guide icing into tight corners without dragging a wet piping tip across your work.
What works
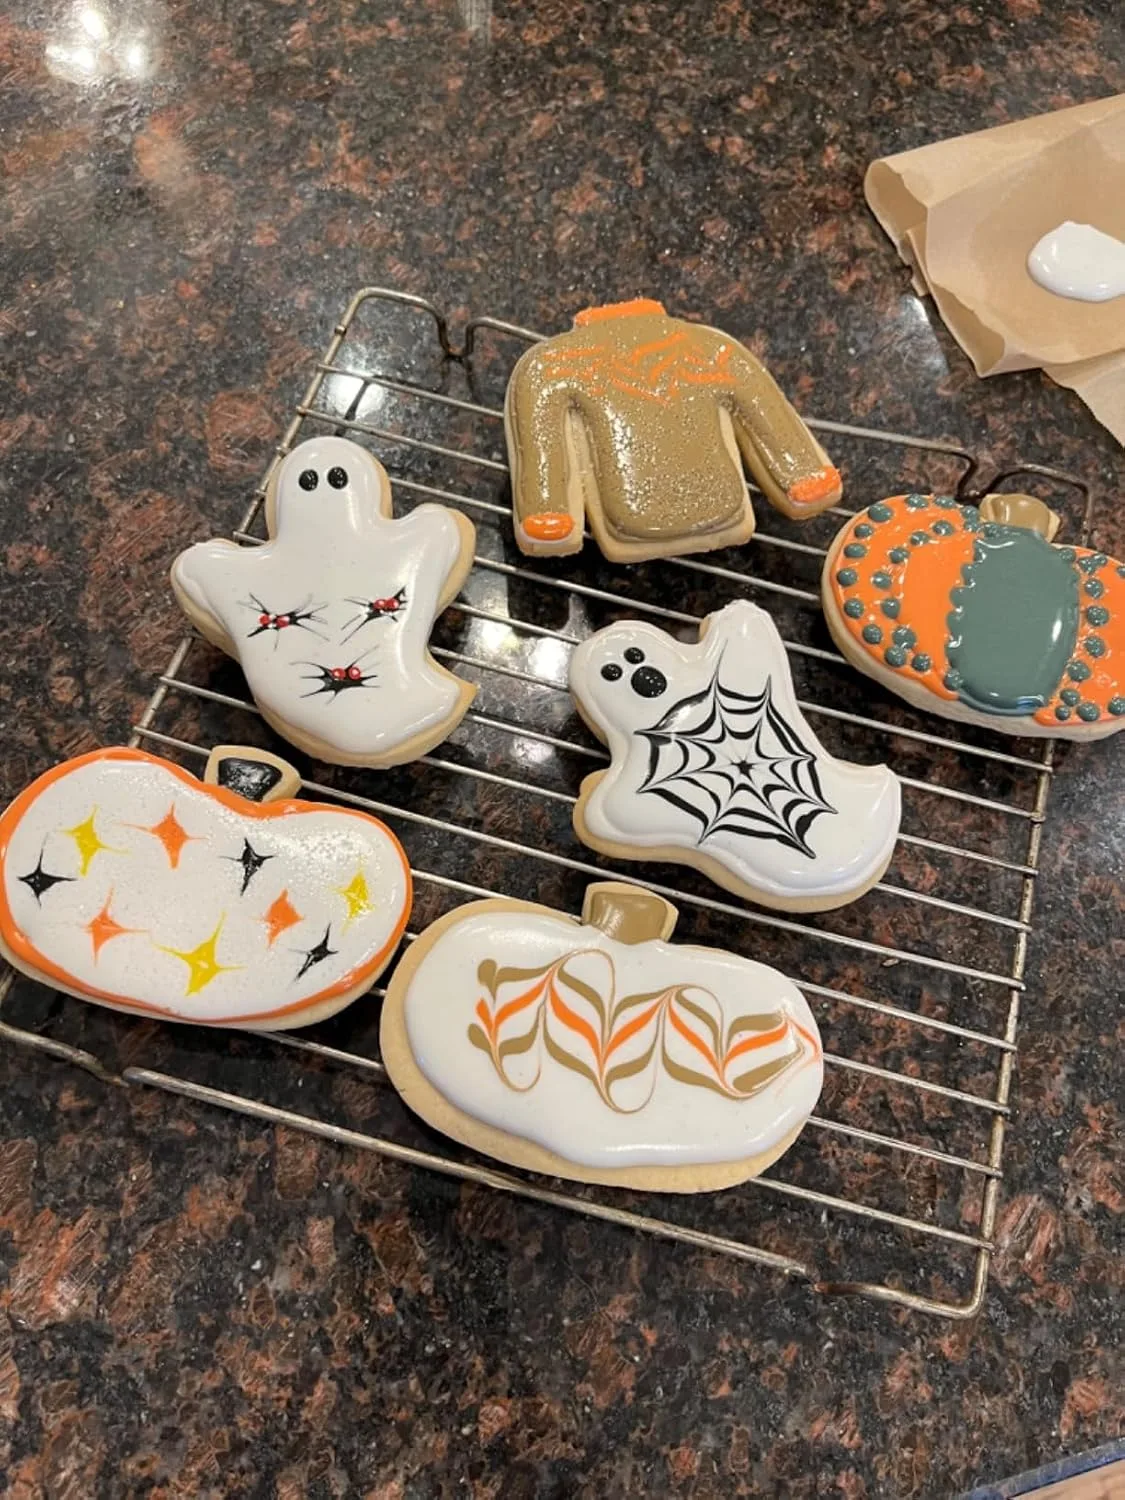
- The fine point actually pops air bubbles without tearing through wet royal icing—I can see the bubble deflate cleanly instead of exploding outward like before.
- It’s sharp enough to coax icing into the corners of intricate shapes (like the points of those snowflakes) without needing to squeeze more icing out of the piping bag.
- The handles are thin enough that I can hold them with real precision for 30+ minutes without my hand cramping, which matters when you’re decorating 40 cookies in one sitting.
What doesn’t
- If your royal icing is too thin, the needle will punch straight through instead of just popping the bubble—you have to dial in the consistency first or you’ll make holes.
- The set comes with 6 needles of slightly different gauges, but honestly I use the same one about 90% of the time, so the extras feel like overkill.
I almost convinced myself I didn’t need this after my second batch of cookies still came out lumpy—turns out I was using a piping tip that was too small and the needle couldn’t reach the bubbles. Once I switched techniques, this became the one tool I reach for every single decorated cookie batch. Grab the Grosun 6 Pieces Cookie Scribe Tool Sugar Stir Needle Set if you’re serious about flood decorating.
This post contains affiliate links. As an Amazon Associate, I earn from qualifying purchases at no extra cost to you.