Three Valentine’s Days ago, I served a platter of heart cookies at my daughter’s school party that genuinely stopped parents in their tracks. Several people asked which bakery made them. The honest answer? I decorated every single one using nothing but a zip-lock bag and royal icing I whipped up in under ten minutes. That moment completely changed how I think about valentine heart cookies easy decorating — because “professional-looking” has far less to do with skill than it does with understanding a handful of specific techniques.
I have spent over 15 years baking cookies obsessively, logging results in actual notebooks, testing the same recipe dozens of times just to isolate one variable. My approach to Valentine cookies was no different. After roughly 40 batches of heart-shaped sugar cookies across multiple February seasons, I finally cracked the combination that gives you sharp edges, a smooth surface, and icing that sets glossy and firm — without a piping bag, a turntable, or any formal decorating training whatsoever.
What I am sharing today is the exact method I use every year. It is built on real food science, real failures, and real wins. Whether you are a total beginner or someone who has tried this before and ended up with sad, blobby cookies — this guide is for you.
The Cookie Dough That Actually Holds a Heart Shape
The single biggest reason heart cookies lose their shape in the oven is fat content and gluten development. I learned this the hard way during my first serious Valentine baking attempt in February 2018. I used a standard butter cookie recipe, pulled the cookies from the oven, and found rounded, puffy blobs where crisp hearts should have been. The culprit was butter that was too soft, combined with too little flour to control spread.
Here is the ratio that finally worked for me — I landed on it around batch 23 of that season: 3 cups all-purpose flour, 1 cup (2 sticks) unsalted butter at exactly 65°F, ¾ cup powdered sugar, 1 egg, 1½ teaspoons pure vanilla extract, and ¼ teaspoon almond extract. The powdered sugar is intentional. It contains cornstarch, which inhibits gluten development and keeps the texture tender without making the dough sticky or prone to spreading.
Butter temperature matters enormously here. Too warm, and the fat coats the flour particles too aggressively before the dough even goes into the oven, meaning it will spread and lose definition. At 65°F, the butter is pliable but still slightly cool to the touch. I actually use an instant-read thermometer to check it. That level of precision sounds fussy, however it is the difference between cookies that keep their points and cookies that look like lumpy ovals.
Chilling Is Non-Negotiable
After mixing, I flatten the dough into a disk and refrigerate it for a minimum of two hours. Overnight is better. Chilling re-solidifies the fat, which means the cookies spread more slowly during baking, giving the structure time to set before the edges soften. I cut my hearts while the dough is cold, transfer them immediately to a parchment-lined sheet pan, then slide that pan back into the refrigerator for another 15 minutes before baking. This extra chill is what keeps those tiny heart points perfectly defined.
Baking Temperature and the Maillard Sweet Spot
Most sugar cookie recipes tell you to bake at 350°F. In my testing, 325°F for 11 to 13 minutes consistently produced better results for decorated heart cookies. Here is why: the Maillard reaction — the browning of sugars and proteins — happens aggressively above 330°F. For cookies you plan to decorate with white or pastel icing, you want as little browning as possible. A pale, even surface lets the icing colors read true and bright.
At 325°F, the cookies bake slowly enough to stay flat and level. A flat surface is critical for flooding with icing, because any dome or bubble underneath will cause the icing to pool unevenly. I bake one sheet at a time on the center rack. Stacking pans changes the airflow dynamics inside the oven and leads to uneven baking, specifically underdone bottoms and overdone tops.
The visual cue I use: the edges should look just barely set and the centers should still look slightly underdone. They will firm up completely as they cool on the pan for five minutes before transfer. Pulling them even thirty seconds too late results in a crunchier texture that, while tasty, is less ideal for the smooth, slightly soft bite a decorated sugar cookie should have.
Valentine Heart Cookies Easy Decorating: The Flood Icing Method
This is where most people get intimidated, and I genuinely understand why. Royal icing looks complicated. However, the flood method I use requires exactly two consistencies and zero professional equipment. My icing formula: 2 cups powdered sugar sifted, 1½ tablespoons meringue powder, 3 to 4 tablespoons water, and gel food coloring. I use Wilton gel colors because the pigment concentration is high enough that a toothpick-tip amount gives you a saturated, vivid hue without thinning the icing.
Start with a thicker “outline” consistency — it should hold a ribbon shape for about 5 seconds before dissolving back into itself. Transfer it to a zip-lock bag and snip off the very tip, roughly 1mm. Pipe a border around each heart. That border acts as a dam. Then thin your remaining icing with water, drop by drop, until it flows and levels itself within 10 seconds — this is your flood consistency. Spoon it inside the border and spread gently with a toothpick.
The science behind why this works so well: meringue powder contains dried egg whites and cream of tartar. As the icing dries, the egg white proteins form a firm film and the cream of tartar stabilizes the sugar structure. As a result, you get a hard, glossy finish in about 6 to 8 hours at room temperature. In my experience, 24 hours of drying gives you a surface solid enough to stack without any sticking.
Three Beginner-Friendly Designs That Look Impressive
- Classic solid with sprinkles: Flood the cookie in one color and immediately drop Valentine sprinkles on top before the icing skins over. Simple, festive, and impossible to mess up.
- Two-tone heart: Flood one half in pink and the other in white, then drag a toothpick through the seam for a marbled edge. Takes about 90 seconds per cookie.
- Wet-on-wet dots: Flood the base color, then immediately pipe small dots of a contrasting color on top and drag a toothpick through the center of each dot to create tiny hearts within the heart. This looks incredibly intricate — yet requires no skill beyond a steady hand and a little patience.
The Gift Boxes That Make Simple Cookies Look Like They Came From a Professional Bakery
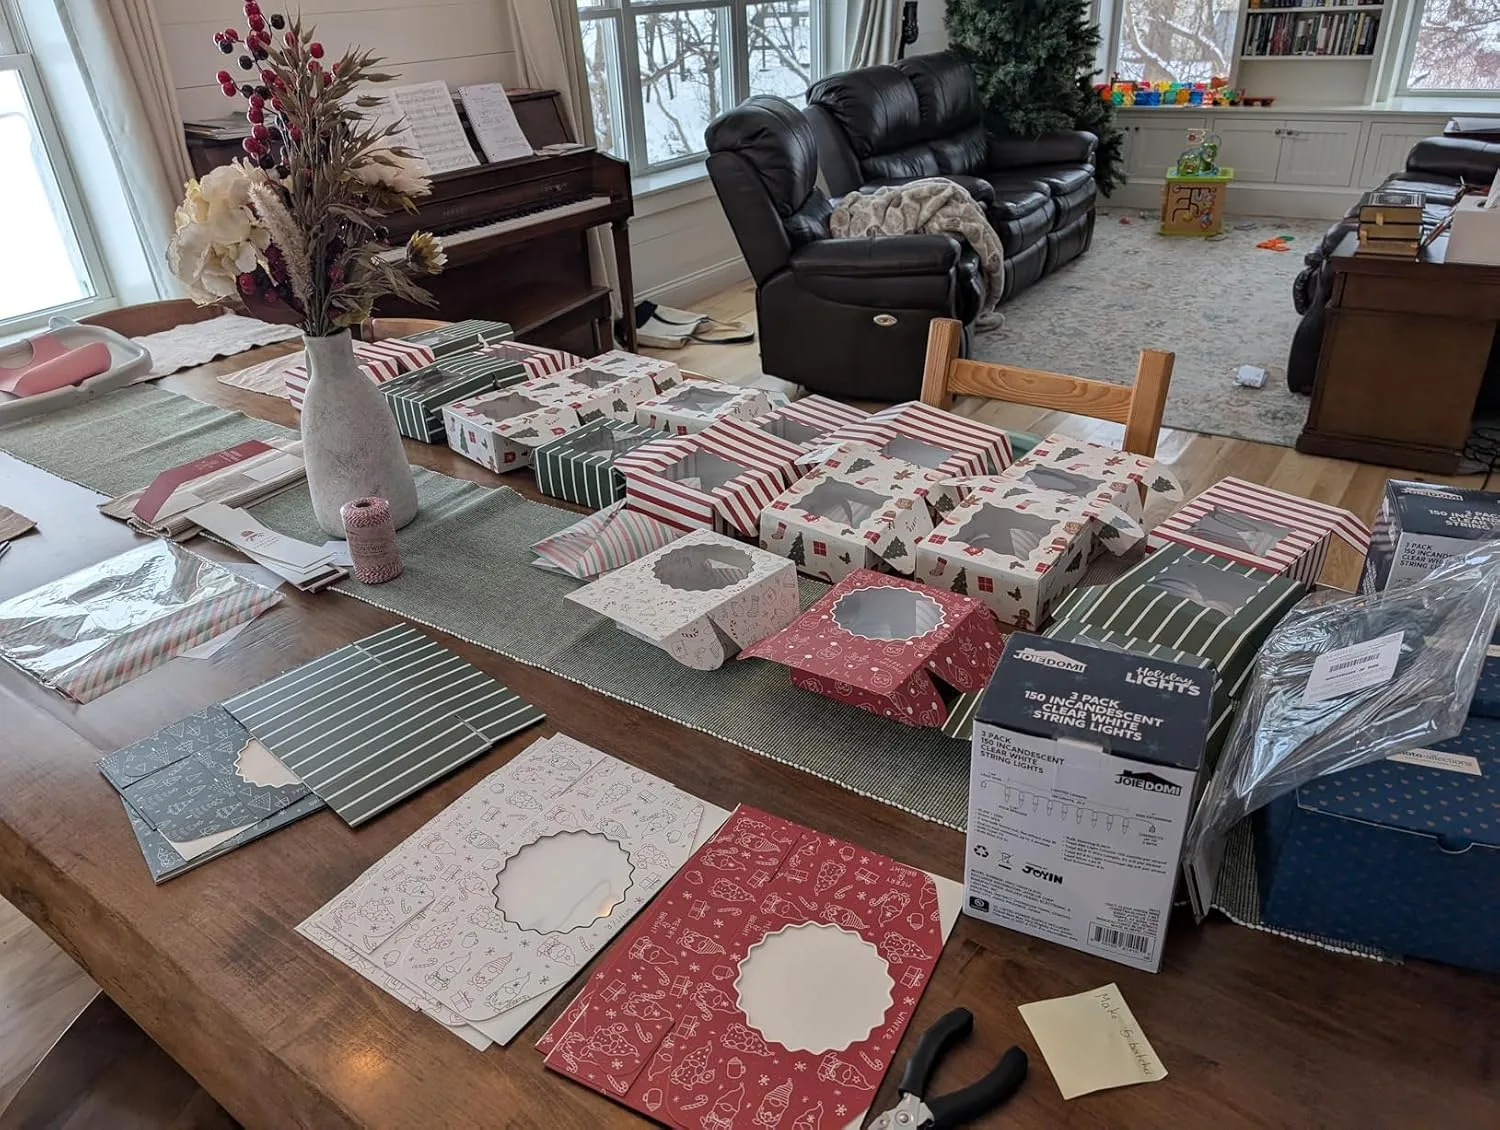
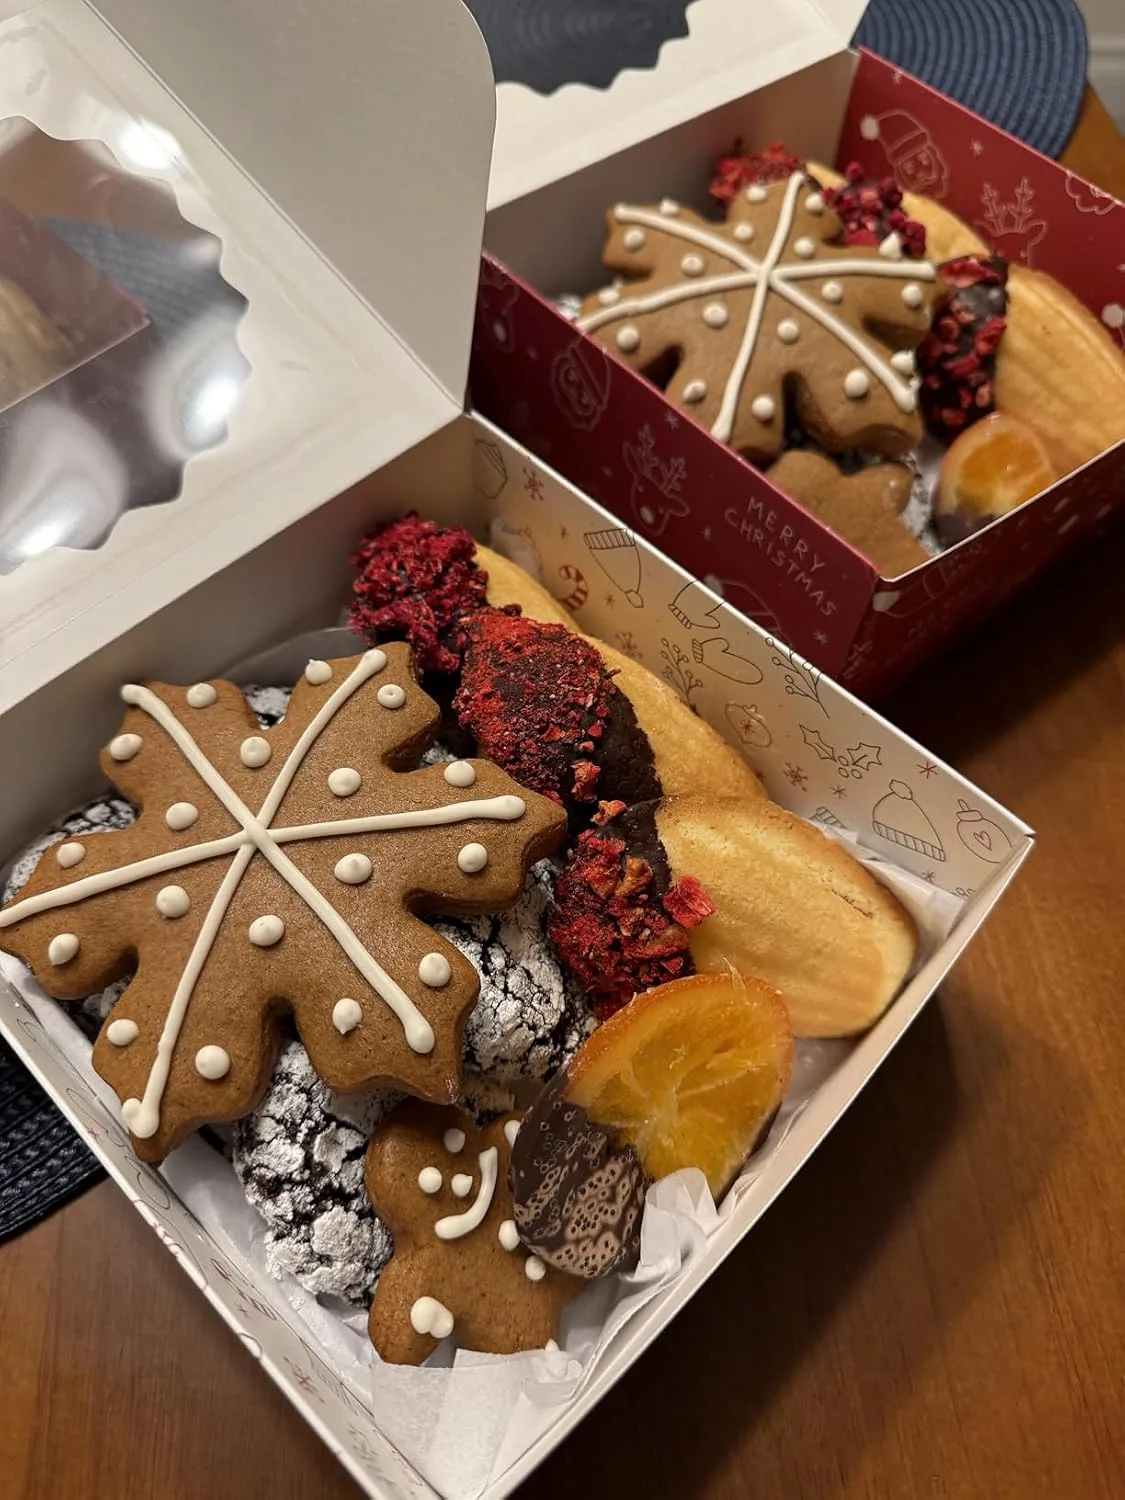
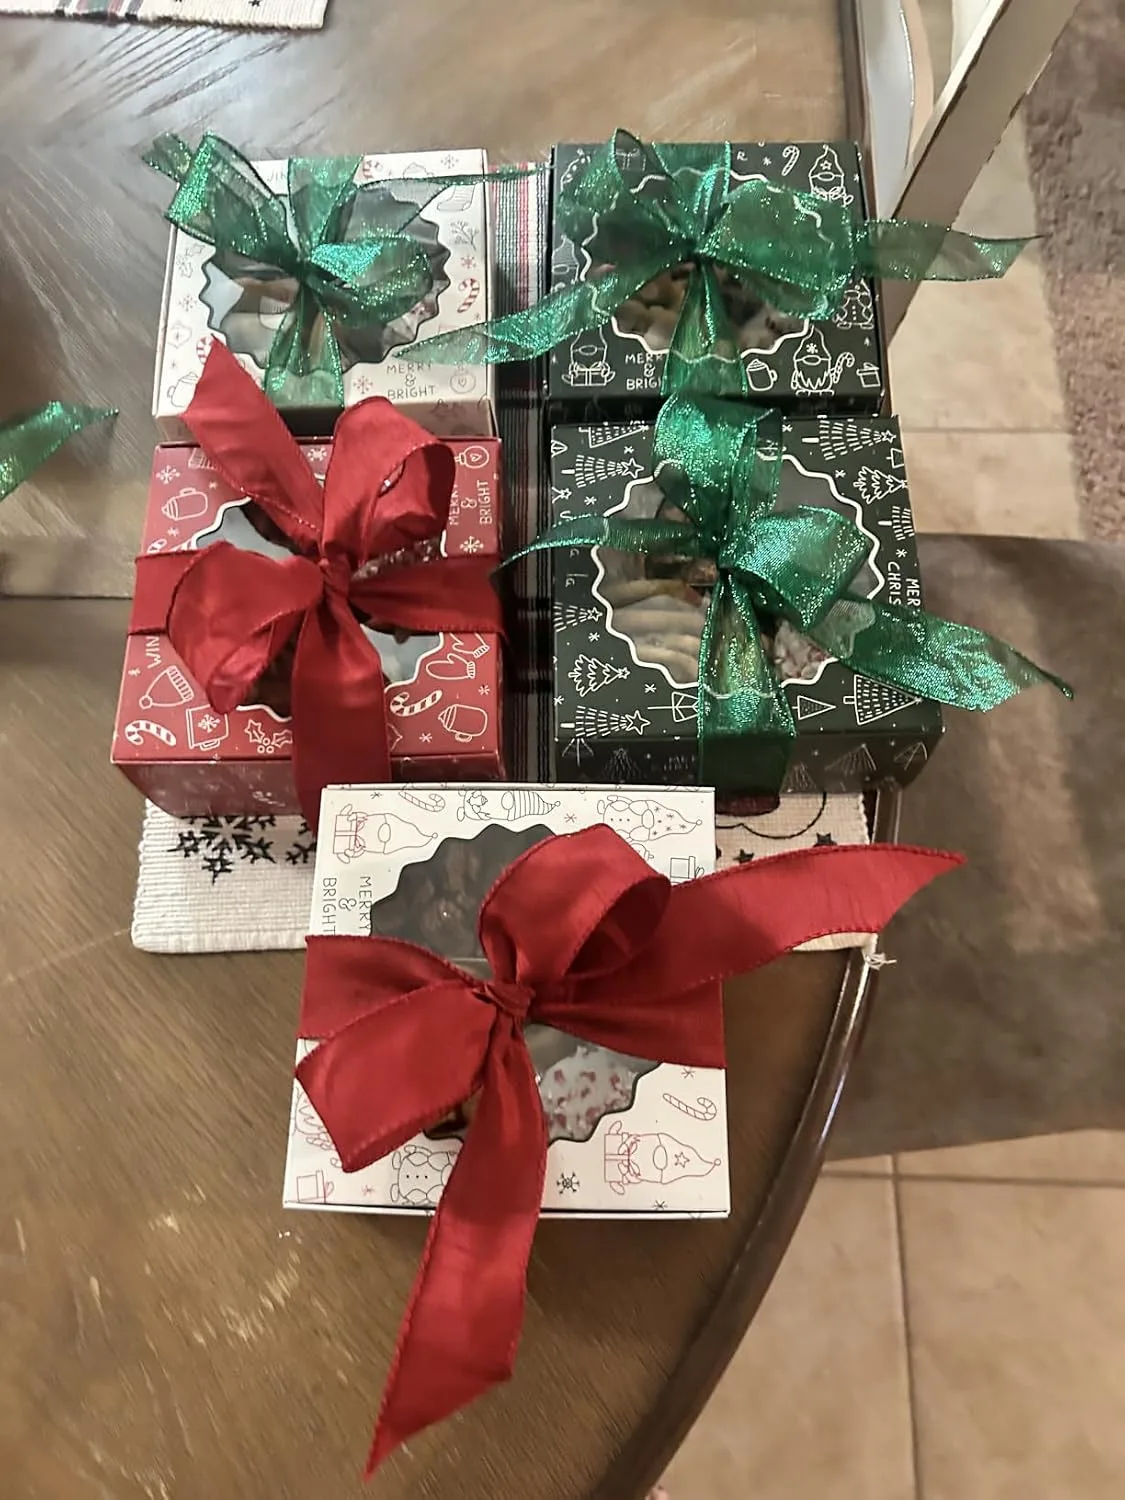
When you’ve spent time perfecting the decoration on these heart cookies, the last thing you want is for them to arrive crushed or crumbled in a flimsy box. A sturdy, pretty box is honestly half the magic of making homemade cookies feel like an actual gift—not just something you baked at home.
What works
- The rigid construction keeps decorated cookies from shifting or smudging during transport—I’ve never had royal icing crack or smear when stacked inside one of these.
- The window cutout is the real MVP; people can see your work before they even open the box, which makes that moment of reveal actually matter.
- They’re sturdy enough to reuse or regift, so even if someone doesn’t eat the cookies, the box itself feels valuable enough to keep.
What doesn’t
- The set comes with Christmas designs, which means you’ll want to save these specifically for holiday gifting or bite the bullet and use them for Valentine’s anyway.
- You’ll need parchment or tissue paper to line the bottom, otherwise the grease from butter cookies can mark up the interior over time.
I almost talked myself out of using these for Valentine’s because of the Christmas theme, but then I realized the cookies were the real focal point anyway—and honestly, having a presentation-quality box elevated the whole homemade moment. Beautiful Christmas Cookie Boxes Set Of 9
This post contains affiliate links. As an Amazon Associate, I earn from qualifying purchases at no extra cost to you.
This post contains affiliate links. As an Amazon Associate, I earn from qualifying purchases at no extra cost to you.