I ruined a lot of cookies before I got good at baking them. Not ruined in a “threw them in the trash” way — ruined in a “ate them anyway but knew something was wrong” way, which is somehow more frustrating. For the first five or six years of my obsessive cookie baking, I kept hitting the same walls: cookies that spread into sad, flat puddles; edges that burned while centers stayed raw; textures that were fine but never quite right. I blamed recipes. I blamed my oven. I blamed humidity.
It took me an embarrassingly long time to realize the problems were me — or more specifically, three deeply ingrained habits I’d never thought to question. Once I fixed them, my cookies improved faster in six months than they had in the previous decade. These are not obscure pastry-school secrets. They’re the kind of things that feel obvious in hindsight, which is exactly why they took me so long to see.
If you’re troubleshooting your own baking, I’d bet at least one of these common cookie baking mistakes is yours too.
Mistake #1: Trusting My Oven’s Temperature Dial
My oven lies. Yours probably does too.
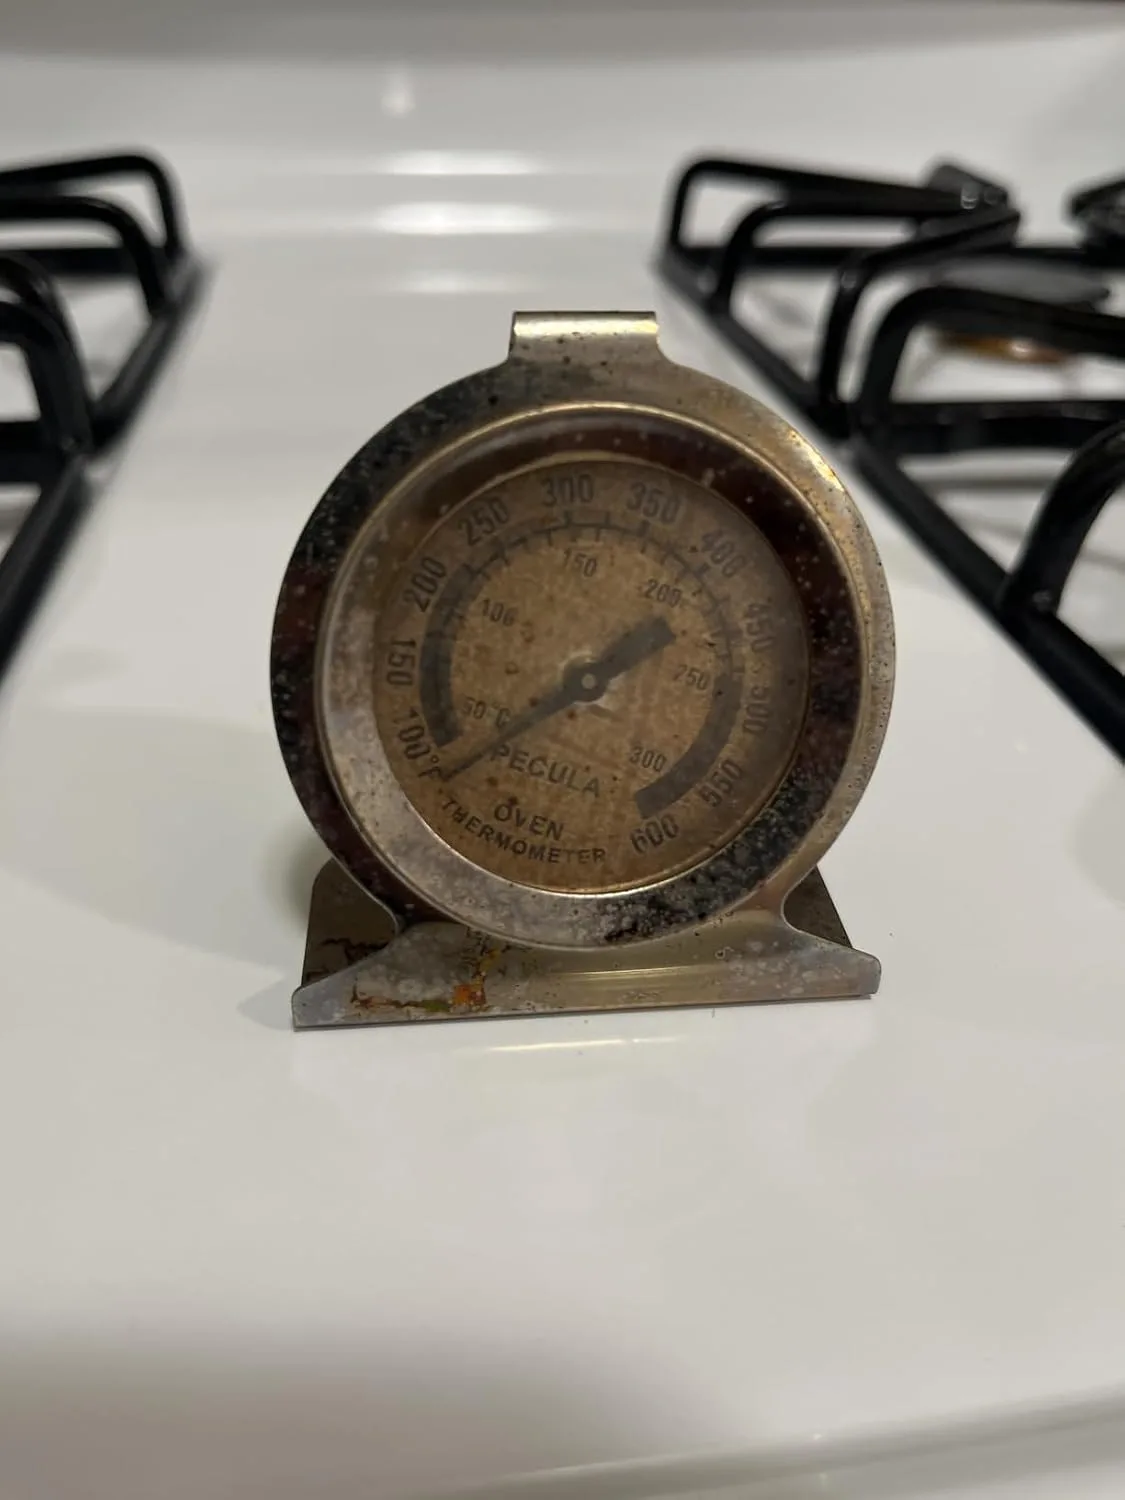
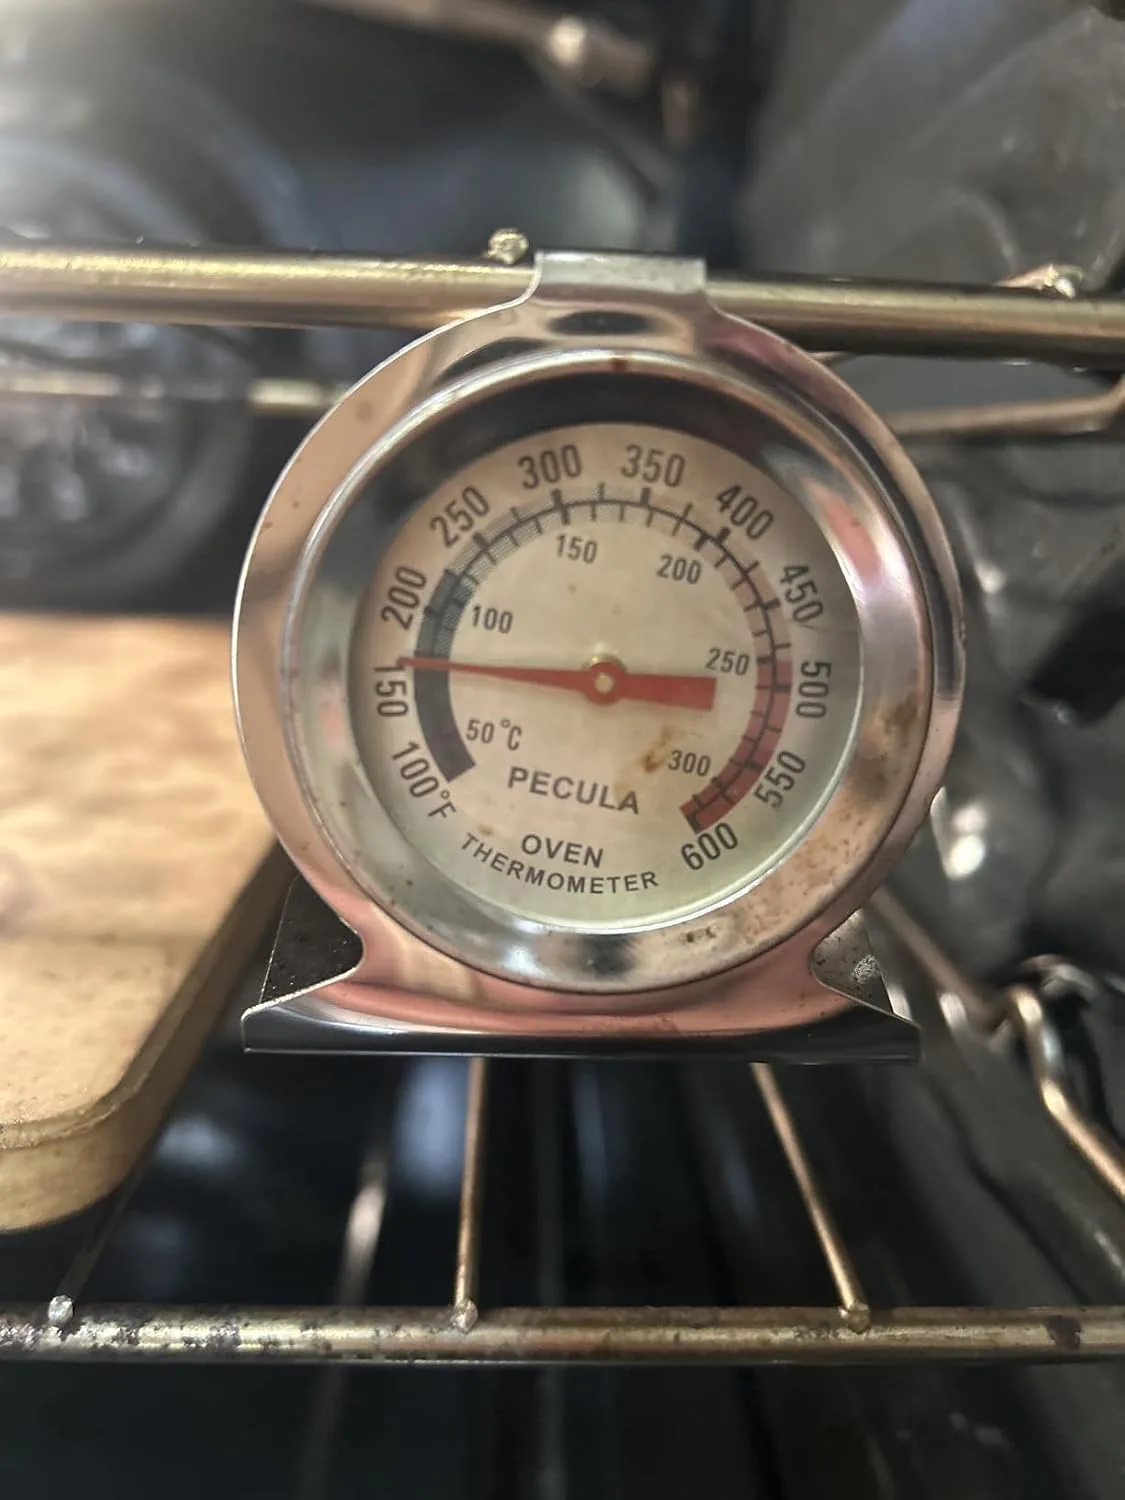
I baked for nearly eight years before I put an oven thermometer inside my oven and discovered it ran 25°F hot on a good day and up to 40°F hot when fully preheated. I had been baking chocolate chip cookies at what I thought was 375°F and was actually closer to 410°F. No wonder my edges were overdone before the centers set.
This is one of the most common cookie baking mistakes out there, and it’s invisible until you measure. Oven thermostats are notoriously imprecise — a Consumer Reports analysis of residential ovens found temperature variances of 25 to 50 degrees are completely normal, and some ovens swing even wider depending on where you place your rack and how long you’ve had the oven running. The thermostat tells your oven when to cycle the heating element on and off, but it doesn’t guarantee actual air temperature.
For cookies specifically, a 25-degree error is enormous. The difference between 350°F and 375°F changes everything about how a cookie spreads, browns, and sets. I spent years chasing those variables when the real variable was my oven itself.
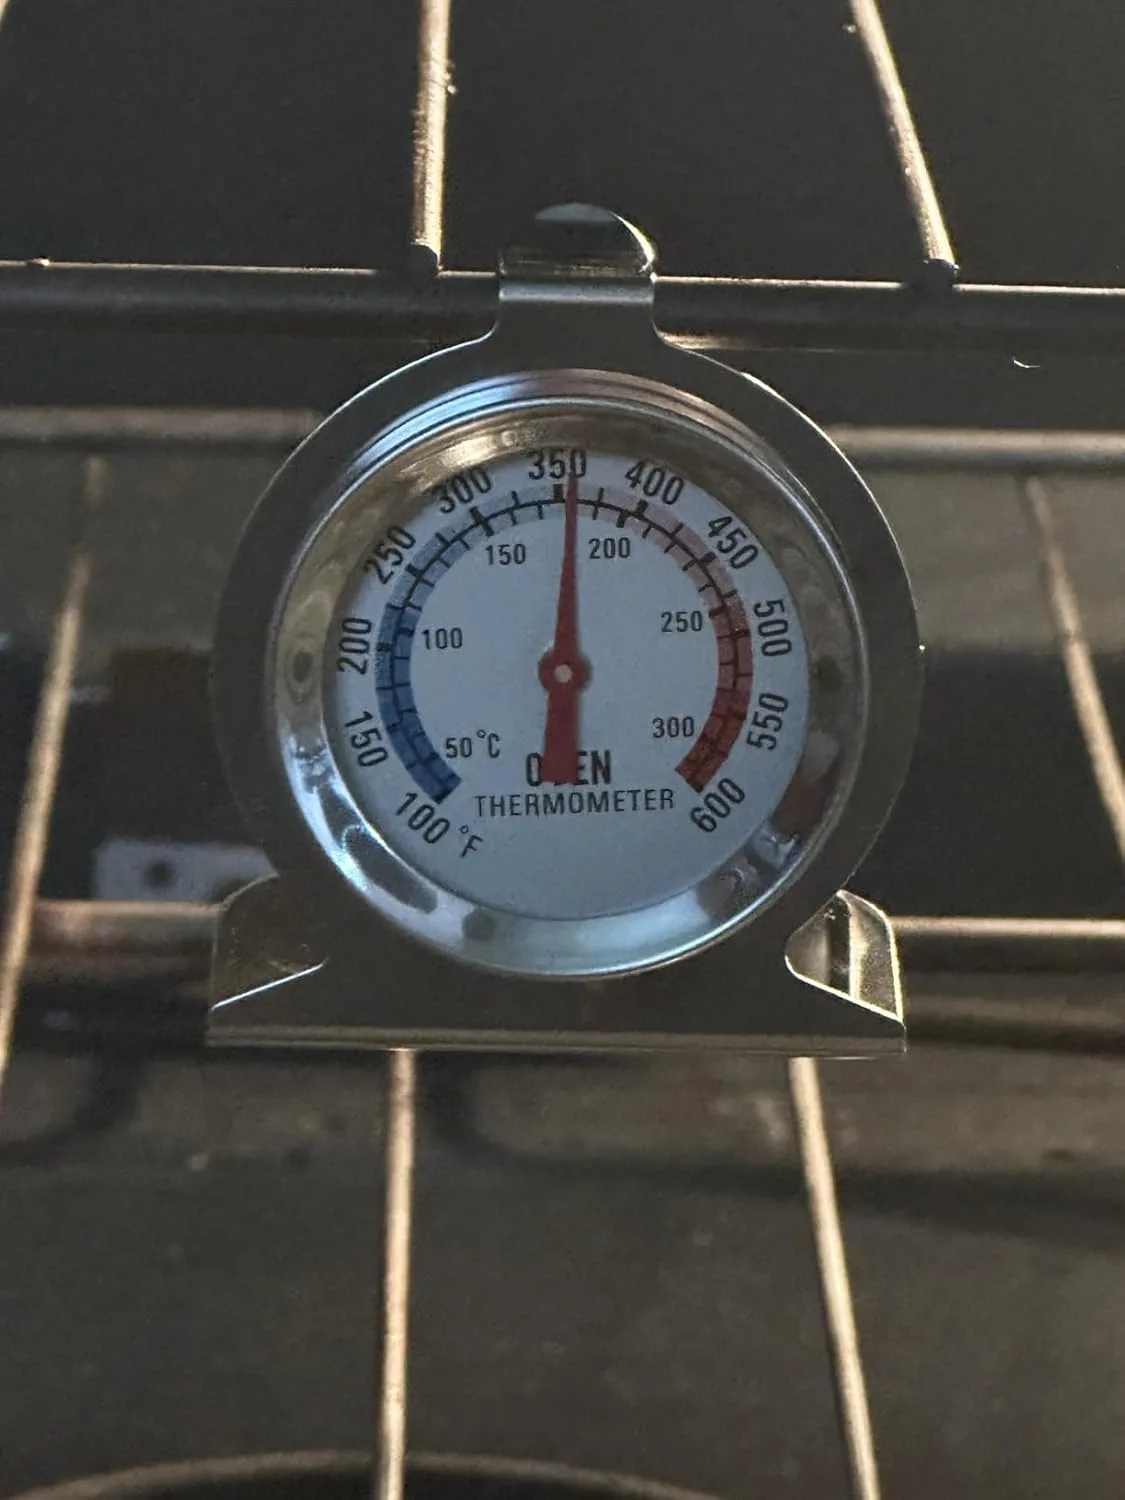
The fix is simple and cheap: buy an oven thermometer, hang it in the center of your oven, and recalibrate your expectations. I now set my oven, wait 20 full minutes (not 10, not when it beeps), check the thermometer, and adjust the dial until the real temperature matches my target. It takes an extra few minutes and has changed my baking more than any technique I’ve ever learned.
Mistake #2: Not Chilling My Dough (And Not Understanding Why It Matters)
I knew chilling cookie dough was a thing. I skipped it constantly because I wanted cookies now, and I told myself it probably didn’t make that much difference.
It makes a significant difference. And once I understood the actual science behind it, I stopped skipping it.
When you mix cookie dough, the butter is soft and the sugars are fully hydrated. If you bake immediately, the butter melts fast in the oven, the dough spreads quickly before the structure sets, and you get thin, wide cookies with more crisp than chew. Chilling the dough does two things: it resolidifies the fat (slowing spread in the oven) and it begins a process called hydrolysis, where the flour’s starches start breaking down and concentrating the sugars. The result is a more complex flavor and a cookie that holds its shape better while still achieving a soft, chewy center.
The food scientist Kenji López-Alt documented this in detail at Serious Eats — a 72-hour refrigerator rest produced noticeably more caramel-like, complex-tasting cookies than dough baked immediately. I’ve replicated his experiment myself with my own chocolate chip recipe, baking rounds at 0 hours, 24 hours, 48 hours, and 72 hours. The 48-hour dough was my personal sweet spot: noticeably more flavor, better texture, without the slight dry edge I sometimes got at 72 hours.
My honest caveat here: chilling time matters less for some cookies than others. Shortbread and slice-and-bake cookies chill for structural reasons and respond differently than drop cookies. And if you’re working with a very low-butter, high-flour recipe, the effect is less dramatic. But for any standard drop cookie — chocolate chip, oatmeal, snickerdoodle — overnight minimum, 48 hours if you can plan ahead.
Mistake #3: Baking on Whatever Pan Was Clean
For years, I had a rotation of whatever baking sheets I’d accumulated — a couple of dark non-stick pans, a warped light aluminum one from a dollar store, a rimmed sheet pan I’d bought for roasting vegetables. I used whichever was clean. I assumed the pan didn’t matter much as long as it was flat.
The pan matters enormously.
Dark non-stick pans absorb more radiant heat and transfer it faster to the bottom of the cookie. If your oven runs hot (see Mistake #1), dark pans will burn your bottoms before your tops are done. Light-colored aluminum pans reflect heat and bake more evenly. Rimmed pans can trap hot air and change airflow around the cookies. A warped pan creates uneven contact and uneven baking — some cookies brown faster than others on the same sheet.
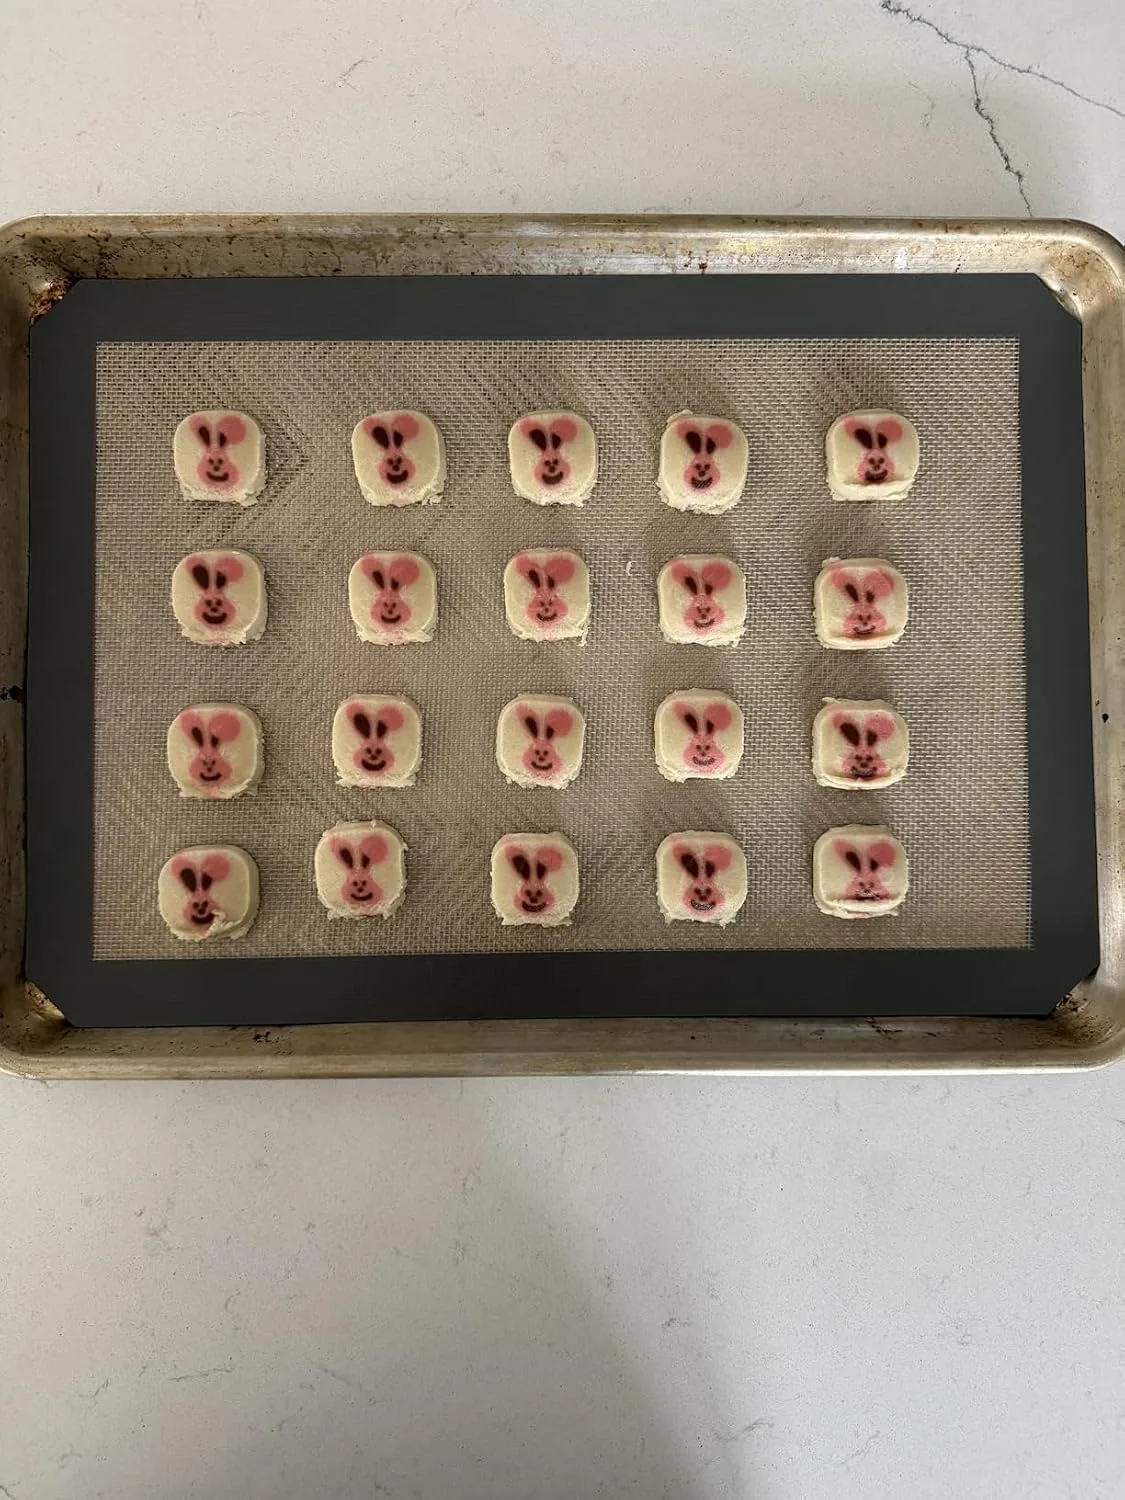
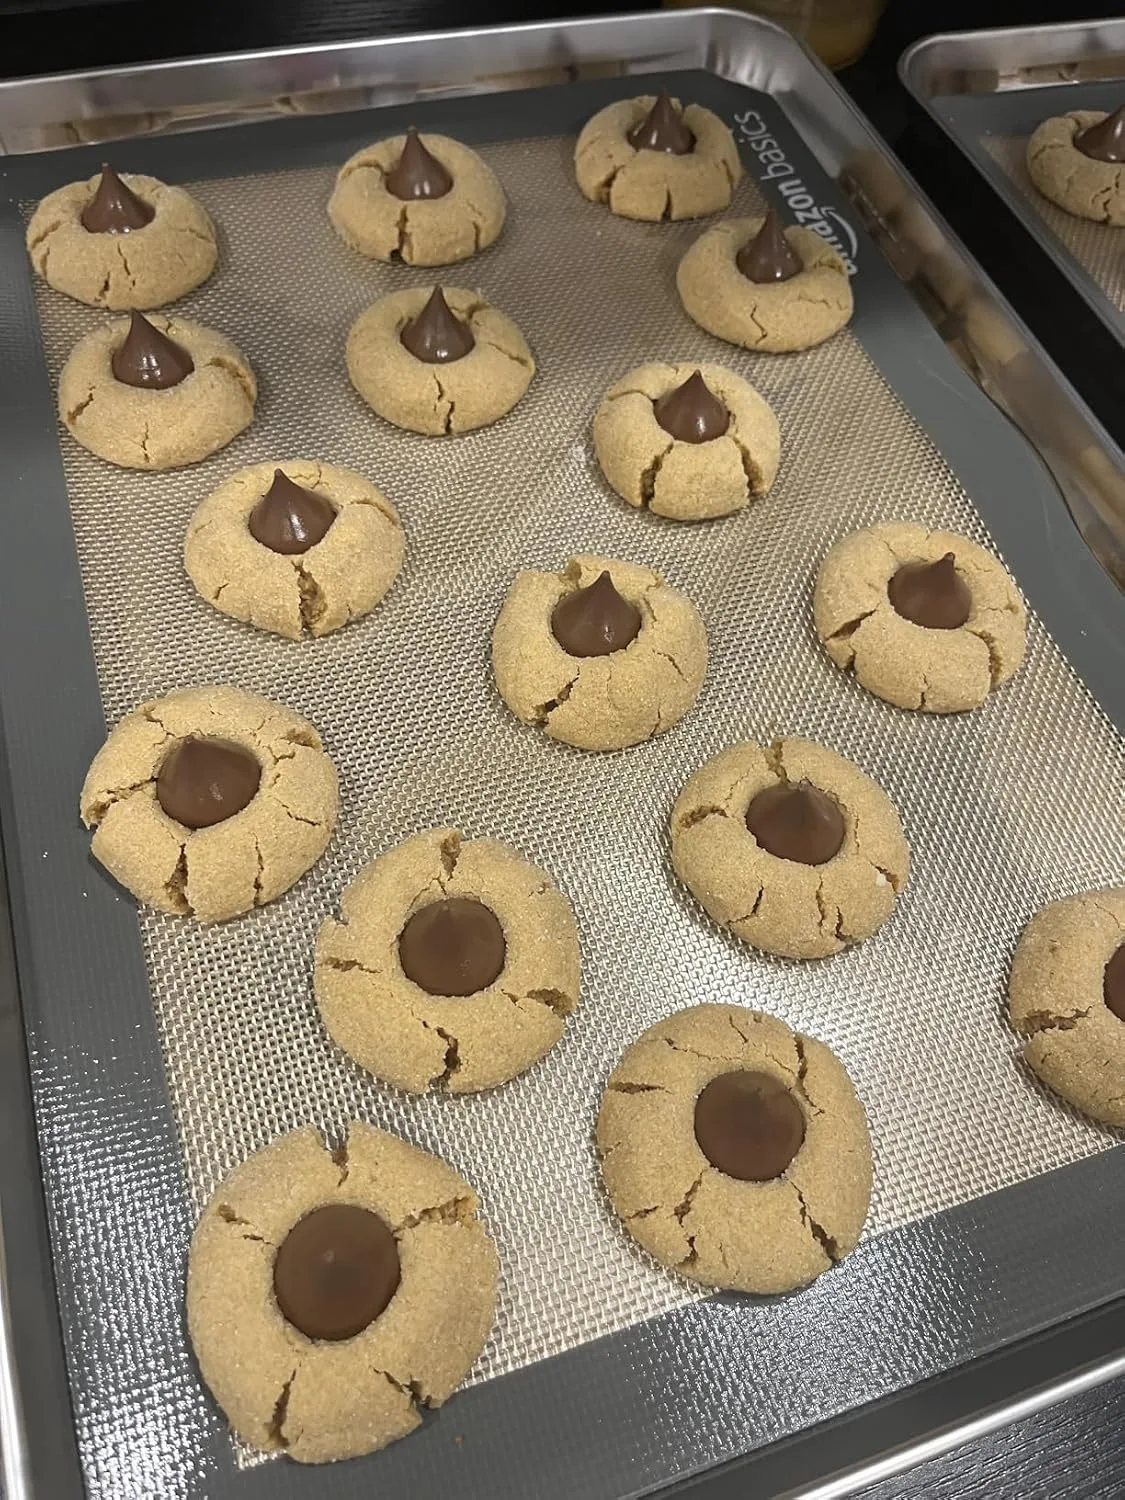
I switched to heavy, light-colored, rimless aluminum half-sheet pans and stopped having bottom-burning problems almost immediately. But the other change that made a real difference was adding a silicone baking mat.
A silicone mat creates a thin insulating layer between the pan and the dough, evening out heat distribution and preventing the direct contact that causes over-browning on the bottom. It also standardizes one variable: I used to get different results depending on how much I’d greased a pan or whether I’d used parchment. With a mat, the surface is identical every time, which makes troubleshooting everything else much easier.
What I Use
After 15 years of testing equipment alongside recipes, here’s what’s actually in my kitchen and why.
For oven temperature accuracy, I keep two thermometers: a Stainless Steel Oven Thermometer 50-300°C/100-600°F, Analog Instant Read, Battery-Free Kitchen Cooking Thermometer, Hook & Stand Design Food Thermometer for Oven, Grill, Smoker, Fryer that I hang from the center rack, and an AcuRite 00620A2 Stainless Steel Oven Thermometer (150°F to 600°F) that I keep toward the back of the oven where it tends to run hotter. Comparing the two taught me my oven has a hot spot in the rear-right corner, which explained years of unevenly baked batches. Neither thermometer requires batteries. Both have been in my oven for years without issue.
For baking surfaces, I use the Amazon Basics Silicone Rectangular Baking Mat, Non-Stick, Reusable, Dishwasher Safe, Food Safe, Heat Resistant, 16.5″ x 11.6″, Beige/Gray, 2-Pack. I was skeptical of the Amazon Basics brand at first, but I’ve now put these through hundreds of baking sessions and they’ve held up without warping, staining, or losing their non-stick surface. The dishwasher-safe claim is accurate in my experience. The two-pack means I always have one clean and one in use.
This post contains affiliate links. As an Amazon Associate I earn from qualifying purchases.
The Honest Summary
None of these mistakes are glamorous. There’s no clever technique hidden in here, no secret ingredient, no revelation about flour protein content. These are basic infrastructure problems — temperature accuracy, timing, and surface consistency — that I overlooked because I was focused on recipes instead of process.
The frustrating thing about common cookie baking mistakes is that they compound. If your oven runs hot and you’re using dark pans and your dough isn’t chilled, you’ll get bad cookies and have no idea which problem is causing it. Fix them one at a time, batch by batch, and keep notes. I still fill notebooks with baking observations. I still occasionally ruin a batch and have to figure out why.
That’s the part they don’t tell you about baking obsessively for 15 years: you don’t stop making mistakes, you just get better at diagnosing them.
The Oven Thermometer That Finally Stopped My Cookies From Burning on the Outside
One of the hardest lessons I learned was that my oven temperature wasn’t actually what the dial said it was. I’d pull out cookies with charred edges and raw centers, swap racks, lower the heat—but nothing fixed the real problem until I could actually see what temperature my oven was doing.
What works
- The analog dial reads instantly and reliably without batteries or waiting for a digital display to settle—I can glance in and know within seconds if my oven is actually at 350°F or running hot.
- The hook design lets it hang from the center rack without sliding around, so it stays exactly where I need it and doesn’t tip over when I open the door.
- Once I calibrated against my oven’s actual temperature, I finally understood why one recipe worked perfectly and another with the same instructions didn’t—it was always the oven, and now I could prove it.
What doesn’t
- The face is small and can be hard to read from across the kitchen, especially if your oven light isn’t bright—I have to lean in or open the door to get a clear reading.
- It measures the air temperature inside, not the actual surface temperature of the baking sheet, so you still need to account for hot spots and uneven heat distribution.
I almost returned mine after the first week because the thermometer showed my oven running 25°F hotter than the dial claimed, and for a moment I panicked that I’d been baking wrong the whole time—but that panic turned into relief once I adjusted my settings. Stainless Steel Oven Thermometer 50-300°C/100-600°F, Analog Instant Read, Battery-Free Kitchen Cooking Thermometer, Hook & Stand Design Food Thermometer for Oven, Grill, Smoker, Fryer
This post contains affiliate links. As an Amazon Associate, I earn from qualifying purchases at no extra cost to you.