
If you’ve ever pulled a batch of cookies out of the oven and thought, “What went wrong this time?” — this science of perfect cookies baking guide is exactly what you need. I’ve baked over 500 batches across fifteen years, and I’ll be honest: I failed spectacularly for the first 50 of them. Flat cookies, cakey cookies, burnt bottoms, raw middles. I’ve seen it all. What finally changed everything wasn’t a better recipe. It was understanding why each ingredient does what it does.
This guide is my attempt to give you the foundation I wish I’d had on day one. I’m talking about real baking science — butter temperature, sugar behavior, flour protein content, egg ratios, leavening agents, chilling time, and oven dynamics. None of it is intimidating once you understand the logic behind it. Think of this as your permanent reference. The post you bookmark and return to whenever a batch goes sideways.
Whether you’re baking your very first chocolate chip cookie or trying to nail a finicky French sablé, the principles here apply. Let’s dig in.
Why Butter Temperature Is the Single Biggest Variable
I used to ignore butter temperature completely. I’d pull it straight from the fridge, cut it up, and call it close enough. The result was consistently dense, underspread cookies with a greasy crumb. It took me about 30 ruined batches before I finally bought a kitchen thermometer and started paying attention.
Here’s what’s actually happening. When you cream butter and sugar together, you’re not just mixing — you’re aerating. The sugar crystals physically cut tiny air pockets into the fat. Those pockets expand in the oven and give your cookie lift and a tender crumb. That process only works when butter is between 65°F and 68°F. Too cold, and it won’t aerate properly. Too warm, and it’s already greasy — the air pockets collapse before they form.
In my experience, “room temperature” butter in a warm kitchen in July is completely different from “room temperature” in a drafty kitchen in January. Don’t guess. Use a thermometer. I leave butter out for exactly 45 minutes at around 70°F ambient temperature and it hits that sweet spot almost every time.
Melted butter is a different tool entirely. It produces chewier, denser cookies with more spread. That’s not wrong — it’s intentional in recipes like bakery-style chocolate chip cookies. However, you need to know which effect you’re chasing before you start.
The Science of Sugar — And Why the Type You Use Changes Everything
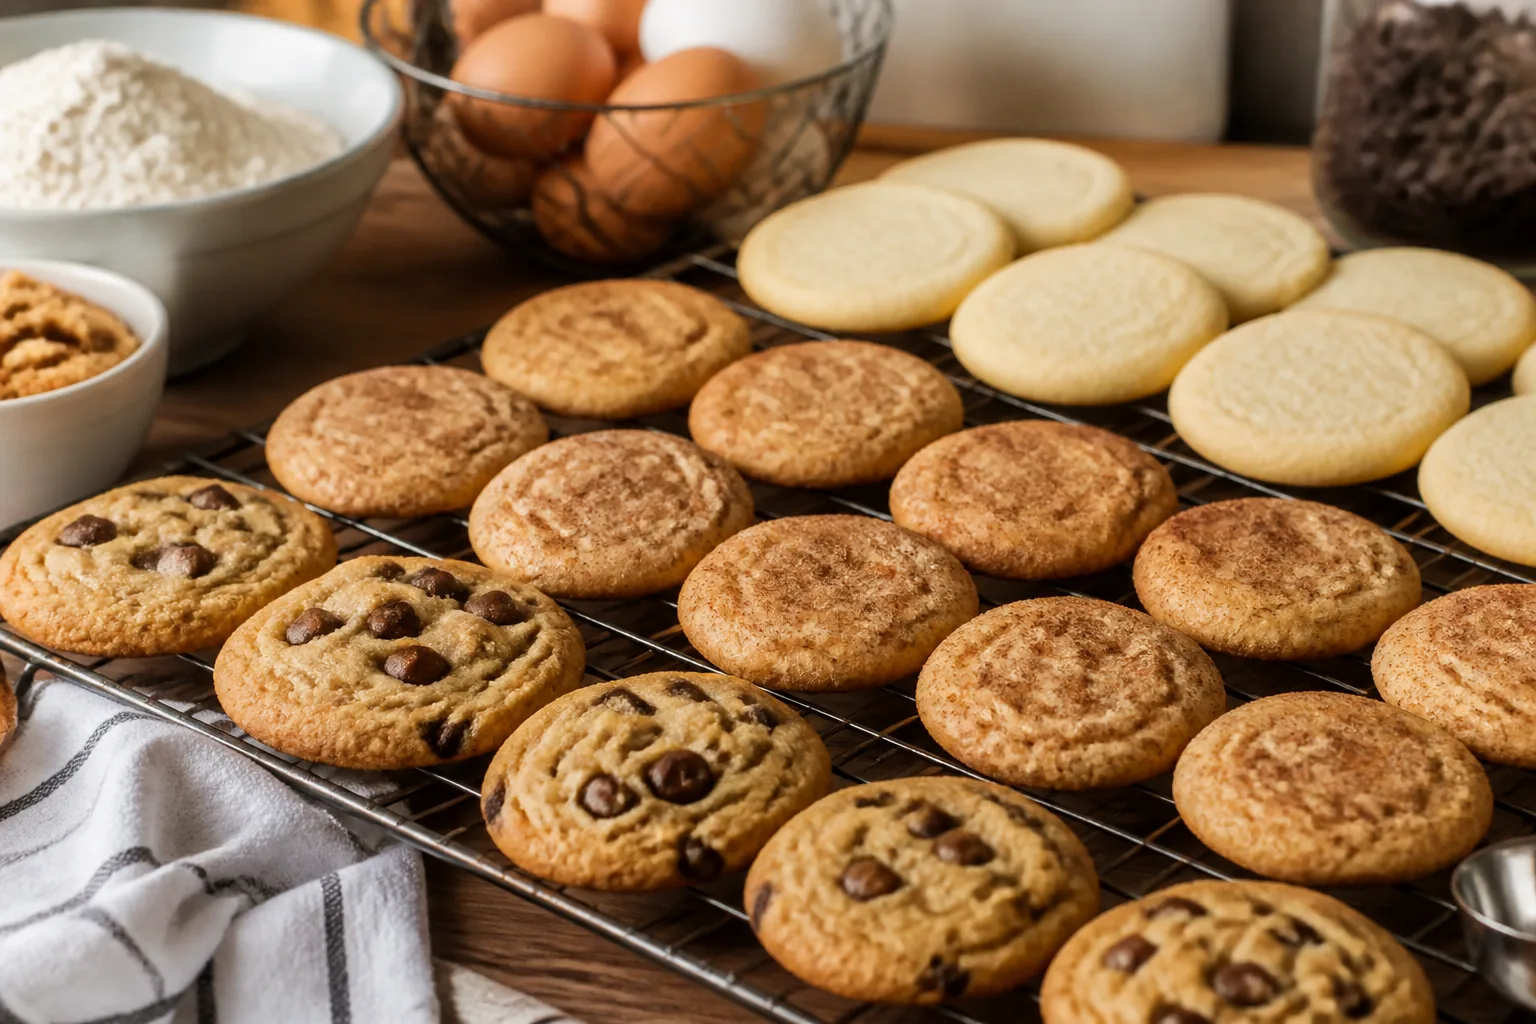
Sugar isn’t just sweetness. It controls spread, moisture, browning, and texture in ways that still fascinate me after 500 batches. Most beginner bakers treat white sugar and brown sugar as interchangeable. They’re not even close.
White Sugar vs. Brown Sugar
White granulated sugar encourages spread and crispness. It melts cleanly and produces a crisper edge. Brown sugar contains molasses, which is hygroscopic — it pulls moisture from the air and holds onto it. As a result, cookies made with more brown sugar stay chewier for longer and brown more deeply due to the extra molasses content. They also spread slightly less.
A 50/50 split of white and brown sugar is the most common approach in classic drop cookies. Want a crispier cookie? Increase the white sugar ratio. Want a chewier, more caramel-toned result? Shift toward brown. I tested this deliberately across 12 identical batches once, adjusting only the sugar ratio. The textural difference between all-white and all-brown was dramatic — like two completely different cookies.
What About Powdered Sugar?
Powdered sugar (confectioners’ sugar) produces an ultra-tender, almost melt-in-your-mouth crumb. It’s standard in shortbread and Mexican wedding cookies. The cornstarch mixed into powdered sugar inhibits gluten development, which is exactly the point for those styles. Don’t substitute it into standard drop cookie recipes unless you want a completely different texture — I did this once by accident and ended up with cookies that dissolved into puddles.
Flour Protein Content and What It Means for Texture
Flour is where gluten lives, and gluten is the structural network that holds your cookie together. The protein content of flour determines how much gluten can form — and that directly affects chewiness versus tenderness.
All-purpose flour typically runs 10–12% protein, depending on the brand. Bread flour sits at 12–14%. Cake flour drops to 7–9%. That range matters enormously in cookies. Higher protein means more gluten, which means more structure and chew. Lower protein means less gluten, which means more tenderness and crumble.
Specifically, if you want New York-style chewy chocolate chip cookies, swapping in about 25% bread flour for all-purpose flour makes a noticeable difference. I tested this side by side, and the bread flour version had a satisfying pull-apart chew that the all-purpose version couldn’t quite match. That said, go too far with bread flour and you’ll get cookies that feel almost bready and tough.
One more thing: always measure flour by weight, not volume. A cup of flour can weigh anywhere from 120g to 165g depending on how it’s scooped. That 45-gram swing is enough to completely change your cookie’s texture. I invested in a basic kitchen scale early on and it eliminated an entire category of inconsistency.
Eggs — Ratio, Temperature, and the Yolk vs. White Debate
Eggs do three things in cookies: they bind, they add moisture, and they add structure. But the yolk and the white do very different jobs. Understanding that split is one of the most useful pieces of baking science I know.
Yolks vs. Whites
Egg yolks are rich in fat and emulsifiers. They contribute tenderness, richness, and that custardy chew associated with high-end bakery cookies. Egg whites, by contrast, are mostly protein and water. They add structure and crispness, and can make a cookie slightly cakier or drier. When I add an extra yolk and remove the white from a standard recipe, the result is noticeably richer and chewier. This is a genuinely useful trick.
Room-temperature eggs also matter. Cold eggs don’t emulsify as well into creamed butter and sugar. The batter can look slightly curdled, and the final texture suffers. I drop cold eggs into warm water for 10 minutes before baking. It’s a small step that consistently improves the final result.
Egg Quantity and Moisture Balance
Adding an extra whole egg adds both moisture and structure. Sometimes that’s what a recipe needs. However, too much egg can make a cookie cakey rather than chewy. The ratio of egg to flour is a delicate balance. For most standard drop cookie recipes using 2¼ cups of flour, two whole eggs is the baseline. Adjust from there based on the texture you want — one egg plus one yolk for chewier, two eggs plus one yolk for slightly more lift.
Baking Soda vs. Baking Powder — This Matters More Than You Think
These two leaveners are not interchangeable, and I’ve seen this mistake cause more batch failures than almost anything else. Let me make this simple and permanent for you.
Baking soda is pure sodium bicarbonate. It needs an acidic ingredient to activate — brown sugar, molasses, honey, buttermilk, cocoa powder, or vinegar. When it reacts, it releases carbon dioxide quickly, giving immediate rise. It also promotes browning (Maillard reaction) aggressively, which is why most chocolate chip cookie recipes use baking soda. The edges brown beautifully while the center stays soft.
Baking powder is baking soda plus a dry acid (usually cream of tartar) and a starch filler. It’s “double-acting,” meaning it releases gas twice — once when it gets wet, and again when heated. This makes it more forgiving and produces more even rise. It’s common in recipes where there’s no natural acid, or where a more uniform, puffy lift is desired, like in some drop sugar cookies.
In my experience, many cookie recipes use both. A small amount of baking soda handles browning while baking powder contributes a more even lift. If you accidentally use baking powder in place of baking soda, your cookies will be pale and puffier than intended. The reverse — soda instead of powder — can produce a soapy, metallic taste. Both are unpleasant. Always check twice.
The Science of Perfect Cookies Baking Guide: Chilling and Baking Temperature
Here’s where the science of perfect cookies baking guide comes together in the most practical way: what happens between mixing and eating. Specifically, chilling your dough and choosing the right baking temperature are two decisions that dramatically shape the final cookie.
Why Chilling Dough Works
Chilling cookie dough does several things. First, it solidifies the fat, which slows spread in the oven and produces a thicker cookie. Second, and more importantly, it allows something called hydration equilibration to occur — the flour fully absorbs the moisture from the eggs and butter. This develops flavor compounds and improves texture significantly. A chilled dough also produces more complex, toffee-like flavors because the sugars have more time to interact with the other ingredients.
I once ran a 72-hour chill test. I baked scoops from the same dough batch at 0, 24, 48, and 72 hours. The 72-hour cookie was noticeably deeper in flavor, chewier, and had better color than the fresh-baked scoop. Most recipes benefit from at least 30 minutes of chilling. However, 24–48 hours in the refrigerator is the true sweet spot for flavor development.
Baking Temperature: Low and Slow vs. Hot and Fast
Most cookie recipes call for 325°F to 375°F (165°C to 190°C). That range isn’t arbitrary. Lower temperatures (325°F) bake cookies more slowly and evenly, giving the center time to set before the edges brown. This produces a softer, more uniform texture. Higher temperatures (375°F) set the edges fast while keeping the center underdone, creating that crispy-edge, gooey-center effect many people love.
Oven calibration is critical here. My oven runs 15°F hot — I discovered this with an oven thermometer after burning three consecutive batches at “350°F.” An inexpensive oven thermometer is one of the most impactful tools you can own. Always preheat for at least 20 minutes before baking, and consider using a light-colored aluminum pan over dark nonstick. Dark pans absorb more heat and burn bottoms faster.
Common Mistakes and Beginner Questions
My Cookies Always Spread Too Much — What’s Happening?
Over-spreading is almost always a fat or flour issue. The most common culprits: butter was too warm, not enough flour was used (especially if measuring by volume), the dough wasn’t chilled, or the baking sheet was still warm from a previous batch. Try chilling your portioned dough balls for 15 minutes before baking, even if you’ve already chilled the bulk dough. Also make sure you’re using parchment paper — greased pans encourage spread.
My Cookies Come Out Cakey Instead of Chewy
Cakey cookies usually mean too much egg white, too much leavening, or too much flour. Try removing one egg white and replacing with an extra yolk. Reduce baking powder by 25% if the recipe uses a full teaspoon or more. Also check if you’ve accidentally over-creamed the butter and sugar — excessive aeration produces a cake-like crumb. Cream for 2–3 minutes maximum, not 8–10.
Why Are My Cookies Raw in the Middle but Burnt on the Bottom?
This is a pan and temperature problem. Dark or thin pans conduct bottom heat too aggressively. Switch to a light-colored, heavy-gauge aluminum pan. Place your oven rack in the upper-middle position rather than the bottom third. Also verify your oven temperature with an oven thermometer — you may be baking hotter than you think. Lower the temperature by 25°F and extend bake time by 2–3 minutes for more even results.
Do I Have to Use Unsalted Butter?
Most professional bakers recommend unsalted butter because the salt content in salted butter varies by brand. That inconsistency can affect your flavor balance, especially in delicate cookies. However, if salted butter is all you have, reduce added salt in the recipe by about half. It’s not a catastrophic substitution. I’ve used salted butter plenty of times out of necessity and the results were fine — just slightly saltier, which honestly isn’t always a bad thing.
When Should I Take Cookies Out of the Oven?
Take them out earlier than you think. Cookies continue to bake on the hot pan for 3–5 minutes after leaving the oven. This is called carryover cooking. Pull them when the edges are set but the centers still look slightly underdone and shiny. They will firm up beautifully as they cool. I follow the 80% rule: if they look 80% done, they’re done. Waiting until they look fully baked in the oven guarantees overbaked cookies on the plate.
Final Thoughts — What 500 Batches Actually Taught Me
This science of perfect cookies baking guide covers the core variables that determine whether a cookie succeeds or fails. Butter temperature. Sugar type. Flour protein. Egg ratios. Leavening chemistry. Chill time. Baking temperature. Each one is a lever you can deliberately adjust. That’s the shift I want you to make: from following recipes blindly to understanding what each ingredient is doing and why.
You don’t need to master all of this at once. Start with one variable. Pay attention to your butter temperature this week. Weigh your flour next week. Chill your dough overnight the week after. Each small habit compounds into enormous skill over time.
The most important thing I’ve learned from 500 batches is this: failed cookies are data, not defeat. Every flat, burnt, or cakey batch taught me something that a perfect batch never could. Keep baking. Keep notes. Come back to this guide whenever something goes wrong. That’s exactly what it’s here for.