
I used to think resting cookie dough overnight was the kind of tip serious bakers threw around to sound sophisticated. I had been making chocolate chip cookies for years — good ones, cookies people asked me to bring to every gathering — and I genuinely did not think a few hours in the refrigerator was going to change much. I was wrong in a way that embarrassed me a little, because I had wasted a decade skipping a step that costs nothing but time.
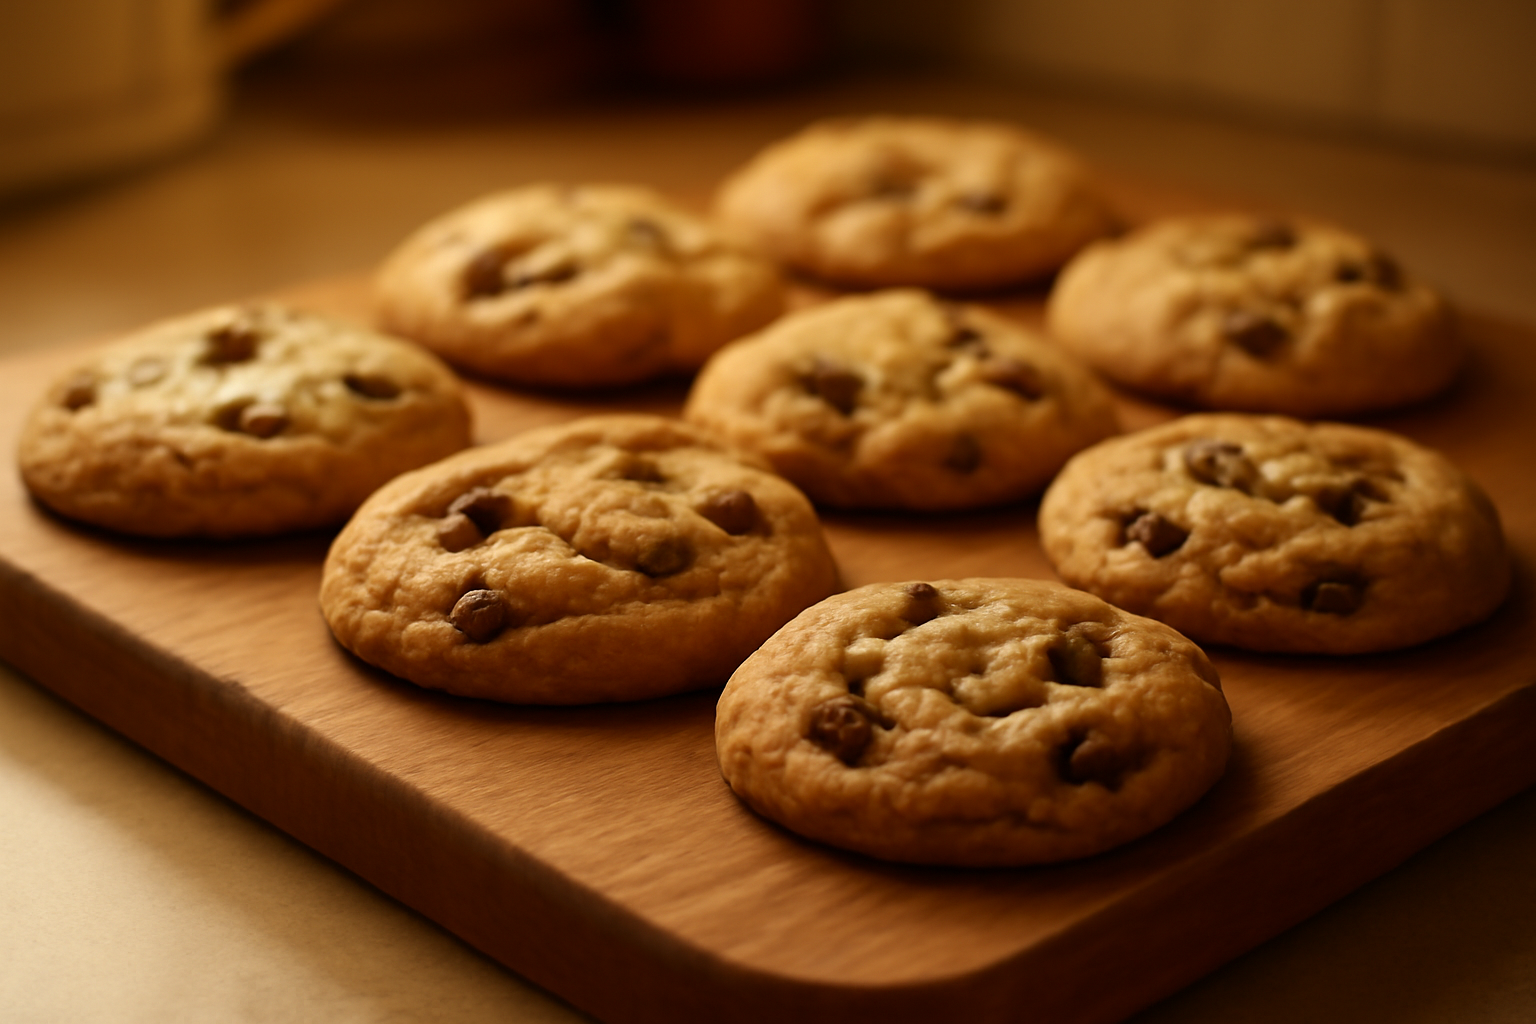
It started in 2018 when I was obsessively re-testing my brown butter chocolate chip recipe for the dozenth time. I had made a double batch, portioned half immediately, and then got distracted and forgot the other half in the fridge for three days. When I finally baked that second half, the cookies looked different before they even hit the oven — deeper in color, slightly drier on the surface. The baked result stopped me cold. They were chewier, more complex, with a toffee-like depth I had been chasing for years without knowing what to call it. Same recipe. Same oven. Same baking sheet. The only variable was seventy-two hours in the refrigerator.
That was the last time I baked a portioned cookie dough without resting it first.
Do You Need to Rest Cookie Dough?
Short answer: no, you do not need to. You can bake cookie dough the moment you mix it and still get a perfectly good cookie. But resting it makes a real, tasteable difference in both flavor and texture, and you do not have to wait three days to get it. Even a single overnight rest of 24 hours noticeably improves color, chew, and depth of flavor. Resting is optional; it is also one of the highest-return, lowest-effort upgrades you can make. This holds for almost any enriched drop cookie, but resting chocolate chip cookie dough in particular is where most home bakers first notice the payoff.
You will sometimes see this technique called “aging cookie dough,” and that name is actually more accurate than “resting,” because the dough is not just sitting still — it is actively changing. The famous New York Times chocolate chip cookie, built on Jacques Torres’s recipe, calls for a 36-hour refrigerator rest for exactly this reason. Recipe developer David Leite tested 12-, 24-, and 36-hour rests side by side and found that the longer the rest, the deeper and more complex the baked flavor. So the honest answer is: skip the rest if you must, but rest it if you can, even overnight.
What Actually Happens When Cookie Dough Rests
This is not mysticism. There are real, documented things happening inside your dough during that rest period, and once you understand them, you will never want to skip this step again.
The first and most significant process is flour hydration. When you first mix cookie dough, the flour hasn’t fully absorbed the moisture from your eggs, butter, and any liquid ingredients. As the dough rests — especially under refrigeration — the flour continues to absorb that moisture evenly throughout the dough. The result is a drier, stiffer dough that spreads less during baking, which means thicker cookies with a chewier center.
The second process is enzymatic browning. Food scientist Harold McGee has written about how enzymes in flour break down starches into simpler sugars over time. More free sugars mean more Maillard reaction in the oven, which translates directly to that deeper golden-brown color and more complex, almost butterscotch-adjacent flavor. This is not a minor effect. After 72 hours, you can taste the difference in a blind test. I have done this with friends who are not bakers, and they consistently prefer the rested dough without knowing which is which.
The third factor is fat solidification. Cold, firm fat melts more slowly in the oven, which gives the cookie structure time to set before it spreads into a flat puddle. This is especially critical if you are using melted or brown butter in your recipe, where the fat starts in a more liquid state.
24 Hours vs. 48 Hours vs. 72 Hours: What I Actually Found
I spent several months in 2019 running a structured informal experiment on this. Every two weeks, I made the same batch of dough and baked portions at different rest intervals. Here is what I found:
It helps to know that these stages are not simply “more time equals better” — different processes dominate at different points. Through the first several hours and into the first day, hydration does most of the work: the flour drinks up moisture from the eggs and butter, the dough firms up, and it spreads less in the oven. From roughly 24 hours onward, the slower enzymatic stage takes over — amylase in the flour keeps breaking starches down into simple sugars, and those extra sugars fuel more Maillard browning and deeper flavor when the cookies bake. That is why a 24-hour rest already bakes up drier and more controlled, while the toffee-deep flavor keeps developing out toward 48 and 72 hours.
- Baked immediately: Spread more, paler color, flavor was flat and floury, texture was softer and less defined.
- Rested 24 hours: Noticeable improvement in color and chew. Flavor was better but still not fully developed. This is the minimum I would recommend to anyone.
- Rested 48 hours: Significantly better. The toffee notes start to emerge. Spread was controlled. This is the sweet spot for people who can plan ahead by two days.
- Rested 72 hours: This is where I landed permanently. The flavor is the most developed, the texture is the most consistent, and the color is beautiful — deeply golden without any additional effort.
- Rested 96+ hours: Minimal additional improvement in flavor. The dough can start to pick up fridge odors if not properly sealed, and I found the texture occasionally became too dry. Beyond 72 hours, you are in diminishing returns territory.
Seventy-two hours is my non-negotiable now. I plan my baking around it, not the other way around.
How to Rest Cookie Dough the Right Way
Resting dough correctly matters as much as resting it at all. Here is the method I have settled on after years of trial and error.
Portion First, Then Rest
This is the single most important practical tip I can give you: portion your dough before refrigerating it, not after. Trying to scoop cold, 72-hour dough is a miserable experience. The dough is stiff, it tears unevenly, and you lose all the control you need for consistent sizing. Portion it while fresh, place the balls on a tray, and then refrigerate.
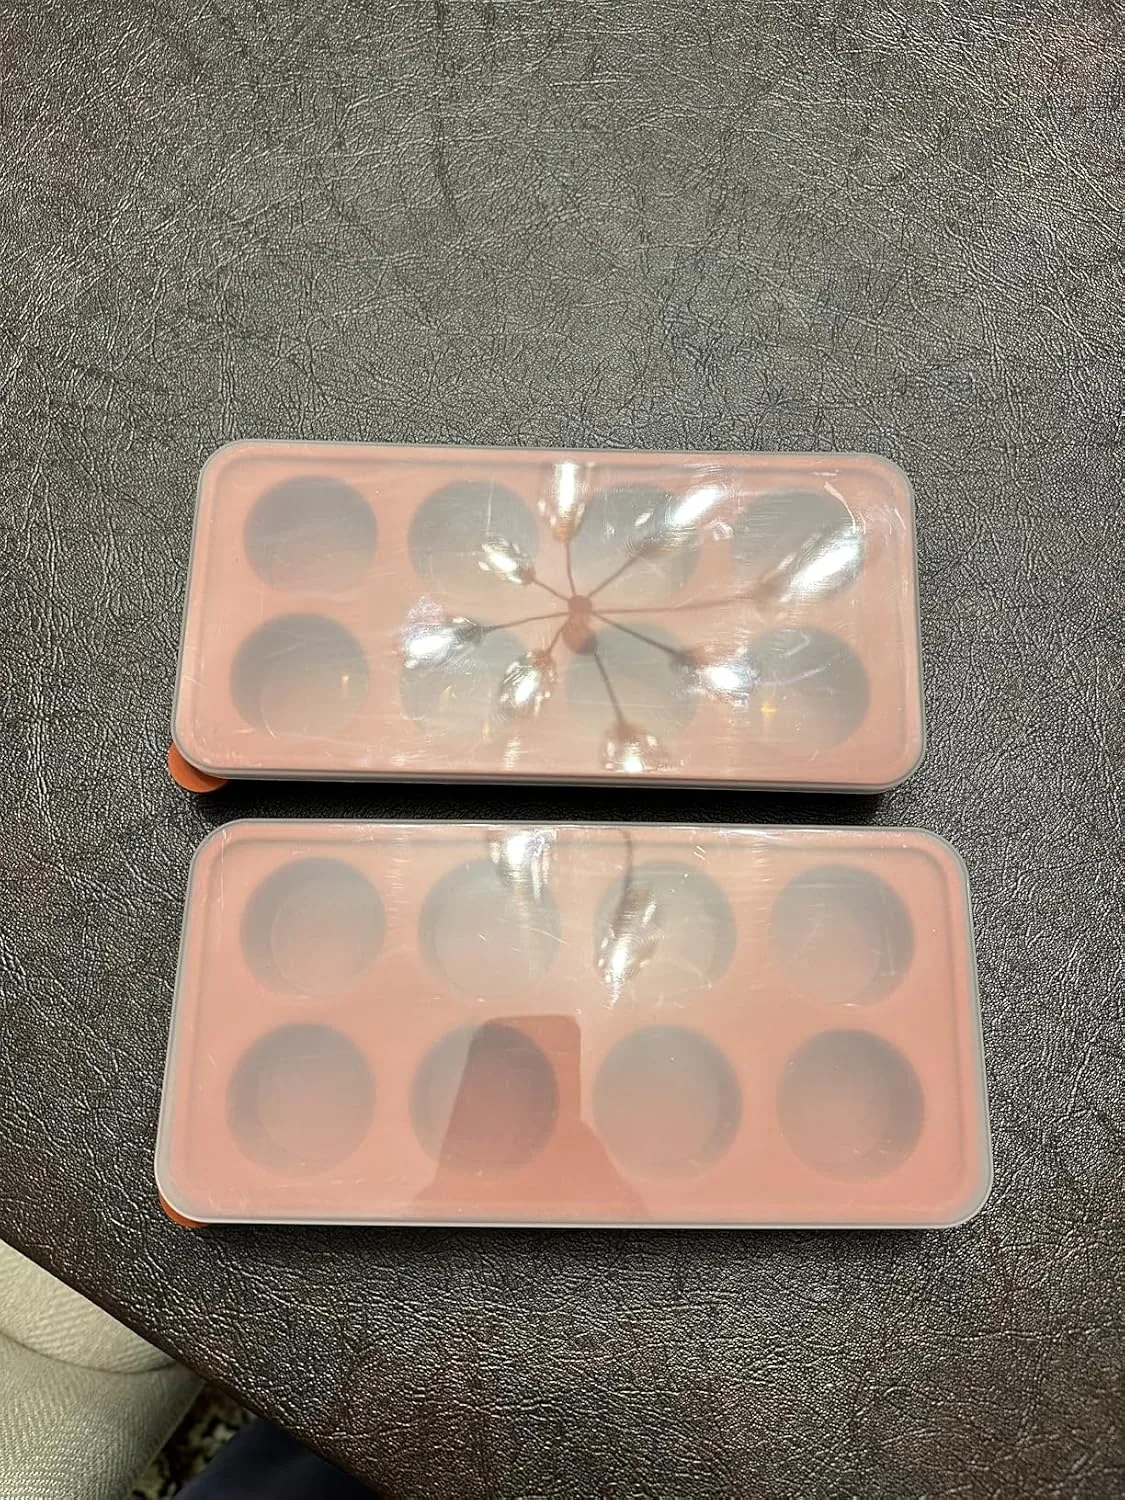
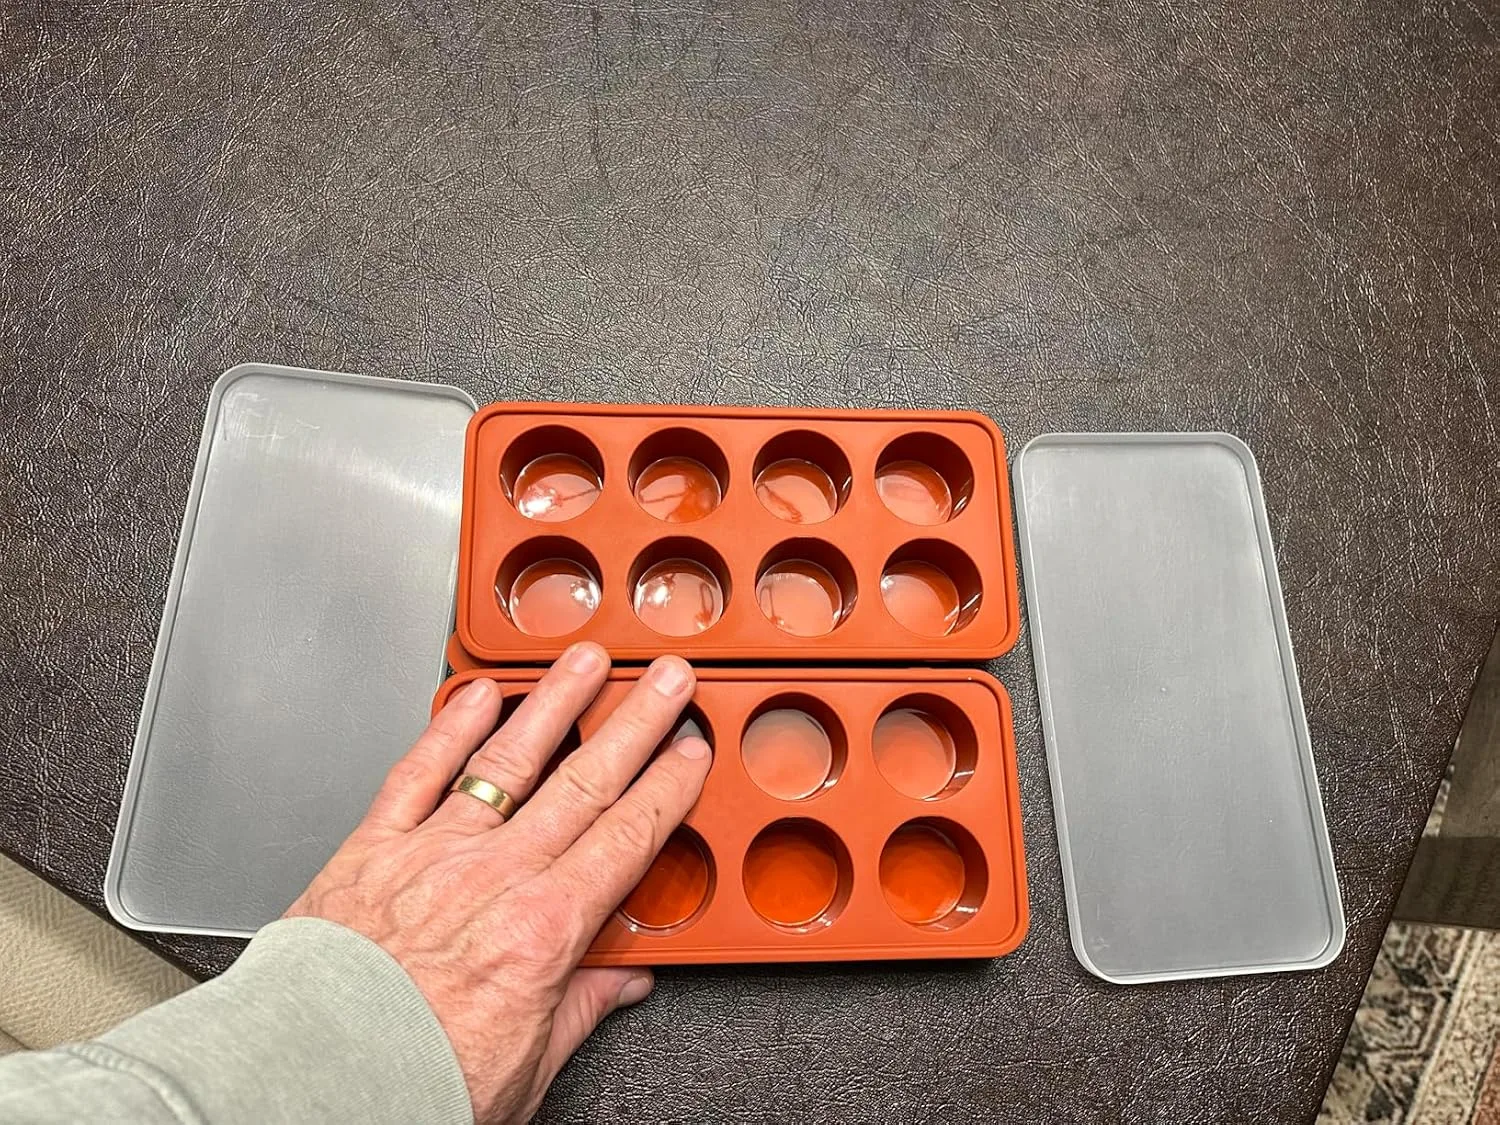
For this, I now use the Webake Silicone Cookie Dough Freezer Tray with Lids. It holds pre-portioned dough balls in individual cavities, so nothing gets squished, every portion stays the same size, and the lid keeps fridge odors out — which, as I mentioned, becomes a real issue past the 72-hour mark. I also use these trays when I want to freeze extra dough for later. They are one of those tools that seem fussy until you use them and then wonder how you managed without them.
Keep It Sealed and Flat
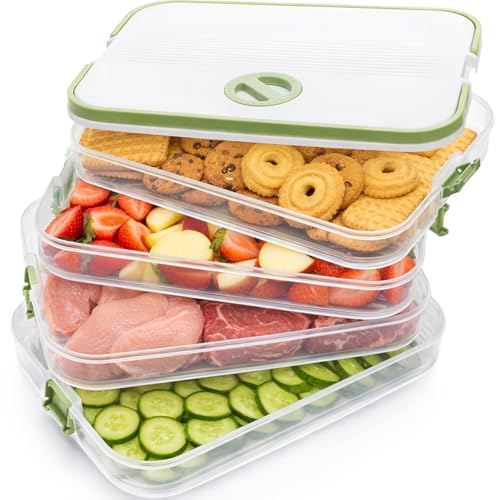
Air exposure during the rest is the enemy. It dries out the surface of the dough balls unevenly and can cause a crust to form that affects how the cookie bakes and spreads. If you are resting a full batch across multiple layers, the WUWEOT 4-Layer Food Storage Container has become essential in my kitchen. The stackable layers let me store a large batch of portioned dough balls in a single, sealed container without stacking them on top of each other and losing their shape. I use it for dumplings and wontons when I am not baking, but during cookie season, it lives in my fridge permanently.
Pull Dough 15 Minutes Before Baking
Do not bake straight from the refrigerator. Cold dough balls need about 15 minutes at room temperature before they go in the oven. This allows the outer surface to relax slightly so the cookie bakes evenly from edge to center. I learned this the hard way after too many batches with overdone edges and underdone middles.
Keep Your Fridge Between 35°F and 38°F
Temperature during the rest matters more than most people think. I aim to keep my refrigerator between 35°F and 38°F for an extended dough rest. Warmer than 40°F and you drift into food-safety territory with the raw eggs in the dough; colder than about 34°F and the butter fat can begin to partially freeze, which affects how the dough comes back together as it warms. Here is the catch: most home refrigerators actually run a few degrees warmer than the dial claims, and I only figured this out after years of inconsistent results. An inexpensive fridge thermometer settles the question in a day.
What I Use
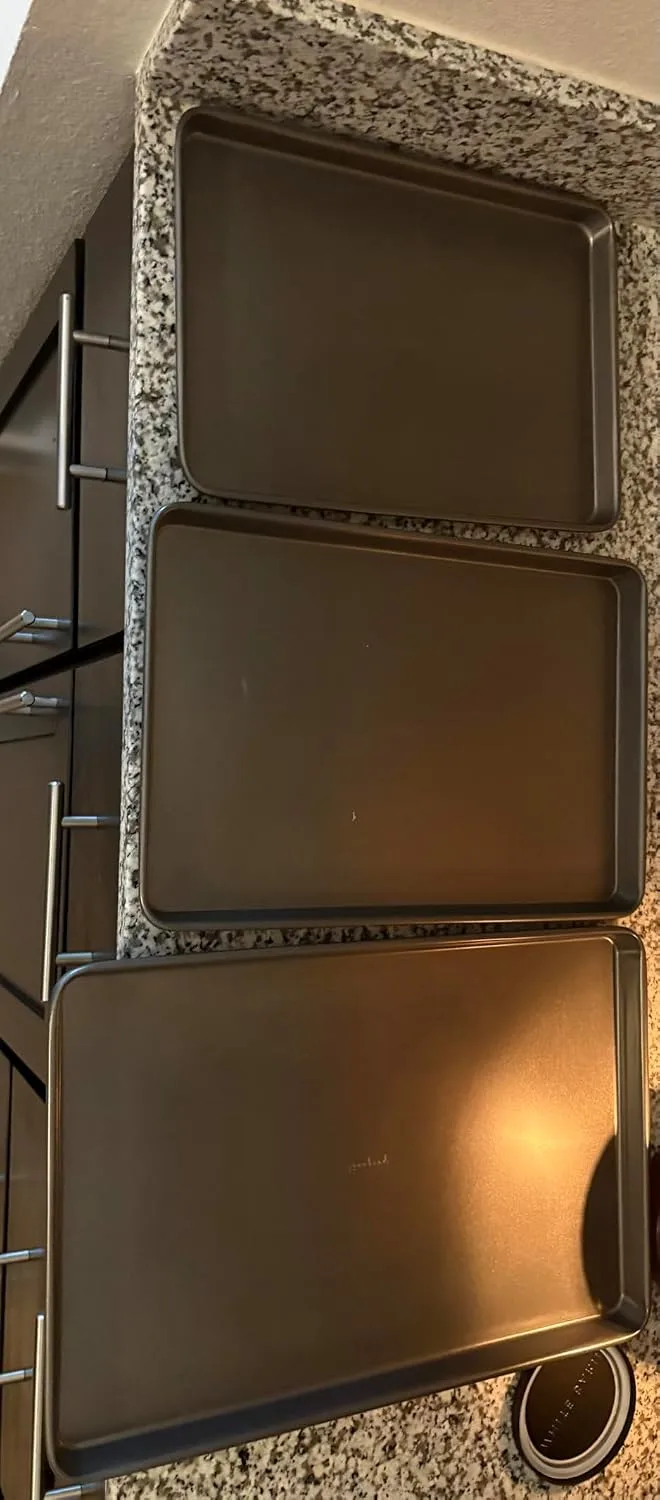
Beyond the storage containers above, the baking surface matters more than most people realize. I baked on dark nonstick sheets for years and constantly over-browned my bottoms, especially with rested dough, which already browns faster due to increased free sugar content. Switching to lighter-colored carbon steel sheets made an immediate and measurable difference.
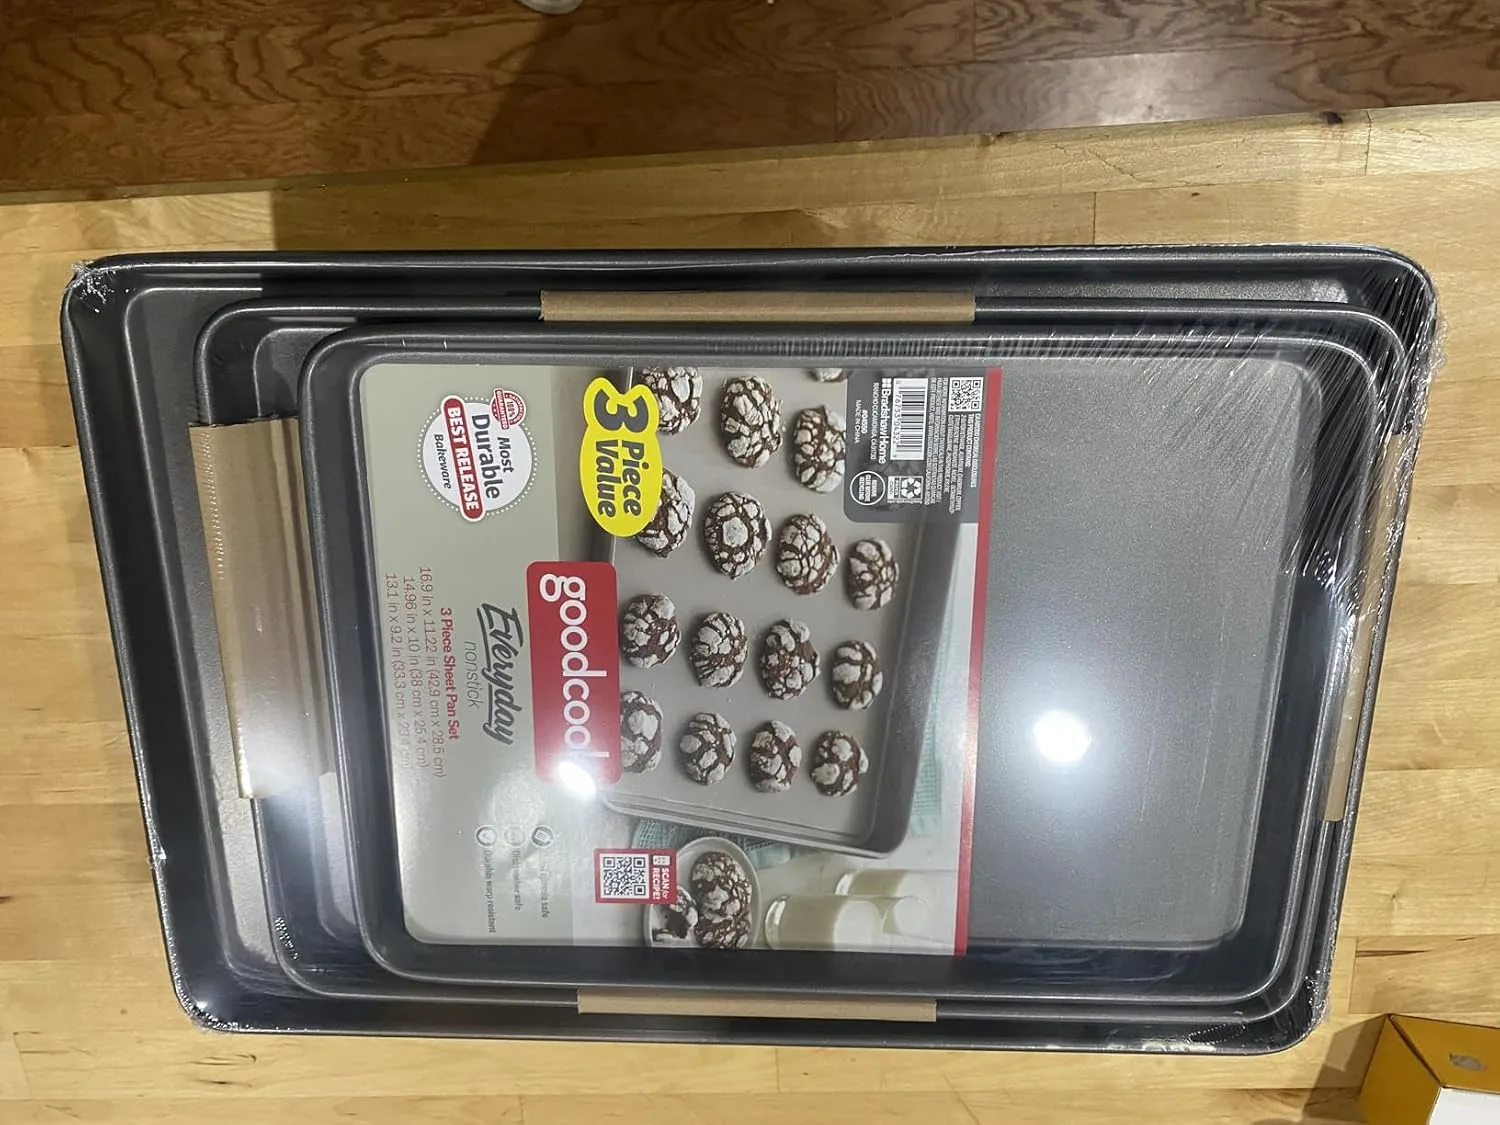
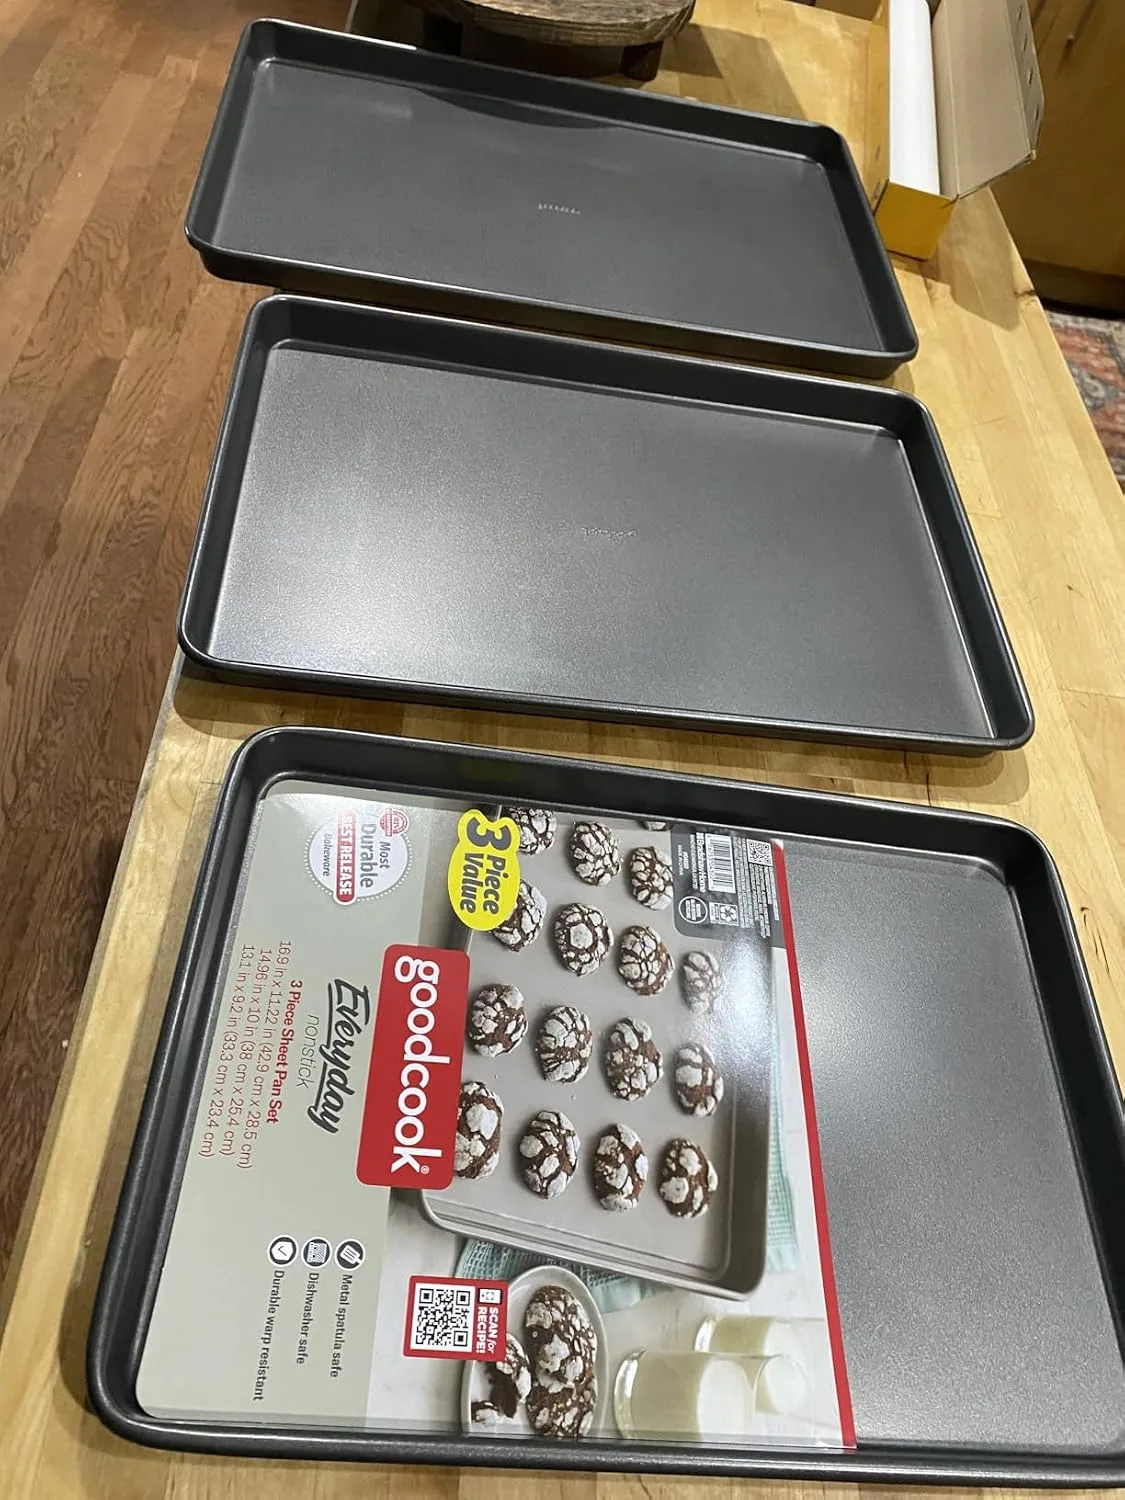
I currently use the GoodCook Everyday Nonstick Baking Sheet Set, which comes in three sizes and has a lighter gray finish that reflects heat more evenly. The large sheet handles a full dozen standard-sized cookies with enough room that they never crowd each other. When you have invested 72 hours in a batch of dough, you want every single cookie to come out right — and having the right pan is part of that equation.
An Honest Caveat
I want to be straightforward about one thing: not every recipe benefits equally from a 72-hour rest. Delicate cookies like tuiles or thin lace cookies can become overly dry and lose their intended texture with a long rest. Recipes that rely on whipped egg whites — macarons, meringues — do not apply here at all. The 72-hour rest is specifically transformative for enriched drop cookies: chocolate chip, oatmeal, snickerdoodle, peanut butter. If your recipe involves more than a cup of flour and a meaningful amount of butter and sugar, you will almost certainly see a significant improvement.
Also, if you are in a genuine time crunch, 24 hours is still meaningfully better than zero. I am not asking you to wait three days for a cookie emergency. But if you can plan ahead, 72 hours is the target.
The Bottom Line
I spent over a decade baking cookies without resting my dough, and they were good. Then I started resting the dough for 72 hours, and they became the best version of themselves — more flavorful, better textured, more consistent, and genuinely impressive in a way that has nothing to do with a fancier recipe or a more expensive ingredient. It is one of the highest-return changes I have ever made in my baking, and it costs you nothing except the patience to wait.
Make the dough today. Bake it Friday. You will understand exactly what I mean when you take that first bite.
The Only Container That Keeps My 72-Hour Dough Organized and Ready
When you’re committing to a three-day dough rest, you need a system that lets you portion ahead without taking up your entire refrigerator shelf. I used to cover bowl after bowl of dough balls with plastic wrap, and by day two, my fridge looked like a cling-film explosion.
What works
- The individual compartments keep dough balls separated and labeled by date, so I never lose track of which batch is day one, two, or three.
- The fitted lids actually seal without squishing the dough, and there’s enough airflow that the surface doesn’t dry out or develop a rubbery crust by day three.
- The silicone is soft enough that I can pop cold dough balls straight onto a baking sheet without waiting for them to warm up first, which saves me 10 minutes of impatience before I can bake.
What doesn’t
- The tray takes up a solid shelf in the fridge, which is a problem if you’re already managing multiple test batches or meal prep containers.
- If your dough is particularly soft or warm when you portion it, the balls can merge slightly in the compartments before they fully set up in the cold.
I almost abandoned this tray on day two of my first test run because I thought the dough balls had fused together, but when I checked more carefully, they’d just softened slightly against the silicone—a quick 20 minutes back in the cold fixed it completely. If you’re serious about resting dough for 72 hours, this is the tool that makes it actually manageable: Webake Silicone Cookie Dough Freezer Tray with Lids