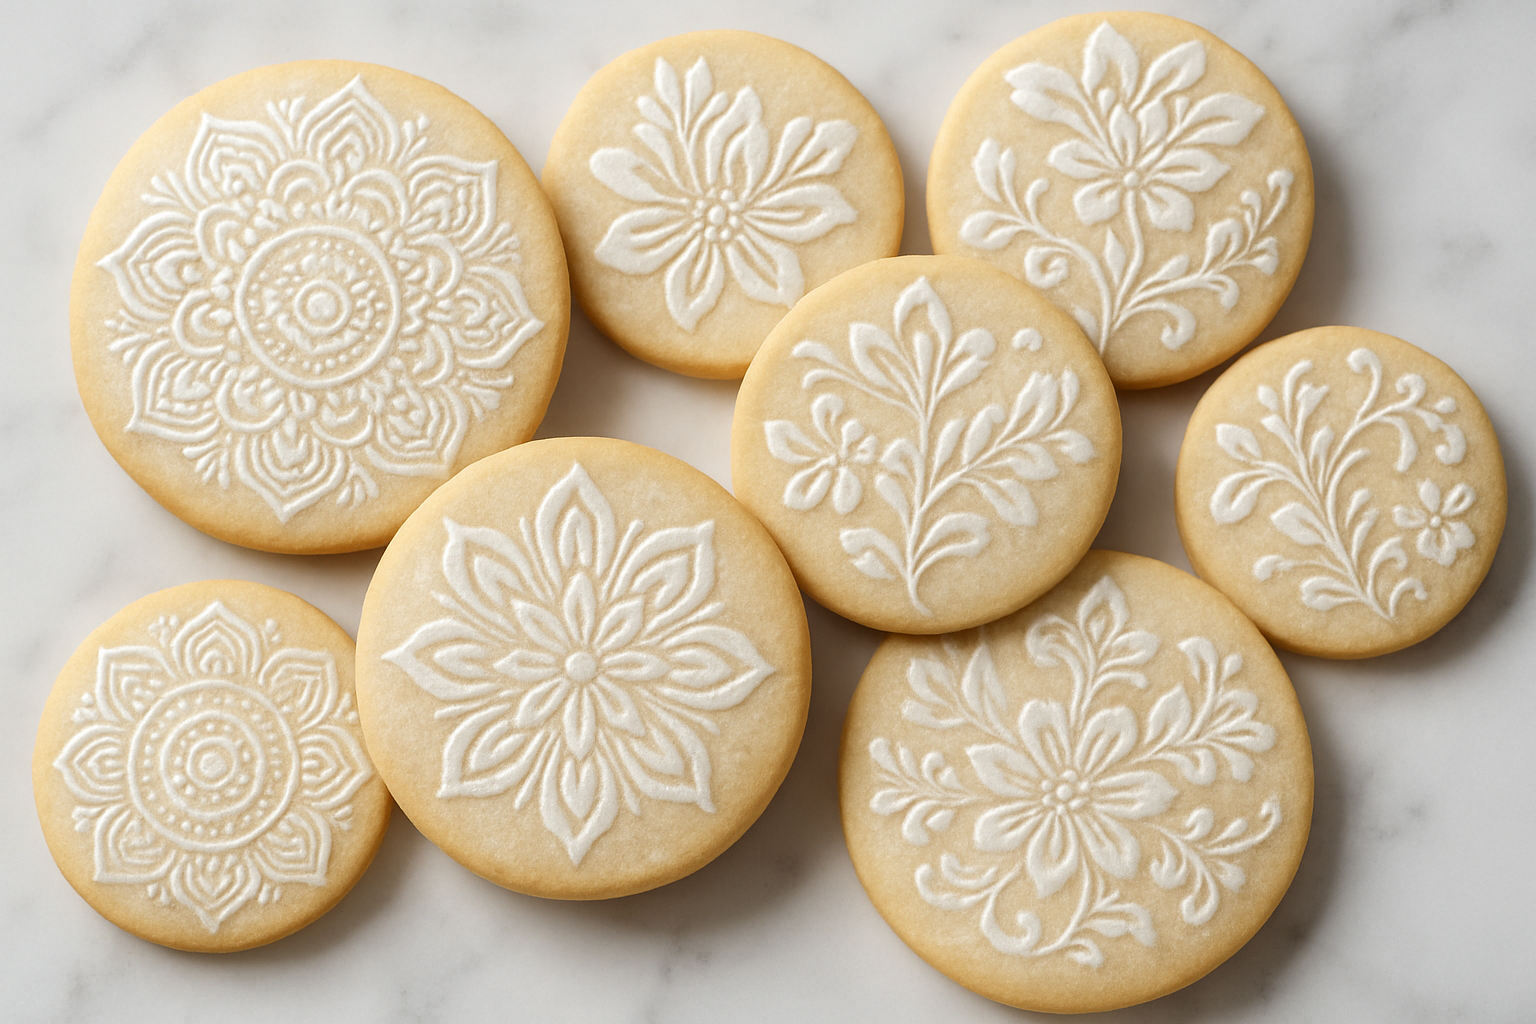
I still cringe — and laugh — when I think about the afternoon I tried to hand-paint a delicate geometric pattern onto two dozen Valentine’s Day cookies using nothing but a toothpick, a prayer, and what I now realize was an absolutely unhinged level of confidence. The result looked less like romantic lattice hearts and more like a kindergartener had sneezed royal icing across my entire kitchen counter. That disaster is exactly what sent me down a rabbit hole researching cookie stencils decorating techniques at midnight, half-covered in pink icing, and honestly? It was the best thing that ever happened to my baking life.
The Valentine’s Day Incident (A Love Story Gone Wrong)
Let me paint you a picture. It was February 12th. I had promised my daughter’s entire third-grade class homemade decorated sugar cookies. I had made this promise with zero decorated cookie experience beyond the time I wrote “HAPPY” on a birthday cookie and it looked like “NAPPY.” I watched approximately four hours of decorating tutorials, bought a piping bag, mixed up a batch of royal icing in four shades of pink, and set to work.
Three hours later, I had 24 cookies that looked like they had survived some kind of natural disaster. One heart had a tail. Several looked more like kidneys than anything romantic. My husband walked into the kitchen, looked at the tray, looked at me, and very carefully said, “They look… homemade.” Reader, they looked terrible. I cried a little. Then I stress-ate two of the worst-looking ones and started Googling.
That is when I found cookie stencils, and my entire decorating world shifted forever.
Cookie Stencils Decorating 101: What They Are and Why They Work
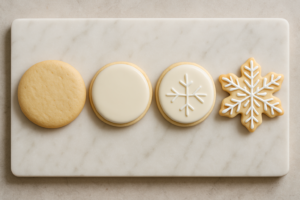
Cookie stencils are thin, flexible sheets — usually food-safe plastic — with cut-out patterns that you lay directly onto a cookie and apply royal icing, edible dust, or airbrush color over the top. When you lift the stencil away, the pattern transfers cleanly onto the cookie surface. That is genuinely it. That is the whole magic trick.
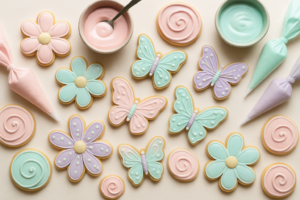
And the results? They look like you spent hours on each cookie individually. They look like a professional bakery made them. They look absolutely nothing like kidneys.
What makes cookie stencil decorating so accessible for home bakers is that it removes the part of decorated cookies that requires real artistic skill — the freehand drawing — while still letting you put your own creative spin on colors, combinations, and finishing touches. You get beautiful, consistent results without needing a steady hand or years of practice.
Getting Your Royal Icing to the Right Consistency
Before you even touch a stencil, your royal icing consistency is everything. For stenciling, you want what decorators call a “stiff” or “medium-stiff” consistency — think peanut butter that holds a peak without drooping. If your icing is too thin, it will bleed under the edges of the stencil and blur your pattern. Too thick, and it will drag when you spread it, pulling the stencil and smearing the design.
A good test: scoop a small amount with an offset spatula. It should hold its shape but still spread smoothly when pressed. If it flows like honey, add powdered sugar a tablespoon at a time. If it crumbles or tears, add a tiny splash of water and mix gently.
The Step-by-Step Stenciling Process
Here is exactly how I stencil cookies now, after many rounds of trial and error so you do not have to learn the hard way:
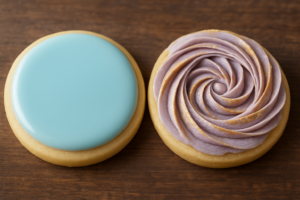
- Flood your cookie with a base layer of royal icing in your chosen color and let it dry completely — ideally overnight, or at minimum four to six hours. The surface must be fully set before you stencil on top.
- Hold the stencil firmly against the cookie surface. If you have an extra hand available, great. If not, a tiny piece of reusable putty at the corners can help hold it in place while you work.
- Apply a small amount of stiff royal icing to the stencil using an offset spatula or a bench scraper, spreading in one clean, even stroke across the opening.
- Lift the stencil straight up and away from the cookie in one smooth, confident motion. Do not drag it sideways.
- Let the stenciled layer dry for at least 30 minutes before adding any additional details or dust.
Between each cookie, wipe your stencil clean with a damp cloth and dry it gently. Icing buildup on the edges is the number one cause of blurry patterns, and a quick wipe takes three seconds.
My Baking Essentials for Cookie Stencil Decorating
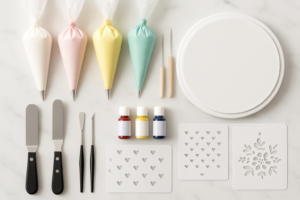
Once I committed to learning cookie stencils decorating properly, I did a deep dive on what was actually worth buying. Here are the tools I recommend to anyone starting out or looking to level up their decorated cookie game.
The Stencil That Finally Stopped Me From Hand-Painting Like a Toddler
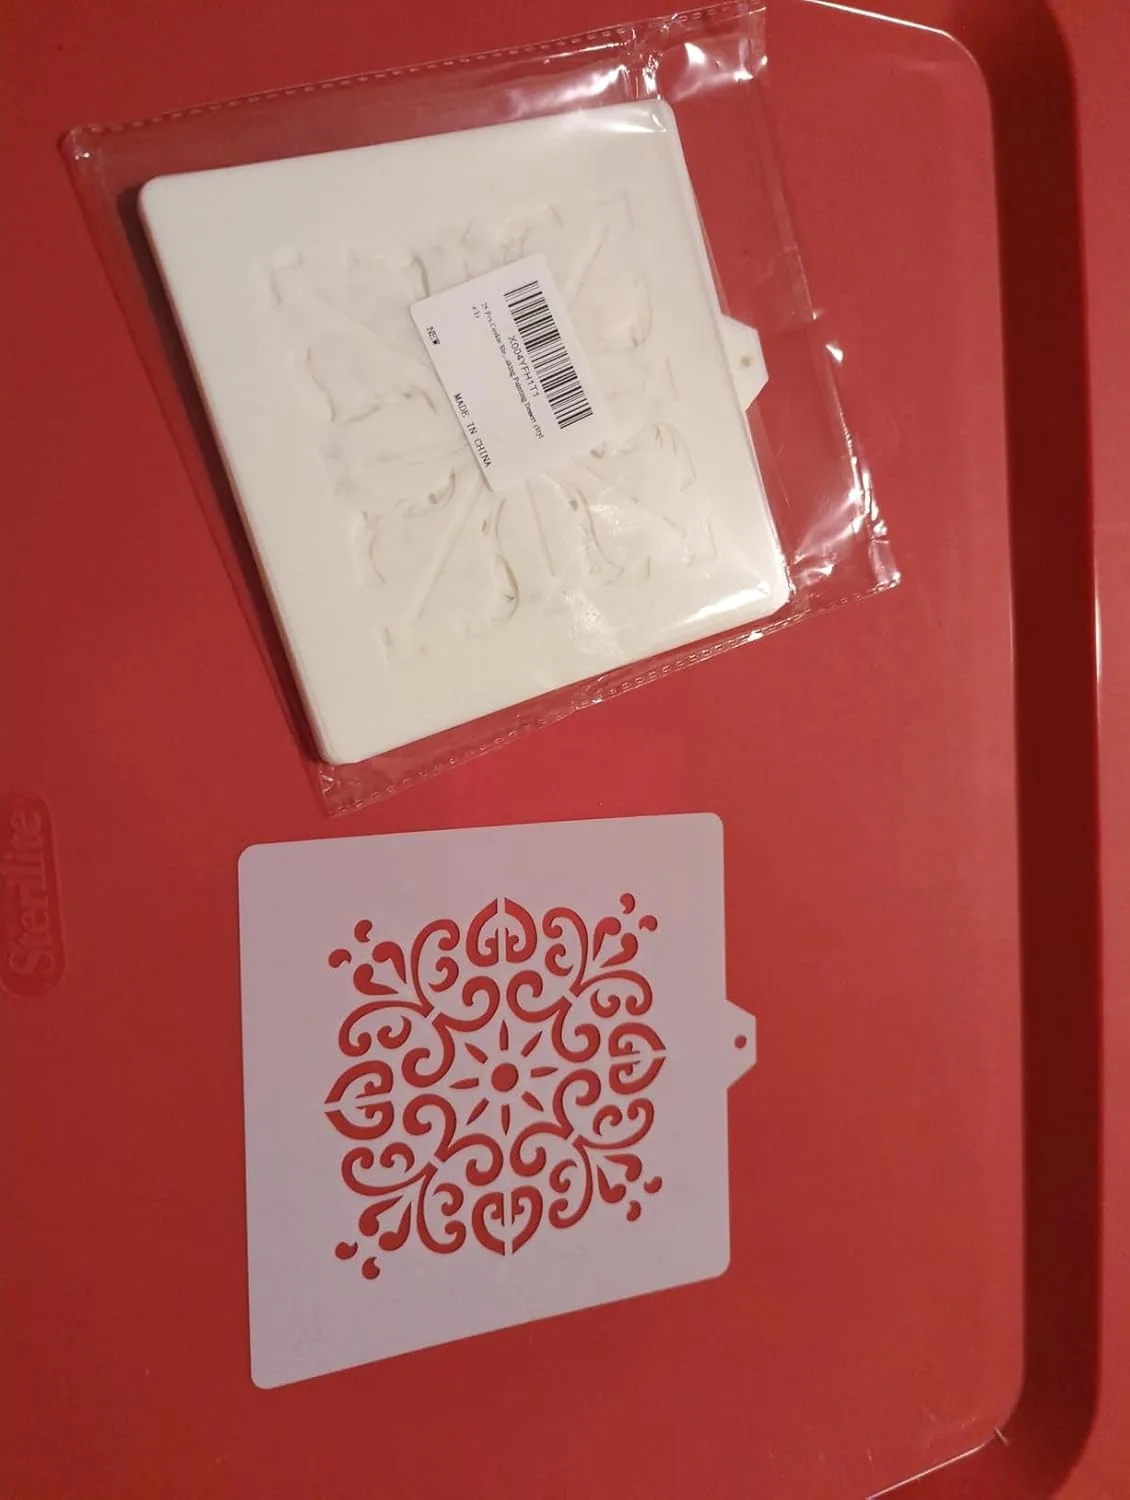
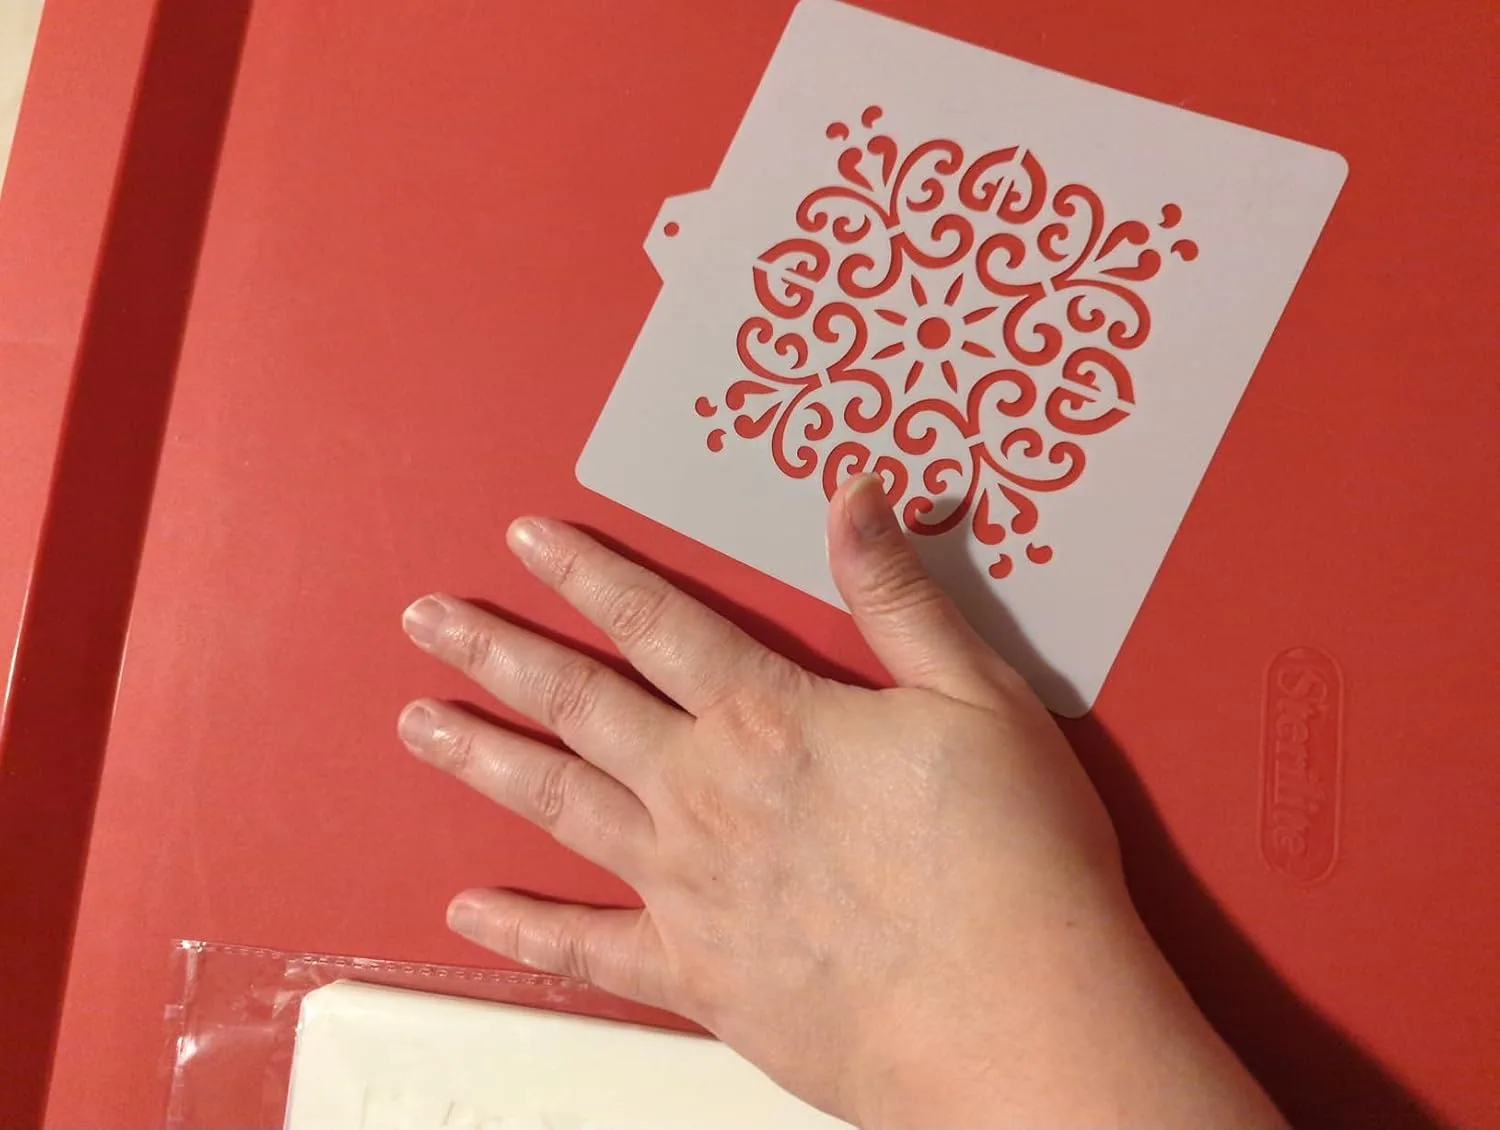
After years of white-knuckling a toothpick and hoping for the best, I realized that cookie stencils aren’t just for professionals—they’re the difference between decorated cookies that look intentional and ones that look like a kitchen accident. A good stencil does the hard design work for you, so you can focus on clean, even color application instead of praying your hands stay steady.
What works
- The patterns actually stay in place on a slightly-set iced cookie without slipping, so you get crisp, clean edges instead of smudged lines.
- You get enough variety in one set that you’re not repeating the same design on every batch—hearts, stars, geometric shapes, florals—so decorated cookies feel more creative without requiring you to be a freehand artist.
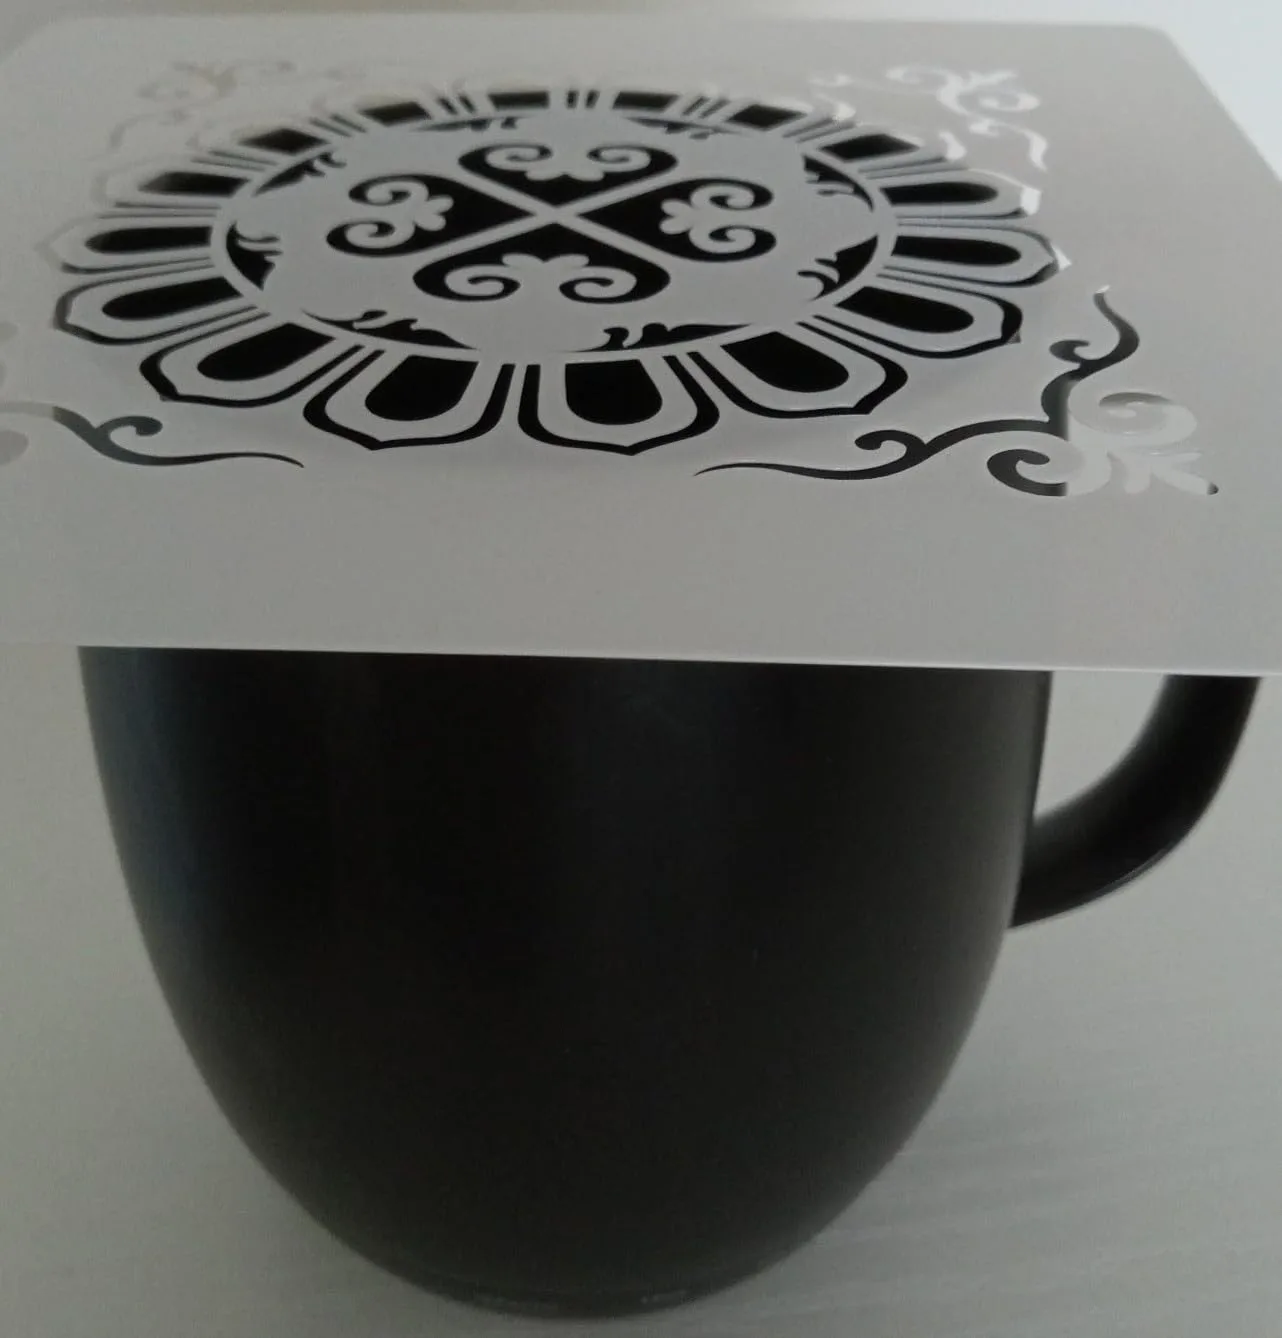
- The plastic is thin enough that you can dust or spray color through it without the tool getting in the way, but sturdy enough to handle being washed and reused hundreds of times without warping.
What doesn’t
- Small, intricate details can still catch icing if your application is too wet, so you have to let your base layer set longer than you think you need to—rushing it defeats the whole purpose.
- The set comes with way more stencils than you’ll realistically use on any given day, which is great for variety but takes up drawer space if you’re not organized about storage.
I’ll admit that my first attempt had me second-guessing whether stencils were worth the extra step—I held it at the wrong angle and got an uneven dusting of powdered sugar across my cookies before I figured out the technique. But once I realized you need patience and a light hand (not pressure), everything clicked. That’s when I grabbed the 25 PCS Cookie Stencils Set as backups and never looked back.
This post contains affiliate links. As an Amazon Associate, I earn from qualifying purchases at no extra cost to you.
This post contains affiliate links. As an Amazon Associate, I earn from qualifying purchases. This means I may earn a small commission if you purchase through my links, at no extra cost to you. I only recommend products I genuinely use and love in my own kitchen!