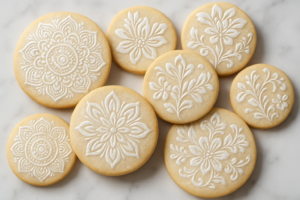
I still remember standing in my kitchen at 11 o’clock on a Thursday night, surrounded by lopsided cookies, a puddle of runny royal icing, and actual tears rolling down my face. My daughter’s class party was the next morning, and I had promised — promised — to bring those adorable little flower-shaped cookies I’d seen all over Pinterest. Instead, I had what looked like a tray of sugary tie-dye disasters. If you’ve ever desperately Googled “how to make professional decorated cookies beginner” at midnight with flour in your hair, this post is for you.
Why Decorated Cookies Look Hard (But Really Aren’t)
Here’s the thing nobody tells you when you fall down the cookie decorating rabbit hole: professional-looking results aren’t about talent. They’re about technique, the right consistency of icing, and having tools that actually work with you instead of against you. That midnight disaster taught me more about cookie decorating than any single success ever could, and I want to save you from living through the same soggy, streaky catastrophe I did.
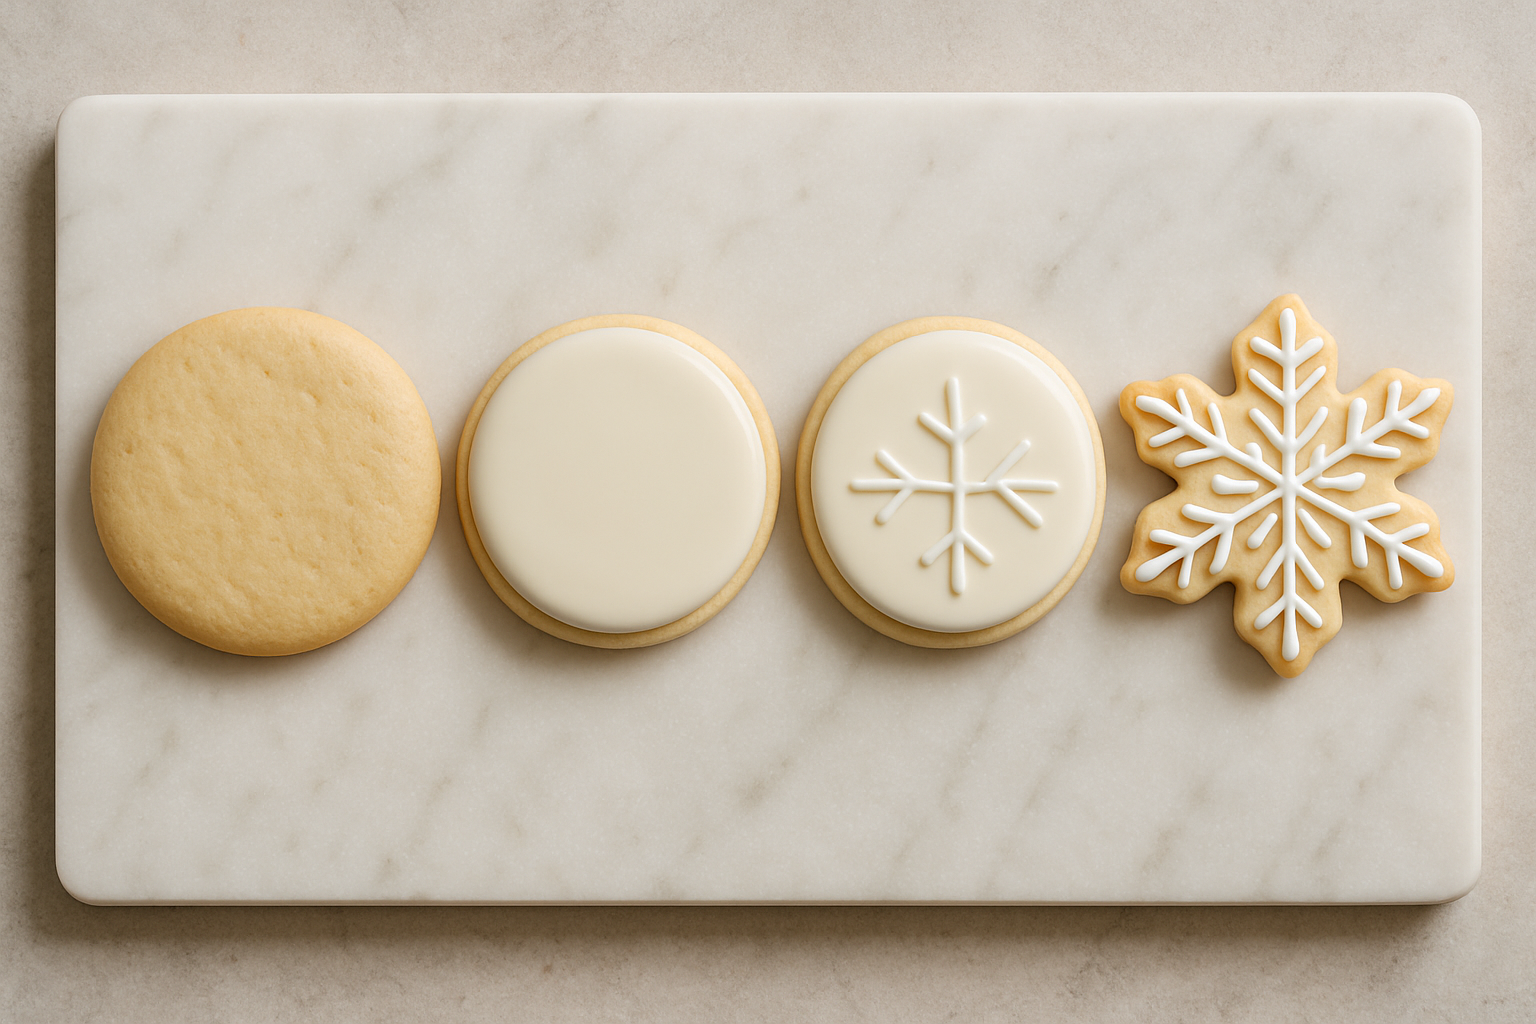
Cookie decorating has two main stages: outlining and flooding. Outlining means piping a firm border around the edge of your cookie to act as a dam. Flooding means filling the inside of that border with a thinner icing that spreads out smoothly and dries to a beautiful, glossy finish. Once you understand that these two steps require two different icing consistencies, everything starts to click.
Getting Royal Icing Consistency Right
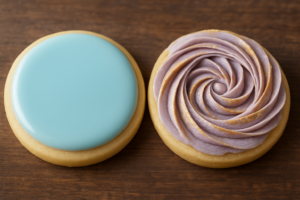
Royal icing consistency is the single biggest factor in whether your cookies look polished or patchy. For outlining, you want a stiff icing that holds its shape — think toothpaste. For flooding, you want a looser icing that settles flat on its own — think syrup. The classic “10-second rule” is your best friend here: drag a knife through your flood icing, and it should smooth back over in about ten seconds. Too fast and it will run off the edges. Too slow and it won’t self-level, leaving you with bumpy, uneven cookies.
The Squeeze Bottles That Finally Gave Me Control Over Runny Icing
Royal icing that’s too thin slides off cookies like water. Too thick and you can’t pipe fine details without your hand cramping. The difference between a puddle and precision comes down to having bottles with actual squeeze control — the kind that let you apply just the right pressure without flooding your design.
What works
- The tapered tips are narrow enough to pipe delicate lines and outlines without accidentally releasing a glob of icing in one squeeze.
- The bottles hold enough icing that you’re not refilling every three cookies, but they’re small enough that your hand doesn’t tire out halfway through decorating a dozen.
- Unlike pastry bags, there’s no messy cleanup — you fill, cap, and if you’re not done, they seal tight in the fridge for the next day.
What doesn’t
- The plastic caps loosen slightly after a few uses — I’ve learned to hand-tighten them before storing, or you’ll find icing has oozed everywhere.
- If your icing is too thick, even these bottles require real pressure to squeeze, which means shaky hands on detailed work (a thinner consistency solves this, but it’s worth knowing upfront).
I almost returned these after my first batch because the first bottle I grabbed had a slightly clogged tip, but I realized that was old icing residue, not a design flaw — now I rinse them immediately after use and haven’t had that problem since. If you’re serious about moving past the tie-dye disaster phase, grab the LemonRoad 4 Pcs Piping Bottles for Cookie Decorating.
This post contains affiliate links. As an Amazon Associate, I earn from qualifying purchases at no extra cost to you.