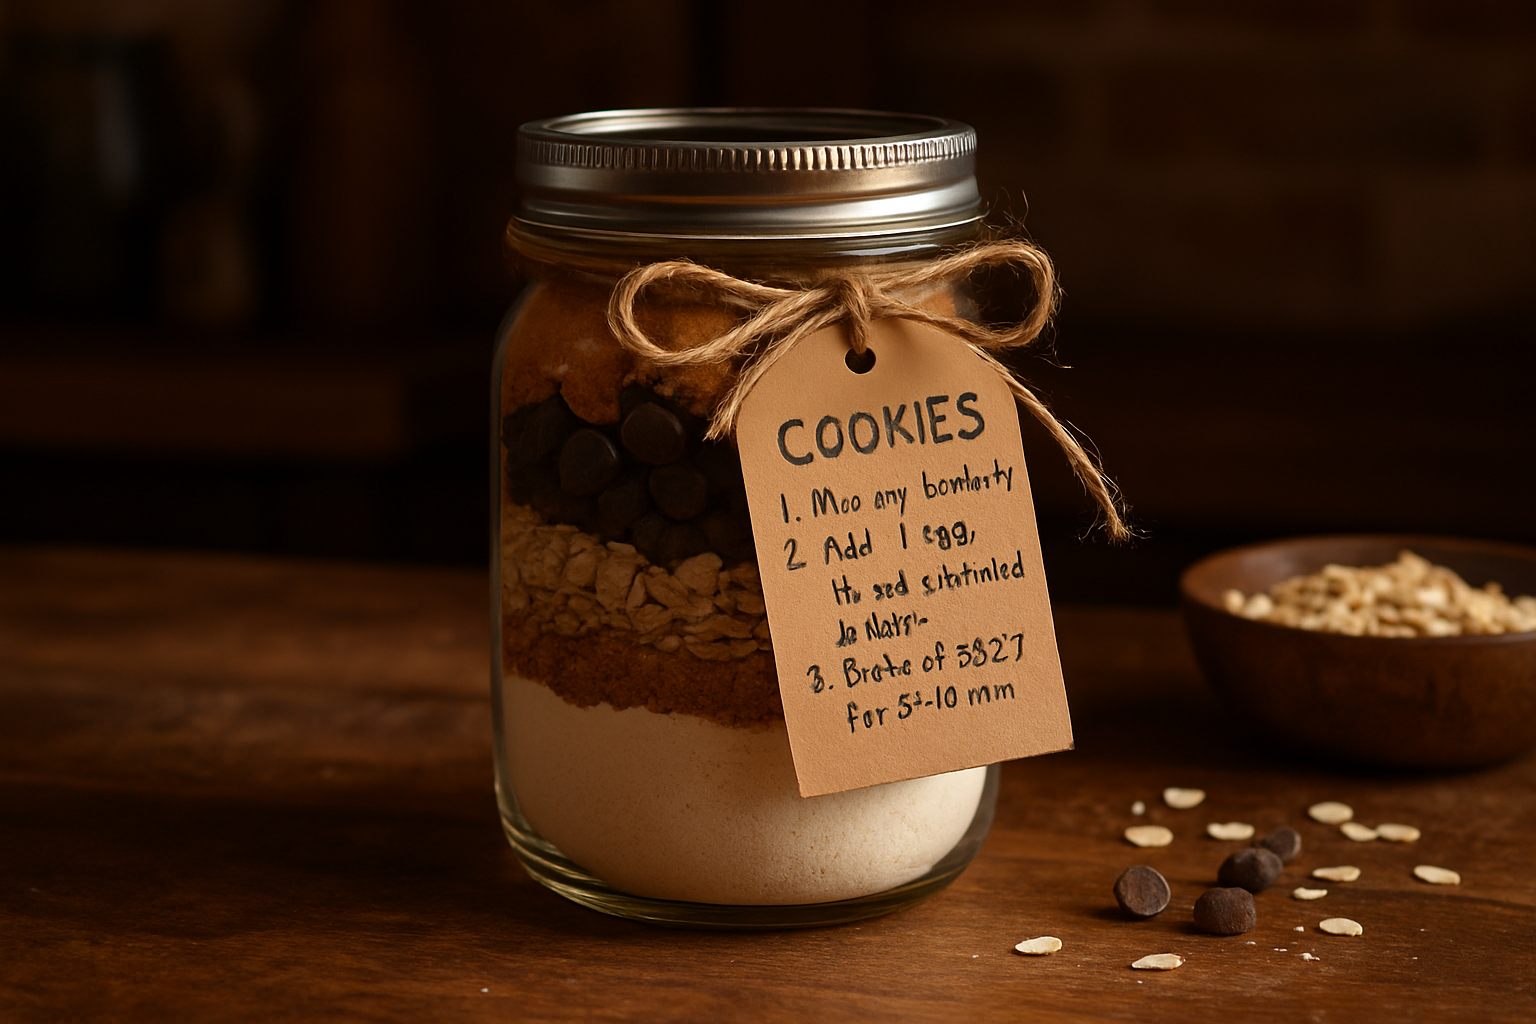
I almost ruined Christmas with a funnel and a bag of brown sugar. That’s the short version. The long version involves my kitchen floor, a very judgmental cat, and the moment I accidentally invented what is now my most-requested holiday gift: a cookie mix in a jar gift that costs about five dollars to make and gets more compliments than anything I’ve ever baked from scratch.
Let me back up. It was the December of what I now privately call The Great Gifting Panic. I had seventeen people on my list, a budget that could generously be described as “aspirational,” and a Pinterest board full of ideas I’d saved with the kind of optimism that only exists in October. By December 20th, I had zero gifts made and one bag of chocolate chips I kept stress-eating. Something had to give.
How a Baking Disaster Became My Best Gift Idea Ever
I’d seen cookie mixes in jars floating around the internet for years and always dismissed them as, I don’t know, a little too craft-fair-circa-2003 for my taste. But desperation is a powerful motivator. I pulled out a mason jar, started layering in flour, oats, brown sugar, and chocolate chips, and promptly knocked the entire half-assembled jar off my counter. Brown sugar went everywhere. My cat, Biscuit, walked through it, looked at me with pure contempt, and left sugary pawprints across my kitchen floor.
I stood there for a solid ten seconds, covered in brown sugar, and then I started laughing. And then I started over. I got a proper wide-mouth funnel, I watched one YouTube video about layering technique, and two hours later I had eight beautiful jars lined up on my counter with little kraft paper tags tied around the lids. Reader, they were adorable. More importantly, they worked. I’m talking actual, legitimately delicious cookies that my neighbor Beth texted me about at 11pm on Christmas Eve because she couldn’t stop eating them.
The Recipe: Layer by Layer in the Jar
The beauty of this gift is that all the dry ingredients measure out perfectly for a standard quart-sized mason jar, which is why wide-mouth jars work so well. You layer them in a specific order so the jar looks beautiful and the ingredients stay properly combined until someone opens it to bake.
What Goes in the Jar
- 1 1/2 cups (188g) all-purpose flour – This is your base layer. Pack it down gently with the bottom of a measuring cup before you add the next ingredient.
- 1 cup (220g) packed brown sugar – Layer this on top of the flour. It compresses beautifully and adds gorgeous color contrast to the jar.
- 1/2 cup (100g) granulated sugar – This adds sweetness and helps prevent the brown sugar from clumping.
- 1 cup (80g) old-fashioned rolled oats – These add texture and a rustic look. Make sure you use old-fashioned, not instant.
- 1 cup (170g) chocolate chips – Top layer for maximum gift appeal. These don’t compress, so you get that full, inviting look every time.
- 1 teaspoon (5g) baking soda – Sprinkle this on top of the chocolate chips. It’s a small amount but absolutely essential for proper rise.
- 1/2 teaspoon (3g) salt – Just a pinch on top of the baking soda. It balances the sweetness perfectly.
That’s it. Once these are all layered in, cover with the jar lid and secure a gift tag with the baking instructions around the neck of the jar with twine or ribbon. This is why my friends and neighbors ask me to make these every year—they arrive beautiful and gift-ready, and they actually bake into real, delicious cookies.
The Jars That Actually Survived My Brown Sugar Catastrophe
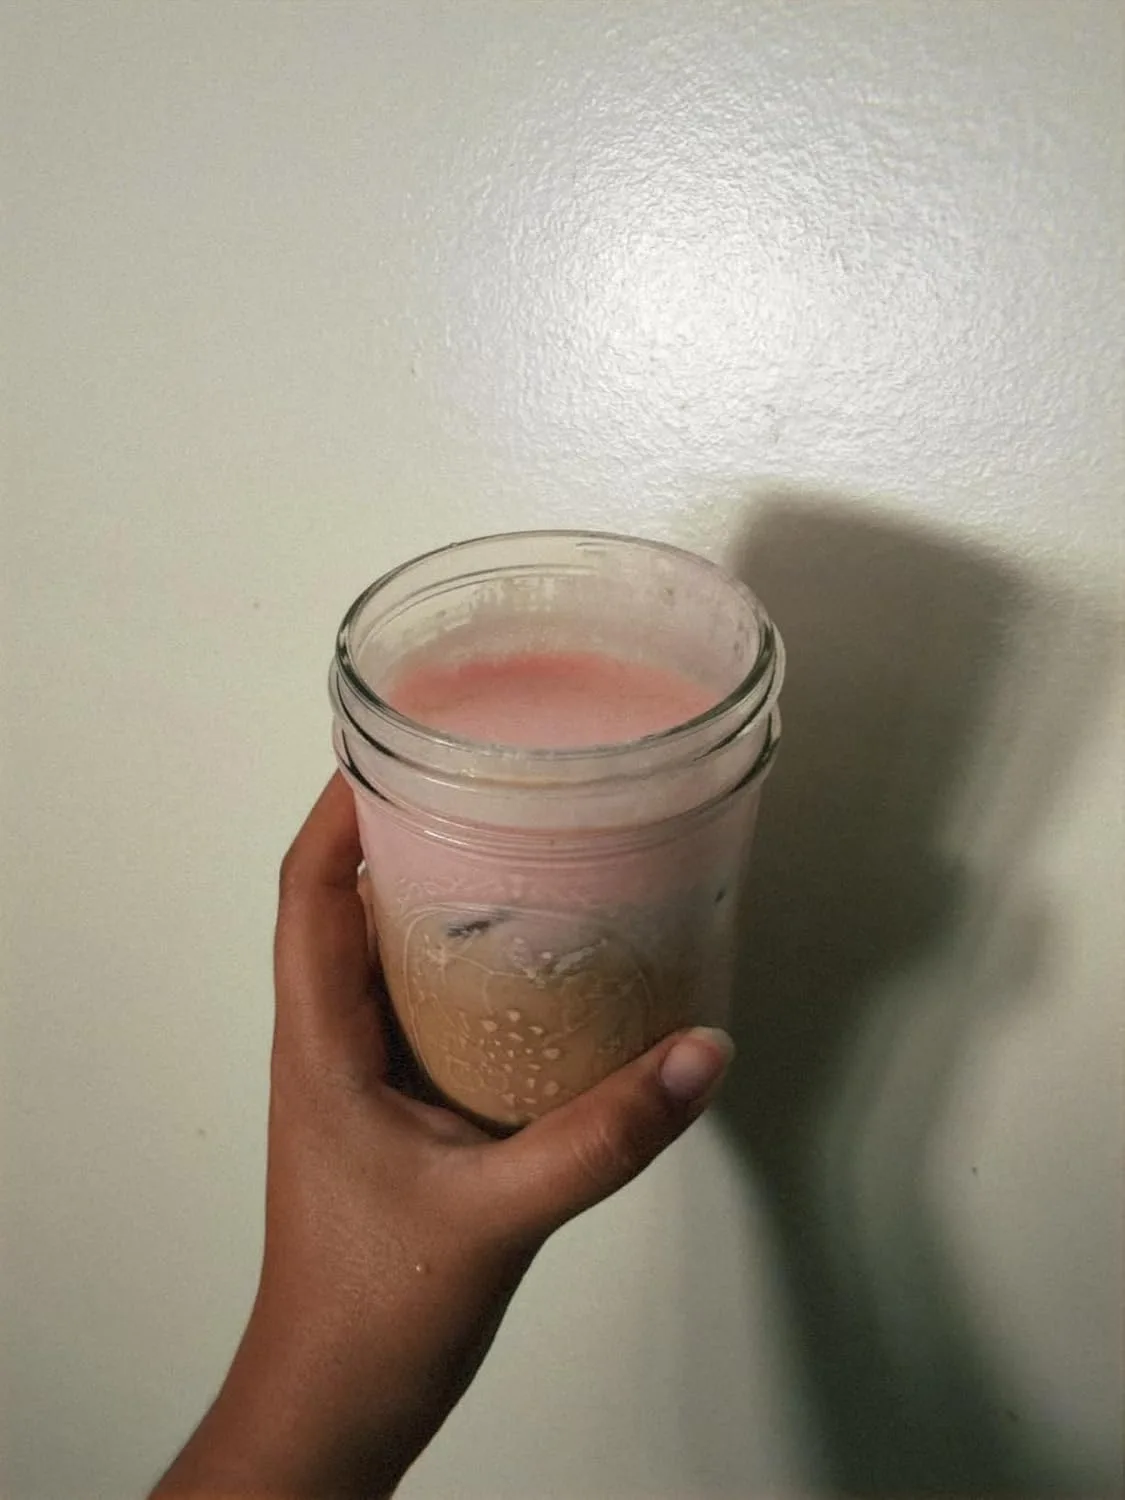
When you’re layering dry ingredients into glass containers, you need jars that won’t crack from the pressure of tightly packed flour and brown sugar, and that seal well enough to keep everything fresh until your gift recipient decides to bake. I learned this the hard way—multiple times.
What works
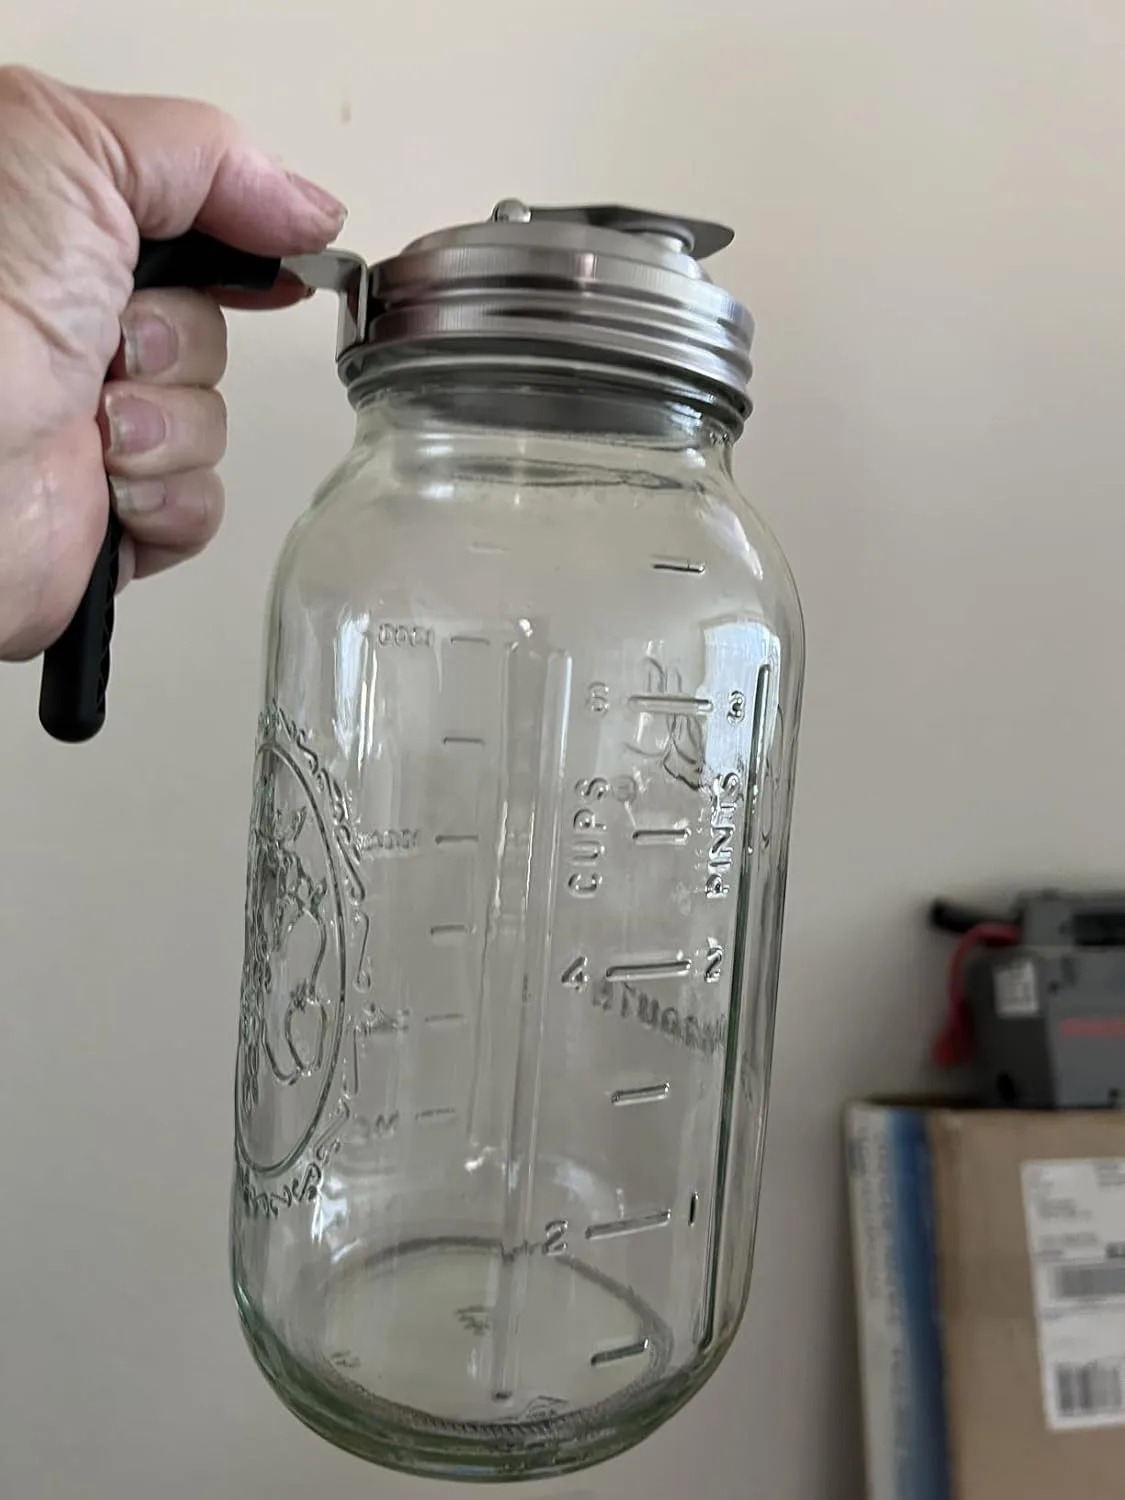
- The wide mouth opening is genuinely wide enough that you can layer ingredients without a funnel (though I still use one), and more importantly, it’s forgiving when you inevitably overstuff a jar with brown sugar that’s been sitting in your pantry too long.
- The glass is thick enough that I’ve never had a jar crack or chip, even when I’ve stacked them carelessly in my gift-wrapping station or when recipients have inevitably bumped them in their cabinets.
- The lids seal tight enough that the cookies stay fresh and don’t go stale, but they’re not so tight that someone with normal hand strength can’t open them to actually bake the recipe.
What doesn’t
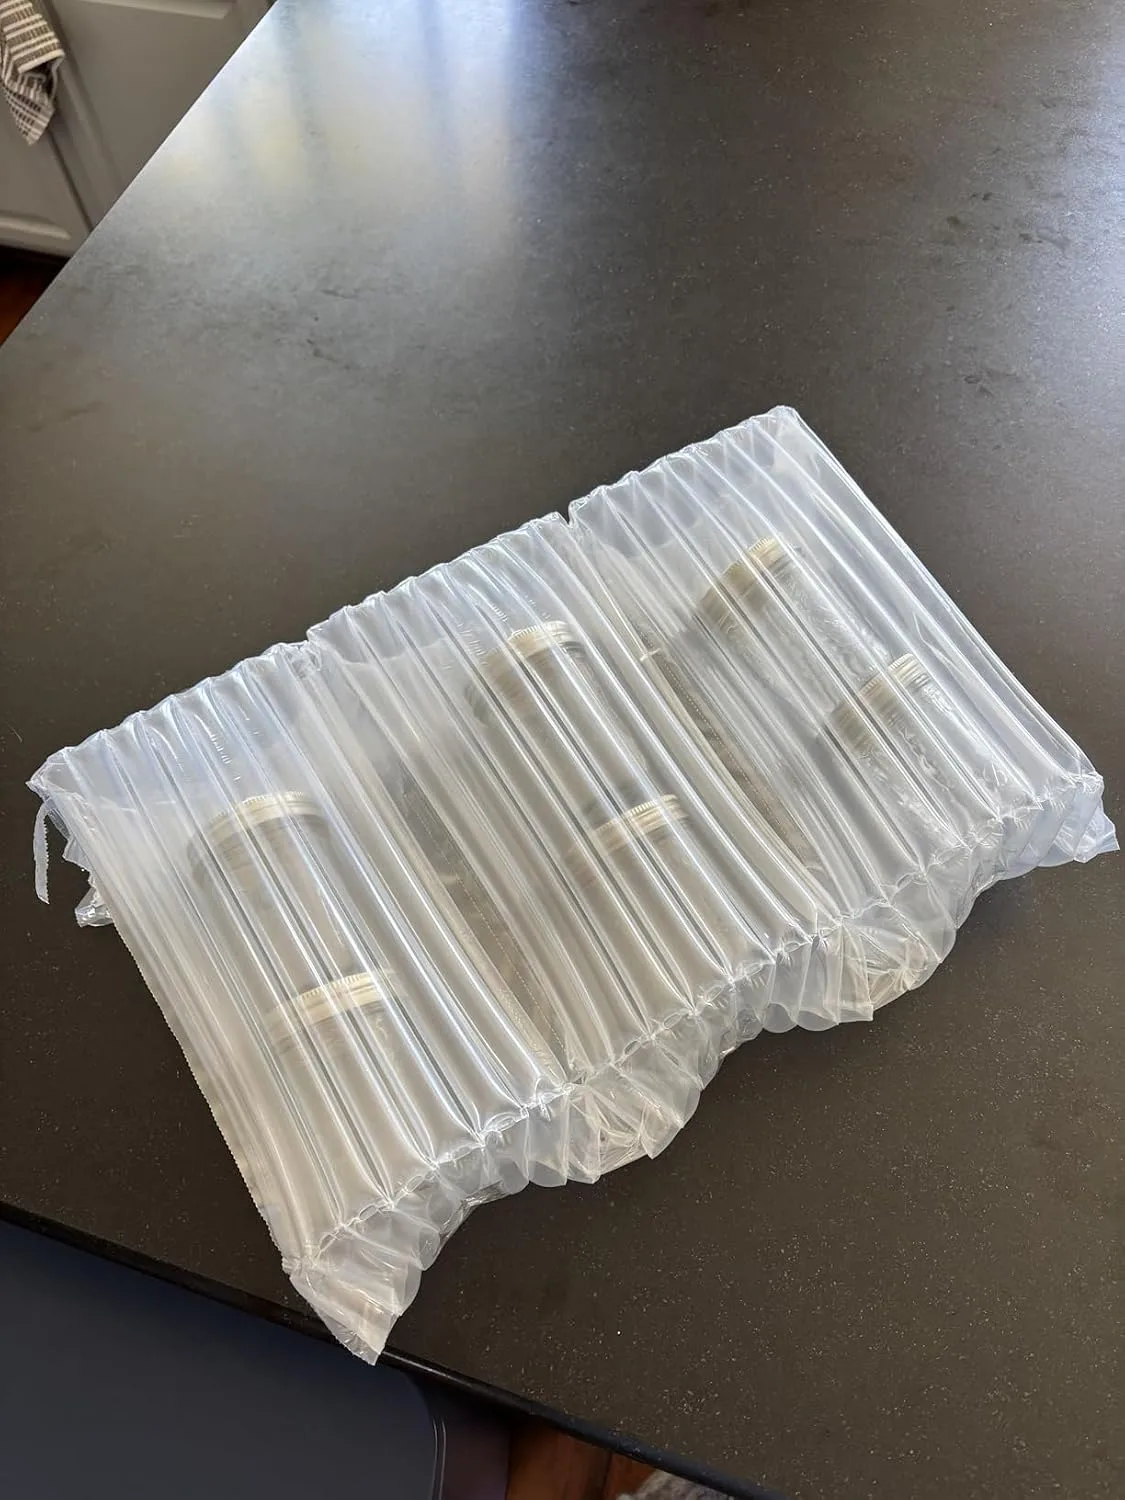
- The jars are heavier than I expected, which means shipping these as gifts gets expensive fast if you’re not careful about how many you pack into a box.
- If you’re making a large batch of these for multiple people, buying them one pack at a time gets repetitive—I always end up wishing I’d just committed to the 6-pack from the start.
I once watched a cheaper jar I’d bought elsewhere actually fracture when I pressed the lid down too firmly over a densely packed layer of brown sugar, and I genuinely wondered if I should just stick to baking actual cookies instead. That’s when I switched to Ball Wide Mouth Mason Jars in a pack of 6, and I haven’t looked back.
This post contains affiliate links. As an Amazon Associate, I earn from qualifying purchases at no extra cost to you.
Baking Instructions for Your Gift Tag
When your gift recipient opens the jar, they’ll need to add these wet ingredients. I always print these instructions on a kraft paper tag tied around the jar with string, or you can write them by hand if you prefer a more personal touch.
What the Baker Adds
- 1/2 cup (115g) softened butter – This creams together with the eggs and will bind all those dry layers into dough.
- 1 egg – Room temperature is best, though it’s not a deal-breaker if it’s not.
- 1 teaspoon (5ml) vanilla extract – Just a splash to round out the flavor.
How to Bake Them, Step by Step
- Preheat your oven to 350°F (175°C). Let it heat for about ten minutes so it’s ready to go.
- Pour the entire contents of the jar into a medium mixing bowl. It will look like a colorful pile, and that’s exactly what you want.
- In a small bowl, beat together the softened butter, egg, and vanilla extract until well combined and slightly fluffy—about a minute with an electric mixer.
- Pour the wet ingredients into the bowl with the dry ingredients and stir with a wooden spoon until just combined. Don’t overmix; you want a shaggy dough, not a smooth one.
- Drop spoonfuls of dough (about the size of a walnut) onto an ungreased baking sheet, leaving about two inches between each cookie for spreading.
- Bake for 9 to 11 minutes, or until the edges are golden brown but the centers still look slightly underbaked. They’ll continue to cook on the hot baking sheet after you pull them from the oven.
- Let the cookies cool on the baking sheet for 5 minutes, then transfer to a wire rack (or a plate, I won’t judge) to cool completely.
- Yield: about 24 to 30 cookies, depending on how generous you are with your scoops. My neighbor Beth, who texted me at 11pm on Christmas Eve, says they never make it to cooling time. Your mileage may vary.
This post contains affiliate links. As an Amazon Associate, I earn from qualifying purchases.