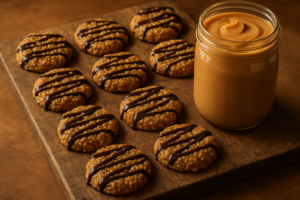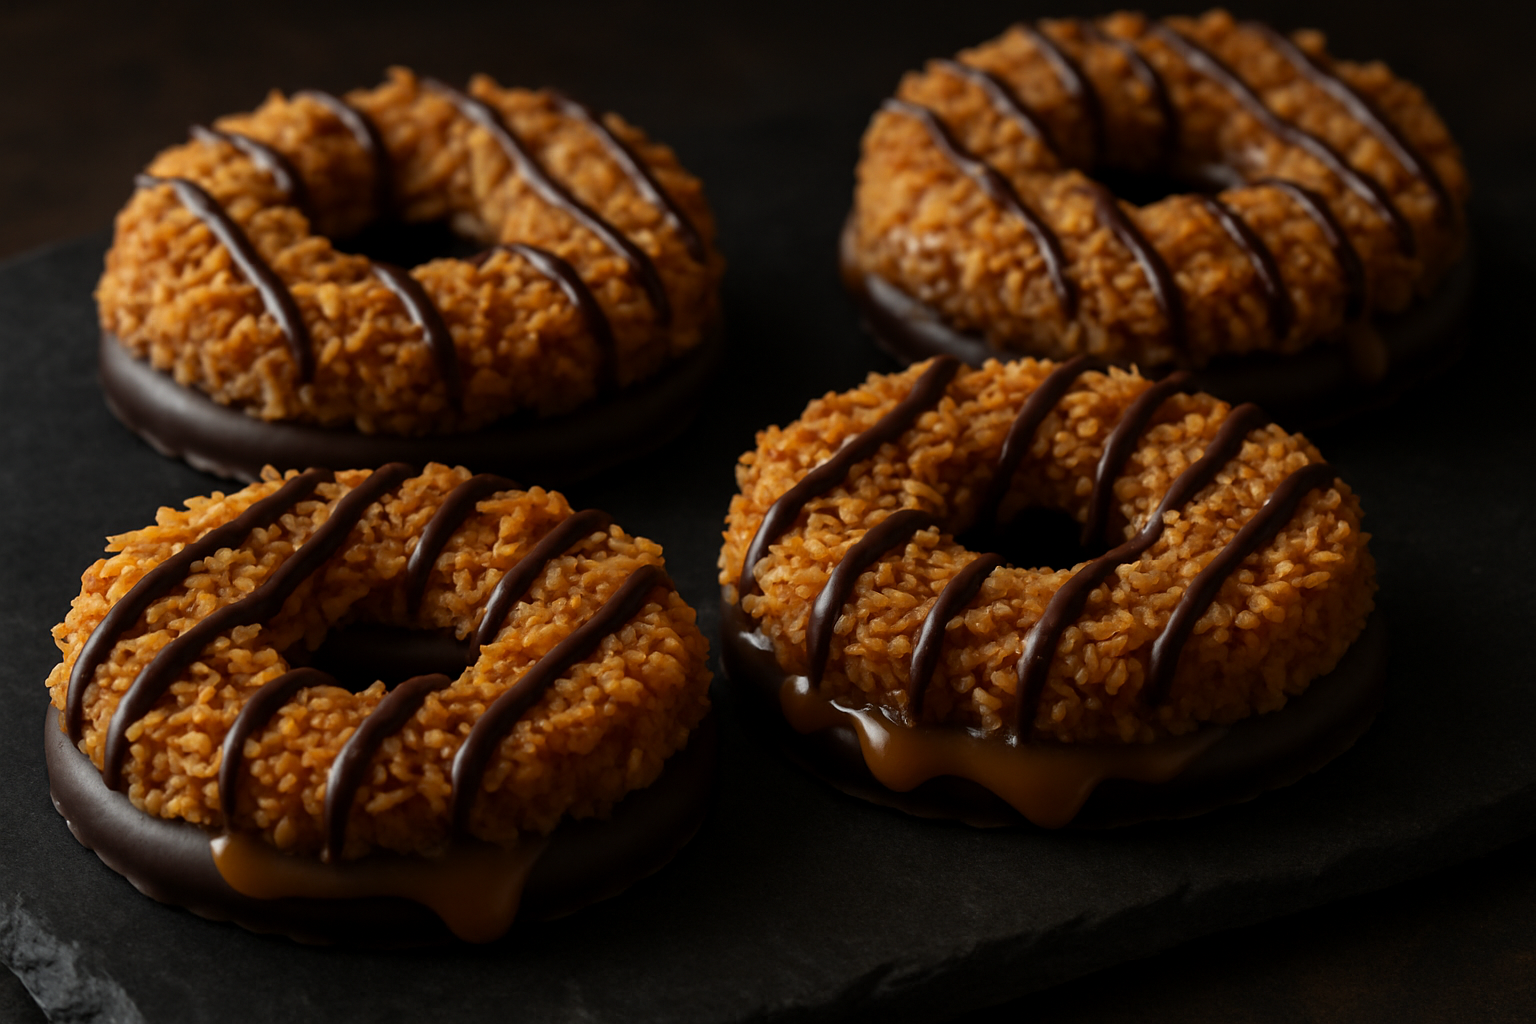
- Grease your hands lightly with cooking spray when shaping the coconut mixture — it will not stick to you nearly as much.
- Store finished cookies in a single layer in an airtight container in the refrigerator. They keep beautifully for up to a week, though in my house they never last that long.
I had caramel in my hair, toasted coconut stuck to my elbow, and my dog was staring at me with what I can only describe as genuine concern. This was not how I expected my Saturday afternoon to go when I decided to try a no-bake samoa cookies recipe for the first time. But honestly? It ended up being one of my best baking days ever — and these cookies disappeared so fast I had to make a second batch before dinner.
If you grew up counting down the days until your neighborhood Girl Scout troop knocked on the door with those iconic green boxes, you already know that Samoas — those caramel-drizzled, coconut-coated, chocolate-striped rings of pure joy — are in a category all their own. I have been on a mission to recreate them at home for years, and no-bake versions kept calling my name because, well, I am always looking for an excuse to skip preheating the oven. What I did not expect was just how close I could get to that beloved original without a single minute of bake time.
The Great Caramel Meltdown of a Random Saturday
Let me set the scene. I had found a bag of individually wrapped caramels in my pantry, the kind that take approximately forty-five minutes to unwrap by hand. I figured, how hard could it be? I would just melt them down, mix in some coconut, shape them into rings, dip them in chocolate, done. Simple. Elegant. Delicious.
What I did not account for was caramel’s absolute refusal to cooperate when overheated. I turned my back for thirty seconds — thirty seconds! — to grab a spatula, and the entire pot seized into what I can only describe as a molten caramel brick. Not melted caramel. A brick. I tried to stir it. The spatula got stuck. I pulled the spatula out and it brought about a third of the caramel with it, stretching in a long dramatic ribbon across my kitchen like some kind of caramel performance art installation. That is when it landed in my hair. My dog, Biscuit, took one sniff and decided she wanted no part of this chaos.
I scrapped the whole thing, ordered a pizza, and did some very important research. That research led me to pre-melted caramel bits, and honestly, it changed my baking life.
Why I Switched to Bulk Caramel Bits (And Never Looked Back)
When you’re melting caramel for a no-bake recipe, timing is everything—and working with the right product means the difference between silky, pourable caramel and a seized, grainy mess. I learned this the hard way after years of fighting with regular chocolate chips that just wouldn’t cooperate.
What works
- They melt smoothly and quickly over gentle heat without seizing, which means I can actually fold in my toasted coconut while the caramel is still warm enough to coat evenly.
- The bulk 2 lb bag is the sweet spot—I have enough to make multiple batches without worrying I’ll run out mid-recipe, and it’s cheaper per ounce than buying the smaller boxes.
- They stay workable for a longer window, which means less panic when I’m shaping the coconut mixture and inevitably get distracted by my dog wondering what that smell is.
What doesn’t
- If you overheat them even slightly, they can separate instead of staying creamy—you have to watch them like a hawk, not walk away to answer emails.
- They’re not quite as thick as homemade caramel sauce, so your coating will be thinner unless you reduce the mixture a bit longer on the heat.
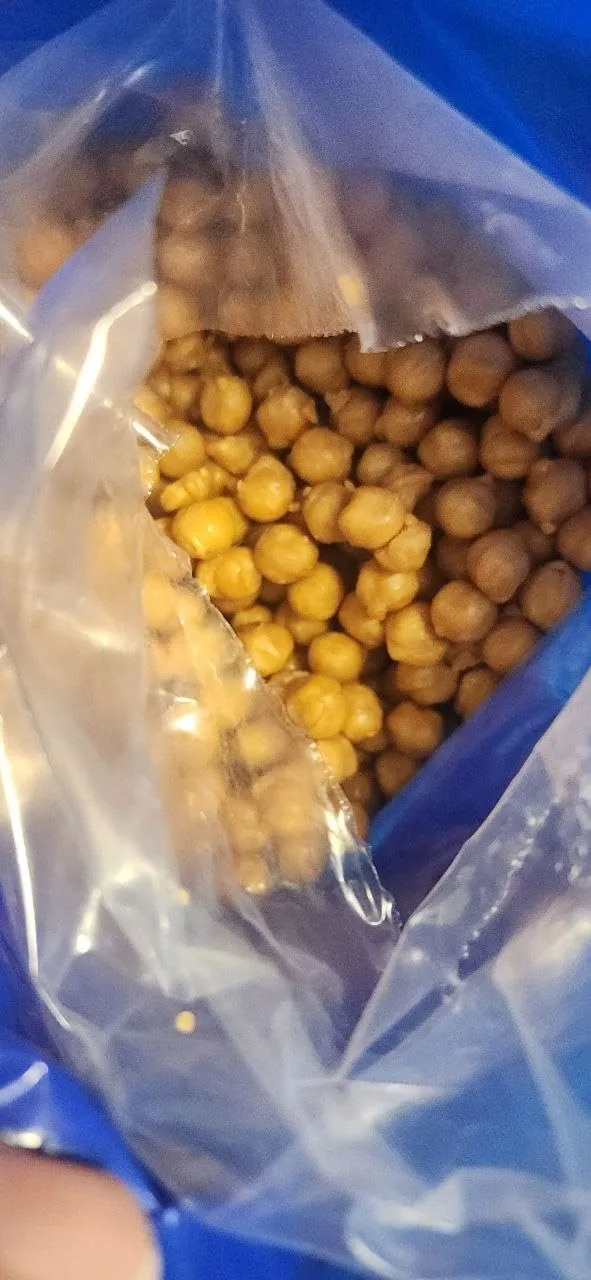
I nearly convinced myself to go back to melting regular chocolate one afternoon when my first batch seemed too thin, but I decided to trust the process and let the mixture set in the fridge—and it worked perfectly. Grab a bag of Kraftscandy Classic Caramel Bits, Bulk 2 lb and save yourself the headache.
The Recipe: No-Bake Samoa Cookies
Once I switched to caramel bits, this recipe became practically foolproof. These taste almost identical to the Girl Scout original, with that perfect trio of toasted coconut, creamy caramel, and dark chocolate stripes. You’ll have a batch ready to enjoy in about 30 minutes of hands-on time, plus a few hours in the fridge for setting.
What You’ll Need
- 3 cups sweetened shredded coconut (240g)
- 1 can (14 oz / 397g) sweetened condensed milk
- 2 teaspoons vanilla extract
- 1½ cups Kraftscandy caramel bits (or homemade caramel sauce, about 320g)
- 1½ cups milk chocolate chips (255g)
- 2 tablespoons coconut oil or neutral shortening (for thinning chocolate)
- Cooking spray or coconut oil (for greasing hands)
How I Make Them, Step by Step
- Toast the coconut (optional but recommended). Spread the shredded coconut on a baking sheet and toast it at 325°F (163°C) for 3 to 4 minutes, stirring once halfway through, until lightly golden and fragrant. This step deepens the flavor and adds that authentic Girl Scout cookie taste. Let it cool completely before using. If you skip this, your cookies will still be delicious—I just love the extra depth toasting brings.
- Combine coconut and condensed milk. In a medium bowl, mix together the cooled toasted coconut (or untoasted if you skipped that step), sweetened condensed milk, and vanilla extract. Stir until everything is evenly coated and the mixture holds together. It should look shaggy but cohesive—not wet, not dry.
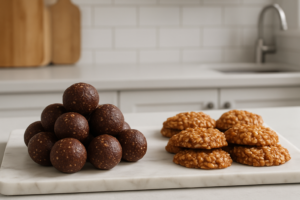
- Shape the rings. Lightly grease your hands with cooking spray. Scoop about 1 tablespoon of the coconut mixture and roll it into a small ball, then gently shape it into a ring or cookie shape with a slight indent in the middle. Place each shaped cookie on a parchment-lined baking sheet. You should get about 18 to 20 cookies from this batch.
- Chill the shaped cookies. Refrigerate the shaped coconut rings for at least 30 minutes. This makes them much easier to dip and coat without falling apart.
- Melt and coat with caramel. In a shallow microwave-safe bowl, heat the caramel bits in 30-second intervals, stirring between each interval, until smooth and pourable. Be careful not to overheat—that’s where disaster happened for me the first time. Once melted, dip each chilled coconut ring into the warm caramel, coating all sides, then return it to the parchment-lined baking sheet.
- Refrigerate again. Pop the caramel-coated cookies back in the fridge for 15 to 20 minutes to let the caramel firm up a bit.
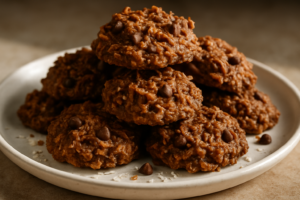
- Melt chocolate and drizzle. In a microwave-safe bowl, combine the milk chocolate chips and coconut oil. Microwave in 30-second intervals, stirring between each one, until the chocolate is smooth and thin enough to drizzle. Using a fork or small whisk, drizzle the chocolate over the caramel-coated cookies in thin stripes, creating those iconic Samoa cookie lines. (You can also dip the top half of each cookie into the chocolate if you prefer a heavier coating.)
- Final set. Return the cookies to the refrigerator for at least 2 hours, or until the chocolate is completely set and firm. They’ll keep in the fridge in an airtight container for up to a week, though I’ve never had any last that long.
Prep Time: 20 minutes | Chill Time: 2 hours 45 minutes (mostly hands-off) | Total Time: About 3 hours | Yield: 18 to 20 cookies
This post contains affiliate links. As an Amazon Associate, I earn from qualifying purchases at no extra cost to you.