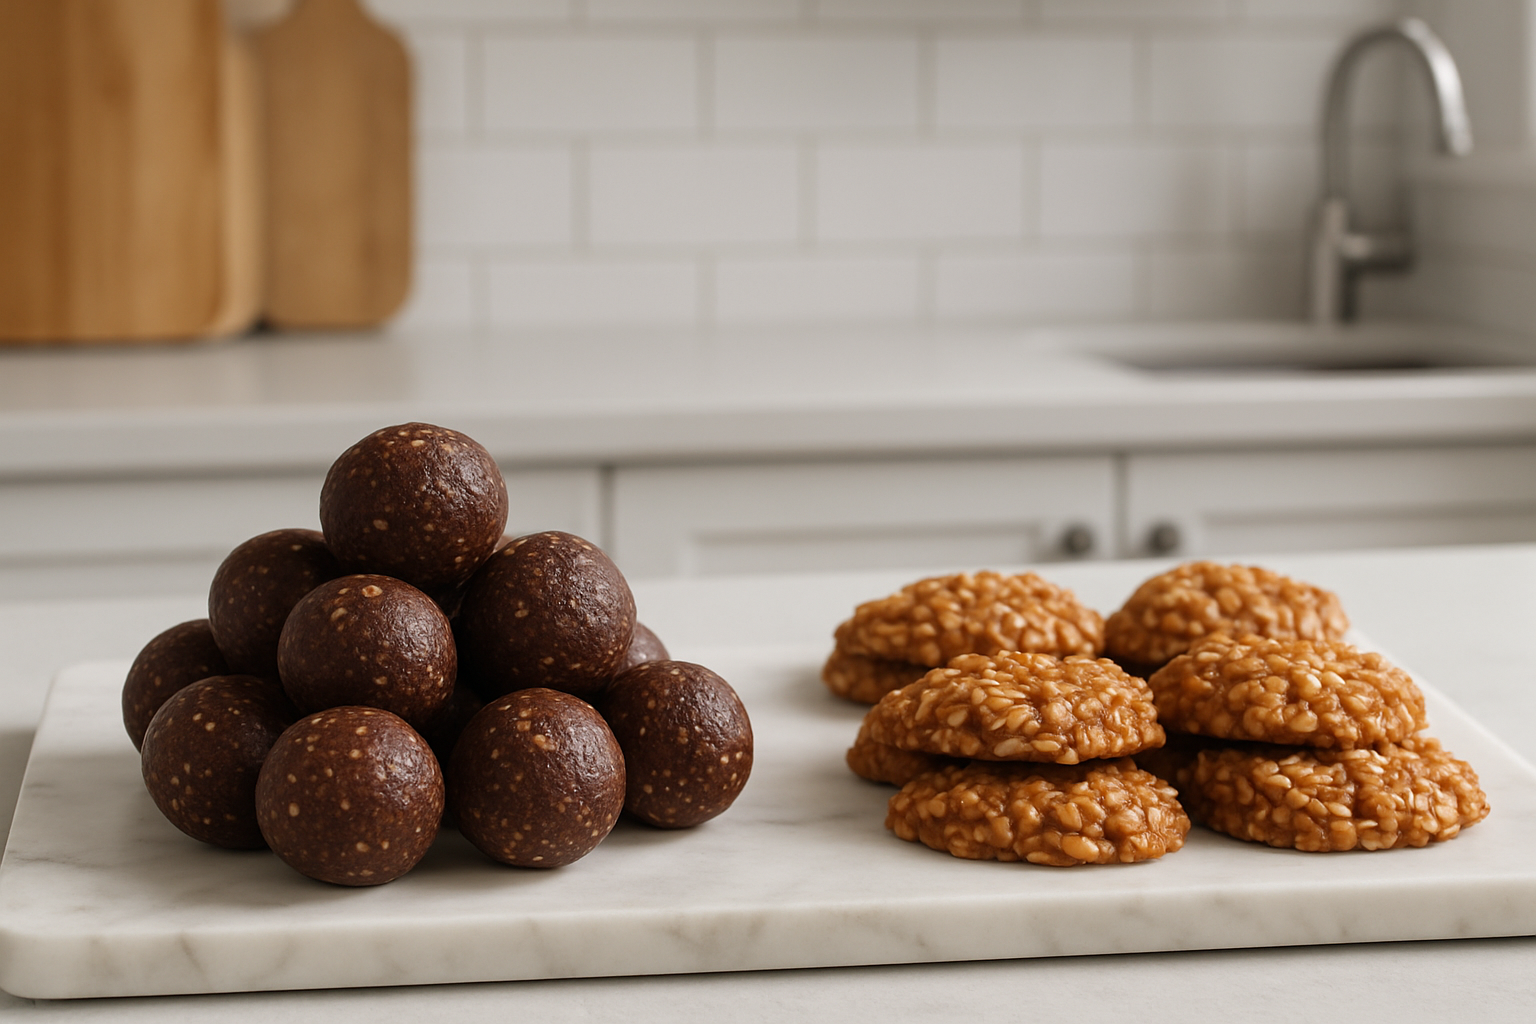

I did not intend to become a no-bake cookie scientist. But there I was, three weeks into my self-imposed experiment, standing in my kitchen at 11 p.m. with oat mixture coating both forearms up to my elbows, a rogue chocolate chip stuck to my cheek, and seventeen lopsided blobs that refused to hold their shape — all because I had made a very confident, very wrong assumption about energy ball cookies vs no-bake oat cookies being basically the same thing. Reader, they are not the same thing.
It started innocently enough. I wanted a better grab-and-go snack situation in my house, and the internet kept serving me two options: those cute little rolled energy balls and the more old-fashioned no-bake oat cookies that set up in neat rounds on parchment. I figured I would make both every week for a month and figure out once and for all which one deserved a permanent spot in my life. What followed was four weeks of chaotic, occasionally disastrous, deeply delicious research that I am now going to share with you in full detail — including the part where everything went wonderfully, unexpectedly right.
Energy Ball Cookies vs No-Bake Oat Cookies: What Is Actually the Difference?
Before we get to the disaster montage, let me lay out the actual differences between these two categories, because understanding them will save you from making my mistakes.
Energy ball cookies are no-heat, no-cook treats built around a sticky binder — usually nut butter, honey, or maple syrup — mixed with oats, seeds, protein powder, chocolate chips, or whatever you love. You roll them by hand or scoop them, then refrigerate until firm. The magic is in the chill time, not any chemical reaction. They rely entirely on cold temperature to hold their shape.
No-bake oat cookies are a completely different beast. The classic version involves a brief, hot boil of butter, sugar, cocoa, and milk that creates a candy-like base. You stir in oats and peanut butter, then drop spoonfuls onto parchment to set at room temperature. Getting the boil right is everything — too short and they stay gooey forever, too long and they turn crumbly and dry. This is a legitimate candy-making technique, and that is exactly the part I arrogantly assumed I already understood.
What Went Wrong (and Then Gloriously Right)
Week one: energy balls. No problem. I mixed everything in a bowl, chilled the mixture for thirty minutes, and scooped away. Week two: no-bake oat cookies. I boiled the sugar mixture for what I estimated was “probably enough time,” poured it over the oats, and waited. And waited. They never set. Not even close. By evening I had a baking sheet full of fragrant, chocolatey oat pudding, and a very confused husband who gamely ate three spoonfuls of it with a fork and said, and I quote, “These are great, babe, but I think they’re soup.”
Week three, I came back with a candy thermometer and actual intention. The boil needs to reach a full rolling boil that you hold for exactly sixty to ninety seconds — no guessing, no wandering off to check your phone. The moment I followed that rule, my no-bake cookies set up perfectly, shiny on top and chewy in the middle, in under twenty minutes. All that drama, and the fix was sixty seconds of patience.
Week four brought the happy accident. I had leftover energy ball mixture and leftover no-bake cookie oat base, and on a whim I combined them after the cooked base cooled slightly. The result was the chewiest, most deeply flavored no-bake cookie I had ever tasted — nutty, chocolatey, with little seed and chip surprises throughout. My neighbor tried one and immediately asked for the recipe. It is now my most-requested thing to bring to literally any gathering.
Tips That Will Actually Make These Work for You
For Energy Ball Cookies
- Chill your mixture for at least thirty minutes before scooping — warm nut butter mixture will not hold a round shape and will stick to everything including you
- Use old-fashioned rolled oats, not quick oats, for the best chewy texture and structure
- If your mixture seems too wet, add oats one tablespoon at a time; if too dry and crumbly, add honey or maple syrup in tiny increments
- Dampen your palms slightly before rolling to prevent sticking without adding extra flour or oats
- Store in an airtight container in the refrigerator for up to two weeks — they actually taste better after the second day
For No-Bake Oat Cookies
- Use a candy thermometer and bring the sugar mixture to a full rolling boil, then hold it there for a full sixty seconds — this is the single most important step
- Work quickly once you add the oats and peanut butter because the mixture sets fast — have your parchment lined and ready before the boil
- Humidity is your enemy: on a rainy day, boil for the full ninety seconds instead of sixty to compensate
- Drop cookies immediately and do not fuss with shaping — they look better with a little rustic character anyway
- Let them set completely at room temperature before stacking or storing, at least one hour
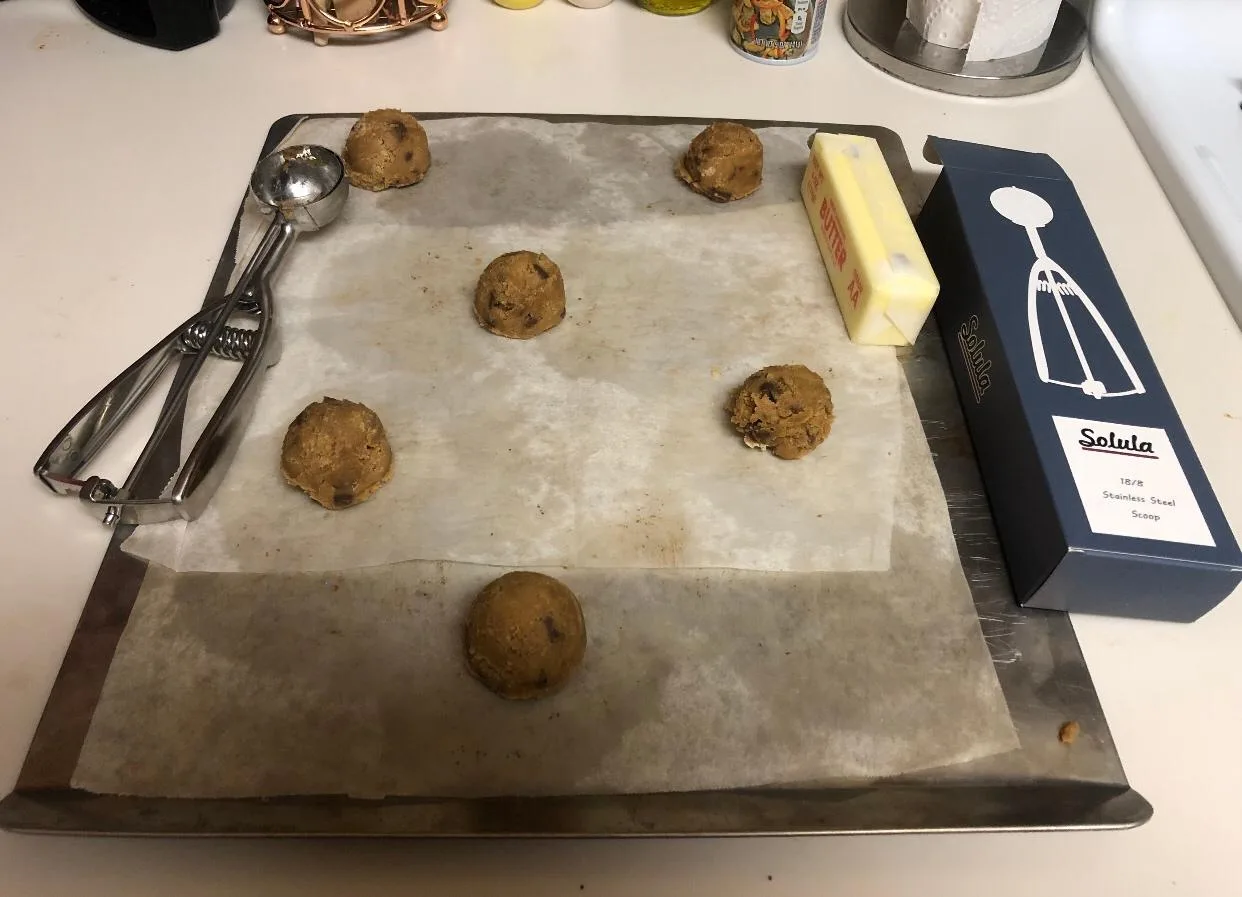
The Cookie Scoop That Saved Me From Seventeen Lopsided Blobs
When you’re making no-bake cookies week after week, consistency is everything — and my hands were never going to give me that. After that first disastrous night of eyeballing portions, I realized I needed a tool that would portion these sticky, reluctant doughs the same way every single time.
What works
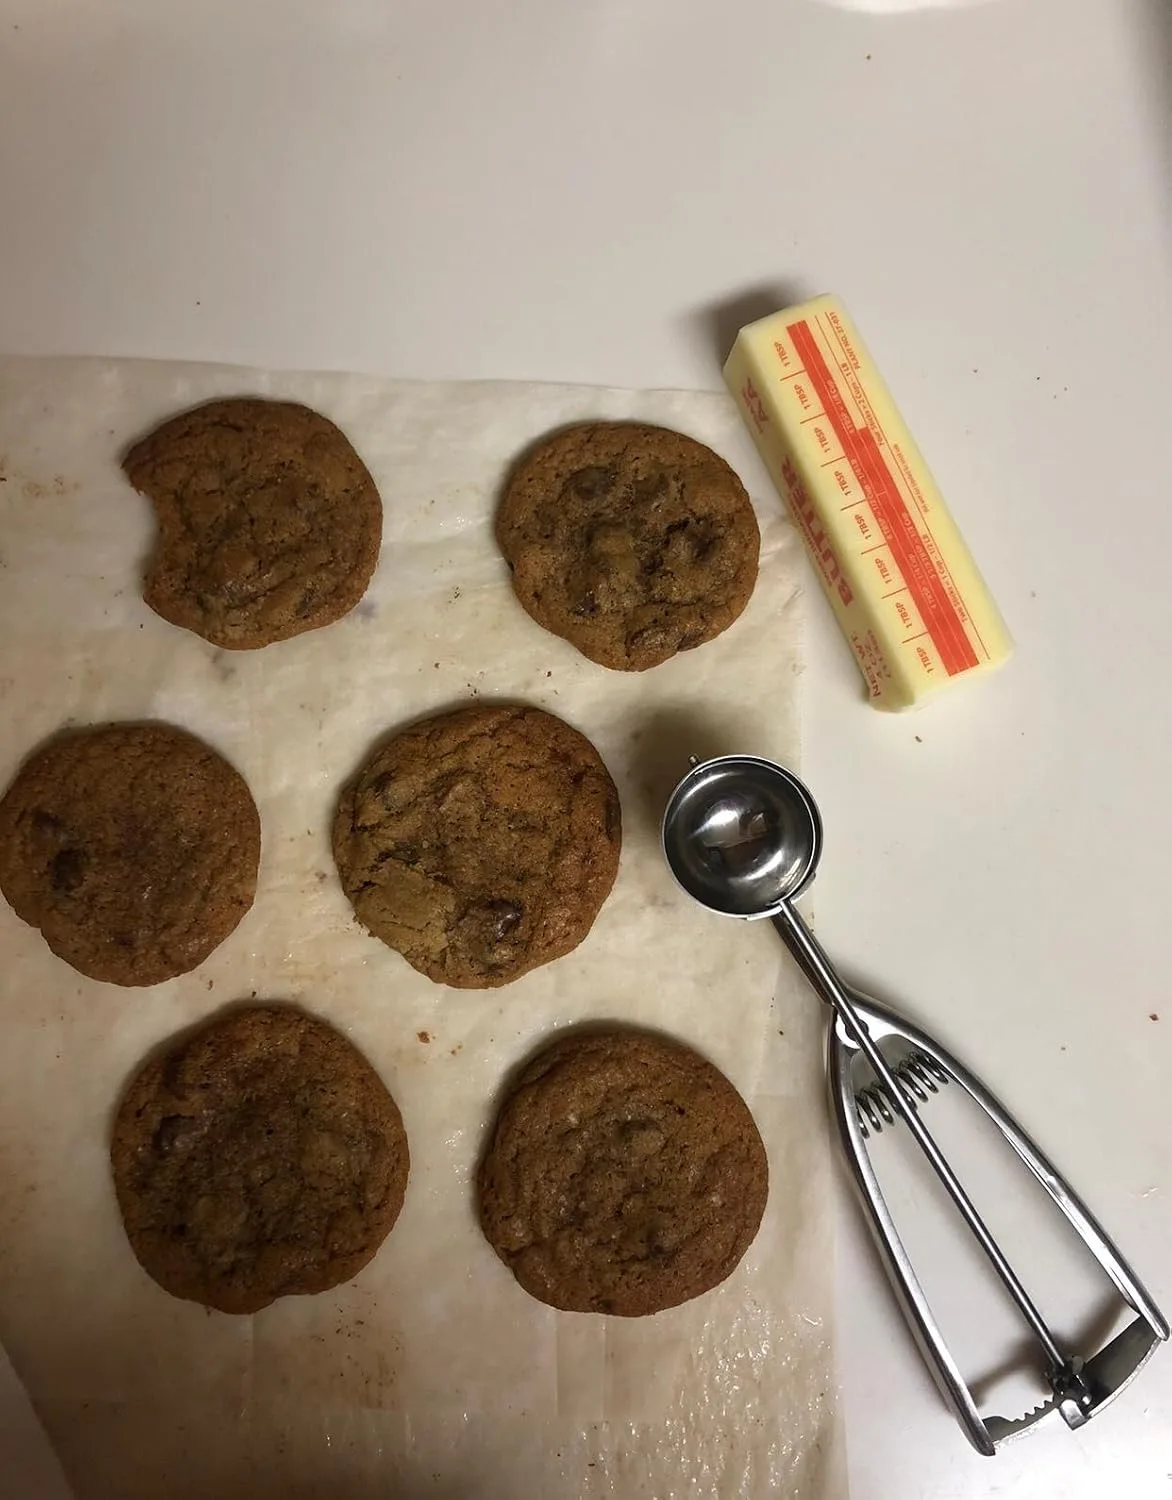
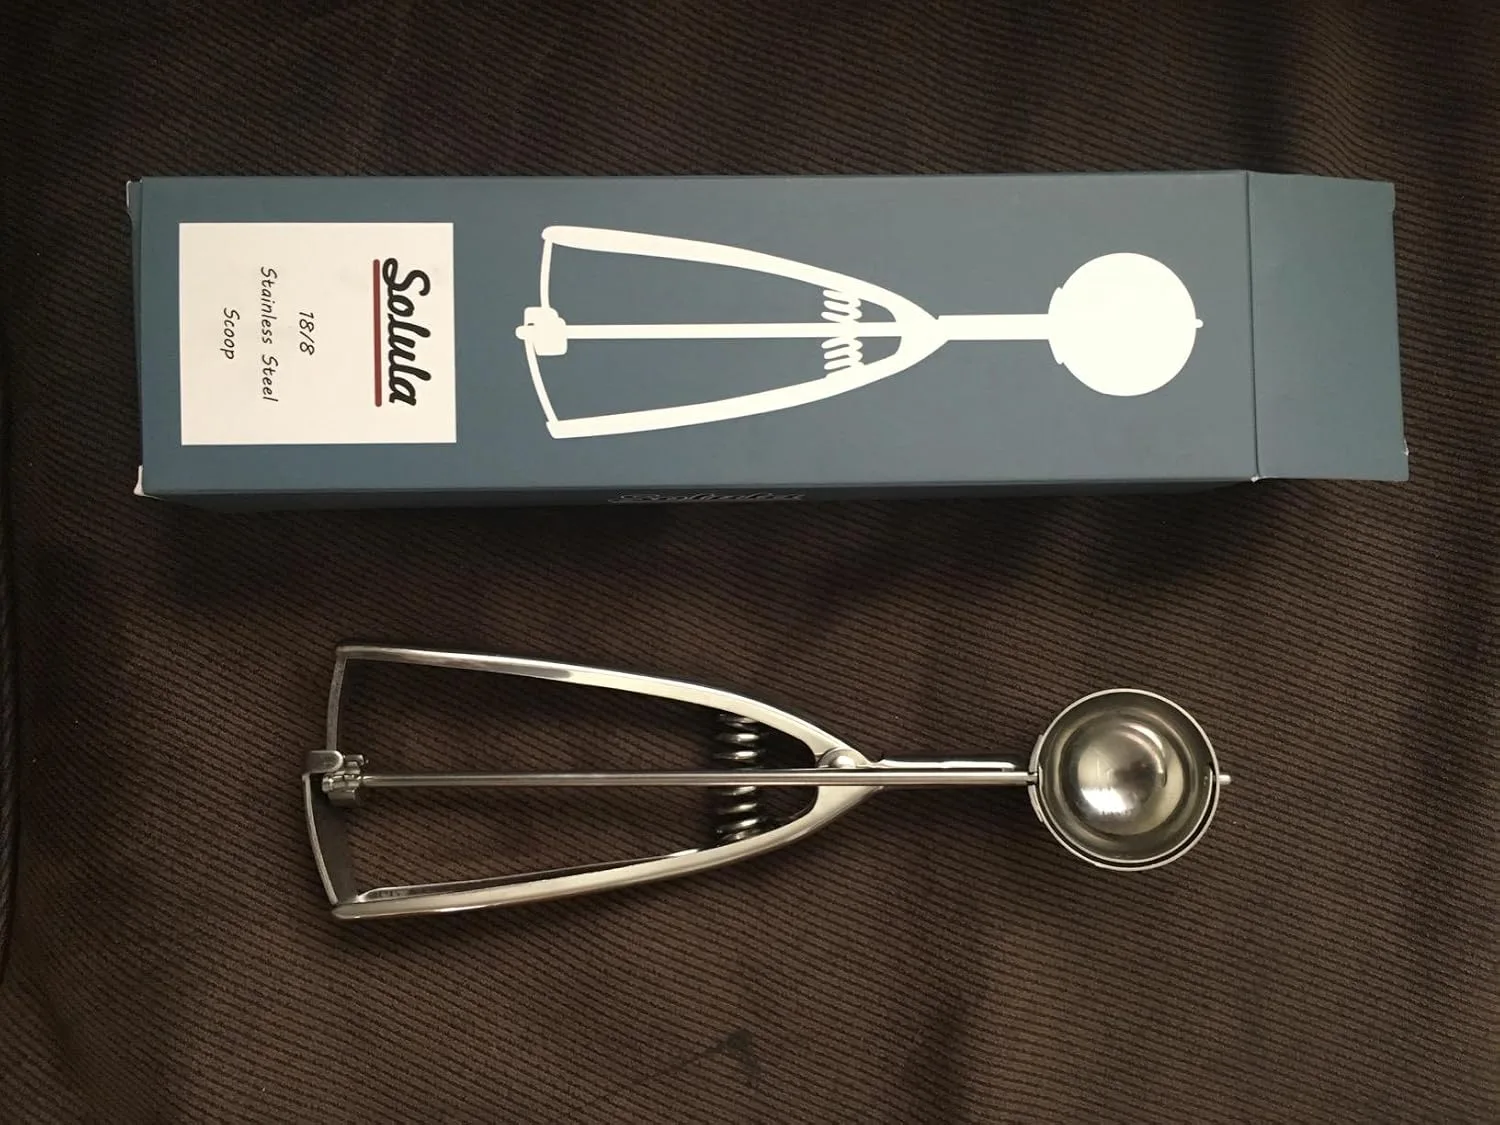
- The medium size (Size 40) is exactly right for no-bake oat cookies and energy balls — not so small that you’re scooping all night, not so large that they look like hockey pucks on the cooling plate.
- The stainless steel doesn’t stick to wet dough the way aluminum does, which matters when you’re working with chocolate, peanut butter, and oat mixtures that are still warm and slightly tacky.
- I could scoop one-handed while holding my phone notes open with the other, checking recipe measurements — it’s intuitive enough that muscle memory kicked in by day three.
What doesn’t
- The trigger release requires a firmer grip than I expected, and my hand actually cramped during that week when I made three batches in one day.
- If your dough is too warm or too soft, even this scoop won’t give you perfect uniform portions — you’re still dependent on letting the mixture cool slightly first, which I learned the hard way on night two.
I almost put this scoop back in the drawer after that hand-cramping session, convinced I’d wasted money on something I’d abandon by week two. But then I started letting my mixtures cool for just five minutes before scooping, and suddenly I had control. Solula Professional 18/8 Stainless Steel Medium Cookie Scoop (Size 40)