I want to tell you about the day I accidentally became a baking legend in my own neighborhood — all because of a pan of raspberry jam cookie bars that I was completely convinced had been ruined beyond saving.
It was a Saturday afternoon, I had exactly one hour before guests arrived, and I had just discovered that I’d pressed the shortbread base into the pan so unevenly that one entire corner looked like a tiny mountain range. We’re talking peaks and valleys. A geological event in a 9×13 dish. I panicked, added the raspberry jam layer anyway because what else was I going to do, crumbled the oat topping over everything, and shoved the whole disaster into the oven while I went to go stress-eat crackers in the pantry. Reader, those raspberry jam cookie bars were the hit of the entire party. People asked for the recipe. Someone called them “the best thing they’d ever eaten.” I just smiled and nodded like I had planned every single crumb.
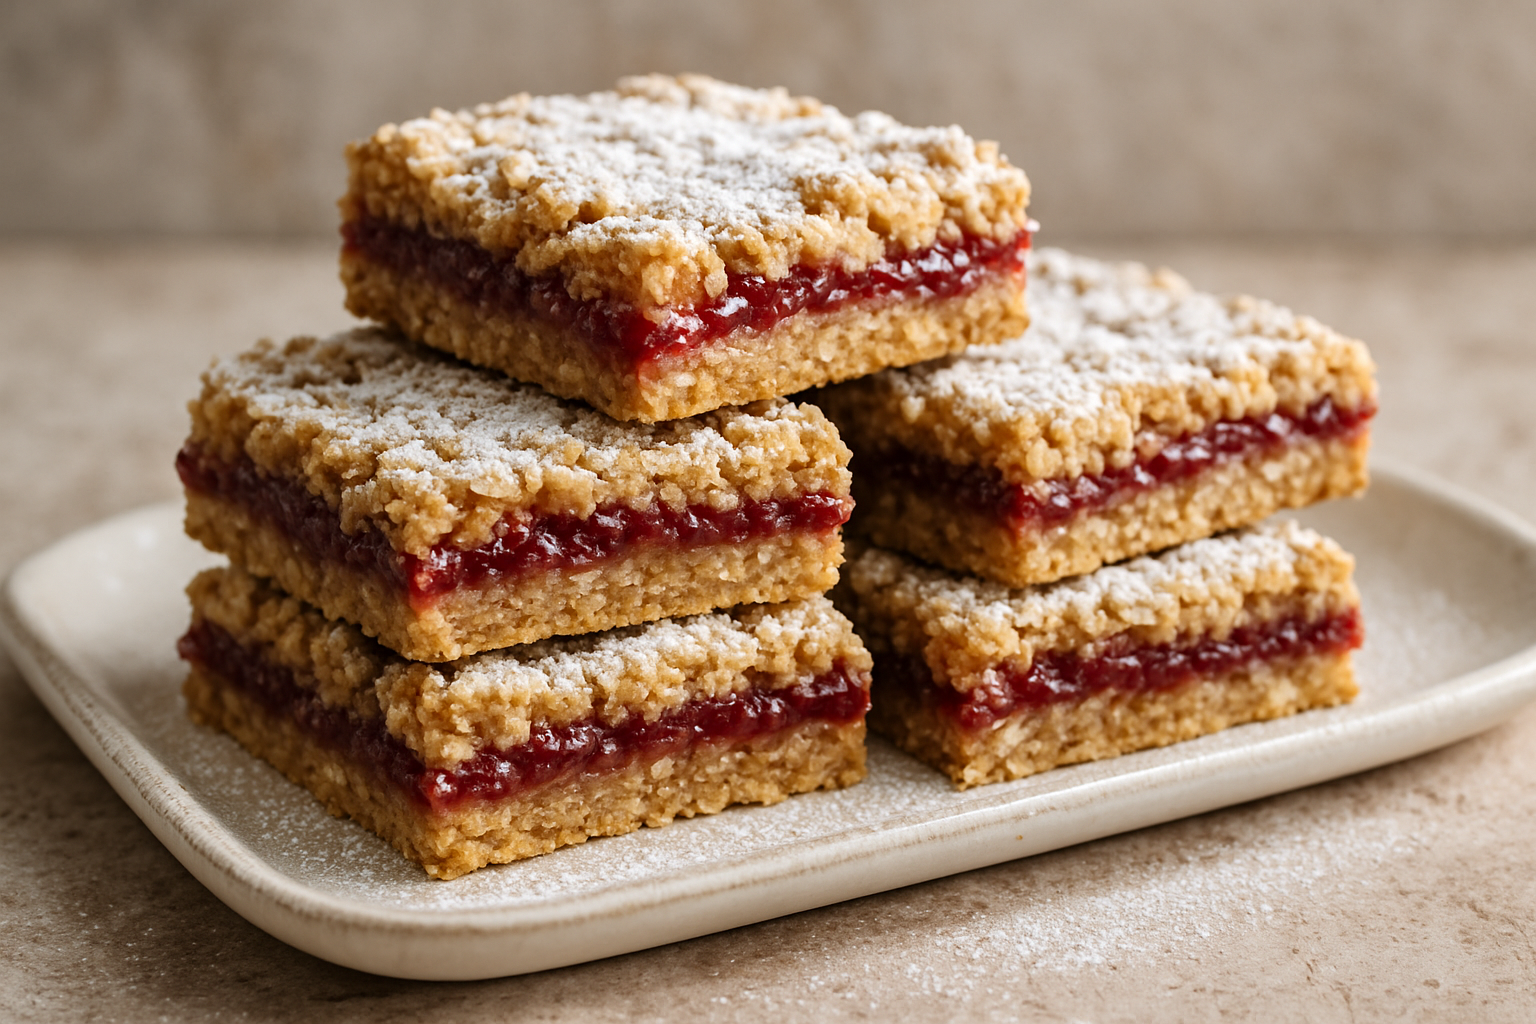
Why Raspberry Jam Cookie Bars Are the Dessert You Always Need in Your Back Pocket
Here’s the thing about these bars that took me an embarrassingly long time to figure out: they are genuinely forgiving. Like, almost offensively so. The crumbly, buttery shortbread and oat base is rustic by nature, which means imperfection is not just acceptable — it is literally part of the aesthetic. That uneven corner I panicked about? It just created more crispy, caramelized edges, which everyone fought over. The bars that look most homemade often taste the most special, and this recipe leans into that truth completely.
The flavor combination is also just timeless. Buttery oat crumble, bright jammy raspberry filling, golden baked edges — it tastes like something your grandmother made, which is the highest compliment I know how to give a baked good. They travel well, they keep beautifully, they cut cleanly once cooled (more on that in a minute), and they work for literally every occasion from a Tuesday afternoon snack to a holiday cookie tray.
The Recipe: Raspberry Jam Cookie Bars
What You’ll Need
- 1 cup (2 sticks / 226g) unsalted butter, softened
- 3/4 cup (165g) packed light brown sugar
- 1 large egg
- 1 teaspoon vanilla extract
- 2 1/2 cups (312g) all-purpose flour
- 2 cups (200g) old-fashioned rolled oats
- 1/2 teaspoon baking powder
- 1/4 teaspoon salt
- 3/4 cup (260g) seedless raspberry jam
How I Make Them, Step by Step
- Preheat your oven to 350°F (175°C). Line a 9×13-inch baking dish with parchment paper, letting it hang over the edges for easy removal later.
- In a large bowl, cream together the softened butter and brown sugar until the mixture is light and fluffy, about 2 minutes of beating. Add the egg and vanilla extract, mixing until fully combined.
- In a separate bowl, whisk together the flour, oats, baking powder, and salt. Stir the dry ingredients into the butter mixture until just combined; the dough will be thick and crumbly.
- Press about two-thirds of the dough firmly and evenly into the bottom of your prepared pan. This is your base. Use the flat bottom of a measuring cup to help even things out, but don’t stress about perfection — remember my mountain range corner? It becomes a feature, not a bug.
- Spread the raspberry jam in an even layer over the base. Use a spatula or the back of a spoon to distribute it smoothly, leaving about a 1/4-inch border from the edges.
- Crumble the remaining dough over the jam layer, breaking it into small, irregular pieces with your fingers. Don’t press it down — you want a loose, crumbly topping that will bake up with golden, crispy edges.
- Bake for 31 to 35 minutes, until the top is golden brown and you can see the jam bubbling slightly around the edges of the pan.
- Remove from the oven and let cool completely in the pan at room temperature for at least one hour (or pop it in the fridge for 30 minutes if you’re in a hurry). This cooling time is non-negotiable — it lets the jam set and the base firm back up so you get clean, neat squares instead of crumbly mess.
- Once cooled, lift the entire batch out of the pan using the parchment overhang, place on a cutting board, and cut into 24 squares (or larger if you prefer fewer, heartier bars). Store in an airtight container at room temperature for up to 5 days.
Prep Time: 15 minutes | Bake Time: 31–35 minutes | Total Time: 46–50 minutes (not counting cooling) | Yield: 24 bars
Baking Tips for Perfect Raspberry Jam Cookie Bars Every Single Time
Start With a Good Jam — It Really Matters
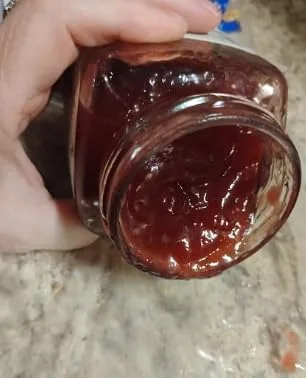
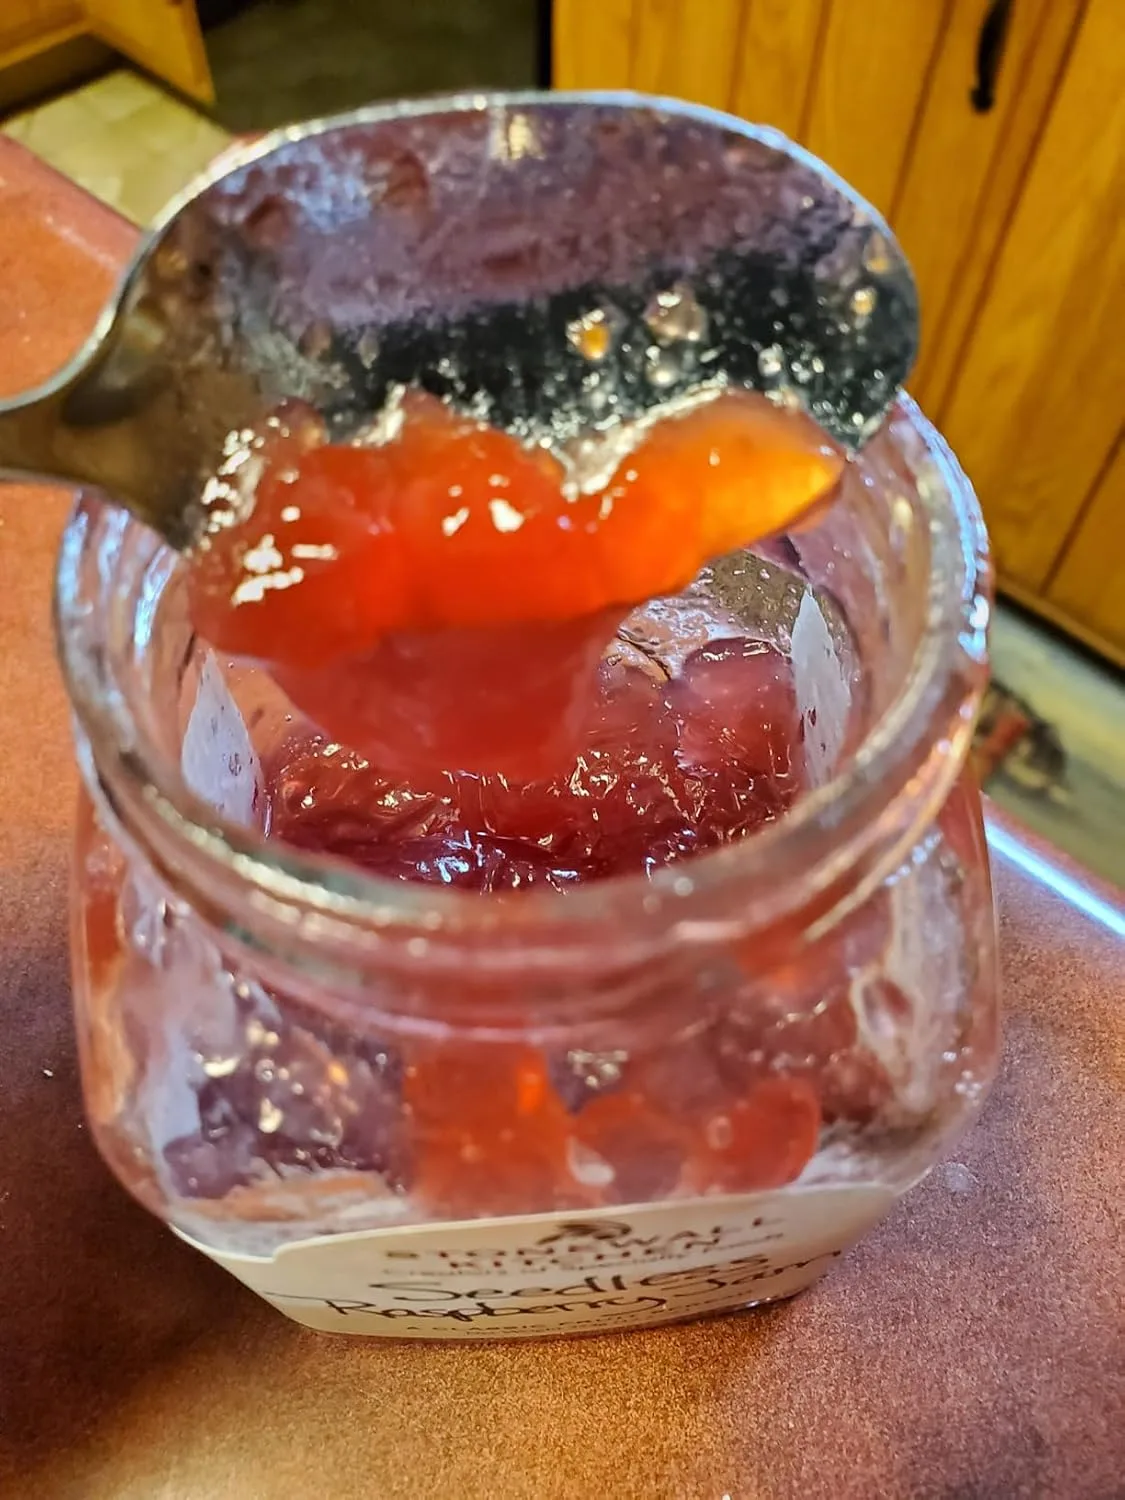
The raspberry jam is the star of this recipe, so the quality genuinely makes a difference. I always reach for a seedless variety because the smoother texture spreads more evenly and bakes up beautifully without any bitterness from seeds. My two go-to options are Stonewall Kitchen Seedless Raspberry Jam, which has a bright, full fruit flavor that holds up beautifully in baking, and Smucker’s Seedless Red Raspberry Jam for a reliable, budget-friendly everyday option. If you need a larger quantity for baking or want to stock up, Smucker’s also comes in a bigger jar that is perfect for keeping in the pantry. Aim for about three-quarters of a cup of jam for a standard batch — enough to create a visible, jammy layer without the filling bubbling over and making the base soggy.
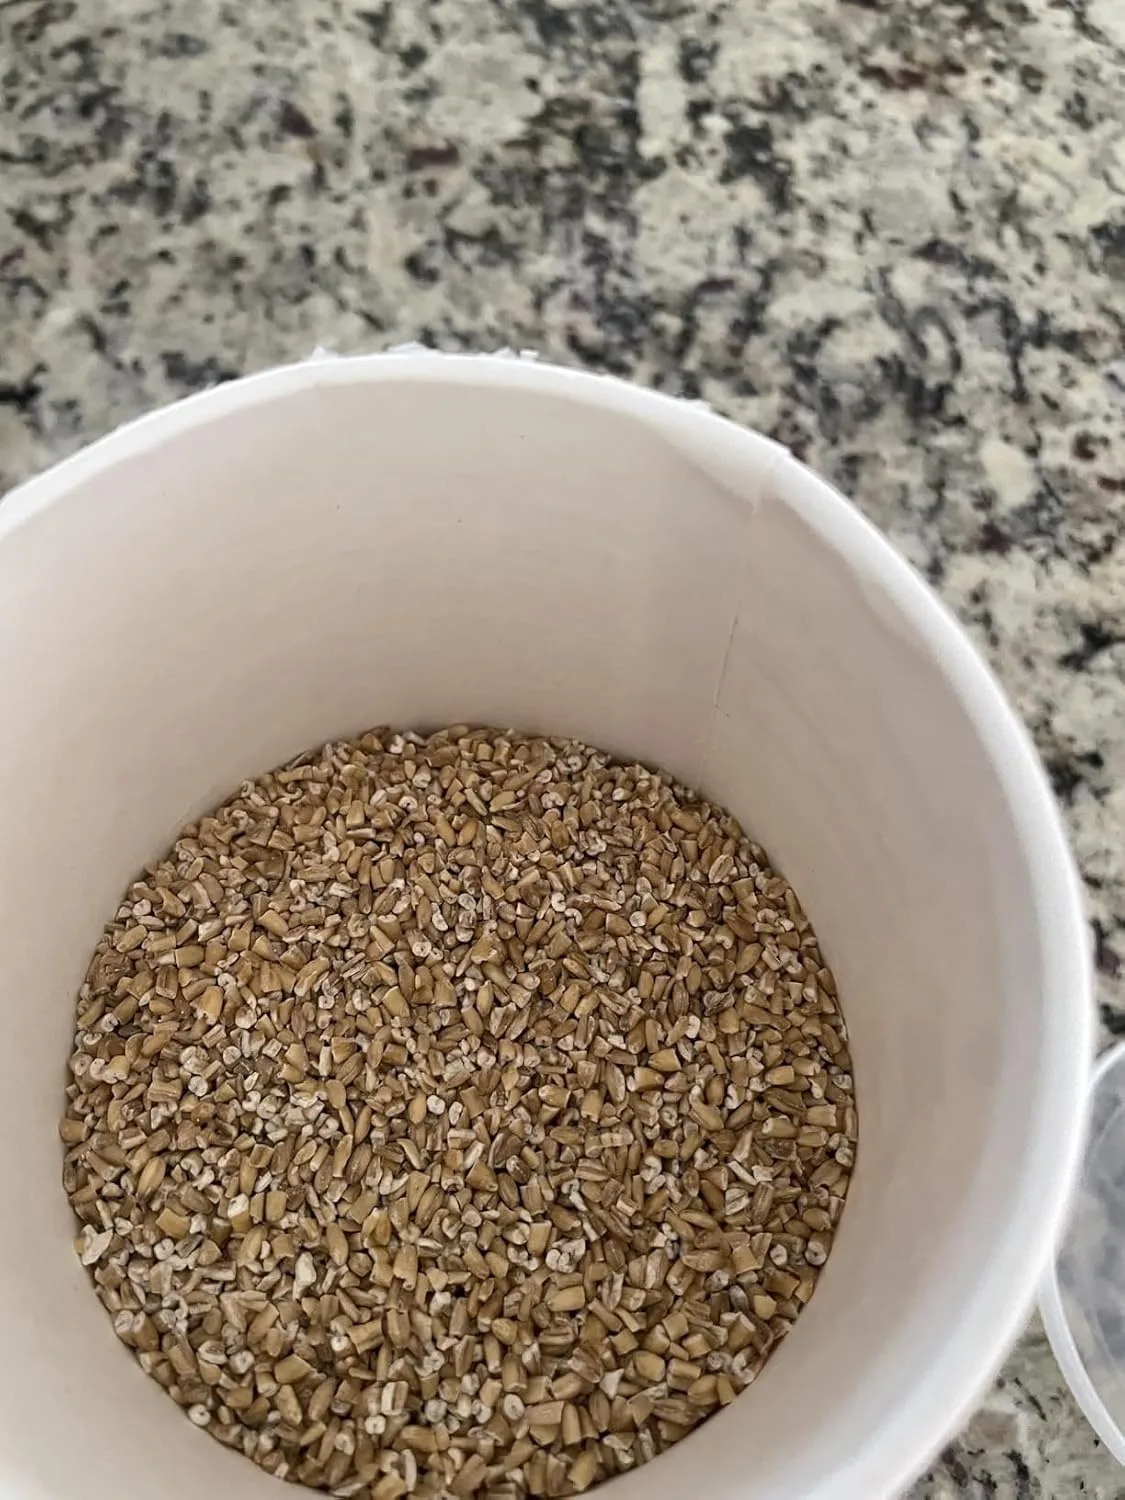
The Oat Situation: Old Fashioned Oats Are Non-Negotiable
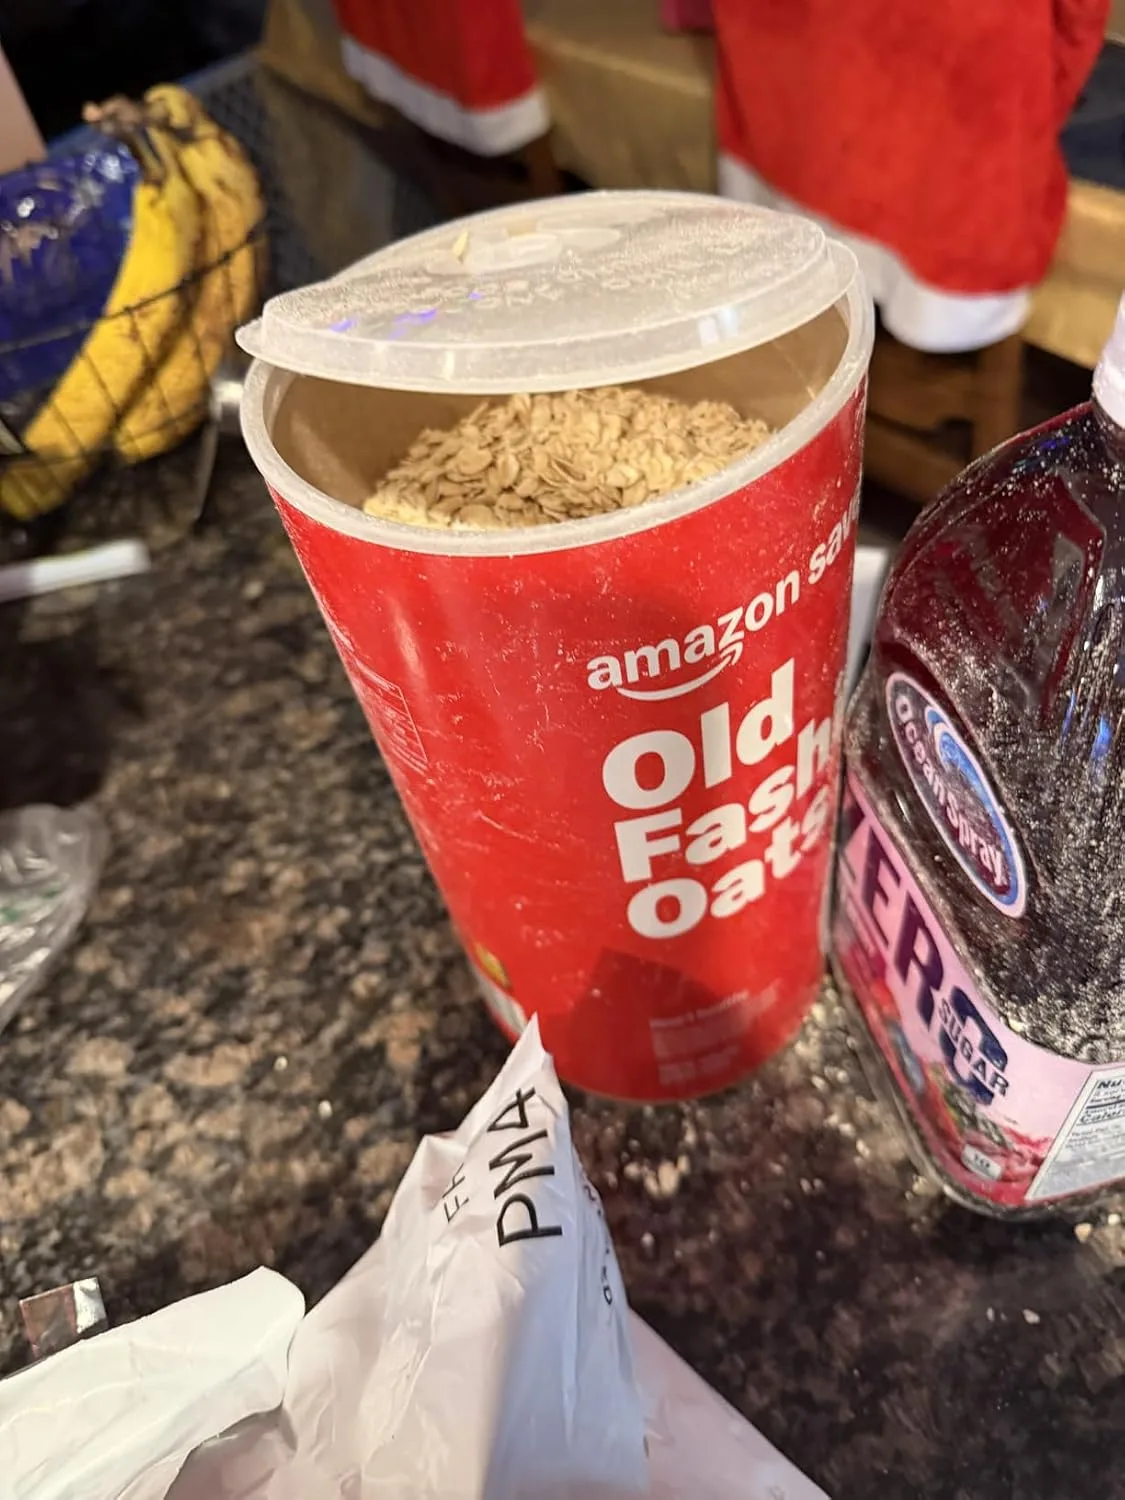
Please, I am begging you, do not use quick oats here. Old fashioned rolled oats give the topping that gorgeous chewy-crisp texture that makes these bars so satisfying. Quick oats go almost mushy in the oven and the topping loses its character entirely. I keep 365 by Whole Foods Market Organic Old Fashioned Rolled Oats in my pantry at all times — they’re a great quality oat at a reasonable price. If you bake frequently and like to buy in bulk, the Amazon Saver Whole Grain Old Fashioned Oats in the 2.6 lb bag is excellent value and works beautifully in this recipe.
The Press-and-Reserve Method (Your New Best Friend)
Here is the technique that makes this recipe so smart: you use the same dough for both the base and the crumble topping. Mix up one bowl of buttery oat dough, press about two-thirds of it into your lined pan as the base, spread the jam over top, and then crumble the remaining third of the dough over the jam layer. That’s it. One dough, two jobs, minimal cleanup, maximum impression.
For the base, press it firmly and as evenly as you can using the flat bottom of a measuring cup. Don’t stress about getting it perfectly smooth — remember my mountain range situation — but do try to press out any thick spots that would stay doughy in the center. A parchment-lined pan is non-negotiable here; these bars will stick without it and you will not be happy about it.
Cool Completely Before Cutting (I Know, I Know)
This is the hardest instruction to follow and also the most important one. Raspberry jam bars need to cool fully — at least an hour at room temperature, or pop them in the fridge for 30 minutes — before you attempt to cut them. The jam filling needs to set up, and the base needs to firm back up after baking. Cut them too early and you’ll have delicious rubble instead of neat bars. Delicious rubble is still delicious, but if you want those clean, pretty squares that look like you know what you’re doing, patience is required.
The Jam That Doesn’t Bleed Into Your Shortbread (And Actually Tastes Like Raspberries)
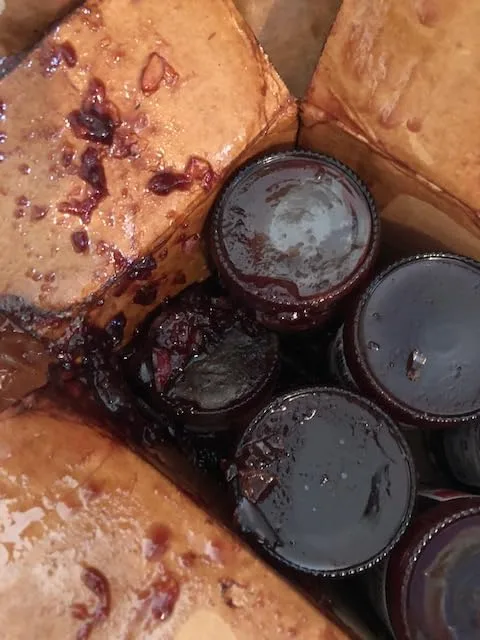
A runny jam is the enemy of a neat cookie bar — it seeps into the shortbread base, turns everything soggy, and makes your beautiful layers blur together into one muddy mess. I learned this the hard way, which is why I’m particular about which jam I reach for now.
What works
- The seedless texture spreads evenly without getting chunky or leaving gaps where the base shows through — it’s thick enough to stay put without running toward the edges.
- The flavor is genuinely bright and jammy, not overly sweetened or muted, so even a thin layer gives you that real raspberry taste people expect.
- It holds its structure during baking without weeping or creating a wet halo around the bars, which means cleaner slices and a better texture contrast between the layers.
What doesn’t
- The price point is noticeably higher than conventional brands — you’re paying for quality, which means it’s not the grab for weeknight batches when budget matters more.
- Some grocery stores don’t carry it consistently, so you might find yourself ordering online more often than you’d like, which defeats the purpose if you’re in a one-hour panic bake.
I once tried to stretch a cheaper jam across the same surface area and ended up with a thin, soupy layer that pooled in those uneven corners I’d already regretted — but switching to Stonewall Kitchen Seedless Raspberry Jam made those imperfections completely disappear under a proper, glossy layer of actual jam.
This post contains affiliate links. As an Amazon Associate, I earn from qualifying purchases at no extra cost to you.