
Classic Blondies
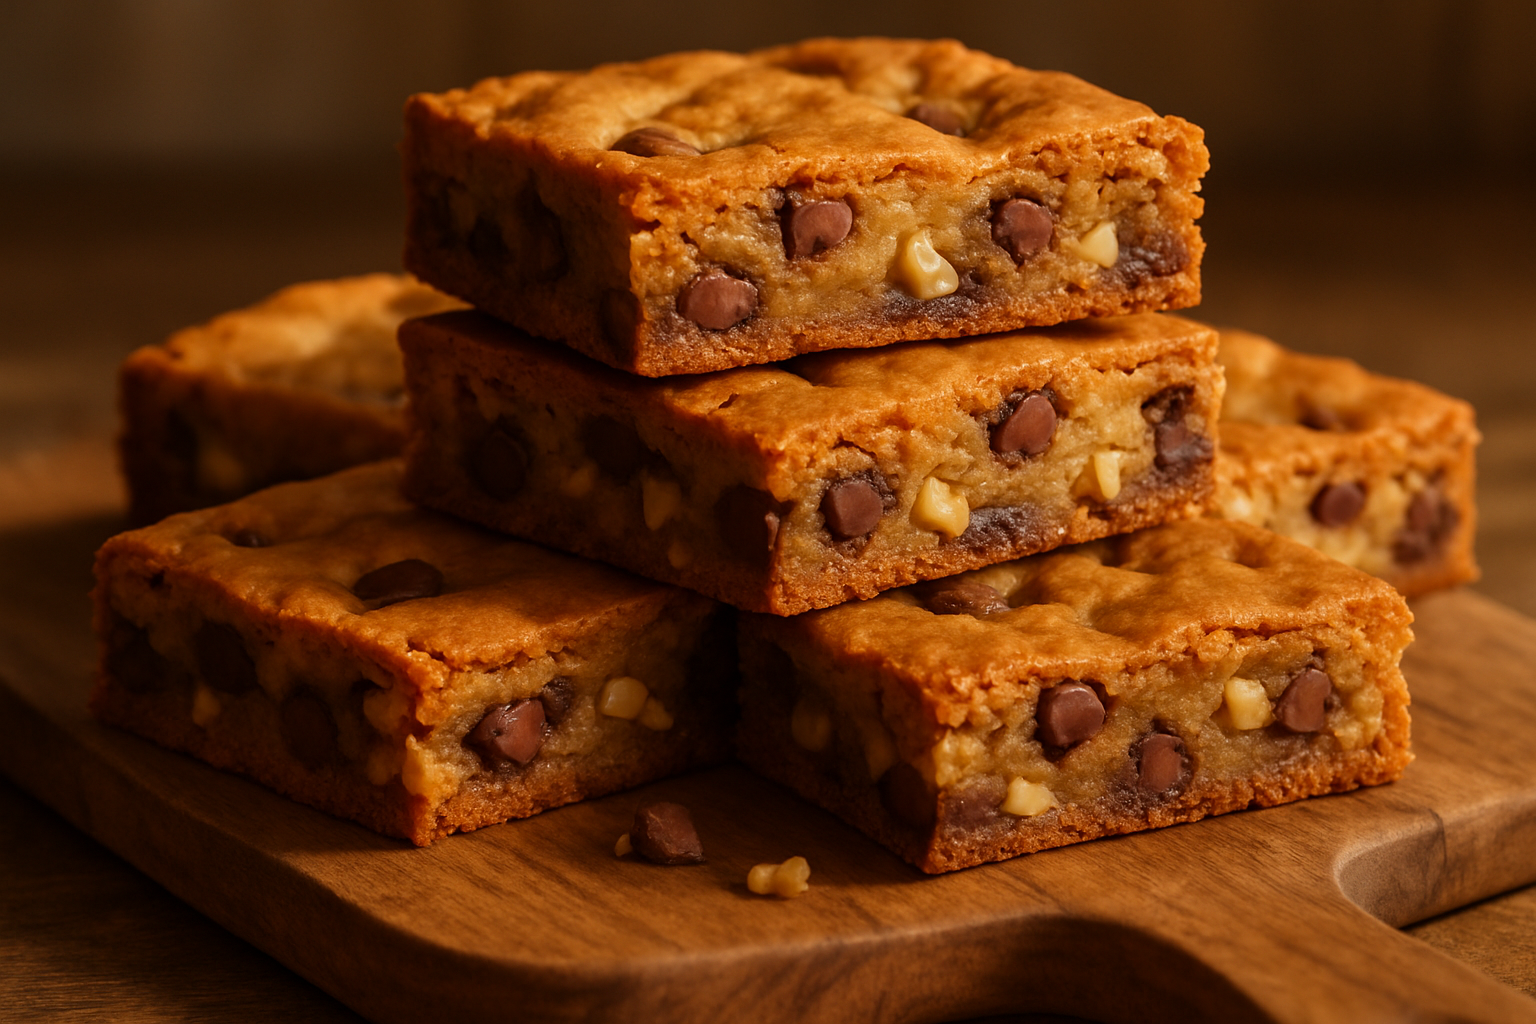
Chewy, caramel-y bar cookies with toasty brown butter and dark brown sugar for butterscotch flavor.
Ingredients
- 1 cup (226 grams) unsalted butter, browned and cooled
- 1¼ cups (250 grams) packed dark brown sugar
- ½ cup (100 grams) granulated white sugar
- 2 large eggs
- 1 egg yolk
- 2 teaspoons vanilla extract
- 2¼ cups (285 grams) all-purpose flour
- ¼ teaspoon baking powder
- ½ teaspoon salt
Instructions
- Brown your butter by melting it in a light-colored saucepan over medium heat, swirling the pan occasionally and watching until the milk solids turn golden and the butter smells nutty and toasty — about 4 minutes total.
- Pour the browned butter into a bowl and let it cool for at least 10 minutes before proceeding.
- In a large bowl, whisk together the cooled browned butter, dark brown sugar, and granulated sugar until fully combined.
- Add both whole eggs and the egg yolk to the sugar mixture one at a time, stirring well after each addition.
- Stir in the vanilla extract.
- In a separate bowl, whisk together the flour, baking powder, and salt.
- Add the dry ingredients to the wet ingredients and mix by hand with a wooden spoon or silicone spatula until just combined.
- If using add-ins, fold them in gently now.
- Line a 9×13 inch baking pan with parchment paper, with an overhang on two sides to create a sling for easy removal.
- Spread the batter evenly across the pan.
- Bake at 350°F (175°C) for 22-25 minutes, until the edges turn golden brown but the center still has a very slight jiggle and a toothpick inserted in the center comes out with a few moist crumbs.
- Remove the pan from the oven and let the blondies cool completely in the pan — at least one full hour.
- Use the parchment sling to lift the entire slab out and place it on a cutting board.
- Cut into 12-16 bars, depending on your preferred size.
Notes
- Use dark brown sugar for maximum caramel depth.
- Mix by hand, not with a stand mixer, to avoid overdeveloping gluten.
- Do not overbake; pull when center still jiggles slightly.
- Cool completely before cutting to prevent crumbling.
I pulled my blondies out of the oven, did a little victory shimmy across my kitchen floor, and then promptly dropped the entire pan face-down on my dog’s head. That is a true story. That is also somehow not the worst part of that particular baking afternoon — but we’ll get there. What matters is that I have since made this classic blondie recipe approximately fourteen more times, my dog has forgiven me, and I am now fully convinced that blondies are the most underrated bar cookie in existence.
Why Blondies Deserve Way More Credit Than They Get
Here is something I used to believe: blondies were just brownies for people who didn’t feel like buying cocoa powder. I was wrong. I was so wrong. Blondies are their own magnificent thing entirely, and once you understand what makes them tick, you’ll see why brown sugar and butter deserve their own celebration. Where brownies lean into deep chocolate intensity, blondies go somewhere altogether different — toasty, caramel-adjacent, warm and butterscotch-y in a way that makes your whole kitchen smell like a hug.
The secret is brown sugar, and lots of it. That molasses content does two things: it creates an almost fudgy, chewy interior, and it develops deep caramel flavor during baking through the magic of Maillard browning. This is not a cookie bar you make by accident. This is a cookie bar you make on purpose, with intention, and then stand over the pan eating from the corner when nobody is watching.
Classic Blondie Recipe: Tips and Techniques Before You Start
Brown Butter Is Optional But Honestly Non-Negotiable
You can melt your butter straight. You’ll get good blondies. But if you take those extra four minutes to brown your butter — swirling it in a light-colored saucepan until it smells nutty and toasty and the milk solids turn golden — you’ll get legendary blondies. Brown butter amplifies every single flavor note that makes blondies special. Don’t skip it once you’ve tried it.
Do Not Overbake. Seriously. I’m Begging You.
This is the number one mistake people make with blondies, and it’s the mistake that cost me a perfectly good batch and my dog’s dignity on that fateful Tuesday. I had set my timer, walked away, got distracted by a very compelling argument on a baking forum about whether vanilla extract counts as a liquid ingredient, and came back four minutes too late. The blondies looked done — gorgeous, even — and in my excitement I tried to rush the cooling process. That’s when the pan met the floor and my Labrador, Biscuit, met his destiny.
Pull your blondies when the center still has a very slight jiggle and a toothpick comes out with a few moist crumbs — not wet batter, but not completely clean either. They’ll continue to set as they cool in the pan. Golden edges, soft center: that’s the goal.
More Key Techniques for Perfect Blondies
- Use dark brown sugar instead of light for maximum caramel depth and chew. The extra molasses content makes a genuinely noticeable difference.
- Let your brown butter cool for at least 10 minutes before adding eggs, or you’ll end up with scrambled egg blondies, which is a dessert I don’t think anyone has requested.
- Mix by hand with a wooden spoon or silicone spatula. A stand mixer will overdevelop the gluten and give you tough, cakey blondies instead of fudgy ones.
- Line your pan with parchment paper with an overhang on two sides. This creates a foolproof sling for lifting the whole slab out cleanly before cutting.
- Let them cool completely — at least one hour — before cutting. I know. I know. It hurts. But warm blondies cut into crumbles, and cold blondies cut into perfect, clean squares.
- Add-ins are welcome but not required. Chocolate chips, walnuts, pecans, toffee bits, or a swirl of peanut butter all work beautifully. Or go plain and let the brown sugar shine solo.
The Ingredients
- 1 cup (226 grams) unsalted butter, browned and cooled
- 1¼ cups (250 grams) packed dark brown sugar
- ½ cup (100 grams) granulated white sugar
- 2 large eggs
- 1 egg yolk
- 2 teaspoons vanilla extract
- 2¼ cups (285 grams) all-purpose flour
- ¼ teaspoon baking powder
- ½ teaspoon salt
- Optional: 1 cup chocolate chips, chopped walnuts, pecans, or toffee bits for add-ins
The Method
- Brown your butter by melting it in a light-colored saucepan over medium heat. Swirl the pan occasionally and watch until the milk solids turn golden and the butter smells nutty and toasty — about 4 minutes total. Pour the browned butter into a bowl and let it cool for at least 10 minutes before proceeding (this prevents scrambled eggs).
- In a large bowl, whisk together the cooled browned butter, dark brown sugar, and granulated sugar until fully combined. The mixture should feel light and slightly fluffy, about 1 minute of whisking.
- Add both whole eggs and the egg yolk to the sugar mixture one at a time, stirring well after each addition. Stir in the vanilla extract.
- In a separate bowl, whisk together the flour, baking powder, and salt.
- Add the dry ingredients to the wet ingredients and mix by hand with a wooden spoon or silicone spatula until just combined. Do not overmix — stop as soon as you see no streaks of flour. Overmixing will overdevelop the gluten and make your blondies tough and cakey instead of fudgy and chewy.
- If using add-ins, fold them in gently now — chocolate chips, walnuts, pecans, toffee bits, or a peanut butter swirl all work beautifully.
- Line a 9×13 inch baking pan with parchment paper, with an overhang on two sides to create a sling for easy removal. Spread the batter evenly across the pan.
- Bake at 350°F (175°C) for 22-25 minutes. The blondies are ready when the edges turn golden brown but the center still has a very slight jiggle when you shake the pan. A toothpick inserted in the center should come out with a few moist crumbs, not wet batter and not completely clean.
- Remove the pan from the oven and let the blondies cool completely in the pan — at least one full hour. They will continue to set as they cool. Once completely cool, use the parchment sling to lift the entire slab out and place it on a cutting board. Cut into 12-16 bars, depending on your preferred size. Store any leftovers in an airtight container for up to 5 days.
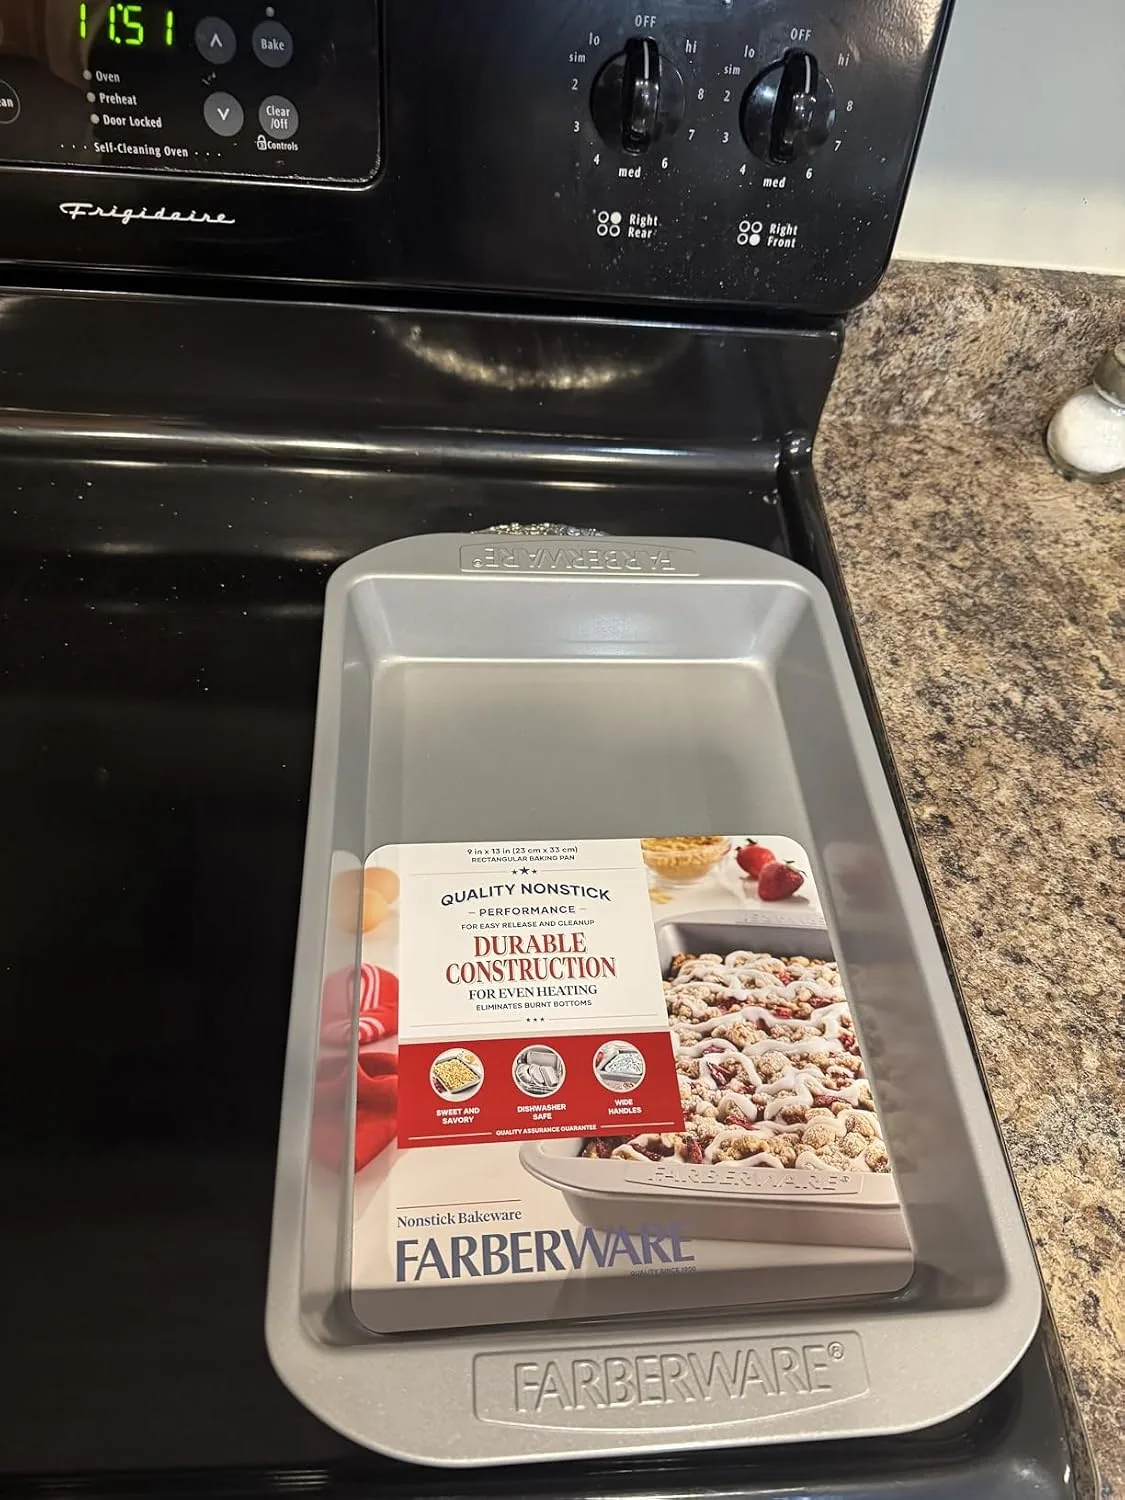
The Pan That Finally Stopped My Blondies From Sticking to the Edges
Blondies live or die by their edges — they should be chewy and slightly underbaked in the center, but you need crispy, caramelized corners that release cleanly from the pan. A mediocre baking pan will stick, warp, or bake unevenly, turning your beautiful batch into a scraped-up mess.
What works
- The nonstick coating actually holds up to the brown sugar caramelization without flaking or peeling after repeated use — I’ve made blondies in this pan dozens of times and it still looks new.
- Even browning across the entire 9×13 surface means no hot spots or pale patches; the blondies bake uniformly so you’re not pulling undercooked corners out before the center sets.
- The raised edges make it easy to run a thin knife around the perimeter while the bars are still warm, and they release without tearing or leaving chunks behind.
What doesn’t
- It’s not heavy-duty commercial-grade steel, so it will warp slightly if you subject it to extreme temperature swings (learned this the hard way when I went straight from the fridge to a 350°F oven).
- The nonstick surface does require hand-washing — the dishwasher will eventually dull the coating — which is a minor inconvenience when you’re already covered in brown sugar and butter.
I once questioned whether the nonstick was really making a difference and tried baking a batch in an old, uncoated steel pan just to compare; the edges literally welded themselves to the metal. Farberware Nonstick Rectangular Baking Pan, 9×13 inch