
This guide covers 20 tried-and-true recipes organized by type, plus shipping, packing, and carrier guidance.
Why Some Cookies Ship Better Than Others
Cookies that ship well share three traits: low moisture, structural integrity, and stable fat composition. High-moisture cookies dry out, stick, or stale quickly in transit.
A higher flour-to-fat ratio creates density to resist bumping and shifting. Brown sugar holds moisture evenly. The ideal shipping cookie is firm enough to survive handling but not brittle.
Cookies made with solid fats like butter maintain texture better than those with liquid oils. Aim for something between crisp and chewy.
The Best Cookies for Shipping as Gifts: 20 Recipes by Category
Every recipe below is tested and ready to bake.
Shortbread and Butter Cookies (The Gold Standard Shippers)
Shortbread's high butter-to-flour ratio creates a dense crumb that holds together beautifully, with a 10–14 day shelf life at room temperature.
- Classic Scottish Shortbread Fingers — Bake at 325°F for 20–22 minutes until pale gold. These stack perfectly in rows and barely crumble under pressure.
- Brown Butter Shortbread Rounds — The nutty depth of browned butter makes these feel luxurious. They hold their round shape after baking and pack tightly in columns.
- Lavender Lemon Shortbread Bars — Cut into thick fingers after baking. Avoid icing unless you use a royal icing that fully hardens (more on that below).
- Vanilla Bean Butter Cookies (Spritz-Style) — Piped and baked at 350°F for 10–12 minutes. The ridged shapes give them structural strength in all directions.
The Recipe: Classic Scottish Shortbread Fingers
Yield: about 24 fingers · Prep: 15 minutes, plus 30 minutes chilling · Bake: 325°F (165°C) for 20–22 minutes
- 1 cup (226 g) unsalted butter, softened
- 1/2 cup (100 g) granulated sugar
- 2 cups (250 g) all-purpose flour
- 1/4 teaspoon fine salt
- Line a 9×9-inch pan with parchment and preheat the oven to 325°F (165°C).
- Beat the butter and sugar just until combined and creamy — not light and fluffy. Whipping air into shortbread makes it puffy and fragile, which is the opposite of what a shipping cookie needs.
- Add the flour and salt and mix on low until a shaggy dough forms, then press it evenly into the pan.
- Chill the pan for 30 minutes, then dock the surface all over with a fork and score the dough into fingers (roughly 1 x 3 inches) with a sharp knife.
- Bake 20–22 minutes, until pale gold at the edges. Re-cut along the score lines while still warm, then cool completely in the pan before lifting the fingers out. Fully cooled shortbread is dramatically sturdier than warm shortbread.
The Recipe: Brown Butter Shortbread Rounds
Yield: about 30 rounds · Prep: 25 minutes, plus 1 hour chilling · Bake: 325°F (165°C) for 18–20 minutes
- 1 cup (226 g) unsalted butter, browned in a saucepan until nutty, then chilled until solid but still pliable
- 1/2 cup (100 g) granulated sugar
- 1 teaspoon vanilla extract
- 2 cups (250 g) all-purpose flour
- 1/2 teaspoon fine salt
- Beat the re-solidified brown butter with the sugar and vanilla until smooth, then mix in the flour and salt on low speed.
- Roll the dough into a 2-inch-thick log, wrap tightly, and chill at least 1 hour.
- Slice into 1/4-inch rounds and bake at 325°F (165°C) for 18–20 minutes, until set and barely golden. Cool completely before packing.
The Recipe: Lavender Lemon Shortbread Bars
Yield: 16 thick fingers · Prep: 15 minutes · Bake: 325°F (165°C) for 30–35 minutes
- 1 cup (226 g) unsalted butter, softened
- 1/2 cup (100 g) granulated sugar
- Zest of 1 lemon
- 2 teaspoons dried culinary lavender, lightly crushed
- 2 cups (250 g) all-purpose flour
- 1/4 teaspoon fine salt
- Rub the lemon zest and lavender into the sugar with your fingertips, then beat with the butter until creamy.
- Mix in the flour and salt, press into a parchment-lined 8×8-inch pan, and dock with a fork.
- Bake at 325°F (165°C) for 30–35 minutes, until golden at the edges. Cut into thick fingers while warm and cool completely in the pan.
The Recipe: Vanilla Bean Butter Cookies (Spritz-Style)
Yield: about 48 small cookies · Prep: 20 minutes · Bake: 350°F (175°C) for 10–12 minutes
- 1 cup (226 g) unsalted butter, softened
- 3/4 cup (150 g) granulated sugar
- 1 large egg
- Seeds of 1 vanilla bean (or 2 teaspoons vanilla bean paste)
- 2 1/4 cups (280 g) all-purpose flour
- 1/2 teaspoon fine salt
- Cream the butter and sugar until smooth, then beat in the egg and vanilla bean seeds.
- Mix in the flour and salt to make a soft, pipeable dough — do not chill it.
- Press through a cookie press (or pipe with a large star tip) onto ungreased, unlined sheets and bake at 350°F (175°C) for 10–12 minutes, until just golden at the edges. Cool completely on the pans.
Biscotti and Twice-Baked Cookies
Biscotti's double-baking removes nearly all moisture, giving a 3–4 week shelf life and remarkable structural integrity for shipping.
- Almond Anise Biscotti — Traditional and foolproof. Second bake at 300°F for 15 minutes per side creates an even, dry crumb.
- Chocolate Orange Biscotti — The cocoa powder adds slight binding power. Slice to 3/4 inch thickness for maximum durability.
- Cranberry Pistachio Biscotti — Beautiful cross-section, festive colors. Drizzle with white chocolate only after completely cooled, and let it set for 2 full hours before packing.
The Recipe: Almond Anise Biscotti
Yield: about 30 biscotti · Prep: 20 minutes · Bake: 350°F (175°C) for 25–28 minutes, then 300°F (150°C) for 15 minutes per side
- 2 cups (250 g) all-purpose flour
- 3/4 cup (150 g) granulated sugar
- 1 teaspoon baking powder
- 1/4 teaspoon fine salt
- 3 large eggs
- 1 teaspoon vanilla extract
- 1 tablespoon anise seeds (or 1 teaspoon anise extract)
- 1 cup (140 g) whole raw almonds
- Preheat the oven to 350°F (175°C) and line a baking sheet with parchment. Whisk the flour, sugar, baking powder, and salt in a large bowl.
- In a second bowl, whisk the eggs, vanilla, and anise until smooth, then stir into the dry ingredients. The dough will be sticky — that’s correct. Fold in the almonds.
- With damp hands, shape the dough into two logs about 10 inches long and 2 inches wide, spaced well apart on the sheet.
- Bake 25–28 minutes, until set and lightly golden. Cool on the sheet for 10 minutes — no longer, or they’ll be hard to slice cleanly.
- Using a serrated knife, slice each log on the diagonal into 3/4-inch pieces. Lay the slices cut-side down on the sheet.
- Reduce the oven to 300°F (150°C) and bake 15 minutes per side, flipping once. Cool completely on a rack; they’ll finish crisping as they cool.
The Recipe: Chocolate Orange Biscotti
Yield: about 30 biscotti · Bake: 350°F (175°C) for 25 minutes, then 300°F (150°C) for 12 minutes per side
- 1 3/4 cups (220 g) all-purpose flour
- 1/3 cup (30 g) unsweetened cocoa powder
- 3/4 cup (150 g) granulated sugar
- 1 teaspoon baking powder
- 1/4 teaspoon fine salt
- 3 large eggs
- Zest of 1 orange
- 3/4 cup chopped dark chocolate
- Whisk the dry ingredients together, then stir in the beaten eggs and orange zest until a sticky dough forms; fold in the chocolate.
- Shape into two 10-inch logs on parchment and bake at 350°F (175°C) for 25 minutes, until set.
- Cool 10 minutes, slice on the diagonal to 3/4 inch thick, then bake at 300°F (150°C) for 12 minutes per side. Cool completely.
The Recipe: Cranberry Pistachio Biscotti
Yield: about 30 biscotti · Bake: 350°F (175°C) for 25–28 minutes, then 300°F (150°C) for 15 minutes per side
- 2 cups (250 g) all-purpose flour
- 3/4 cup (150 g) granulated sugar
- 1 teaspoon baking powder
- 1/4 teaspoon fine salt
- 3 large eggs
- 1 teaspoon vanilla extract
- 3/4 cup dried cranberries
- 3/4 cup shelled pistachios
- 4 oz (113 g) white chocolate, melted, for drizzling (optional)
- Make exactly as the almond anise biscotti above, folding in the cranberries and pistachios in place of the almonds and anise.
- Bake, slice to 3/4 inch, and twice-bake on the same schedule; cool completely on a rack.
- If drizzling, do it only once the biscotti are fully cooled, and give the white chocolate a full 2 hours to set hard before packing.
Icebox and Slice-and-Bake Cookies
Slice-and-bake cookies have uniform thickness and density ideal for stacking. Flat bottoms mean no rocking in the box. They keep 7–10 days.
- Chocolate Pinwheel Icebox Cookies — Two doughs, one roll. The visual payoff is stunning and the flat profile is perfect for stacking.
- Cardamom Brown Sugar Icebox Rounds — Warmly spiced and slightly crisp. Roll the dough log in turbinado sugar before slicing for a beautiful edge.
- Espresso Shortbread Slices — A double win: the shortbread base ships beautifully, and the espresso powder intensifies flavor over the first two days.
The Recipe: Cardamom Brown Sugar Icebox Rounds
Yield: about 48 cookies · Prep: 20 minutes, plus at least 2 hours chilling · Bake: 350°F (175°C) for 12–14 minutes
- 1 cup (226 g) unsalted butter, softened
- 1 cup (200 g) packed light brown sugar
- 1 large egg
- 1 teaspoon vanilla extract
- 2 1/2 cups (310 g) all-purpose flour
- 1 1/2 teaspoons ground cardamom
- 1/4 teaspoon baking powder
- 1/2 teaspoon fine salt
- 1/4 cup turbinado sugar, for rolling
- Cream the butter and brown sugar for about 3 minutes, until light, then beat in the egg and vanilla.
- Whisk the flour, cardamom, baking powder, and salt together, then mix into the butter mixture on low just until no dry streaks remain.
- Divide the dough in half and roll each half into a log about 2 inches thick. Wrap tightly in plastic and chill at least 2 hours — up to 24 hours, which actually deepens the brown sugar flavor.
- Unwrap the logs and roll them in turbinado sugar, pressing so it sticks to the outside edge.
- Slice into 1/4-inch rounds, arrange on parchment-lined sheets, and bake at 350°F (175°C) for 12–14 minutes, until the edges are golden. Cool completely — they crisp up as they sit, which is exactly what you want for shipping.
The Recipe: Chocolate Pinwheel Icebox Cookies
Yield: about 36 cookies · Prep: 30 minutes, plus 2 hours chilling · Bake: 350°F (175°C) for 9–11 minutes
- 1 cup (226 g) unsalted butter, softened
- 1 cup (200 g) granulated sugar
- 1 large egg
- 2 teaspoons vanilla extract
- 2 1/2 cups (310 g) all-purpose flour
- 1/2 teaspoon baking powder
- 1/2 teaspoon fine salt
- 3 tablespoons (18 g) unsweetened cocoa powder
- Cream the butter and sugar, beat in the egg and vanilla, then mix in the flour, baking powder, and salt.
- Divide the dough in half and knead the cocoa powder into one half until evenly colored.
- Roll each half between sheets of parchment into a 12×10-inch rectangle, then stack the chocolate layer on the vanilla layer and roll up tightly from a long side, jelly-roll style.
- Wrap the log and chill at least 2 hours, then slice into 1/4-inch rounds and bake at 350°F (175°C) for 9–11 minutes. Cool completely before stacking.
The Recipe: Espresso Shortbread Slices
Yield: about 30 slices · Prep: 15 minutes, plus 2 hours chilling · Bake: 325°F (165°C) for 18–20 minutes
- 1 cup (226 g) unsalted butter, softened
- 2/3 cup (80 g) powdered sugar
- 1 teaspoon vanilla extract
- 4 teaspoons instant espresso powder
- 2 cups (250 g) all-purpose flour
- 1/4 teaspoon fine salt
- Beat the butter, powdered sugar, vanilla, and espresso powder until smooth, then mix in the flour and salt.
- Shape into a 2-inch log, wrap, and chill at least 2 hours.
- Slice into 1/4-inch rounds and bake at 325°F (165°C) for 18–20 minutes, until set and dry-looking on top. Cool completely — the espresso flavor genuinely deepens over the first two days in the box.
Sturdy Drop Cookies and Bars
Drop cookies ship well when made with lower moisture through longer bakes, higher brown sugar, or oats. Bar cookies cut thick travel like shortbread.
- Thick and Chewy Oatmeal Raisin Cookies — Bake at 350°F for 13–14 minutes (slightly longer than usual) to reduce moisture. The oats create an interlocking structure that resists crumbling.
- Classic Gingersnaps — Bake fully crisp. These are arguably the perfect shipping cookie: low moisture, high spice, and they actually improve in flavor after 2–3 days in an airtight container.
- Molasses Spice Cookies (baked firm) — Key here is baking until just set, not soft. The high molasses content keeps them from drying out completely.
- Brown Butter Blondies (cut thick) — Cut into 2-inch squares, at least 3/4 inch thick. Individually wrap each square in plastic wrap before packing.
- Fudgy Brownie Squares — Bake to the fudgy-but-set side, not underdone. Wrap individually and they ship for up to 5 days without quality loss.
The Recipe: Classic Gingersnaps
Yield: about 42 cookies · Prep: 20 minutes · Bake: 350°F (175°C) for 12–14 minutes
- 3/4 cup (170 g) unsalted butter, softened
- 1 cup (200 g) granulated sugar, plus about 1/4 cup more for rolling
- 1 large egg
- 1/4 cup (85 g) unsulphured molasses
- 2 cups (250 g) all-purpose flour
- 2 teaspoons baking soda
- 2 teaspoons ground ginger
- 1 teaspoon ground cinnamon
- 1/2 teaspoon ground cloves
- 1/2 teaspoon fine salt
- Preheat the oven to 350°F (175°C) and line two sheets with parchment.
- Cream the butter and sugar until light and fluffy, then beat in the egg and molasses until fully combined.
- Whisk the flour, baking soda, ginger, cinnamon, cloves, and salt in a separate bowl, then mix into the wet ingredients just until combined.
- Roll the dough into 1-inch balls, roll each ball in granulated sugar, and space them 2 inches apart.
- Bake 12–14 minutes, until the tops are deeply cracked and the cookies are fully set — for shipping, err toward the longer time. They’ll snap, not bend, once cool, and that’s the goal.
- Cool completely on a rack before packing. Remember, these actually taste better on day 2 or 3, which makes them perfect for the mail.
The Recipe: Thick and Chewy Oatmeal Raisin Cookies
Yield: about 30 cookies · Prep: 15 minutes, plus 30 minutes chilling · Bake: 350°F (175°C) for 13–14 minutes
- 1 cup (226 g) unsalted butter, softened
- 1 cup (200 g) packed brown sugar
- 1/2 cup (100 g) granulated sugar
- 2 large eggs
- 1 teaspoon vanilla extract
- 1 1/2 cups (190 g) all-purpose flour
- 1 teaspoon baking soda
- 1 teaspoon ground cinnamon
- 1/2 teaspoon fine salt
- 3 cups (270 g) old-fashioned rolled oats
- 1 cup raisins
- Cream the butter and both sugars until fluffy, then beat in the eggs and vanilla.
- Mix in the flour, baking soda, cinnamon, and salt, then stir in the oats and raisins. Chill the dough 30 minutes so the cookies bake thick.
- Scoop 2-tablespoon mounds onto parchment-lined sheets and bake at 350°F (175°C) for 13–14 minutes — the extra minute or two versus a standard bake drives off the moisture that would otherwise ruin them in transit. Cool completely.
The Recipe: Molasses Spice Cookies (Baked Firm)
Yield: about 30 cookies · Prep: 15 minutes · Bake: 375°F (190°C) for 10–11 minutes
- 3/4 cup (170 g) unsalted butter, softened
- 1 cup (200 g) packed brown sugar
- 1 large egg
- 1/3 cup unsulphured molasses
- 2 1/4 cups (280 g) all-purpose flour
- 2 teaspoons baking soda
- 2 teaspoons ground ginger, 1 teaspoon cinnamon, 1/2 teaspoon cloves
- 1/2 teaspoon fine salt
- Granulated sugar, for rolling
- Cream the butter and brown sugar, beat in the egg and molasses, then mix in the flour, baking soda, spices, and salt.
- Roll into 1 1/4-inch balls, roll in sugar, and space 2 inches apart.
- Bake at 375°F (190°C) for 10–11 minutes, until just set through the middle — not soft-centered. Cool on the pan 5 minutes, then finish cooling on a rack.
The Recipe: Brown Butter Blondies (Cut Thick)
Yield: 24 two-inch squares · Prep: 20 minutes · Bake: 350°F (175°C) for 25–28 minutes
- 1 cup (226 g) unsalted butter, browned and cooled slightly
- 2 cups (400 g) packed brown sugar
- 2 large eggs plus 1 yolk
- 1 tablespoon vanilla extract
- 2 cups (250 g) all-purpose flour
- 1/2 teaspoon baking powder
- 1 teaspoon fine salt
- Whisk the warm brown butter with the brown sugar, then whisk in the eggs, yolk, and vanilla until glossy.
- Fold in the flour, baking powder, and salt and spread into a parchment-lined 9×13-inch pan.
- Bake at 350°F (175°C) for 25–28 minutes, until just set in the center. Cool completely in the pan, cut into 2-inch squares at least 3/4 inch thick, and wrap each square individually in plastic wrap before packing.
The Recipe: Fudgy Brownie Squares
Yield: 24 squares · Prep: 15 minutes · Bake: 350°F (175°C) for 28–30 minutes
- 1 cup (226 g) unsalted butter, melted
- 2 cups (400 g) granulated sugar
- 4 large eggs
- 2 teaspoons vanilla extract
- 1 cup (85 g) unsweetened cocoa powder
- 1 cup (125 g) all-purpose flour
- 1/2 teaspoon fine salt
- Whisk the melted butter and sugar, then beat in the eggs one at a time with the vanilla.
- Fold in the cocoa, flour, and salt just until combined and spread into a parchment-lined 9×13-inch pan.
- Bake at 350°F (175°C) for 28–30 minutes, until a tester comes out with moist crumbs but no wet batter — fudgy but fully set. Cool completely, cut into squares, and wrap each one individually.
Decorated Cookies That Actually Survive
Buttercream does not ship—it welds cookies together. Royal icing absolutely can, if bone dry before packing (minimum 8 hours, ideally 12–24).
However, royal icing-decorated cookies absolutely can ship — with one condition. The icing must be bone dry before packing, which means a minimum 8-hour drying time, and ideally 12–24 hours. Royal icing hardens to a true shell that protects the cookie surface during transit.
- Royal Iced Sugar Cookies — Use a firm sugar cookie base (350°F, 10–12 minutes). Dry iced cookies flat for 12 hours before stacking with parchment between layers.
- Gingerbread Cutouts with Royal Icing — The gingerbread base is naturally dense and low-moisture. These are my top pick for holiday shipments.
- Chocolate-Dipped Shortbread — Tempered chocolate sets to a hard shell. Temper properly (or use melting wafers), and allow full setting time at room temperature before packing.
The Recipe: Royal Iced Sugar Cookies
Yield: about 24 three-inch cookies · Prep: 30 minutes, plus 1 hour chilling and 12 hours icing-drying time · Bake: 350°F (175°C) for 10–12 minutes
For the cookies:
- 1 cup (226 g) unsalted butter, softened
- 1 cup (200 g) granulated sugar
- 1 large egg
- 2 teaspoons vanilla extract
- 3 cups (375 g) all-purpose flour
- 1/2 teaspoon baking powder
- 1/2 teaspoon fine salt
For the royal icing:
- 4 cups (450 g) powdered sugar
- 3 tablespoons meringue powder
- 8–9 tablespoons room-temperature water
- 1 teaspoon vanilla extract (optional, use clear vanilla to keep the icing white)
- Cream the butter and sugar until fluffy, beat in the egg and vanilla, then mix in the flour, baking powder, and salt. Divide into two disks and chill 1 hour.
- Roll to a firm 1/4 inch thick — thinner cookies are prettier but they do not survive the mail — cut your shapes, and bake at 350°F (175°C) for 10–12 minutes, until the edges just take on color. Cool completely.
- For the icing, beat the powdered sugar, meringue powder, water, and vanilla on medium speed for 5–7 minutes, until glossy with stiff peaks. Thin a portion with water, a teaspoon at a time, to a flooding consistency.
- Outline and flood the cookies, then leave them flat, uncovered, at room temperature for a full 12 hours before you even think about stacking them. Bone dry means bone dry.
- Stack with parchment between layers and pack snugly.
The Recipe: Gingerbread Cutouts with Royal Icing
Yield: about 30 cookies · Prep: 25 minutes, plus 2 hours chilling · Bake: 350°F (175°C) for 9–11 minutes
- 3/4 cup (170 g) unsalted butter, softened
- 3/4 cup (150 g) packed dark brown sugar
- 2/3 cup unsulphured molasses
- 1 large egg
- 3 cups (375 g) all-purpose flour
- 1 teaspoon baking soda
- 1 tablespoon ground ginger, 2 teaspoons cinnamon, 1/4 teaspoon cloves
- 1/2 teaspoon fine salt
- 1 batch royal icing (from the recipe above)
- Cream the butter and brown sugar, then beat in the molasses and egg. Mix in the flour, baking soda, spices, and salt; divide into two disks and chill 2 hours.
- Roll to 1/4 inch thick, cut your shapes, and bake at 350°F (175°C) for 9–11 minutes, until set at the edges. Cool completely.
- Decorate with royal icing and dry flat for 12 hours before stacking, exactly as with the sugar cookies.
The Recipe: Chocolate-Dipped Shortbread
Yield: about 24 dipped fingers · Active time: 20 minutes, plus 2 hours setting
- 1 batch Classic Scottish Shortbread Fingers (recipe above), completely cooled
- 8 oz (225 g) dark chocolate melting wafers, or tempered dark chocolate
- Melt the wafers gently (or temper your chocolate — melting wafers are the forgiving shortcut, and they set just as hard).
- Dip half of each shortbread finger, let the excess drip off, and lay on parchment.
- Let the chocolate set at room temperature for a full 2 hours until completely hardened before packing. Never refrigerate to speed this up — condensation will bloom the chocolate.
Cookies That Do NOT Ship Well (Be Honest With Yourself)
I’d be doing you a disservice if I only told you what works. These cookies are delicious, but they will not survive the mail.
- Soft-baked chocolate chip cookies — High moisture, soft centers. They stick together, go stale, and lose their texture within 24 hours in a sealed box.
- Cream-filled sandwich cookies — The filling creates humidity inside each sandwich, softening both cookies rapidly.
- Meringues and macarons — Meringues shatter. French macarons are moisture-sensitive and become soggy or crack with any temperature fluctuation.
- Buttercream-frosted cutouts — As I mentioned above: do not do this to yourself.
- Jam thumbprints — The jam filling is sticky and transfers to other cookies instantly. They arrive as one jammy cluster.
Shipping Carriers, Costs, and Timing: What I Actually Use
USPS Priority Mail is my default: a small flat-rate box costs $10–$12 and delivers in 2–3 business days. It works well for most cookies.
UPS Ground ($8–$14 for 2–3 lb) takes 3–5 days but works for biscotti or shortbread. FedEx is comparable but handles more roughly; reserve it for well-padded shipments.
For holiday shipping, send by December 18th via Priority Mail. Include a card inside with a best-by date.
The Boxes I Trust: My Packaging Recommendation
Double-wall corrugated boxes absorb impact better than standard cardboard. A 9x6x4 inch box fits 12–15 biscotti or 18–20 shortbread rounds with proper padding.
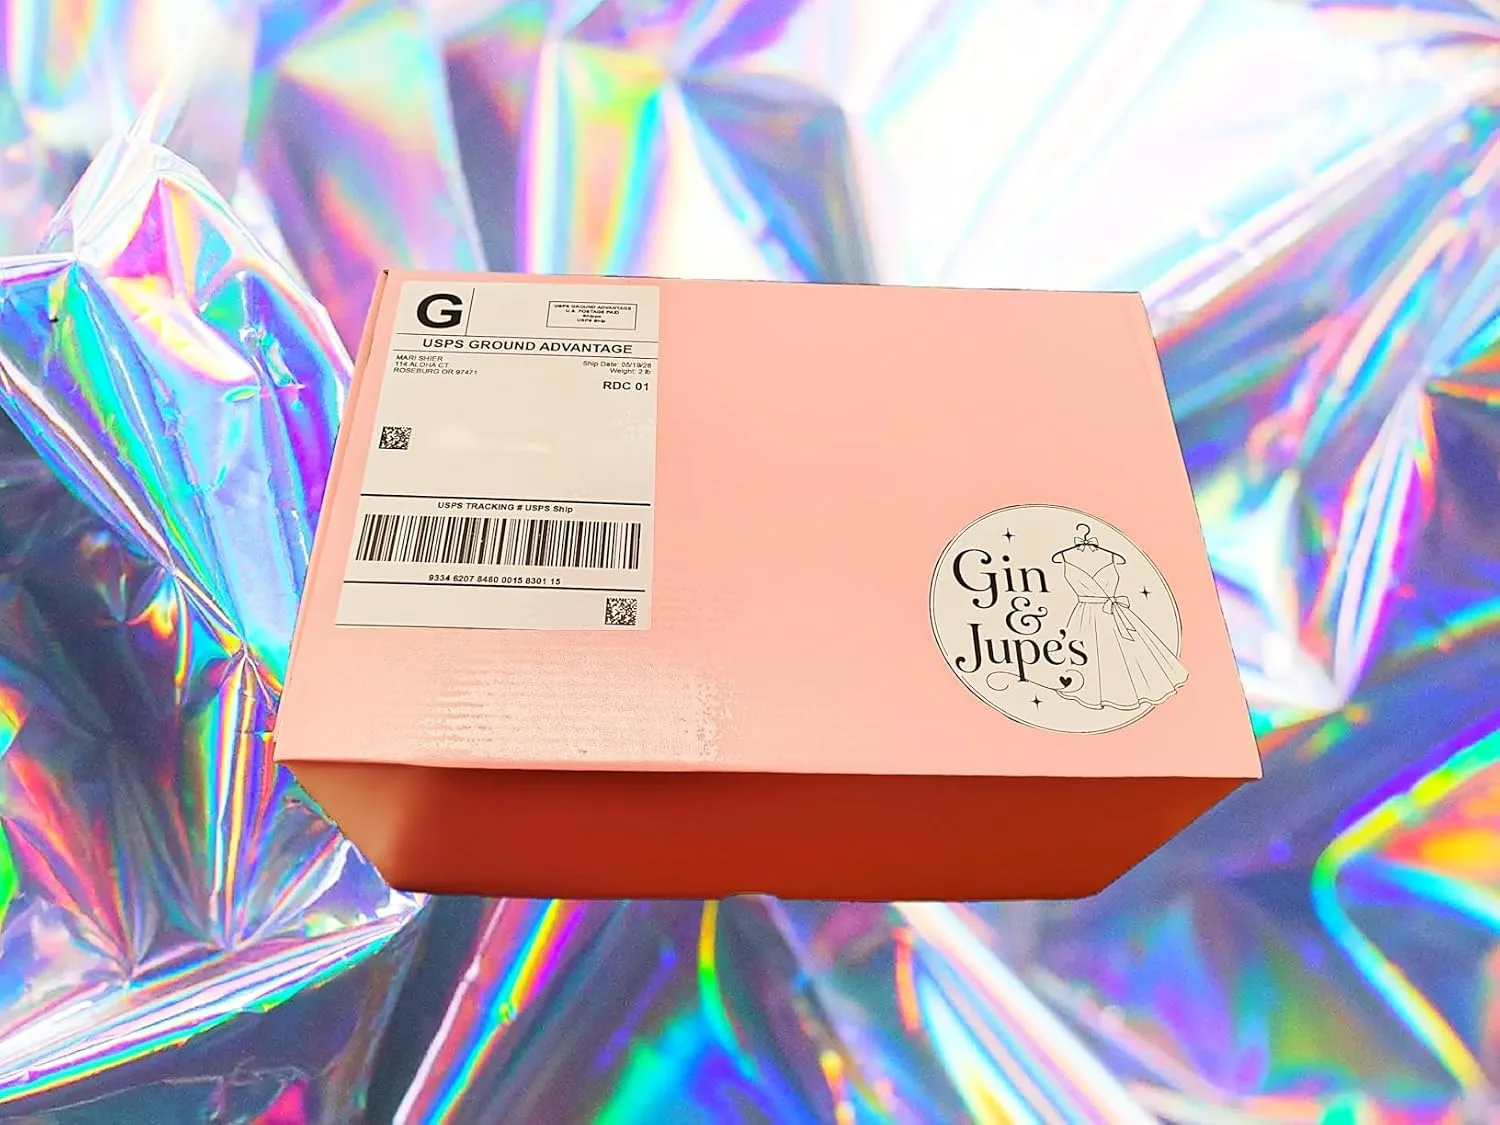
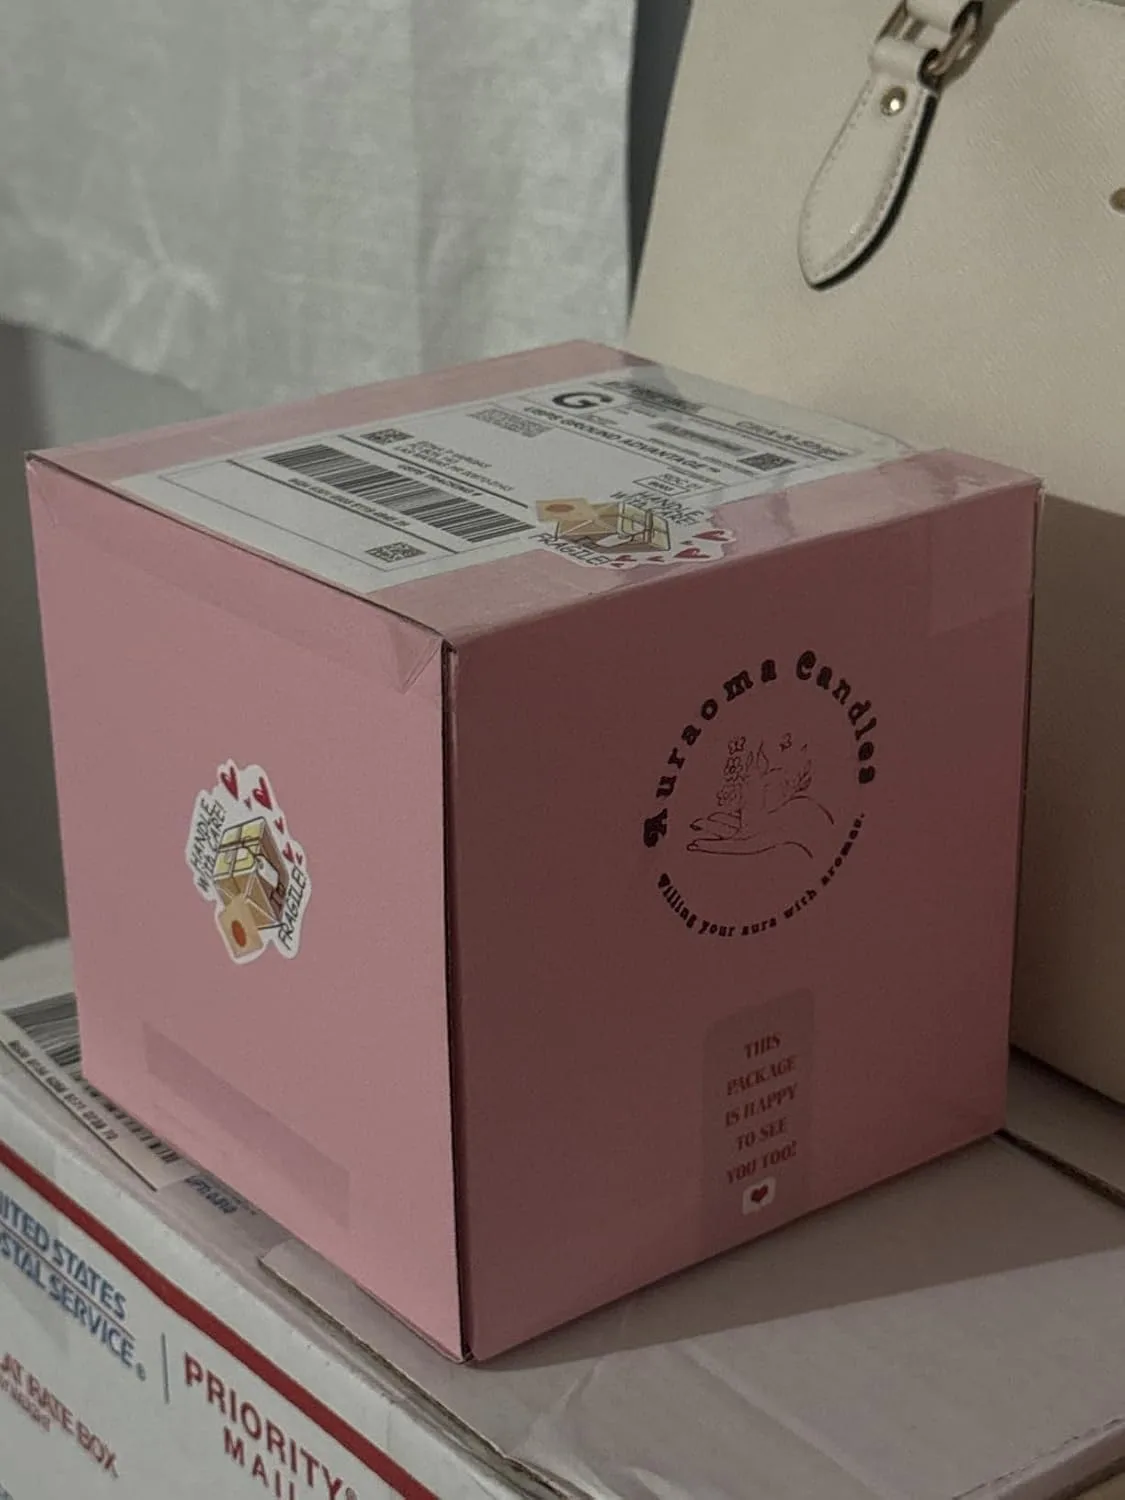
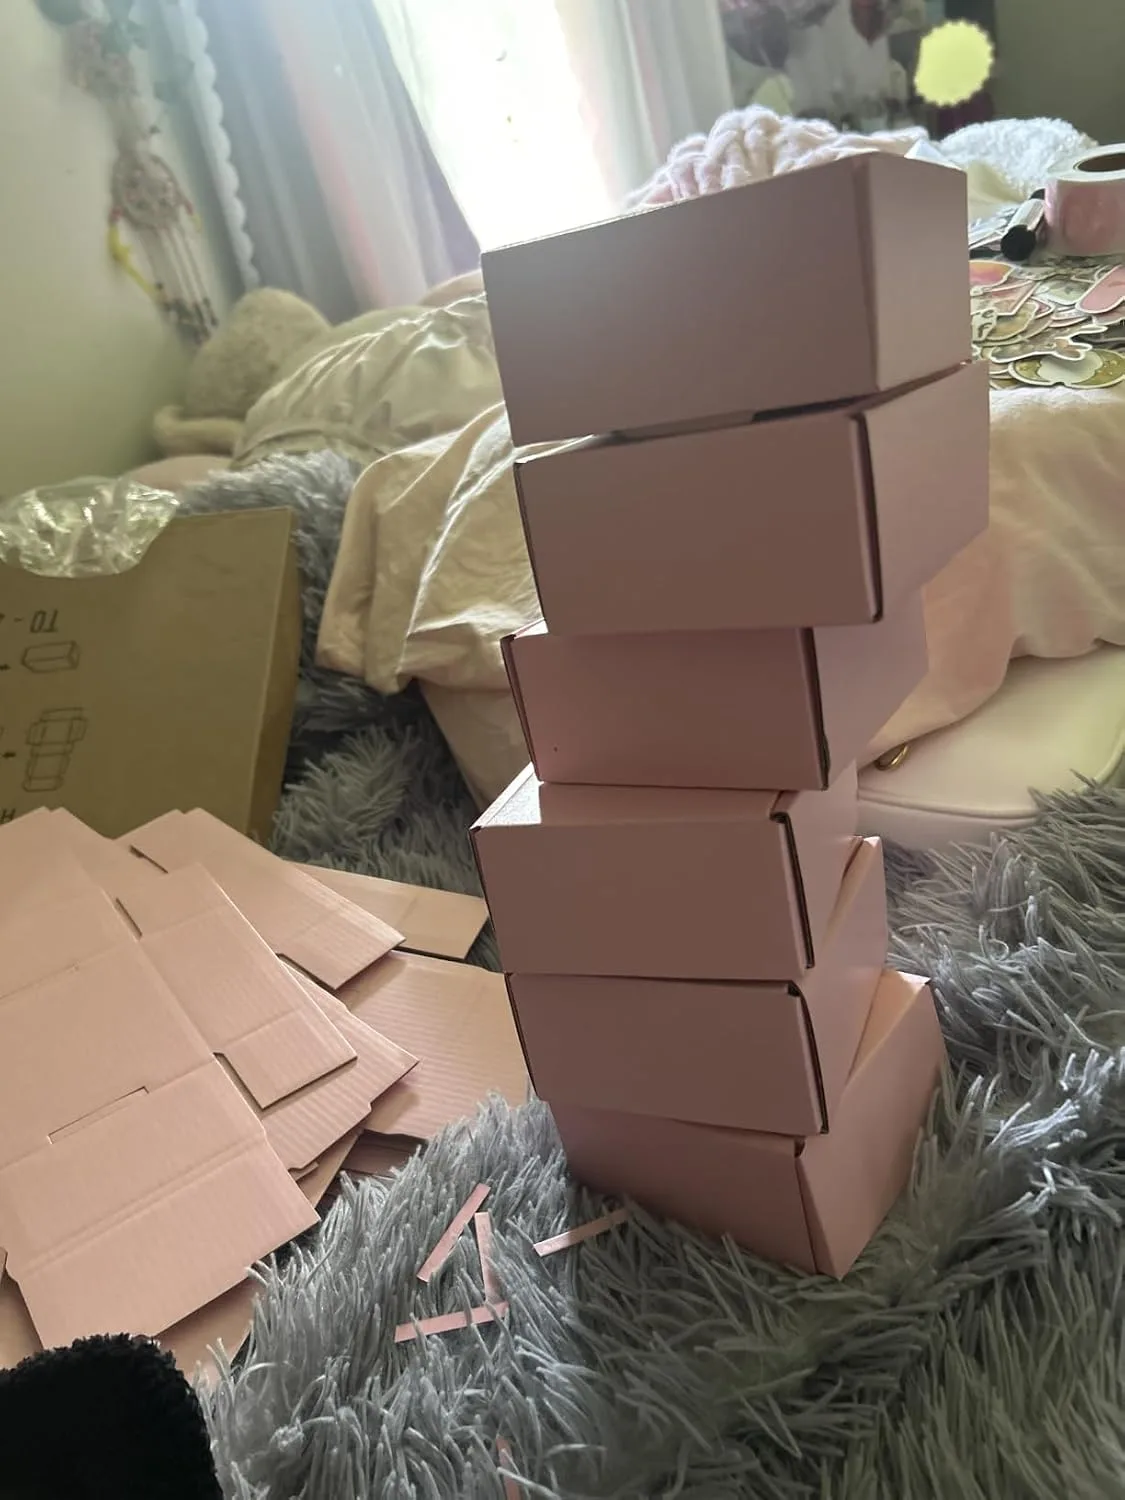
My current go-to is the Lmuze Small Black Shipping Boxes (Pack of 30, 9x6x4 inches). I started using these last holiday season and they’ve become a permanent part of my cookie shipping kit. The black corrugated cardboard looks intentional and gift-ready rather than industrial, which matters when you’re sending something handmade. The 9x6x4 inch dimensions are genuinely ideal for a single layer of cookies plus a half-inch of bubble wrap beneath and above. I’ve used the full pack of 30 across two holiday seasons without a single box that arrived crushed or compromised.
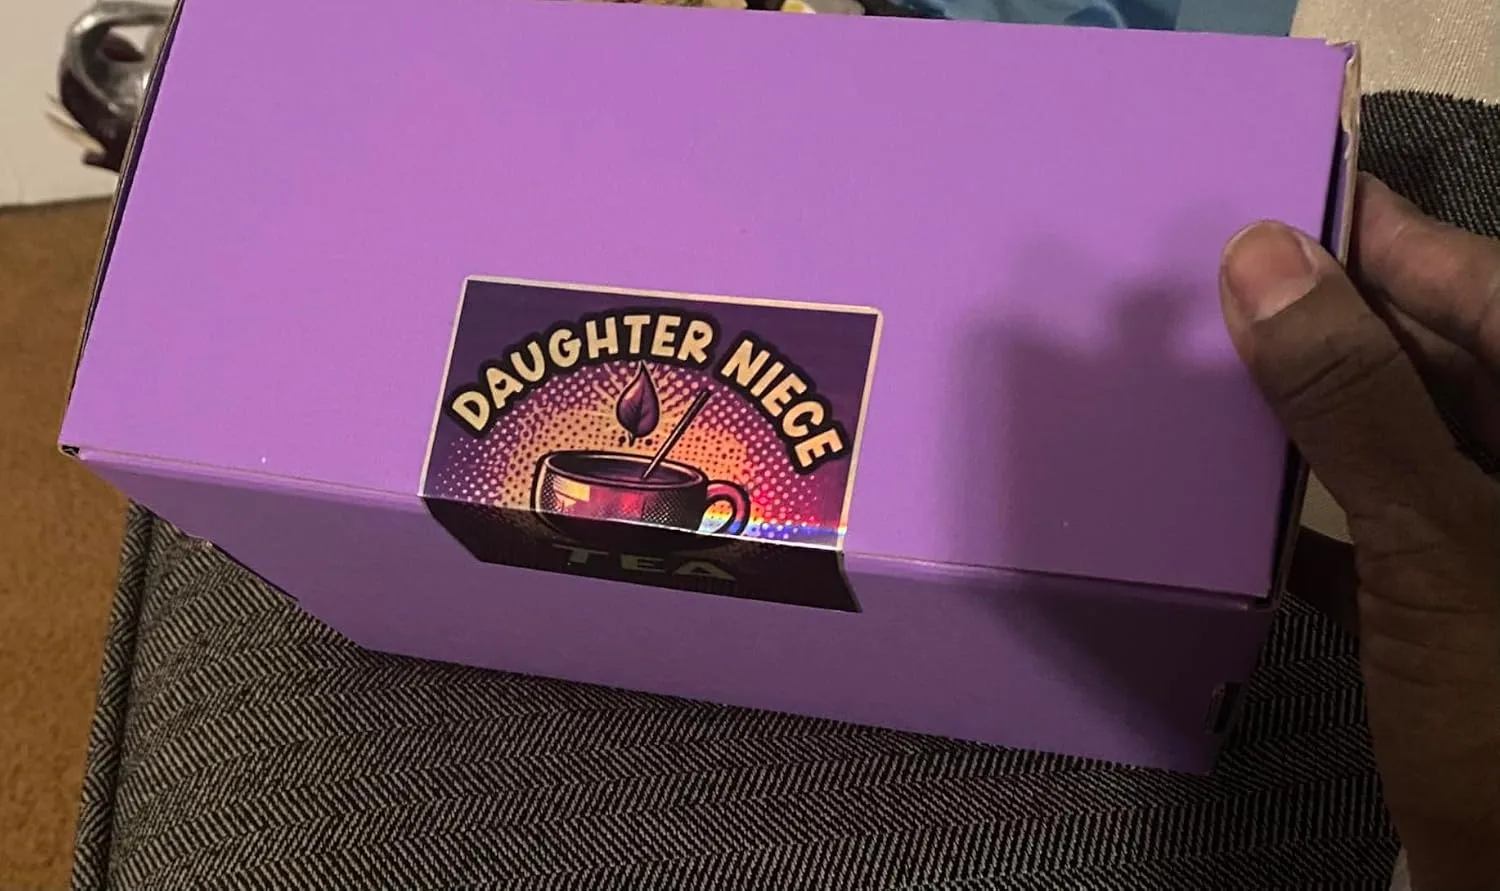
If you’re shipping smaller quantities or working with a tighter budget, the AIYUNNI 25 Pack Purple Corrugated Boxes (7x5x2 inches) are a cheerful and affordable option. The smaller footprint works well for a dozen gingersnaps or a small stack of biscotti. The purple color is fun for birthdays or spring gifting. However, the shallower depth (2 inches) means you’re limited to a single tight layer — pack accordingly.
For more detail on how I pack cookies inside these boxes — including my layering method and which cushioning materials I use — check out my full guide on how to package homemade cookies as gifts.
Pro Tips for Shipping Cookies Successfully
These are the lessons I’ve distilled from hundreds of shipped boxes. Follow them consistently and your cookies will arrive the way you intended them to.
- Cool completely before packing. Even slight warmth creates condensation inside a sealed box, which softens cookies and promotes mold. I wait a full 2 hours minimum after baking.
- Pack cookies in airtight inner bags first. I use resealable cellophane treat bags or small zip-lock bags before placing cookies in the shipping box. This creates a moisture barrier and keeps flavors separate if you’re sending multiple varieties.
- Fill all empty space. Cookies shift and break when there’s room to move. Use crinkle paper, tissue paper, or bubble wrap to eliminate dead space completely.
- Never ship cookies on a Friday. Packages sent Friday often sit in a facility over the weekend. Ship Monday through Wednesday for best results.
- Add a silica gel packet for longer shipments. For anything traveling more than 3 days, a food-safe silica packet inside the box helps control humidity. I buy them in bulk for about $8 per 100 packets.
- Label the box clearly. “FRAGILE” stickers don’t hurt, though their effect is debatable. More importantly, make sure the address label is secure and protected from moisture with clear tape over the entire label.
- Include a handwritten card. This isn’t just sentiment — it also lets you note the contents, best-by date, and any storage instructions. Recipients appreciate knowing whether to refrigerate or leave at room temperature.