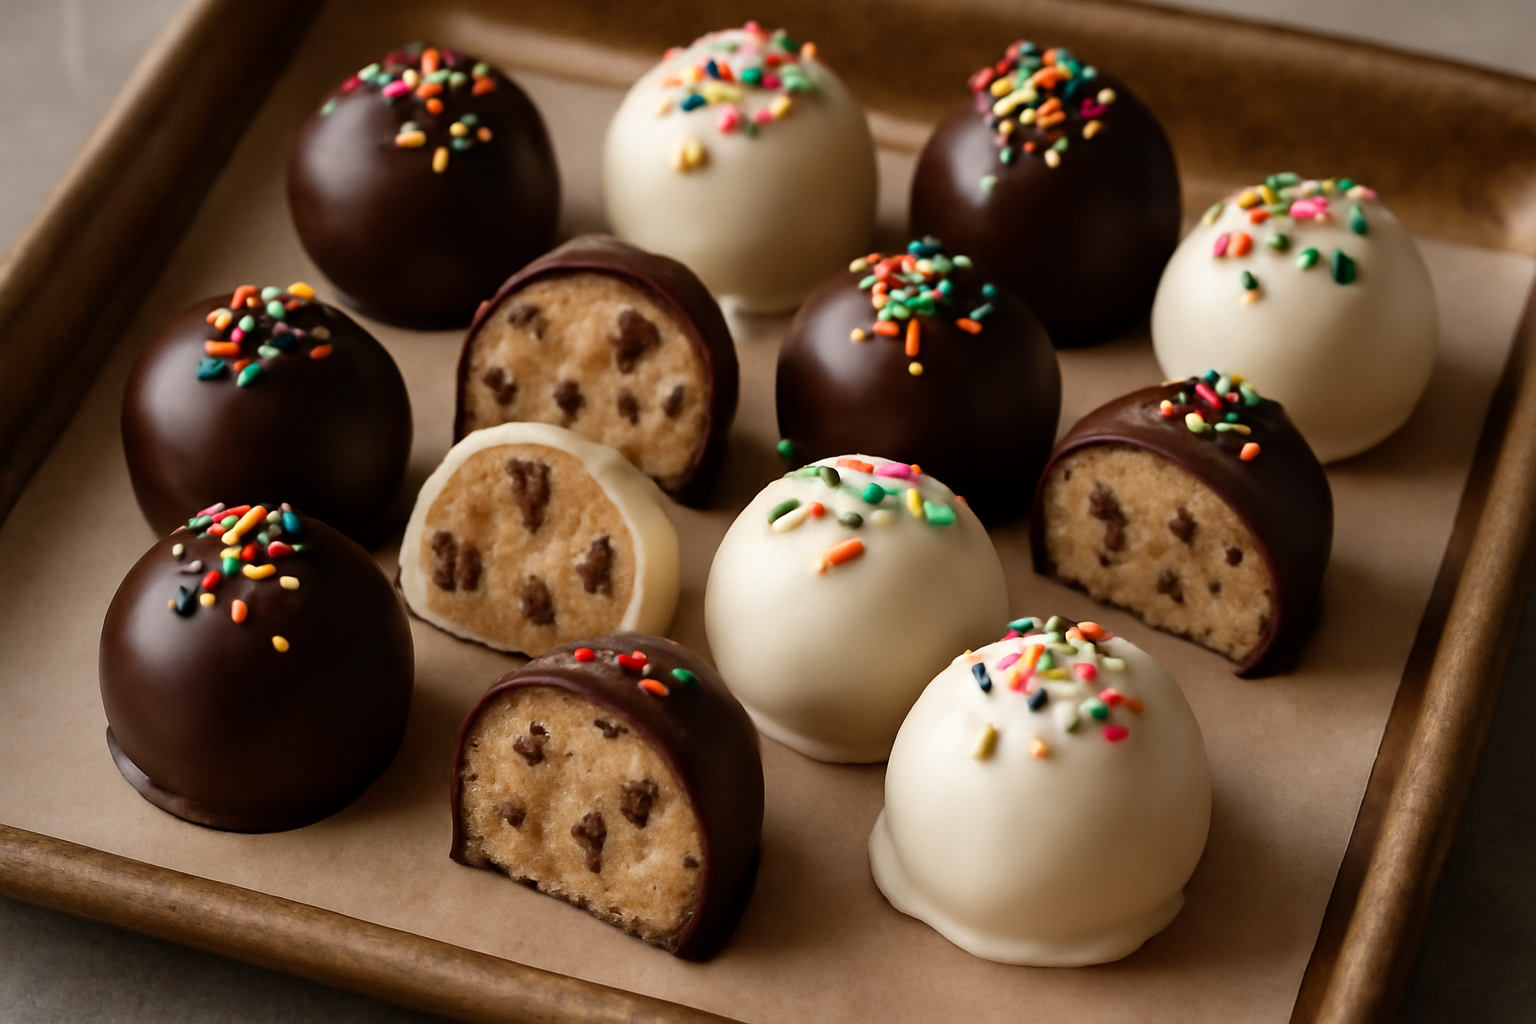
Every Christmas Eve, my family argues about dessert. My brother-in-law wants cheesecake. My mother insists on pie. My teenagers vote for literally anything chocolate. In 2021, I set out a tray of my cookie dough truffles chocolate dipped recipe — and the argument stopped cold. Everyone went quiet, reached for a second one, and completely forgot what they were debating. That is the power of this dessert. It combines two things people are almost irrationally passionate about: raw cookie dough nostalgia and chocolate-dipped elegance. The result is something that feels both indulgent and effortless, though I will be honest — it took me 31 test batches to get it exactly right.
I have been developing cookie recipes for over 15 years, and these little truffles taught me more about ingredient ratios and chocolate tempering than almost anything else I have made. They look like they belong in a high-end confectionery. However, they are genuinely approachable once you understand the science underneath the process. This post covers everything I learned — including the three batches I threw directly into the trash and the one tool that finally gave me consistent, bakeable results every single time.
Why Cookie Dough Truffles Work (The Science Behind the Magic)
Traditional cookie dough contains raw eggs and raw flour — both genuine food safety concerns. Raw flour has been linked to E. coli outbreaks as recently as 2019, which is something I take seriously. The solution is heat-treating your flour and simply omitting the eggs entirely. When I skip eggs, I am removing the primary structural binder and the main source of moisture-triggered gluten development. That means I need to compensate with fat and a touch more liquid to achieve a soft, scoopable dough that actually holds its shape after chilling.
My ratio: 1 cup heat-treated all-purpose flour, ½ cup (1 stick) softened unsalted butter, ½ cup packed light brown sugar, 3 tablespoons granulated sugar, 2 tablespoons milk, 1 teaspoon pure vanilla extract, ¼ teaspoon fine sea salt, and ¾ cup mini chocolate chips. The brown sugar is non-negotiable. Its molasses content adds hygroscopic moisture retention, keeping the centers soft for days after dipping. Granulated sugar alone produces a grainier, drier truffle interior — I confirmed this in batches 4 through 9.
How to Heat-Treat Flour Properly
Spread your flour in a thin layer on a rimmed baking sheet. Bake it at 350°F for exactly 5 minutes. Let it cool completely before using. Alternatively, microwave it in 15-second bursts, stirring between each, until an instant-read thermometer reads 165°F throughout. I strongly prefer the oven method because heat distribution is more even and I have never gotten a hot spot that way. The flour should smell slightly toasty but not at all nutty or browned — if it smells like popcorn, you went too far.
Building the Perfect Cookie Dough Truffle Base
Start with room-temperature butter — specifically 68°F to 70°F. I know that sounds obsessive, but butter that is too cold will not cream properly, leaving you with a lumpy, uneven dough. Butter that is too warm melts the sugar crystals before they can aerate properly, producing a greasy rather than smooth dough. In my experience, pulling butter from the fridge 45 minutes before you begin is about right in a standard kitchen.
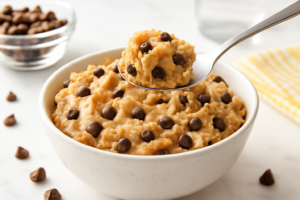
Cream the butter and both sugars together for a full 2 minutes on medium speed. Add the milk and vanilla and mix for another 30 seconds. Then add the cooled, heat-treated flour and salt, mixing on low until just combined. Fold in the mini chips by hand. The dough will look slightly soft at this stage — that is correct. It firms dramatically after chilling, which is when you will scoop it.
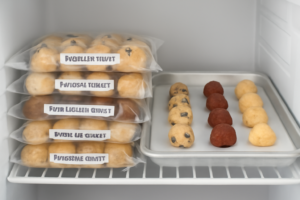
Chill the dough for at least 1 hour, or up to 24 hours. I have made these with both short and long chills, and I genuinely prefer the 24-hour version. Extended chilling allows the sugars to fully hydrate and the flavors to meld — the same principle behind rested cookie dough that bakers like Jacques Torres have championed for decades. After chilling, use a 1-tablespoon cookie scoop to portion the dough into balls. Roll them briefly between your palms to smooth the surface. Place them on a parchment-lined sheet and freeze for 20 minutes before dipping.
Chocolate Dipping: Tempering vs. Coating Chocolate
Here is where most home bakers make a critical decision without realizing it. There are two approaches: properly tempered real chocolate and compound coating chocolate (also called candy melts or almond bark). I have used both extensively. Tempered chocolate gives you that sharp, professional snap and a glossy finish that looks stunning in photos. However, it requires precise temperature control and can be genuinely frustrating if your kitchen runs warm.
Compound coating chocolate skips the tempering requirement entirely because it uses vegetable fat instead of cocoa butter. The tradeoff is a slightly softer set and a less complex flavor. For casual entertaining, compound coating is perfectly wonderful. Specifically, I use Ghirardelli dark melting wafers when I want convenience. That said, for holiday gifts or special occasions, I take the extra 20 minutes to properly temper Callebaut 811 dark couverture — and the difference is genuinely noticeable.
The Tempering Method I Use Every Time
For dark chocolate, melt your chocolate to 115°F using a double boiler, stirring constantly. Cool it down to 82°F by spreading it on a clean marble slab or simply stirring patiently off the heat. Then bring it back up to 88°F to 90°F — this is the working temperature for dark chocolate. For milk chocolate, target 86°F to 88°F. White chocolate works best at 84°F to 86°F. Hitting and maintaining these exact temperatures is where this process can fall apart if you are guessing.
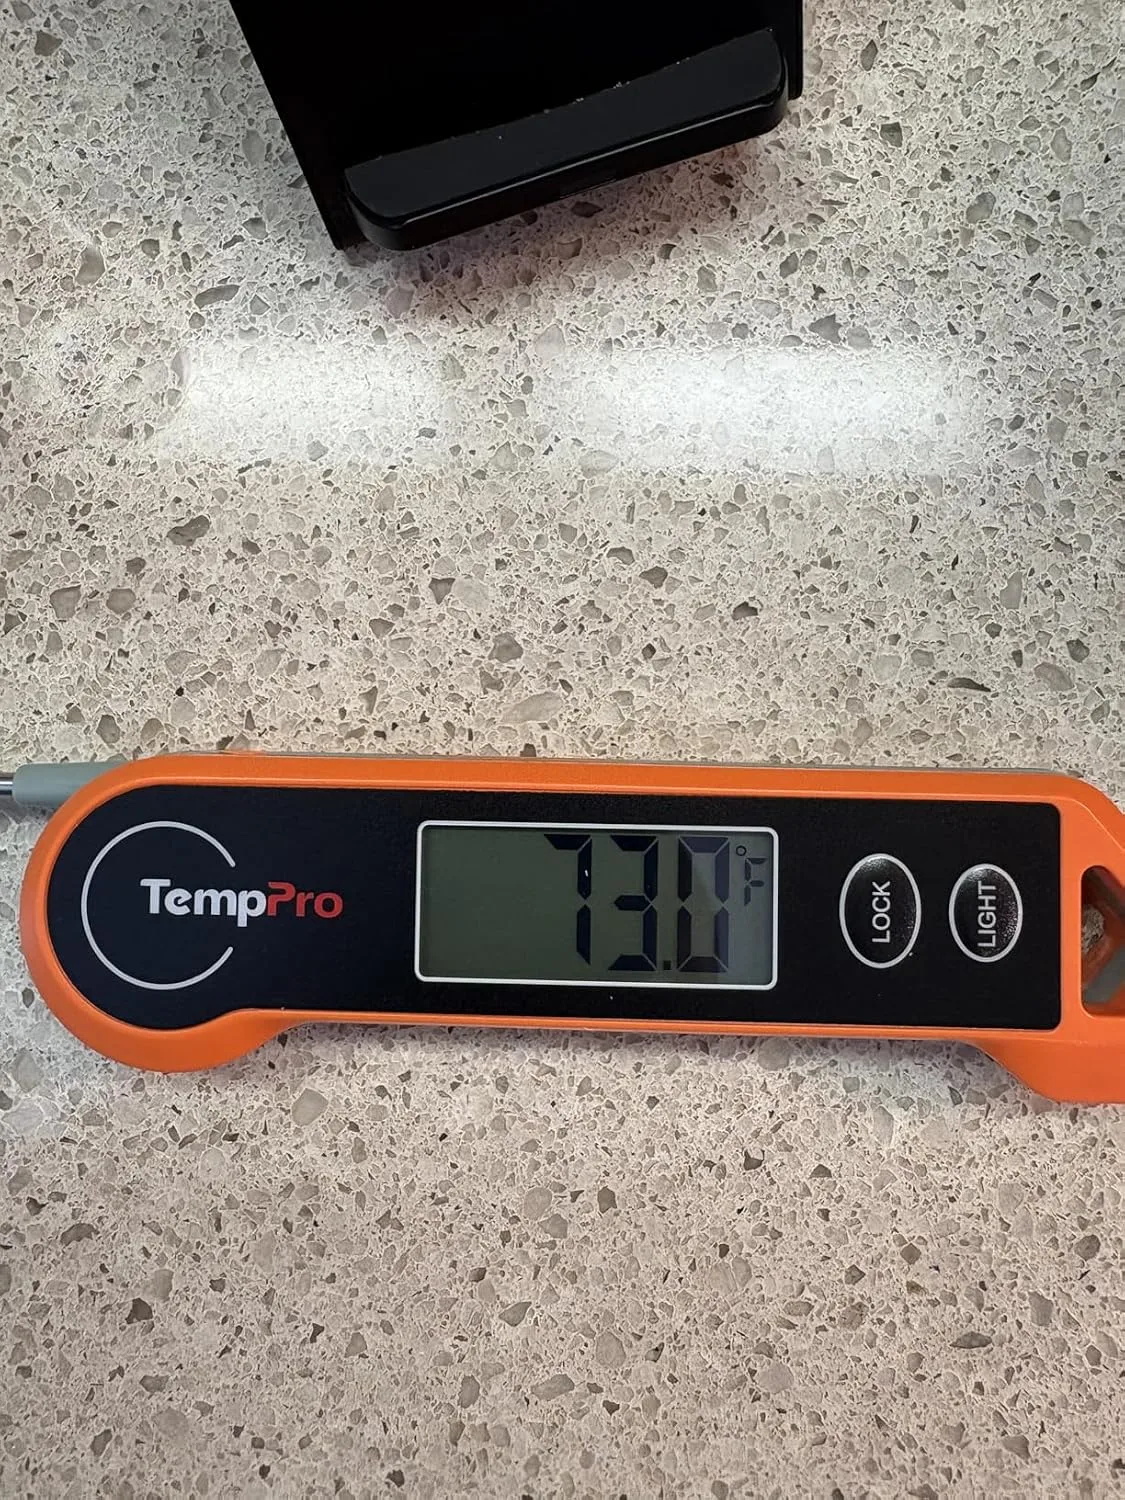
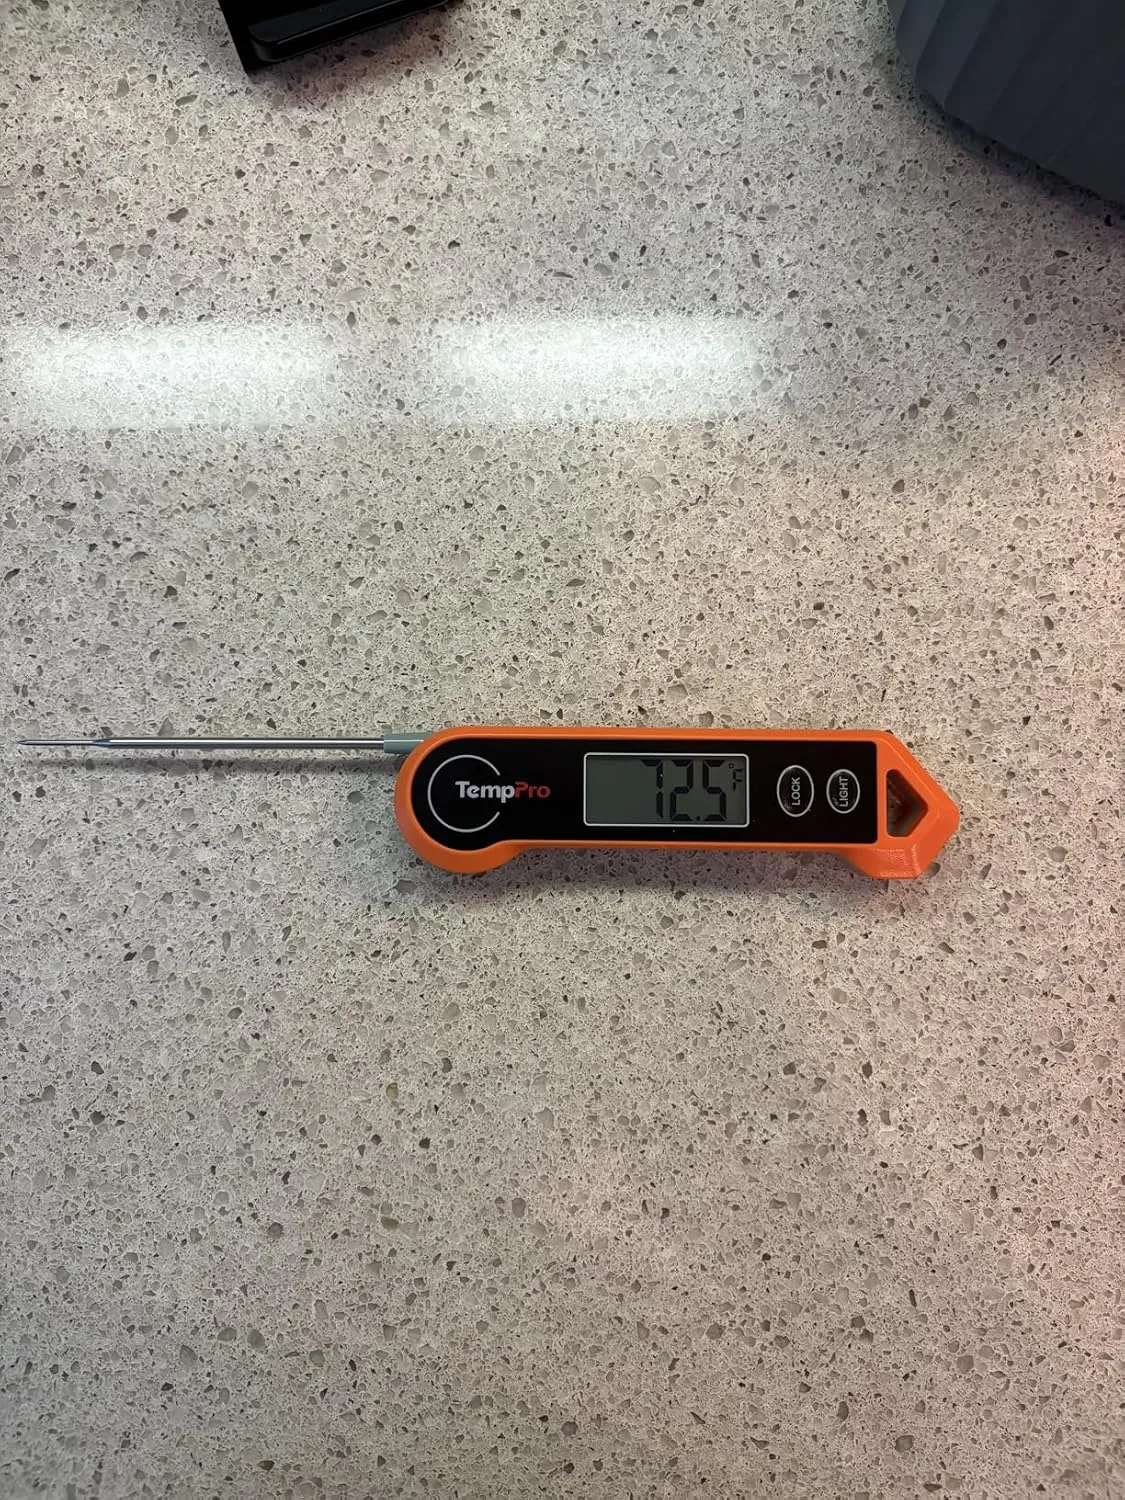
The Thermometer That Keeps My Chocolate Dip from Breaking
Chocolate dipping is unforgiving—too hot and it seizes, too cool and it won’t coat smoothly. I learned this the hard way after ruining batches before I started actually measuring the temperature instead of guessing.
What works
- Reads the exact moment your melted chocolate hits that perfect 88–90°F sweet spot—no more seized batches or dull, thick coatings.
- The response time is genuinely fast; I get a stable reading in a few seconds, which matters when you’re dipping dozens of truffles and the bowl keeps cooling.
- The digital display is large enough to read without my glasses, and the probe is thin enough that it doesn’t disrupt the chocolate or take up much space in a small melting bowl.
What doesn’t
- The probe needs to be hand-washed—it’s not dishwasher safe—so there’s one more small thing to clean after you’ve already made a mess dipping.
- The battery compartment cap is a little finicky, and I’ve had to replace the batteries more often than I’d expect for how frequently I use it.
I almost gave up on temperature control entirely after my third seized batch, convinced I was overthinking it—but this thermometer made the difference between a matte, snappy chocolate shell and a grainy mess. TempPro TP19H Digital Instant Read Thermometer
This post contains affiliate links. As an Amazon Associate, I earn from qualifying purchases at no extra cost to you.
This post contains affiliate links. As an Amazon Associate, I earn from qualifying purchases at no extra cost to you.