
The first time I made safe to eat cookie dough heat treated flour was Christmas Eve 2019, and honestly, it was out of desperation. My daughter Emma had been sneaking spoonfuls of raw dough all afternoon, and instead of fighting a losing battle, I decided to make her something she could eat freely. I had read about heat treating flour but had no real method — just a vague idea that the oven was involved. What followed was two hours of trial, one batch that tasted like cardboard, and a second that was genuinely, surprisingly delicious. That night planted a seed that turned into three years of obsessive testing.
Here is what most recipes gloss over: the technique matters enormously. Raw flour carries E. coli and Salmonella risks just as raw eggs do — a fact confirmed by multiple FDA outbreak investigations, including a significant 2016 flour recall linked to General Mills products. Heat treating eliminates those pathogens, but doing it incorrectly leaves you with dough that tastes scorched, has a gritty texture, or loses its ability to hold together. After more than 60 dedicated test batches of edible dough alone — separate from my regular baking — I have finally nailed the method that is both safe and delicious.
This post covers everything: the food science behind why heat treatment works, the exact oven and microwave methods I tested, the temperatures you genuinely need to hit, and the one kitchen tool that changed everything for me. Whether you are making this for a cookie decorating party or just want a bowl you can eat with a spoon at midnight — I have been there — this guide will get you there safely.
Why Raw Flour Is Actually Dangerous (And What Heat Does to Fix It)
Most home bakers worry about raw eggs and completely overlook the flour. In my experience, this is the bigger blind spot. Flour is a raw agricultural product. It goes from wheat field to mill to bag without any kill step — meaning no heat, no pasteurization, nothing that eliminates pathogens along the way. Studies published in the Journal of Food Protection have confirmed that wheat flour can harbor E. coli O157:H7 at levels sufficient to cause illness. That is not a theoretical risk. It is a documented one.
Heat treatment works by denaturing the proteins in bacterial cells, destroying their structure and rendering them inactive. Specifically, you need to bring the internal temperature of the flour to 165°F (74°C) and hold it there long enough to ensure even distribution of heat. This is the same principle behind pasteurization — controlled heat applied precisely enough to eliminate pathogens without destroying the ingredient. As a result, the flour remains functionally intact for baking purposes while becoming genuinely safe to eat raw.
There is an additional benefit that surprised me during testing. Heat treatment slightly gelatinizes the starch granules in flour. This gives heat-treated flour a marginally smoother mouthfeel in no-bake dough — less of that raw, chalky quality that can make untreated flour taste off even when you mask it with sugar. It is a small effect, but after 60-plus batches, I noticed it consistently. That said, overheating beyond about 180°F starts breaking down gluten structure in ways that affect texture negatively, which is why precision matters.
The Safe to Eat Cookie Dough Heat Treated Flour Method: Oven vs. Microwave
I tested both the oven method and the microwave method extensively — more than 30 rounds of each. Both can work. However, they have meaningfully different results, and I have a clear preference. Let me walk through each one honestly.
The Oven Method (My Recommended Approach)
Spread your all-purpose flour in an even layer — no more than ¼ inch deep — on a rimmed baking sheet lined with parchment. Place it in an oven preheated to 350°F (177°C). Bake for exactly 5 minutes, then stir the flour and redistribute it evenly. Bake for another 3 minutes. Remove the sheet and immediately check the temperature of the flour in three different spots. You are looking for a consistent 165°F across the entire surface. If any spot reads below that, return it for 1 to 2 additional minutes and recheck.
I learned this the hard way on batch 14: I skipped the stir step and pulled the flour after a flat 8 minutes. The edges read 172°F. The center read 151°F. That flour was not safe, and I had been about to use it. The stir step is not optional — it is the difference between even heat distribution and hot spots that give you a false sense of security. Always check multiple points.
Let the flour cool completely — at least 20 minutes at room temperature — before adding it to your dough. Hot flour melts your butter and breaks the emulsification of your fat-sugar mixture, leading to greasy, separated dough. I use King Arthur Unbleached All-Purpose Flour because its consistent protein content (11.7%) gives predictable results. Store-brand flours with variable protein levels can behave inconsistently after heat treatment.
The Microwave Method (Faster but Riskier)
Place flour in a microwave-safe bowl. Heat on HIGH for 30-second intervals, stirring thoroughly between each burst. Keep going until the flour reaches 165°F throughout. In my 1100-watt microwave, this typically takes 3 to 4 intervals — roughly 90 to 120 seconds total. However, microwaves heat unevenly by design, creating hot and cold zones. Stirring between bursts is absolutely non-negotiable here.
The microwave method is faster and works in a pinch. That said, I do not recommend it as your primary approach. On three separate test batches, I got inconsistent temperature readings even after thorough stirring — some spots at 170°F, others at 158°F. The oven method simply delivers more reliable, even results. Use the microwave only when you need small quantities — 1 cup or less — and you are willing to check temperatures rigorously.
The Recipe: Emma’s Safe-to-Eat Cookie Dough
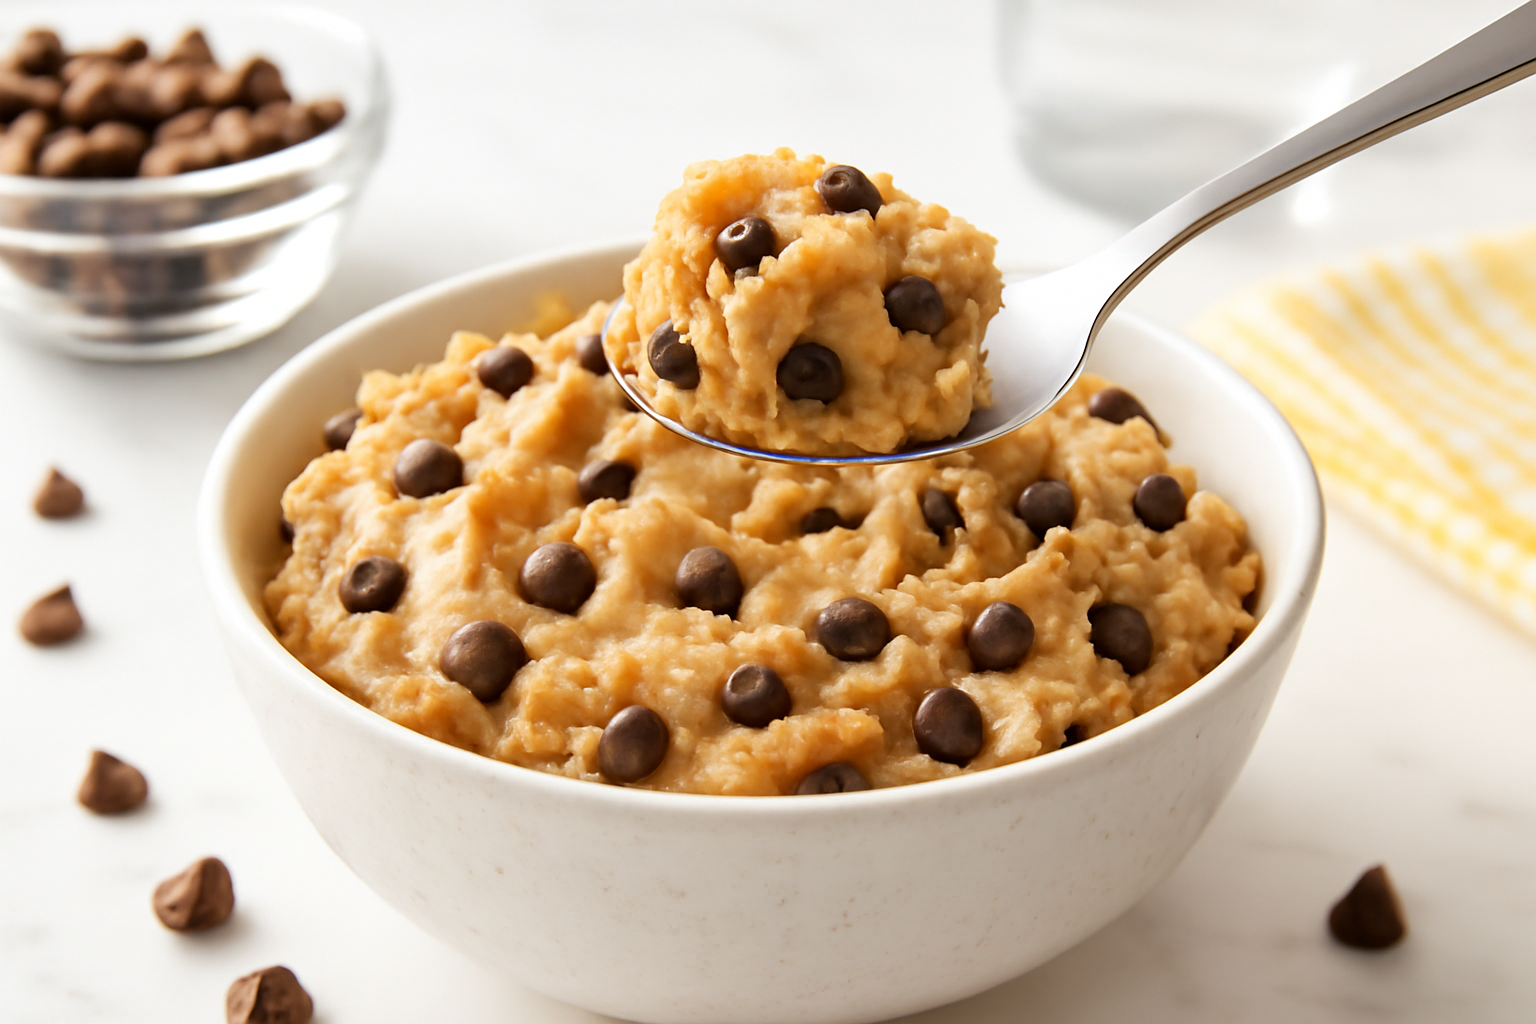
Once your flour is heat-treated and cooled, making the dough itself is straightforward — and the flavor transformation from those 60 test batches taught me exactly what ratios work best. This is the exact recipe I use when Emma asks for dough on Christmas Eve, or really any night I want to watch her spoon it straight from the bowl without worrying. No raw eggs, just heat-treated flour and simple ratios that deliver soft, buttery, genuinely delicious dough.
What You’ll Need
- 1/2 cup (115 g) unsalted butter, softened to room temperature
- 3/4 cup (150 g) packed light brown sugar
- 1 3/4 cups (240 g) heat-treated all-purpose flour (cooled completely)
- 1/2 teaspoon vanilla extract
- 1/4 teaspoon salt
- 1/3 cup (60 g) chocolate chips (semi-sweet or dark, optional but highly recommended)
How I Make It, Step by Step
- Beat the softened butter and brown sugar together in a medium bowl until pale and fluffy, roughly 2 to 3 minutes with an electric mixer on medium speed. This step is non-negotiable — you are aerating the dough, which gives it a light, pleasant texture rather than a dense one.
- Add the vanilla extract and beat for 30 seconds until fully incorporated.
- In a separate small bowl, whisk together the cooled heat-treated flour and salt. This ensures the salt distributes evenly.
- Add the flour mixture to the butter mixture in two additions, stirring gently with a wooden spoon or spatula after each addition until just combined. Do not overmix — you want a cohesive dough, not a dense paste.
- Fold in the chocolate chips, if using, until evenly distributed throughout the dough.
- Transfer the dough to a serving bowl or container. If you prefer a firmer texture, refrigerate for 30 minutes before eating. If you want it soft and spoonable immediately, eat it straight away — it is perfectly safe.
Yield: About 1 1/2 cups of dough (approximately 4 servings if eaten with a spoon, or enough to decorate 2 dozen cookies).
Prep Time: 15 minutes (plus 20 minutes for flour to cool after heat-treating).
Chill Time: 30 minutes optional.
The magic of this recipe is the ratio of butter to flour. After years of testing, I found that too much flour makes the dough gritty and dry — a problem I chased in batches 8 through 22. Too little butter, and it becomes crumbly and won’t hold together. This 1:1.5 flour-to-butter-by-weight ratio, combined with the brown sugar’s molasses content, gives you dough that tastes like real cookie dough should: soft, buttery, with just enough sweetness that you do not need to add sugar on top.
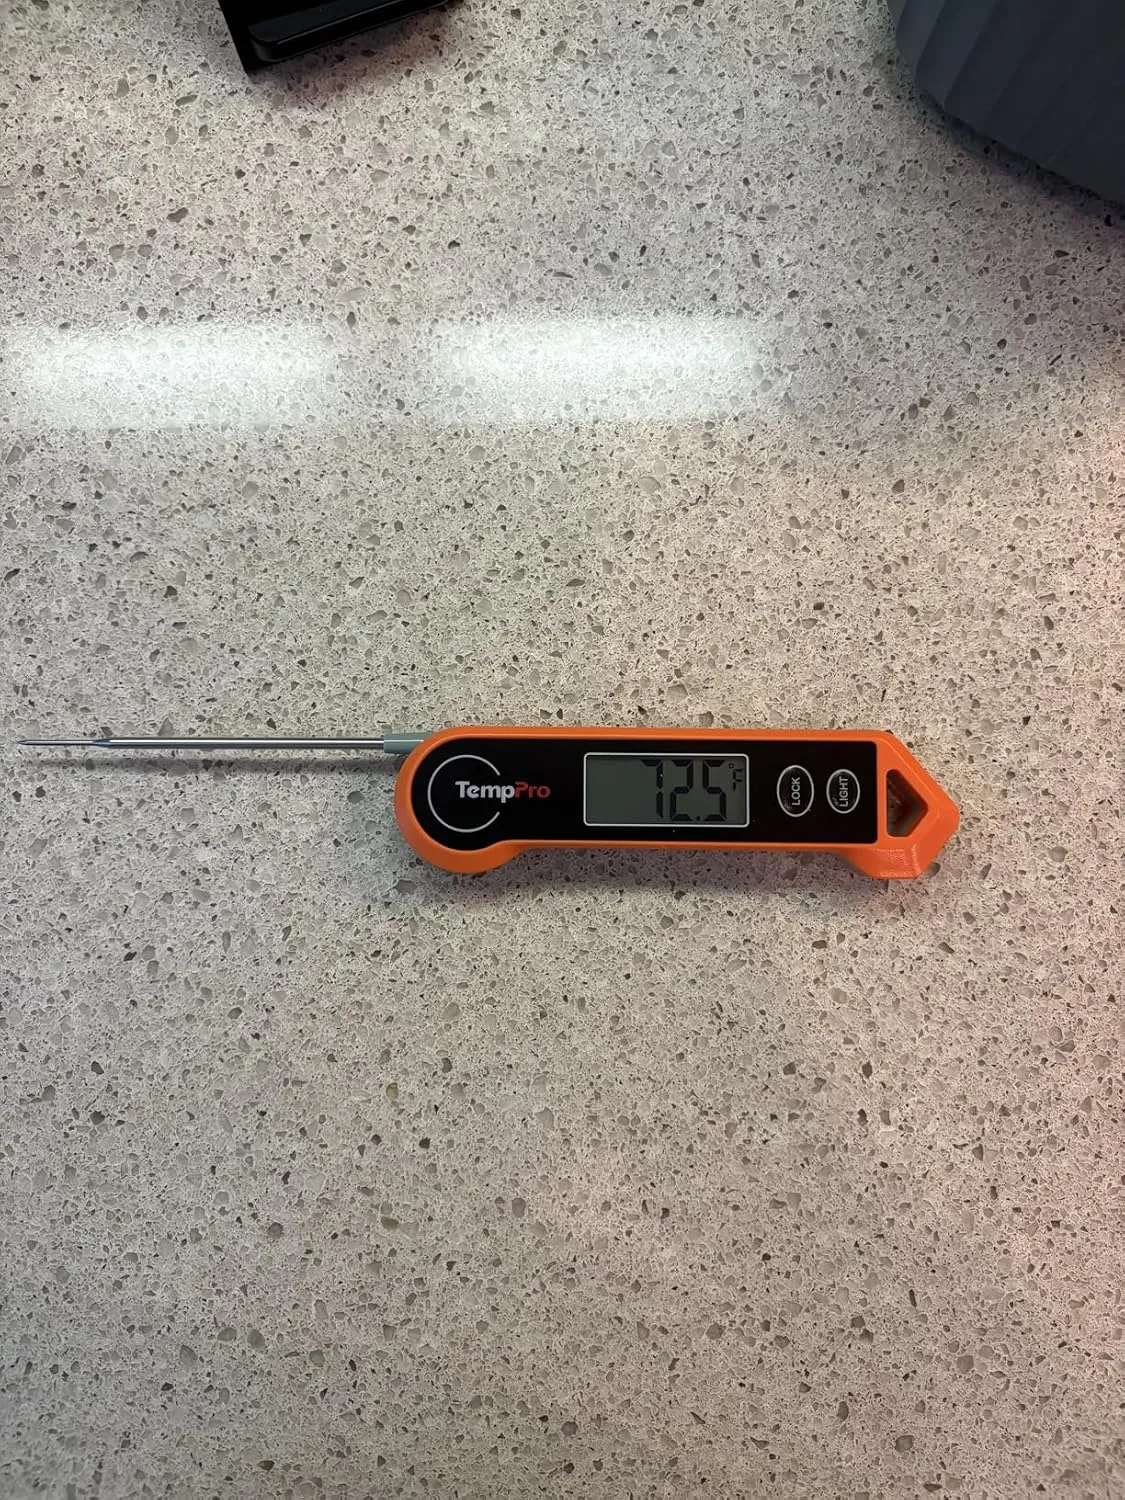
The Thermometer That Took the Guesswork Out of Heat-Treating Flour
Heat-treating flour to kill pathogens sounds straightforward until you’re standing in front of your oven trying to figure out if 160°F means the center of the flour pile or the edges. Without an accurate thermometer, you’re basically guessing—and with something your kids will actually eat, guessing isn’t good enough.
What works
- The probe reads flour temperature accurately in seconds, so you’re not leaving it in the oven longer than necessary and potentially changing the flour’s baking properties.
- The display is large and easy to read even when you’re tired at 11 p.m. on Christmas Eve, which is when I’m usually heat-treating flour in batches.
- It’s compact enough that you can actually store it without it taking up half your drawer, unlike some of the bulkier models I’ve tried over the years.
What doesn’t
- The probe is thin enough that if you’re not careful pushing it into a shallow baking sheet of flour, you can accidentally bend it—I learned this the hard way on my second batch.
- The battery life is decent but not exceptional; I’ve replaced the batteries more often than I expected, so keep extras on hand.
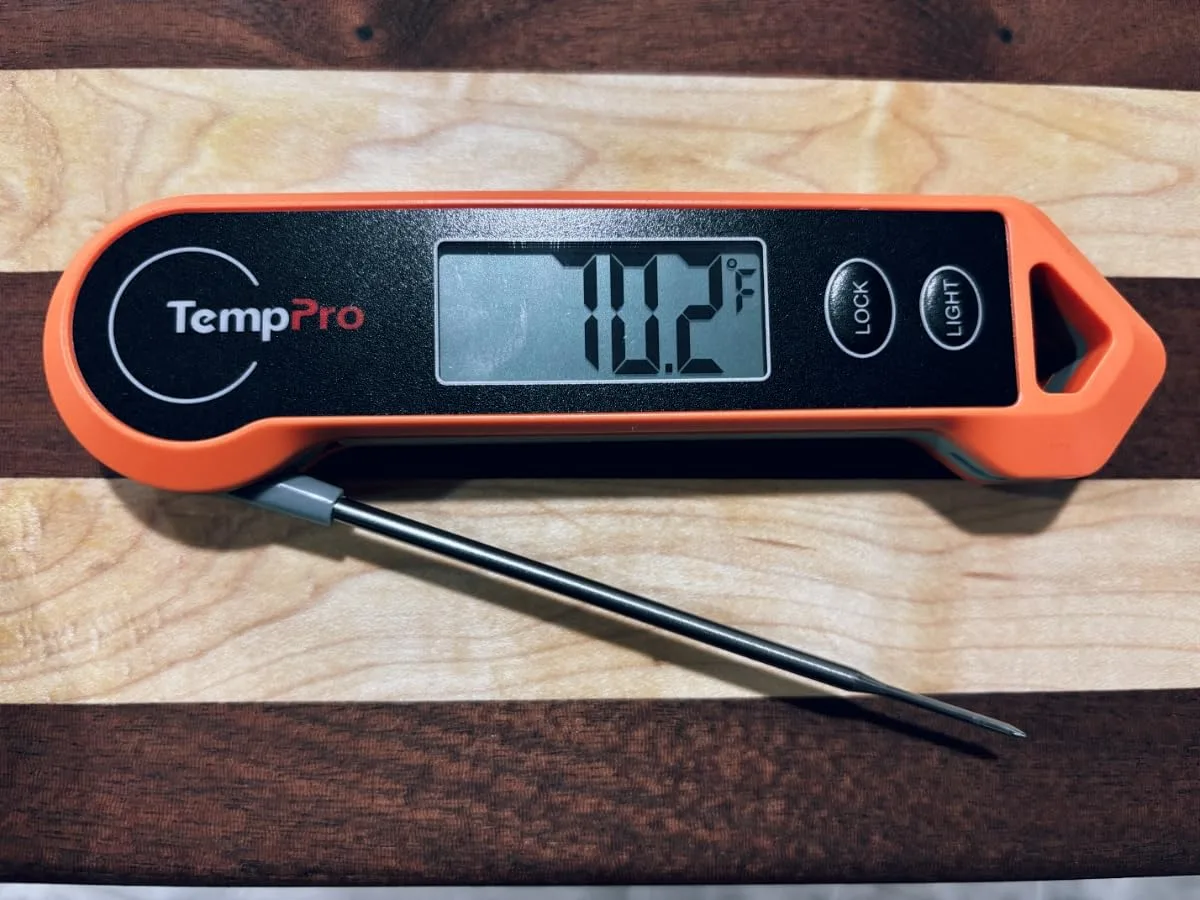
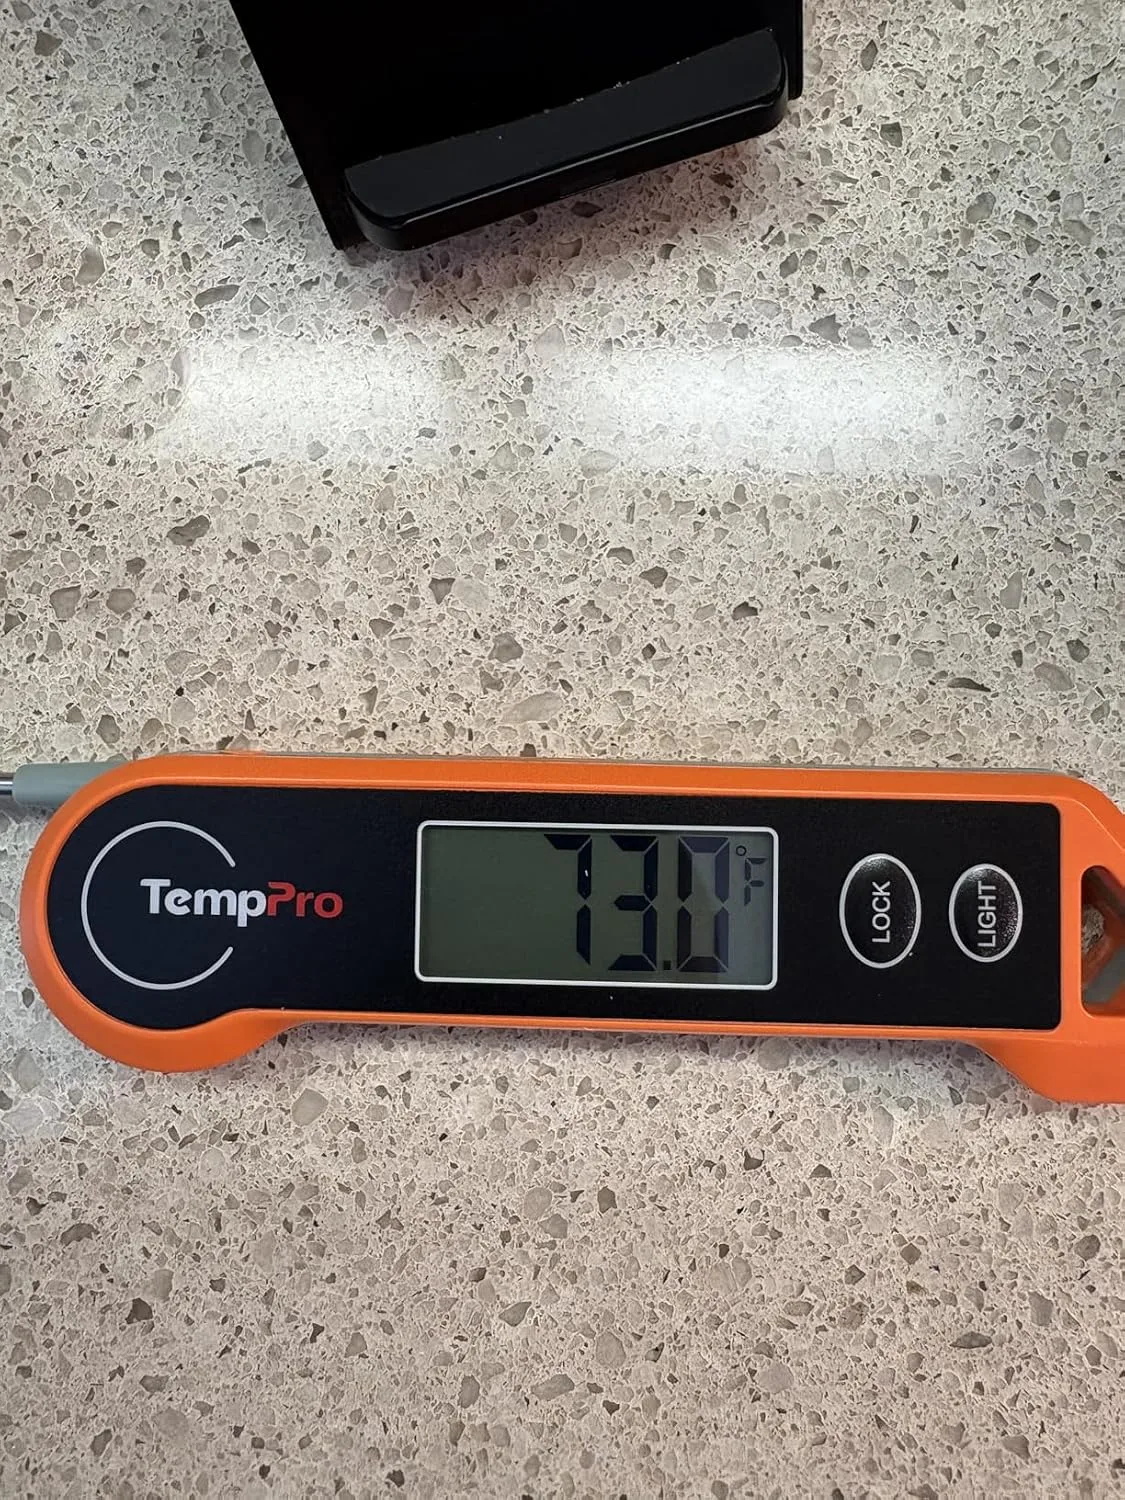
The first time I used this thermometer, I second-guessed whether 160°F was really being reached all the way through the flour (spoiler: it was, and my daughter’s dough turned out perfectly safe), but now I can’t imagine heat-treating flour without it. Grab the TempPro TP19H Digital Instant Read Thermometer and stop wondering if you’ve hit the magic temperature.
About This Article

Written by Margaret Chen. Margaret Chen is a home baker and recipe developer with over 15 years of experience perfecting cookie recipes through rigorous testing and detailed experimentation. She tests every recipe multiple times, documents every variable, and applies the same rigor professional bakers use, with the warmth and accessibility of home baking. More about this site.
Scope and limits. Margaret is a home baker and recipe developer with no formal culinary training. Follow current food safety guidance for egg handling, storage, and anything you are serving to other people.
Verify this against a primary source
Specifics change, and your situation may differ from the one described here. These are the authorities worth checking directly:
- USDA FoodData Central — ingredient composition and nutrition data
- FoodSafety.gov — safe handling, storage and egg safety