It was Christmas Eve 2021, and my cookie press chose the absolute worst moment to give up on me. The barrel cracked clean through on batch three of my spritz cookies — right in the middle of my annual holiday baking marathon. I had two pounds of butter already softened, enough dough for roughly eight dozen cookies, and a kitchen full of family expecting the little star-shaped spritz cookies I had made every December for fifteen years. If you have ever found yourself desperately searching for spritz cookies without cookie press alternatives, I want you to know: I have been exactly there, flour on my apron, mild panic setting in. That night, I discovered something that genuinely surprised me — the press was never the only way.
What followed was an accidental deep dive into every shaping method I could improvise with what I had on hand. Over the next two hours, I worked through four different techniques. Some produced cookies I would proudly serve at any party. One was a near disaster I will tell you about in full detail so you can avoid it. By the end of that night, I had not only saved Christmas but completely rethought my relationship with spritz dough. Since then, I have formally tested each method across more than 40 dedicated batches, dialing in the dough ratios, temperatures, and timing for each approach. Here is everything I learned.
Why Spritz Dough Behaves Differently Than Other Cookie Doughs
Before we talk shaping, let me explain what makes spritz dough unique — because understanding its chemistry is what made each of these methods actually work for me. Classic spritz dough sits at a very specific fat-to-flour ratio: roughly 1 cup butter to 2¼ cups flour, with just enough egg to bind without adding excess moisture. That high butter content creates a dough that is soft, pliable, and barely holds together. The butter coats the flour proteins, intentionally limiting gluten development. As a result, you get that signature melt-in-your-mouth crumb rather than anything chewy.
Temperature is everything with this dough. Too warm, and it spreads into shapeless puddles. Too cold, and it cracks when you try to shape it. Through testing, I found the sweet spot is between 65°F and 68°F — cool enough to hold a shape, warm enough to be workable. I use a simple instant-read thermometer right in the dough. I learned this the hard way after batch seven of my post-press-disaster testing, when I got impatient and shaped dough straight from the refrigerator. Every single piped rosette cracked at the edges. Not one was salvageable.
That said, each shaping method I cover below interacts slightly differently with the dough’s temperature and texture. Specifically, methods that involve pressing the dough flat need it slightly warmer. Methods that require the dough to hold a raised shape need it a touch cooler. Keep that thermometer nearby — it is genuinely the most useful tool in this whole process.
The Master Recipe: Classic Spritz Cookie Dough
Before I walk you through each shaping method, here is the base dough recipe I developed and refined across those 40+ test batches. The ingredient amounts remain consistent regardless of how you shape them — what changes is your chosen technique and the specific baking time for each method.
Ingredients
- 1 cup (226 grams) butter, softened to room temperature
- ¾ cup (150 grams) confectioners’ sugar
- 1 large egg
- 1½ teaspoons vanilla extract
- ½ teaspoon almond extract
- 2¼ cups (280 grams) all-purpose flour
- ½ teaspoon salt
Instructions
- Preheat your oven to 375°F (190°C).
- In a large bowl, beat the softened butter and confectioners’ sugar together with an electric mixer on medium speed until the mixture is light and fluffy, about 2 to 3 minutes.
- Add the egg, vanilla extract, and almond extract to the butter mixture. Beat on medium speed until just combined, being careful not to overmix.
- Gradually add the flour and salt, mixing on low speed until the dough just comes together. Stop mixing as soon as you no longer see streaks of flour — overmixing will develop too much gluten and toughen your cookies.
- Check your dough temperature with an instant-read thermometer. The ideal working temperature is 65°F to 68°F. If your dough is too warm, chill it briefly. If it is too cold, let it rest at room temperature for a few minutes.
- Shape the dough according to your chosen method (piping bag, rolling and cutting, spoon-drop, or wooden mold — see the methods below).
- Bake at 375°F (190°C). The exact baking time depends on your shaping method and will be noted in each method section, but expect 6 to 12 minutes total, until the cookies are set but not browned.
- Cool the cookies on the baking sheet for 1 to 2 minutes, then transfer to a wire rack to cool completely, or enjoy them warm.
Yield: approximately 48 to 60 cookies, depending on your shaping method and cookie size.
Method 1: The Piping Bag with a Star Tip
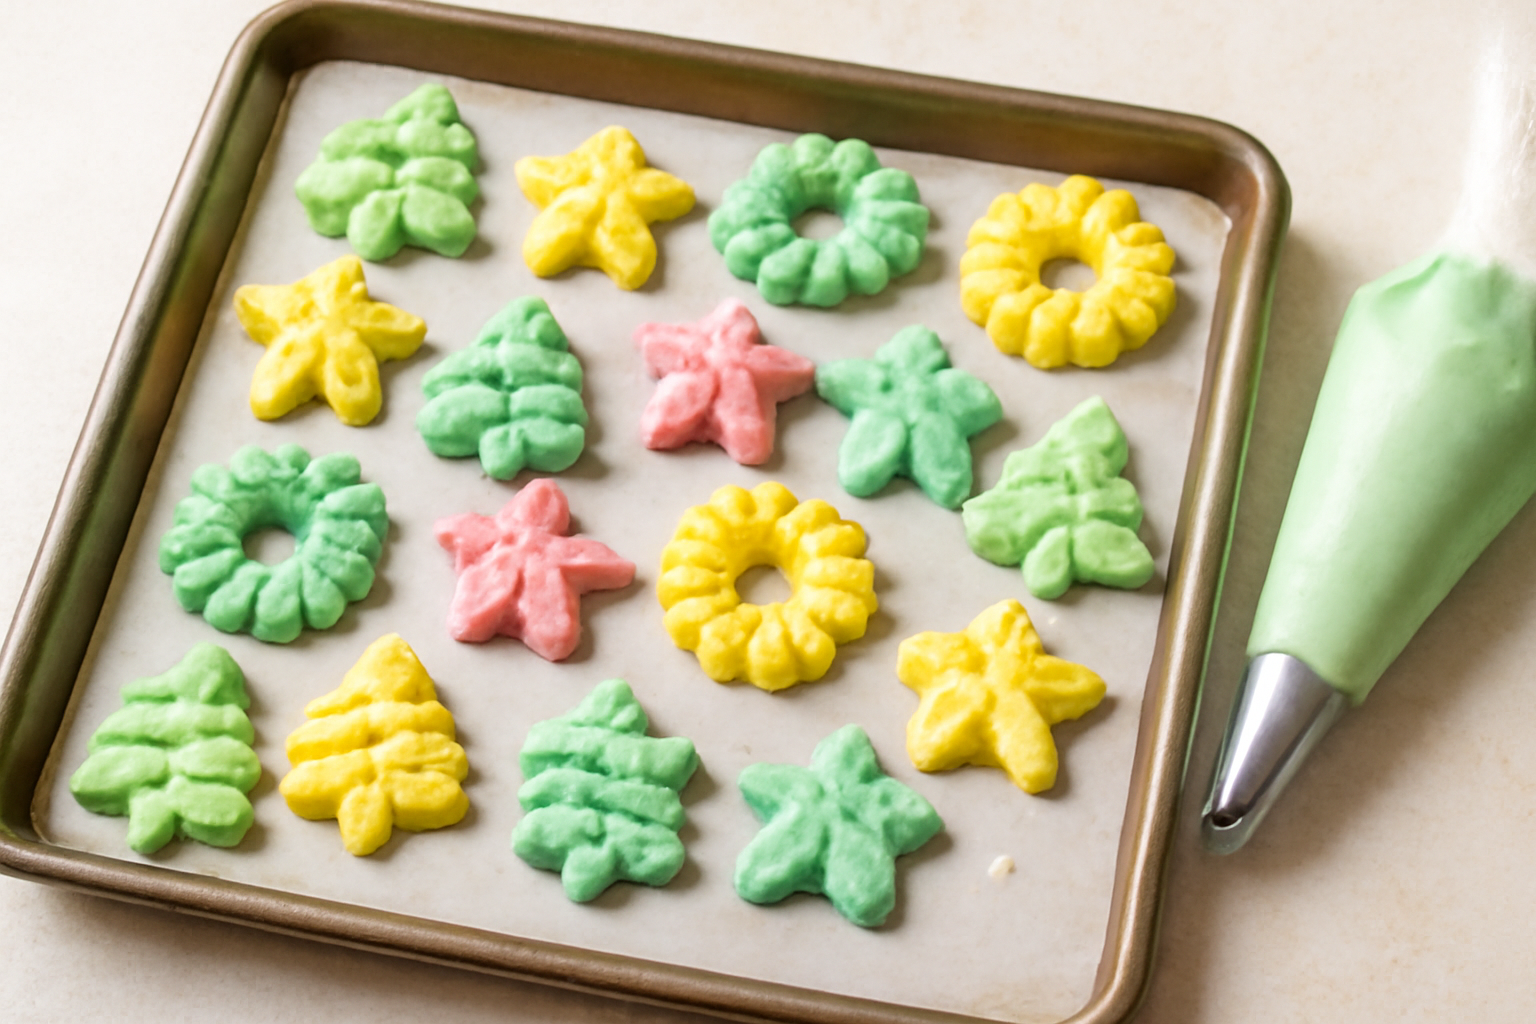
This was the first method I reached for on that Christmas Eve, and honestly, it is the closest substitute for a cookie press you will find. A large open-star piping tip — I use an Ateco 1M or a Wilton 1M — creates that familiar ridged rosette shape that makes spritz cookies so recognizable. The mechanics are similar to a press: you force dough through a shaped opening. However, a piping bag gives you far more control over pressure and angle than most inexpensive cookie presses ever did.
The key here is dough consistency. For piping, I chill my dough to about 66°F, then load it into a 16-inch piping bag — never fill it more than two-thirds full. Overfilling causes the dough to warm too quickly from your hands. Pipe directly onto an ungreased, unlined aluminum baking sheet. I specifically recommend unlined because spritz dough needs direct contact with the pan to “grip” and release cleanly when you pull the bag away. Parchment causes the dough to slide, and you lose that sharp rosette definition.
Bake at 375°F for 10 to 12 minutes until the edges are just barely golden. The Maillard reaction at this temperature gives you a lightly toasted flavor without overbrowning the delicate edges. In my experience, this method produces cookies virtually indistinguishable from press-made ones — my family did not notice the difference that Christmas Eve, which I consider the highest possible endorsement.
Method 2: Rolling and Cutting with Simple Shapes
The second method requires a slight dough adjustment, but the results are worth it. Standard spritz dough is too soft to roll cleanly, so I add 2 additional tablespoons of flour per batch and chill the dough for 45 minutes before rolling. This firms up the butter enough to create a dough that rolls to about ¼-inch thickness without tearing. The extra flour increases gluten development slightly — the texture shifts from melt-away to just barely short, which still tastes wonderful but is noticeably different from the piped version.
Roll between two sheets of plastic wrap rather than flouring your surface. Additional flour worked into the surface changes the fat-to-flour ratio unpredictably, batch to batch. Plastic wrap keeps it clean and consistent. Cut with simple metal cutters — stars, rounds, and trees work beautifully. Avoid cutters with very fine details, because the soft dough will not hold intricate edges through baking.
However, here is what I genuinely love about this method: it opens the door to using wooden cookie molds, which I will talk about in detail shortly. The rolled dough is firm enough to press into carved molds and release cleanly, producing cookies with beautiful embossed designs that look far more impressive than anything a standard cookie press produces. For holiday gifting, this has actually become my preferred approach over the press entirely.
Method 3: The Spoon-Drop and Flatten Technique
This is the most forgiving method, and I recommend it when you want spritz flavor with almost zero shaping stress. Use a small cookie scoop — I use a #60 scoop, which holds about 1¾ teaspoons of dough — and drop rounds directly onto your baking sheet. Then flatten each one with the bottom of a flat-bottomed glass that you have lightly dipped in granulated sugar. The sugar creates the faintest crunch on the surface and prevents sticking without altering the cookie’s character.
These cookies will not have the dramatic ribbed shape of classic spritz, but they will have exactly the same flavor and that characteristic tender crumb. Decorate the tops before baking with colored sugars, a single candied cherry, or a few jimmies. In my testing, flattening to about ⅜-inch thickness produced the best texture ratio of crisp edge to tender center after baking at 375°F for 9 to 11 minutes.
Specifically, this method shines when you are baking with children. My daughter helped me make these for her class holiday party two years ago, and the spoon-and-flatten approach let her participate fully without the frustration of more technical shaping. The cookies were perfectly imperfect in the best possible way. Sometimes the simplest method produces the most joyful result.
The Wooden Mold That Saved My Christmas Eve When My Press Shattered
When your cookie press dies mid-marathon, you need a backup shaping method that doesn’t require special equipment or another trip to the store. Wooden springerle molds became my emergency solution — and honestly, they’re faster than wrestling with a broken press once you get the hang of them.
What works
- The carved detail is deep enough to create crisp, defined impressions in firm spritz dough without the dough sticking to the wood the way it would to metal.
- I can stamp out a cookie in about two seconds once I get my hand position right — no pumping motion, no hand cramping like the press gave me after batch two.
- The wooden handle stays comfortable even after stamping dozens of cookies in a row, and the mold itself is light enough that my wrist doesn’t ache.
What doesn’t
- You need dough that’s the right temperature — too warm and it sticks; too cold and the detail won’t press through cleanly — so you can’t stamp cookies as quickly as you’d pull them from a press.
- Each mold makes only one shape, so if you want variety like a press offers, you’re buying multiple molds or rotating between them and washing in between batches.
The first batch stuck so badly I almost threw the mold across the kitchen, but I realized the dough had softened too much while I was cleaning up the press disaster. Once I chilled the bowl for fifteen minutes, everything changed. MOTEERLLU Wooden Springerle Cookie Mold became my secret weapon for getting through the rest of Christmas Eve.
This post contains affiliate links. As an Amazon Associate, I earn from qualifying purchases at no extra cost to you.