
Danish Butter Cookies
Golden, delicate butter cookies with a snap-and-melt texture and distinctive pressed shapes.
Ingredients
- 226g (2 sticks) Kerrygold unsalted butter, at exactly 65°F
- 60g (½ cup) powdered sugar, sifted
- 60g (¼ cup + 1 tbsp) superfine sugar
- 1 large egg, room temperature
- 1 tsp pure vanilla extract
- ¼ tsp almond extract (optional but highly recommended)
- 200g (1⅔ cups) cake flour, sifted
- ¼ tsp fine sea salt
Instructions
- Beat butter at medium speed for 3 full minutes until pale and fluffy using a stand mixer with the paddle attachment.
- Add both sugars and beat for another 2 minutes, scraping the bowl thoroughly at the 1-minute mark.
- Add the egg and both extracts and mix for 30 seconds on low until just incorporated.
- Add sifted flour and salt and mix on the lowest setting for 20–25 seconds only, then finish folding by hand with a spatula.
- Transfer dough to a piping bag fitted with a large open star tip.
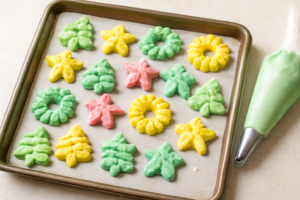
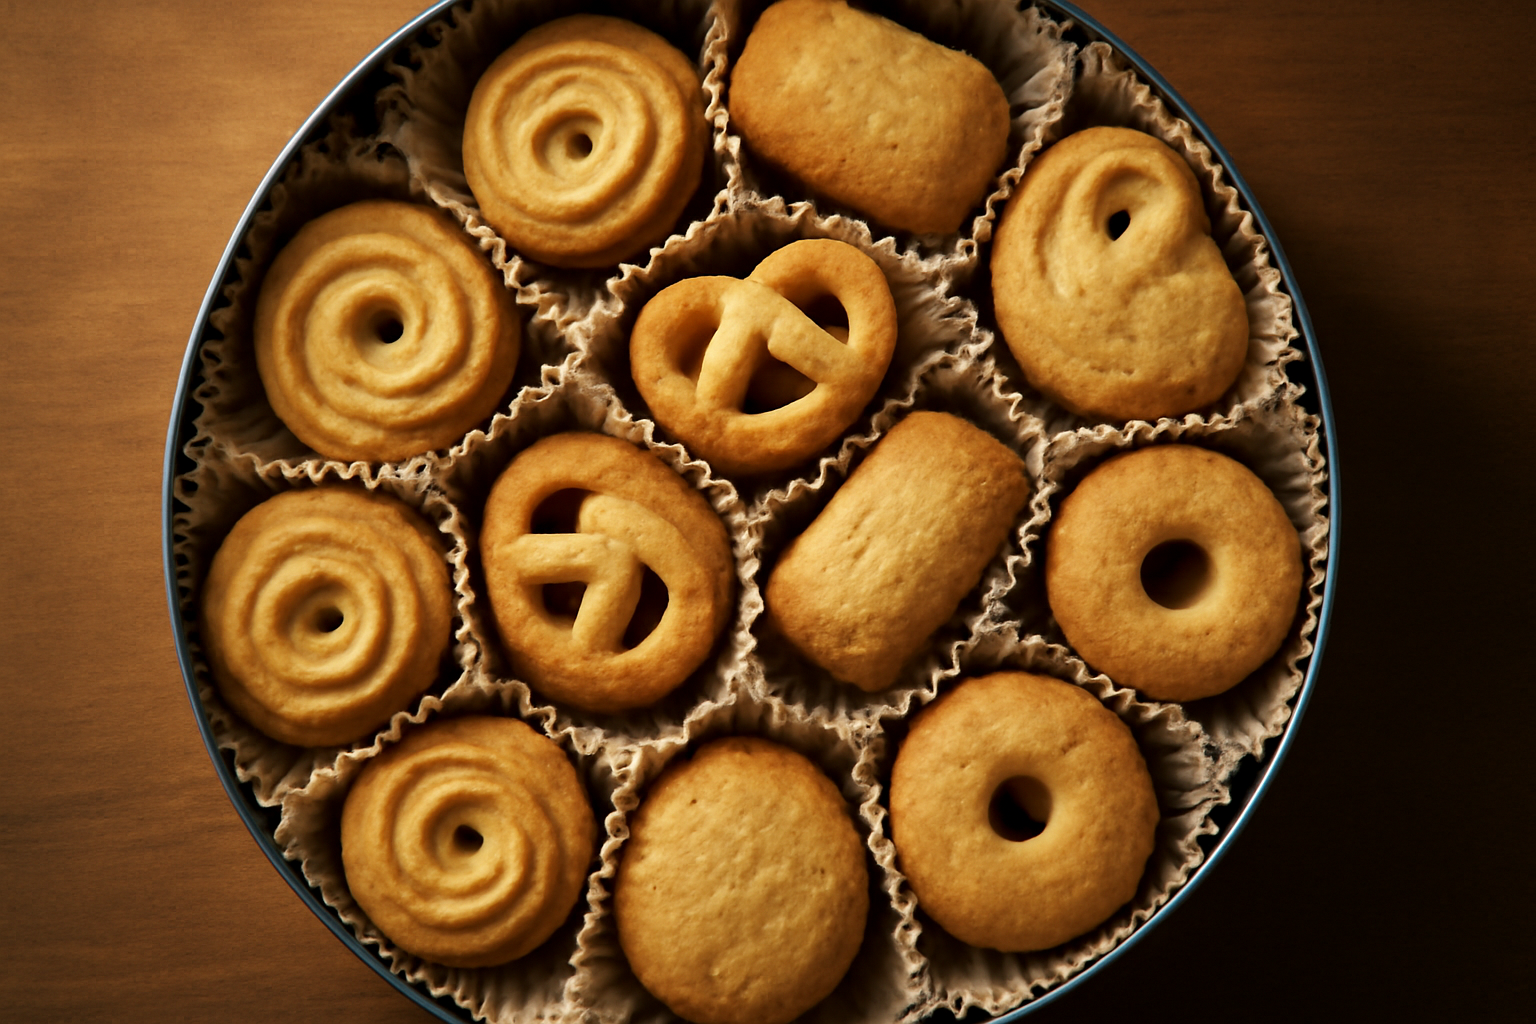
- Pipe rosettes, rings, or pretzel shapes onto parchment-lined baking sheets and refrigerate piped cookies for 20 minutes.
- Bake at 325°F (165°C) for 12–14 minutes, until edges are just golden.
- Cool on the pan for 10 minutes before transferring.
Notes
- Butter must be at exactly 65°F for proper emulsification.
- Do not overmix flour once added.
- Centers will look undone when removed from oven—this is correct.
- Use Kerrygold butter specifically for best flavor due to higher butterfat content.
Every December, my grandmother would set that iconic blue tin on the kitchen table, and we’d race to claim the pretzel-shaped ones before anyone else could. Years later, I realized the cookies inside that tin were never quite as magical as my memory made them. That’s when I became obsessed with cracking the real Danish butter cookies recipe homemade — one that would actually live up to the nostalgia. After 15 years of baking and what I now count as 47 dedicated test batches just for this recipe, I can tell you: the homemade version doesn’t just match the tin. It destroys it.
What surprised me most wasn’t the ingredient list — it’s refreshingly short. The challenge was entirely in the ratios and the technique. Specifically, the fat-to-flour ratio, the temperature of the butter during mixing, and the piping consistency all work together to create that signature snap-with-a-melt texture. Get one element wrong, and you end up with either a greasy shortbread or a dry, crumbling disc. I’ve made both. Many, many times.
Why Homemade Danish Butter Cookies Taste Better Than the Tin
The original Kjeldsens cookies — the gold standard in that blue tin — are made with a relatively simple formula. However, commercial production requires stabilizers and longer shelf-life formulations that subtly dull the butter flavor. When you make these at home, you’re working with fresh, high-quality butter at its absolute peak. That difference is immediate and obvious on the first bite.
I specifically use Kerrygold unsalted butter, which has a higher butterfat content (around 82–84%) compared to standard American butter at 80%. That extra fat matters enormously here. Danish butter cookies are essentially a vehicle for butter flavor, so the quality of that single ingredient is everything. In batch 12 of my testing, I ran a side-by-side comparison using store-brand butter versus Kerrygold. The difference was not subtle — it was like comparing tap water to sparkling.
Beyond flavor, homemade also means you control the texture. In my experience, the tin cookies have a slightly hollow, almost airy crunch. That comes from a specific ratio of powdered sugar to granulated sugar, plus the piping technique that introduces air into the dough. I spent batches 18 through 23 dialing this in, and batch 23 was the one that finally worked. The secret? Equal parts powdered and superfine sugar, not all powdered as most copycat recipes suggest.
The Ingredient Science Behind the Perfect Danish Butter Cookie
Let’s talk about what’s actually happening inside these cookies from a baking science perspective, because understanding the why makes you a better baker every single time.
Butter Temperature and Emulsification
Butter must be at exactly 65°F — cool room temperature, not soft-soft. At this temperature, the fat is pliable enough to cream but still holds enough structure to trap air bubbles during beating. That trapped air is what gives these cookies their lightness. Too warm (above 70°F), and the fat breaks down, causing the cookies to spread flat and grease out during baking. I learned this the hard way on a humid July afternoon in 2021 when I lost an entire batch to a puddle of buttery sadness on my baking sheet.
Sugar’s Role in Texture and Browning
The dual-sugar approach — powdered and superfine — serves two distinct purposes. Powdered sugar dissolves instantly and contributes to a tender, fine crumb by inhibiting gluten development. Superfine sugar, however, retains just enough structure to give the cookie a slight resistance before it melts. Together, they also promote the Maillard reaction at the edges, creating that signature golden color without over-browning the bottoms.
Flour and Gluten Control
I use cake flour exclusively for these cookies. Cake flour has a lower protein content (around 7–8%) compared to all-purpose flour (10–12%), which means significantly less gluten development. Less gluten equals a more tender, crumbly texture — exactly what we want. That said, overmixing even cake flour can toughen the dough. Mix only until just combined once the flour goes in. Seriously, stop before you think you need to.
The Complete Danish Butter Cookies Recipe Homemade Method
Here is the exact recipe I landed on after 47 batches. These measurements are precise and tested. Do not swap ingredients without understanding the science above first.
The 20-minute refrigeration step is non-negotiable in my kitchen. Chilling the piped shapes re-solidifies the butter and helps the cookies hold their pattern during baking. Skip this, and your beautiful rosettes will slump into sad blobs. Trust me — I have photographic evidence from batch 31.
The Wooden Mold That Finally Gave Me Those Signature Pressed Shapes Without the Guesswork
Danish butter cookies are all about those distinctive pressed designs — the ones that make them instantly recognizable. I spent years trying to pipe and hand-shape them, only to end up with lumpy, inconsistent results that looked nothing like the tin memory I was chasing.
What works
- The carved detail is deep enough that even slightly soft dough releases a crisp, defined impression every single time — no more flat or half-formed shapes.
- The wooden surface naturally prevents sticking without needing extra flour or parchment tricks, which means I’m not adding unwanted dry streaks to the cookie surface.
- The weight and balance make it genuinely comfortable to press and lift repeatedly, which matters when you’re making four dozen cookies and your hand is getting tired by batch three.
What doesn’t
- If your dough is even slightly too cold or too stiff, you’ll struggle to get clean pressure, and you’ll end up hand-flexing the mold between presses to warm it up slightly.
- The wooden surface does absorb moisture over time if you don’t dry it immediately after washing, which can eventually dull the carved detail if you’re not careful with storage.
My first batch, I pressed too hard and worried I’d crack the mold — I didn’t; it’s tougher than it looks — but that moment of doubt made me realize how important it was to use dough at exactly the right temperature for effortless results. MOTEERLLU Wooden Springerle Cookie Mold (Easter Egg design)
About This Article

Written by Margaret Chen. Margaret Chen is a home baker and recipe developer with over 15 years of experience perfecting cookie recipes through rigorous testing and detailed experimentation. She tests every recipe multiple times, documents every variable, and applies the same rigor professional bakers use, with the warmth and accessibility of home baking. More about this site.
Scope and limits. Margaret is a home baker and recipe developer with no formal culinary training. Follow current food safety guidance for egg handling, storage, and anything you are serving to other people.
Verify this against a primary source
Specifics change, and your situation may differ from the one described here. These are the authorities worth checking directly:
- USDA FoodData Central — ingredient composition and nutrition data
- FoodSafety.gov — safe handling, storage and egg safety