The first time I made shortbread, I was convinced it would be the easiest thing I had ever baked. Three ingredients. No eggs. No leavening. How hard could it be? That was the winter of 2008, and I pulled a crumbly, greasy, completely forgettable batch out of the oven and felt genuinely humbled. Mastering the classic Scottish shortbread recipe technique turned out to be one of the most challenging and rewarding things I have done in fifteen years behind a mixing bowl. The simplicity is the trap. When you have only butter, sugar, and flour, there is absolutely nowhere to hide.
What makes authentic Scottish shortbread extraordinary is also what makes it brutally unforgiving. Every variable matters at a level that a chocolate chip cookie — with its eggs, vanilla, leavening, and mix-ins — simply does not demand. I have baked well over 200 batches of shortbread across my testing career, and I am still refining my method. However, somewhere around batch 47, I finally cracked the technique that most home bakers skip entirely. That technique is what this post is about.
I am going to walk you through the full method, the science behind why it works, and the specific mistakes that cost me dozens of batches before I got it right. If you have ever made shortbread that spread too much, turned greasy, or baked up hard and cracker-like instead of tender and sandy, everything you need is right here.
The Three Ingredients: Why Quality and Ratios Are Everything
Traditional Scottish shortbread uses a ratio of 1 part sugar to 2 parts butter to 3 parts flour — nothing more. That said, within those proportions, your ingredient choices have an enormous impact on the final texture. I have tested American all-purpose flour against cake flour, salted butter against unsalted, caster sugar against powdered sugar, and the differences are not subtle. They are the difference between a good cookie and an exceptional one.
For butter, I use Kerrygold unsalted European-style butter. Its higher fat content — around 82% versus the standard American 80% — produces a noticeably more tender crumb. The extra fat coats more of the flour proteins, which limits gluten development. Less gluten means a more melt-in-your-mouth texture. I learned this the hard way after using a store-brand butter through my first 20 batches and wondering why my shortbread always felt slightly tough on the finish.
For sugar, I strongly recommend caster sugar or superfine sugar rather than standard granulated sugar. The finer crystal size dissolves more evenly into the butter during creaming, which prevents a grainy texture in the baked cookie. Powdered sugar is a popular alternative that produces an even more delicate crumb, but I find it slightly too powdery for my taste. As for flour, I use unbleached all-purpose flour at exactly 1½ cups per batch for every 1 cup of butter.
The Technique Most People Skip: Cold Rest Before Baking
Here it is — the thing nobody talks about enough. After mixing and shaping your shortbread dough, you must rest it in the refrigerator for a minimum of one hour before it goes into the oven. Most recipes mention this briefly, if at all. In my testing, this single step is responsible for more of the cookie’s final quality than almost any other variable.
Here is the food science behind it. When you cream butter and flour together, you are warming the fat slightly through friction. Warm fat spreads. If warm dough goes directly into the oven, the butter melts and releases before the flour proteins have time to set, and you end up with a greasy, flat, sad cookie. Chilling the dough re-solidifies the fat. As a result, when the cold dough hits oven heat, the exterior begins to set before the butter can fully escape. This preserves height, texture, and that characteristic sandy bite.
Beyond fat control, the cold rest also allows the flour to fully hydrate. Even in a low-moisture dough like shortbread, hydration matters. Fully hydrated flour gives you a more even, cohesive crumb rather than a dough that crumbles apart before it even makes it to the pan. Batch 47 — the one that finally worked — was the first batch I chilled overnight. The difference was so stark that I immediately went back and retested at 30 minutes, 1 hour, 2 hours, and 12 hours. One hour was the minimum for a meaningful improvement. Overnight produced the best results of all.
The Classic Scottish Shortbread Recipe Technique: Step-by-Step Method
Ingredients
- 1 cup (226g) unsalted European-style butter, room temperature
- ½ cup (100g) caster sugar or superfine sugar
- 1½ cups (180g) unbleached all-purpose flour plus ¼ cup (30g) rice flour
- ¼ teaspoon fine sea salt
A quick note on the rice flour: this is a traditional Scottish addition, not a modern substitution. It contributes to the famously sandy, crisp texture of authentic shortbread. I tested batches with and without it, and the difference in texture is immediately noticeable. Do not skip it if you can find it.
Method
- Beat butter and caster sugar together on medium speed for exactly 3 minutes. You want the mixture pale and creamy, but not whipped to a fluffy cloud. Over-creaming incorporates too much air, which leads to a cookie that puffs and then deflates.
- Add the all-purpose flour, rice flour, and salt. Mix on low speed just until the dough comes together — no longer than 45 seconds after the flour disappears. Overworking at this stage develops gluten and toughens the cookie.
- Turn the dough out onto a lightly floured surface. Shape it into a disk or press it into your mold of choice. Wrap tightly in plastic wrap.
- Refrigerate for a minimum of 1 hour. Overnight is better.
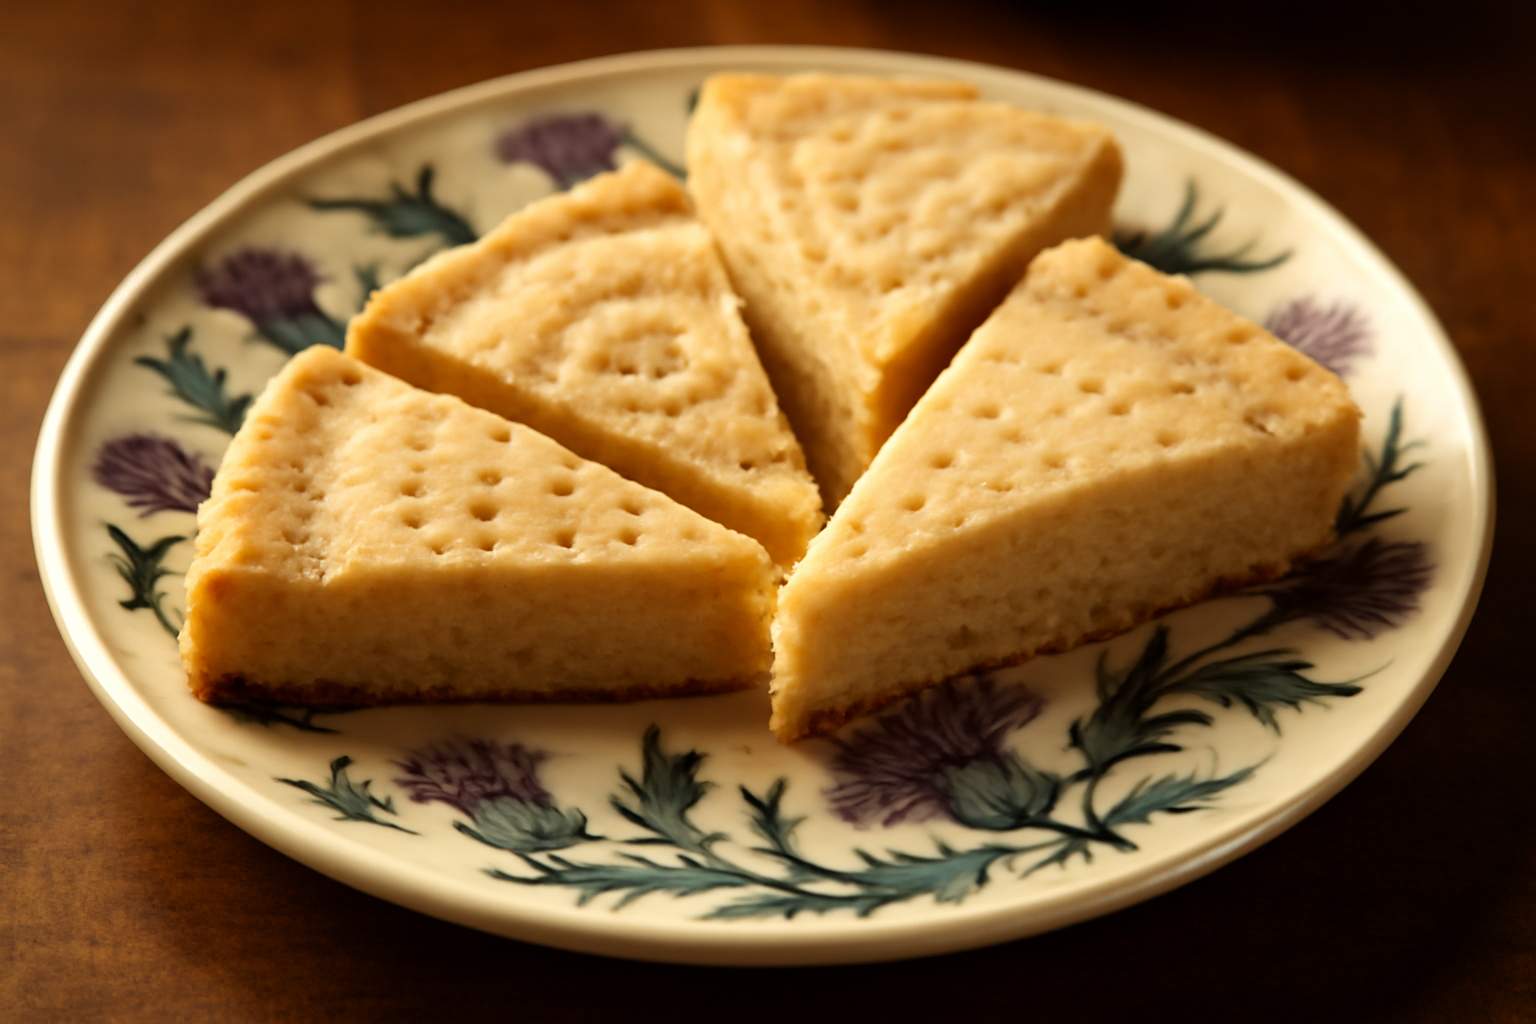
- Preheat your oven to 325°F (163°C). This lower temperature is deliberate — shortbread should not brown deeply. You want a pale, barely-golden edge with a matte, dry surface. The Maillard reaction at higher temperatures introduces toasted, almost nutty flavors that overpower the delicate butter notes.
- Bake for 18 to 22 minutes for ¼-inch thick cookies, or 28 to 32 minutes for a traditional thick-cut shortbread round. Remove when the edges are just turning golden. The centers may look underdone — that is correct. They firm up as they cool.
- Cool on the pan for 10 minutes before moving. Moving hot shortbread breaks it.
The Wooden Mold That Finally Stopped Me From Guessing on Shortbread Thickness
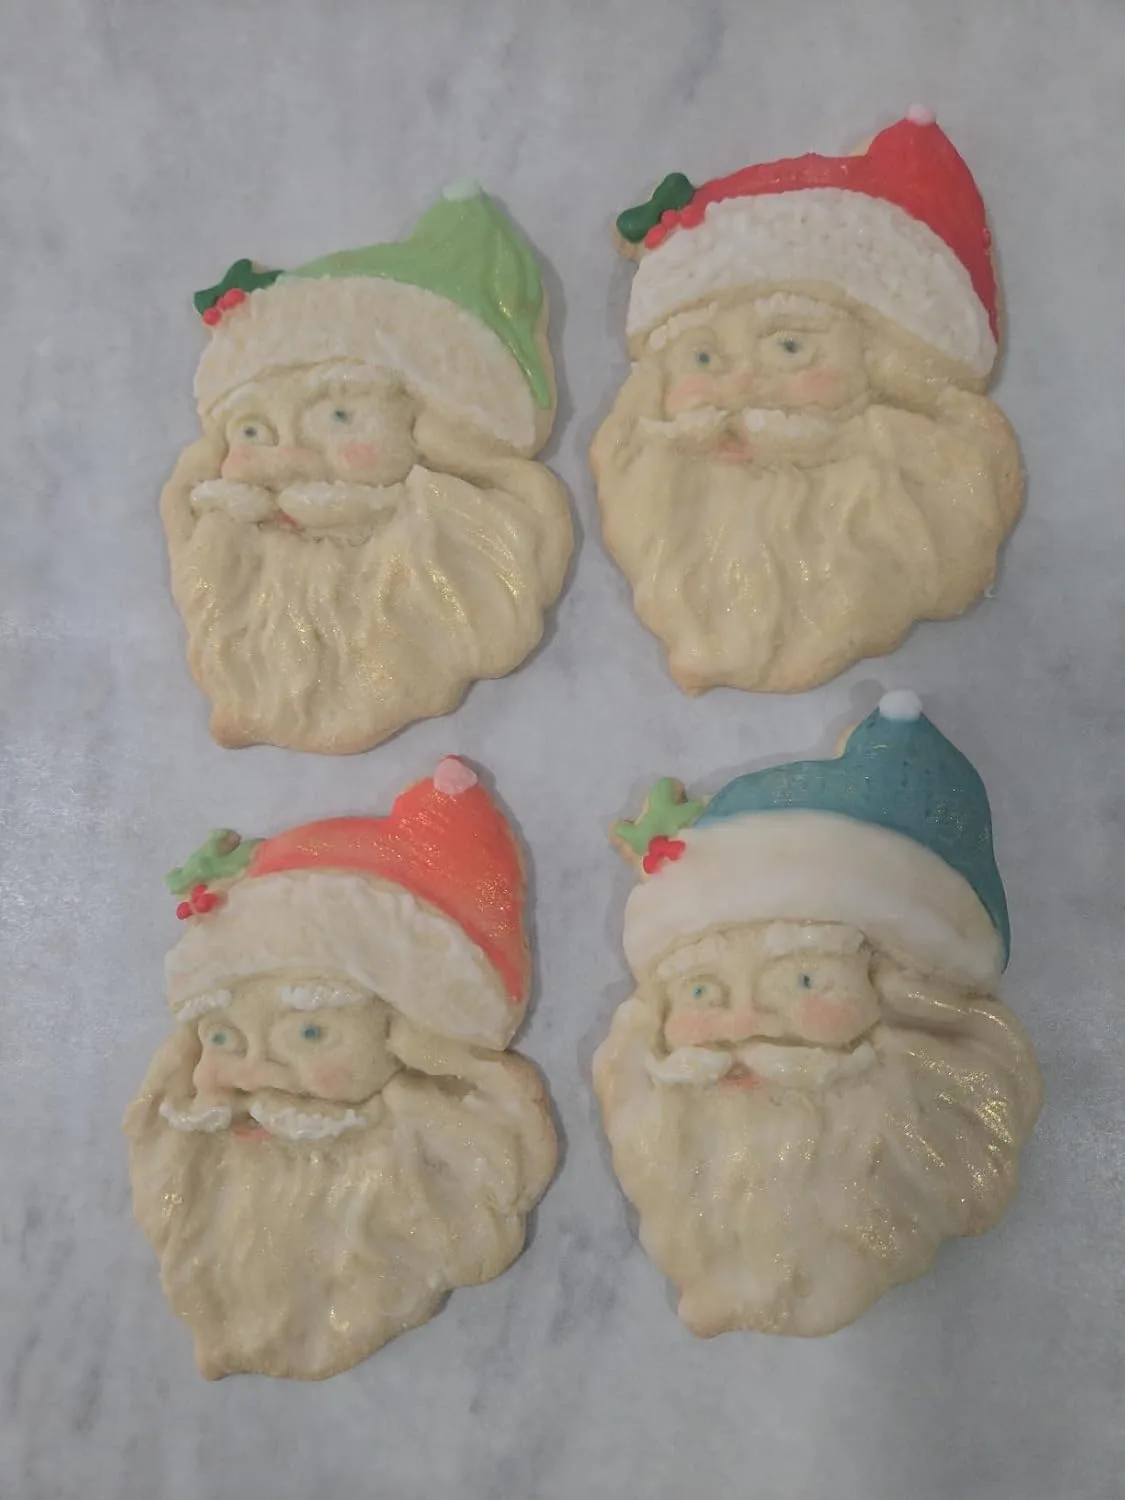
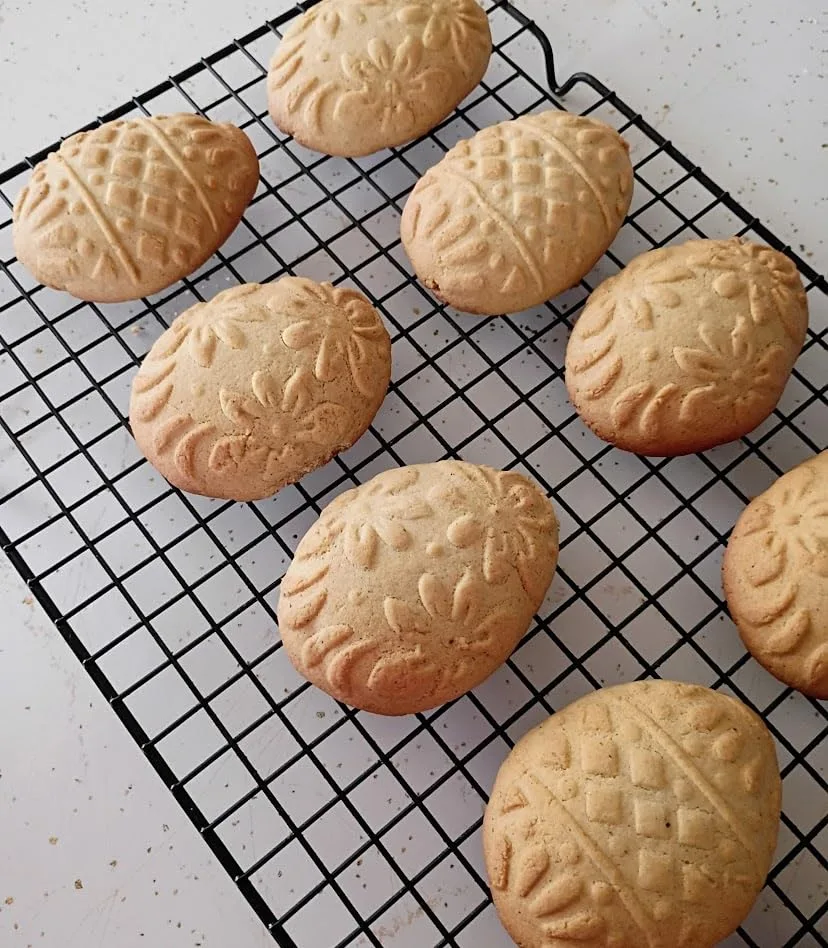
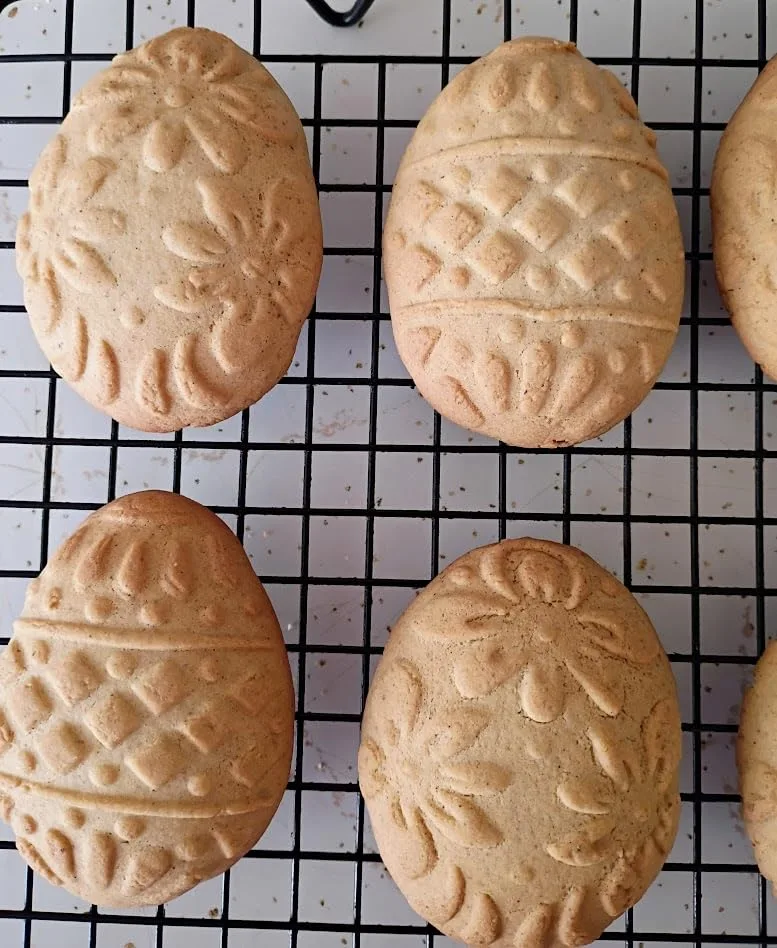
One of the biggest mistakes I made in that 2008 batch was uneven thickness—some cookies baked crispy while others stayed soft and greasy in the middle. A good wooden mold forces consistency because you’re working with a defined depth and shape, which takes the guesswork out of hand-shaping and ensures even baking throughout.
What works
- The carved detail gives you something to press into—no more staring at dough wondering if you’ve compressed it enough or if the butter is distributed evenly.
- You get uniform thickness every single time, which means even browning and that perfect crumbly-but-not-greasy texture shortbread actually should have.
- The wooden construction feels right in your hands after years of rolling out dough, and there’s something deeply satisfying about using a tool that looks as beautiful as the cookies it makes.
What doesn’t
- You need to work quickly—if the dough gets too soft, it sticks to the wood and you’ll lose detail instead of getting a clean press.
- The carved detail is stunning but delicate, so if you’re aggressive with the mold or don’t dry it properly after washing, the fine lines can fill with dough residue.
I almost abandoned this tool after my first attempt when the dough stuck so badly I thought I’d have to start over, but once I learned to chill the mold between presses and work with cold dough, everything changed. MOTEERLLU Wooden Springerle Cookie Mold became non-negotiable for any shortbread batch.
This post contains affiliate links. As an Amazon Associate, I earn from qualifying purchases at no extra cost to you.
This post contains affiliate links. As an Amazon Associate, I earn from qualifying purchases at no extra cost to you.