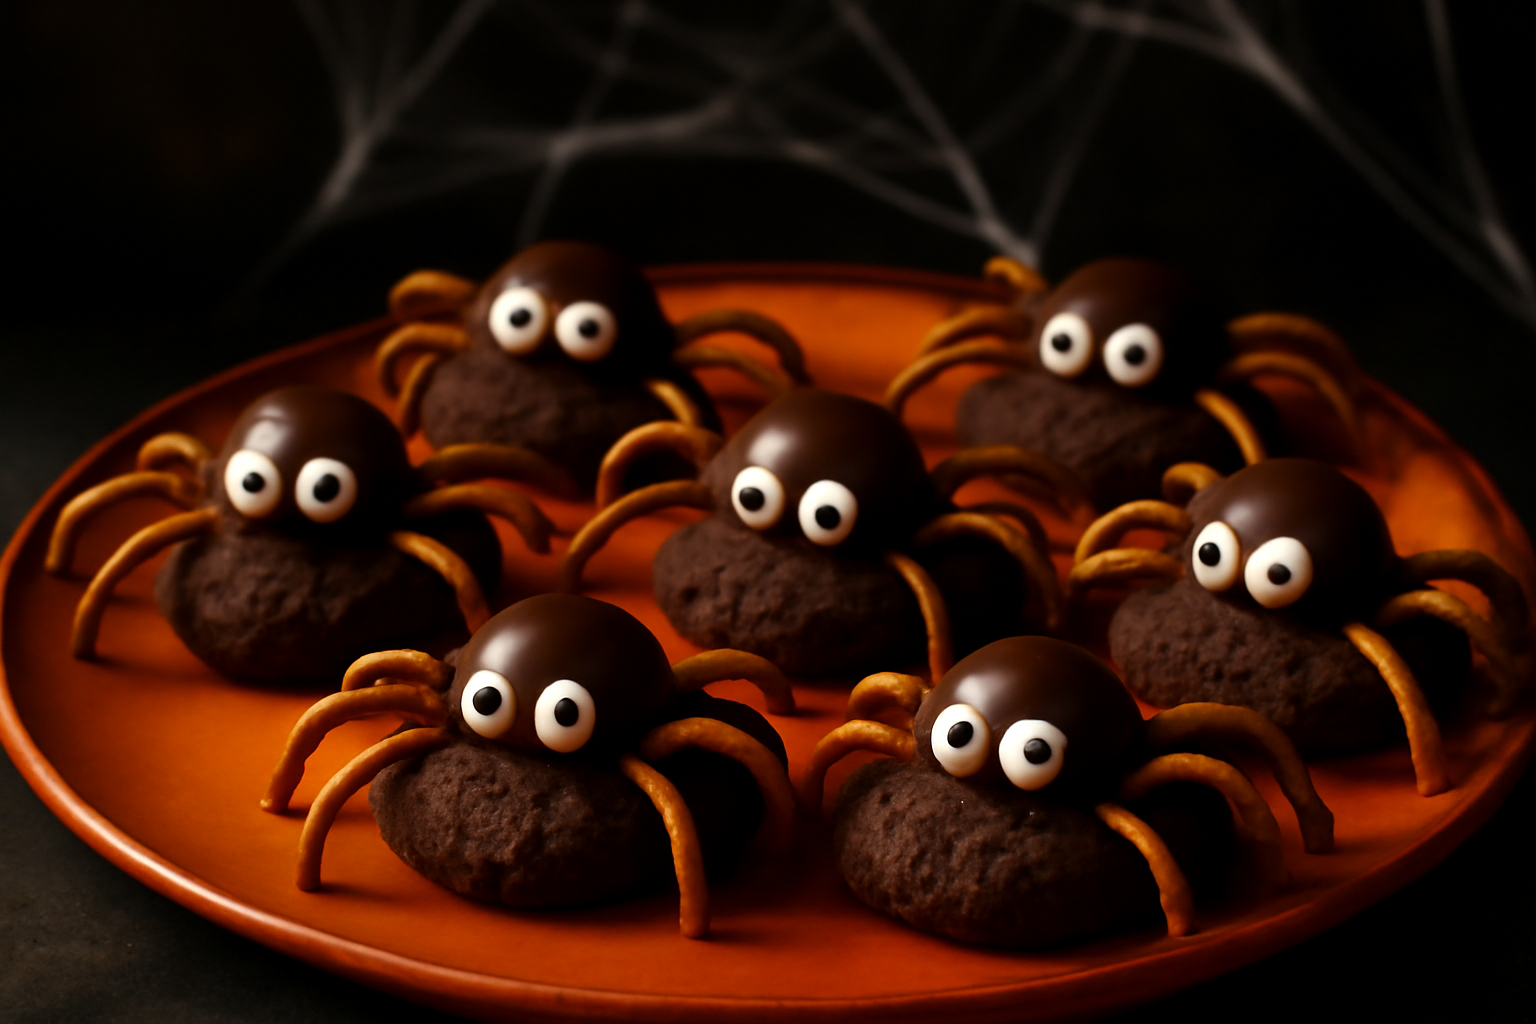
The year I perfected my halloween spider cookies recipe, my neighbor’s seven-year-old screamed and dropped her candy bag. I considered that a win. These aren’t the sad, droopy spider cookies you see on grocery store shelves every October — the ones with misaligned pretzel legs and frosting that tastes like sweetened chalk. Mine are legitimately creepy, deeply chocolatey, and built on a base that took me 34 batches to get exactly right. Every Halloween since 2018, my kids have refused to let me make anything else.
What started as a Pinterest experiment on a rainy October afternoon became a full-blown obsession. My daughter Emma, who was nine at the time, watched me pull batch after batch from the oven with increasingly critical eyes. “The legs are wrong, Mom. Spiders don’t look like that.” She wasn’t wrong. However, by the time I cracked the formula — the right cookie base, the right chocolate shell, the right leg placement — even she admitted they were genuinely frightening. That’s the standard I bake to.
In this post, I’m walking you through everything I’ve learned across six Halloween seasons and well over 200 dozen of these cookies. I’ll cover the science behind the base dough, the chocolate work, the assembly technique, and exactly how to store and gift them so they arrive looking terrifying in the best possible way.
Why the Cookie Base Is Everything
Most spider cookie recipes slap the decoration onto a standard sugar cookie and call it a day. That approach bothered me from the start. The base cookie needs to hold the weight of a chocolate-dipped Oreo body, eight pretzel legs, and candy eyes without cracking, crumbling, or spreading into a puddle. That’s a structural and flavor challenge — and it took me until batch 23 to fully solve it.
The answer was a brownie-cookie hybrid I call my “black velvet” base. Specifically, I use a combination of 1¾ cups all-purpose flour, ¼ cup Dutch-process cocoa, ½ teaspoon baking soda, and ¼ teaspoon fine sea salt. The Dutch-process cocoa matters here. Unlike natural cocoa, it doesn’t react with baking soda, which means I get a controlled, minimal rise — exactly what I need for a flat, sturdy platform. Gluten development is intentionally moderate: I mix until just combined, rest the dough for 30 minutes, and roll to a precise ¼-inch thickness.
The fat ratio is also critical. I use 10 tablespoons of unsalted butter (browned, not just softened) and 2 tablespoons of vegetable shortening. Browning the butter deepens the Maillard reaction compounds already present in the cocoa, creating a flavor complexity that makes people ask what the “secret” is. The shortening stabilizes the structure at room temperature — essential when your decorated cookies are sitting on a table for three hours at a Halloween party. Bake at 350°F for exactly 11 minutes. Pull them before they look done. Trust the process.
The Chocolate Spider Body: Technique and Temperature
The spider’s body is a double-stuffed Oreo dipped in tempered dark chocolate. I learned the hard way that skipping tempering is a disaster — my first three batches came out with chocolate that bloomed into a streaky gray mess within hours. Tempering sounds intimidating, but for this application it’s straightforward.
I use Guittard 64% dark chocolate wafers because they have a consistent cocoa butter content that makes tempering forgiving. Melt two-thirds of your chocolate to 115°F, then seed it with the remaining one-third, stirring until the temperature drops to 88–90°F. At that point, the cocoa butter crystals are in their stable Form V structure — which is the technical reason tempered chocolate snaps cleanly, shines beautifully, and doesn’t bloom. Dip each Oreo completely, let the excess drip off, and set on a parchment-lined sheet at room temperature (65–68°F is ideal).
One thing I learned the hard way: don’t refrigerate the chocolate-dipped bodies to speed setting. Cold air causes thermal contraction that introduces micro-cracks in the chocolate shell. Give them 45 minutes at room temperature. That said, if your kitchen is warmer than 72°F, briefly chilling the Oreos before dipping — not after — helps the chocolate set faster on contact without shocking the finished coat.
Making the Spider Eyes
I use white Wilton candy melts piped into small dots, with a toothpick drag of black food gel for pupils. However, my favorite shortcut — discovered in year three — is using Sixlets candy. The round shape is anatomically perfect, and the slight sheen reads as genuinely eyeball-like under Halloween party lighting. Two Sixlets, positioned slightly asymmetrically, make the spider look unhinged in exactly the right way.
Assembling the Halloween Spider Cookies Recipe Like a Pro
Assembly is where most people abandon precision and pay for it later. The legs are thin pretzel sticks — specifically Snyder’s of Hanover Thin Pretzel Sticks, which I’ve found have the most consistent diameter and the least breakage. Each spider gets eight legs: four per side, inserted at slight downward angles into a small chocolate “anchor” dot piped onto the cookie base before the body is placed.
That anchor dot is a technique I developed in year two after watching half my spiders lose legs at a school Halloween party. Pipe a small mound of tempered chocolate onto the cookie base, about the diameter of a nickel. Press the chocolate-dipped Oreo body into it immediately. Then, while the chocolate is still fluid, insert the pretzel legs at roughly 30-degree downward angles — four on each side, slightly fanned. The chocolate anchor acts as both adhesive and structural support. As it sets, it locks everything in place.
Timing is everything during assembly. Work in small batches of six cookies at a time, keeping your chocolate at working temperature (88–90°F) in a double boiler. I use a small silicone spatula to re-stir every few minutes. Specifically, I set a three-minute timer because that’s exactly how long it takes the anchor chocolate to become too firm to accept the pretzel legs cleanly. After assembly, let the finished spiders rest undisturbed for one full hour before moving or packaging them.
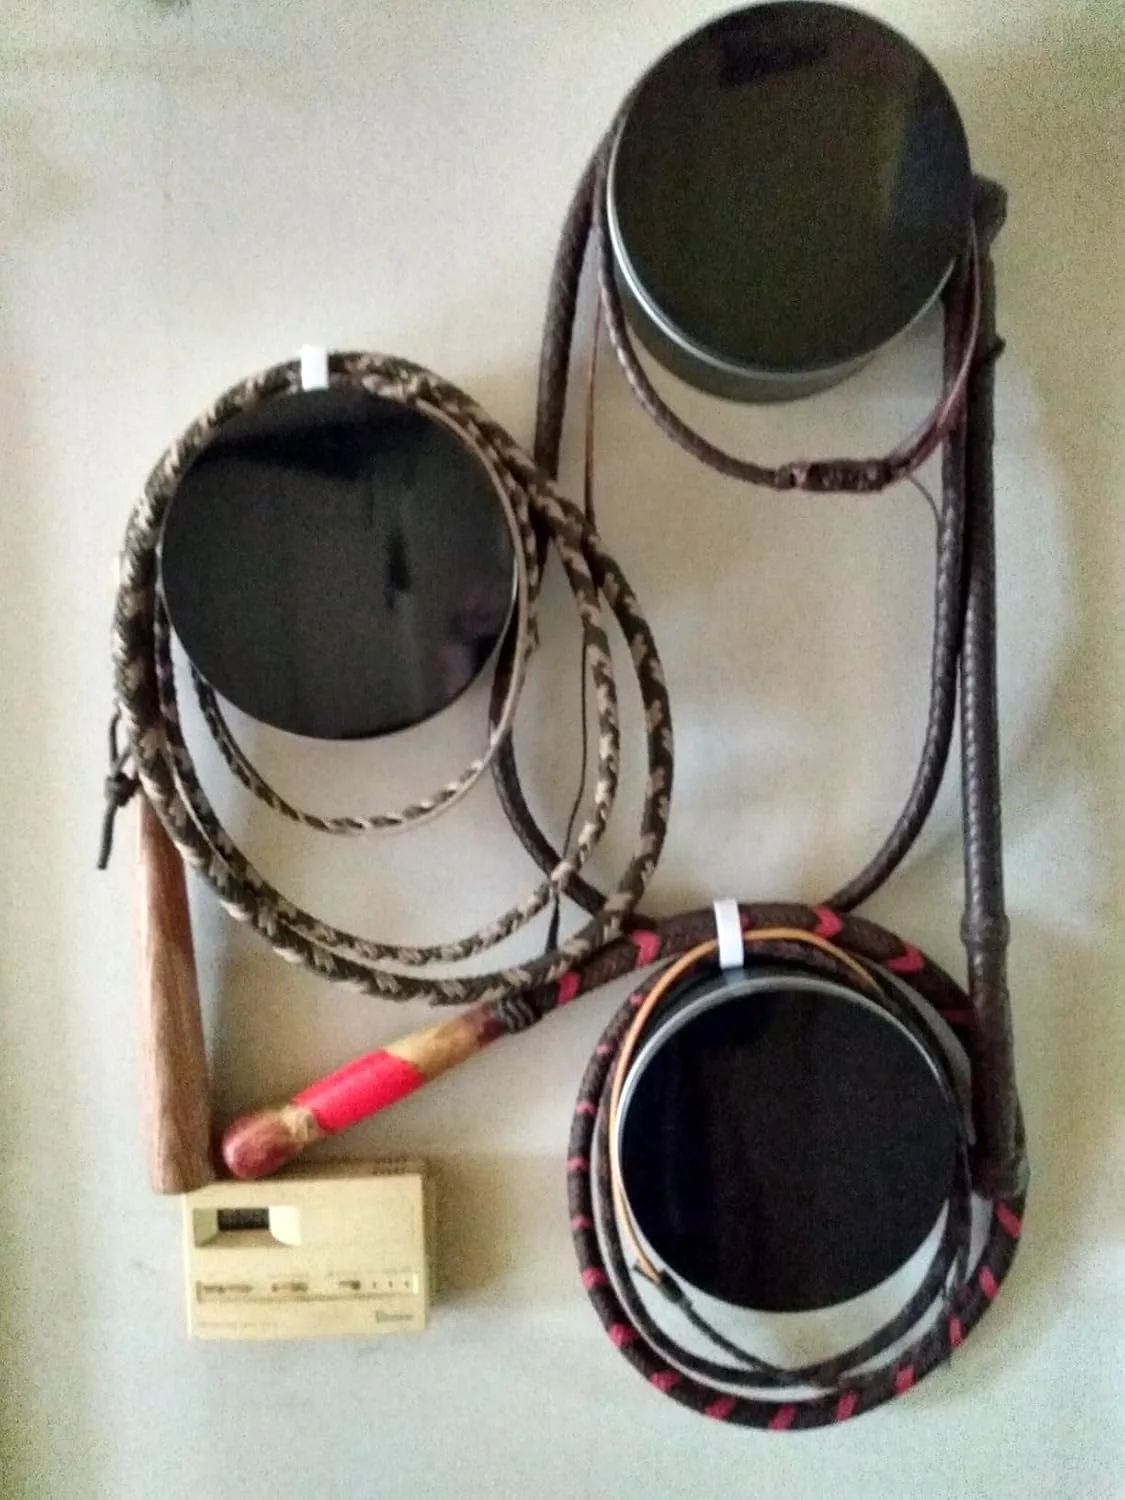
The Storage Tins That Keep Spider Cookies From Getting Stale Before Halloween Night
These cookies are best made a few days ahead, but keeping them fresh and their delicate pretzel legs intact through trick-or-treat night is its own challenge. I learned the hard way that a flimsy container or one that doesn’t seal properly will either crush your spiders or turn them stale by evening.
What works
- The round shape gives you actual breathing room—no pretzel legs snapping off against sharp corners like they do in rectangular boxes.
- The seal is tight enough that cookies stay soft for 4-5 days without drying out, and the lid closes quietly so you’re not tempted to keep peeking and letting humidity escape.
- Three tins means I can separate batches by decoration stage or give finished cookies to neighbors without raiding the whole stash.
What doesn’t
- The lid can stick slightly if you’ve stored them in a humid kitchen—I have to remind myself to loosen it gently rather than yank it, or risk tipping the whole tin.
- At this price point, the metal isn’t as thick as vintage tins, so they feel a little flimsier than I expected when I first unboxed them.
I almost went back to plastic storage one October after a batch got slightly soft in the middle tin, until I realized I’d overfilled it and the lid wasn’t sealing properly—my mistake, not the tin’s. Yopay 3 Pack Round Cookie Tins have been my go-to ever since.
This post contains affiliate links. As an Amazon Associate, I earn from qualifying purchases at no extra cost to you.