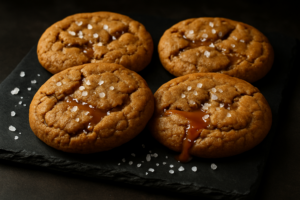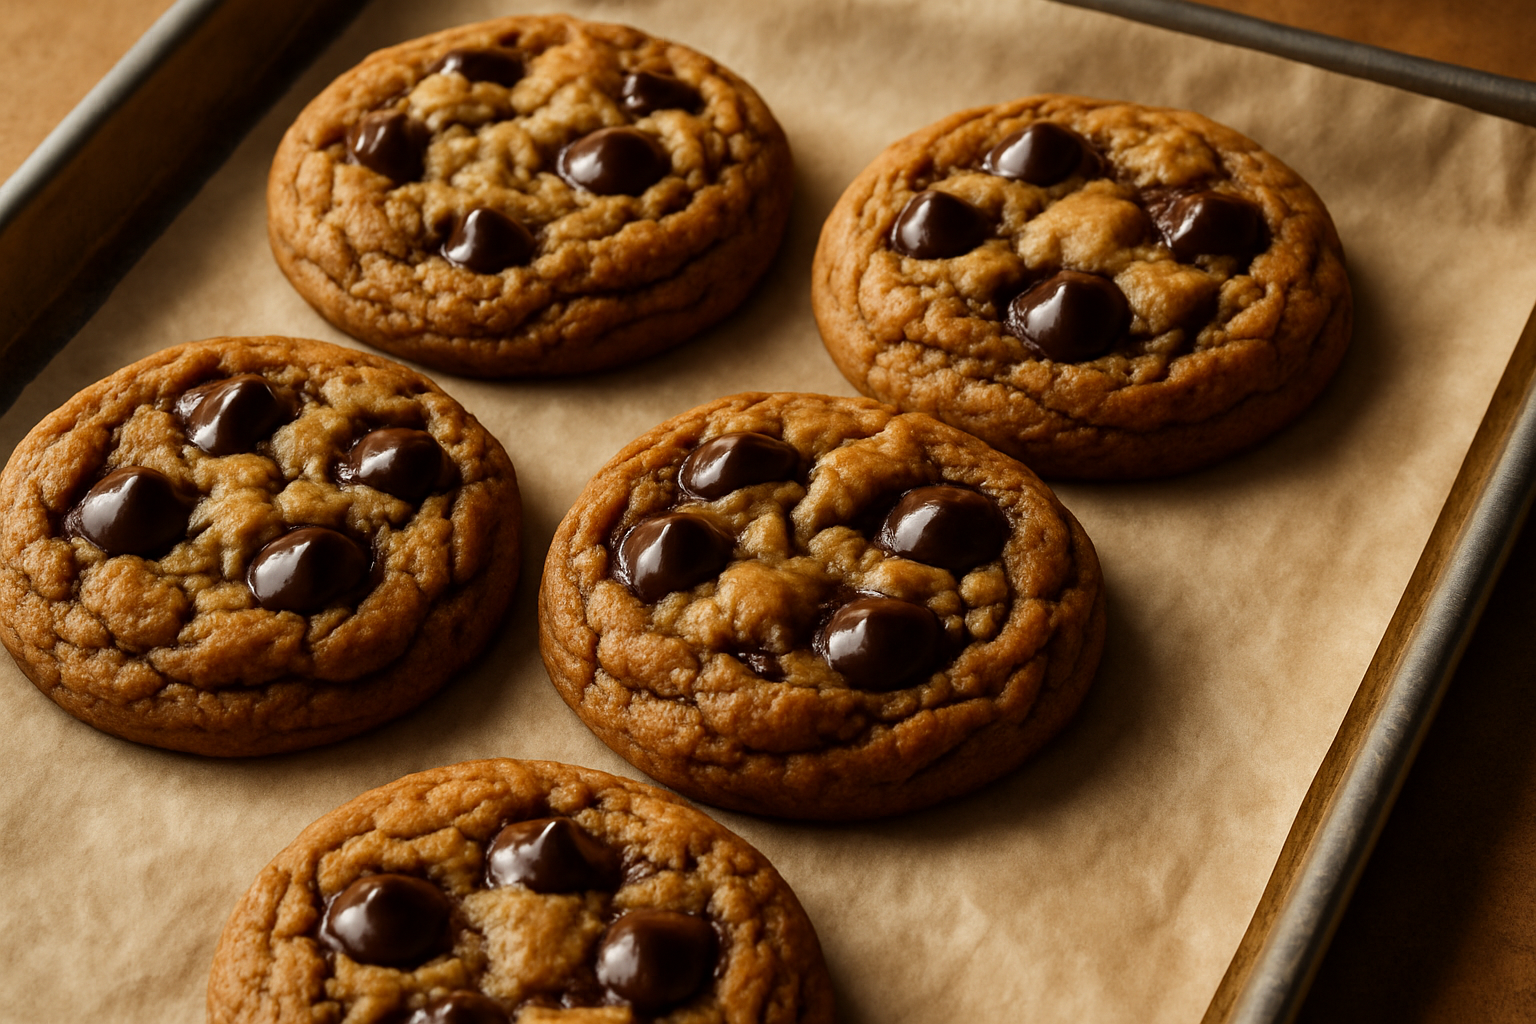
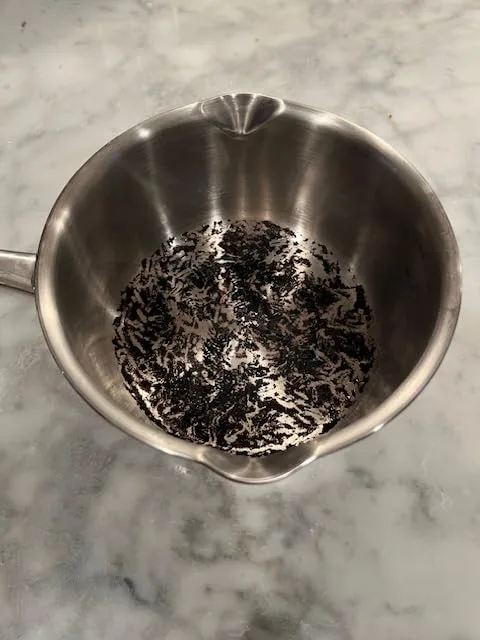
I once set off my smoke alarm three times in a single afternoon trying to make brown butter chocolate chip cookies. Three times. My neighbor knocked on my door on the second alarm, and by the third, she just texted me: “Again??” I was mortified. My kitchen smelled like a campfire, I had a saucepan full of what I can only describe as liquid regret, and I was fully ready to declare brown butter a scam invented by food bloggers to make the rest of us feel inadequate. And then — on my fourth attempt, because I am nothing if not stubborn — something clicked. The butter turned golden and nutty and smelled like toasted hazelnuts and caramel and everything good in the world. And the cookies I made with it? They genuinely tasted like they came from a fancy bakery. I’m not even a little bit exaggerated about that.
Why Brown Butter Changes Everything in Chocolate Chip Cookies
Here’s the thing about regular chocolate chip cookies: they’re already great. Nobody is out here complaining about a classic. But brown butter chocolate chip cookies are a completely different level of delicious, and the upgrade requires exactly one extra step and about five additional minutes. The science is simple — when you cook butter past its melting point, the milk solids toast and develop hundreds of new flavor compounds. You get nutty, caramel-like depth that plain melted butter just cannot replicate. It’s the difference between a good cookie and a cookie someone asks you for the recipe to before they’ve even finished chewing.
The flavor payoff is enormous, but I completely understand why people get intimidated. The window between perfectly browned and straight-up burned is real, and in my early days I found it approximately zero times on the first try. Here’s what I wish someone had told me before I wasted half a pound of butter and alarmed my entire street.
How to Brown Butter Without Destroying It (or Your Smoke Alarm)
The biggest mistake I made — repeatedly, enthusiastically — was using too high a heat and walking away. Brown butter requires medium to medium-low heat and your full, undivided attention for the five or so minutes it takes. Here’s my step-by-step approach now that I’ve finally figured it out.
Use the Right Pan
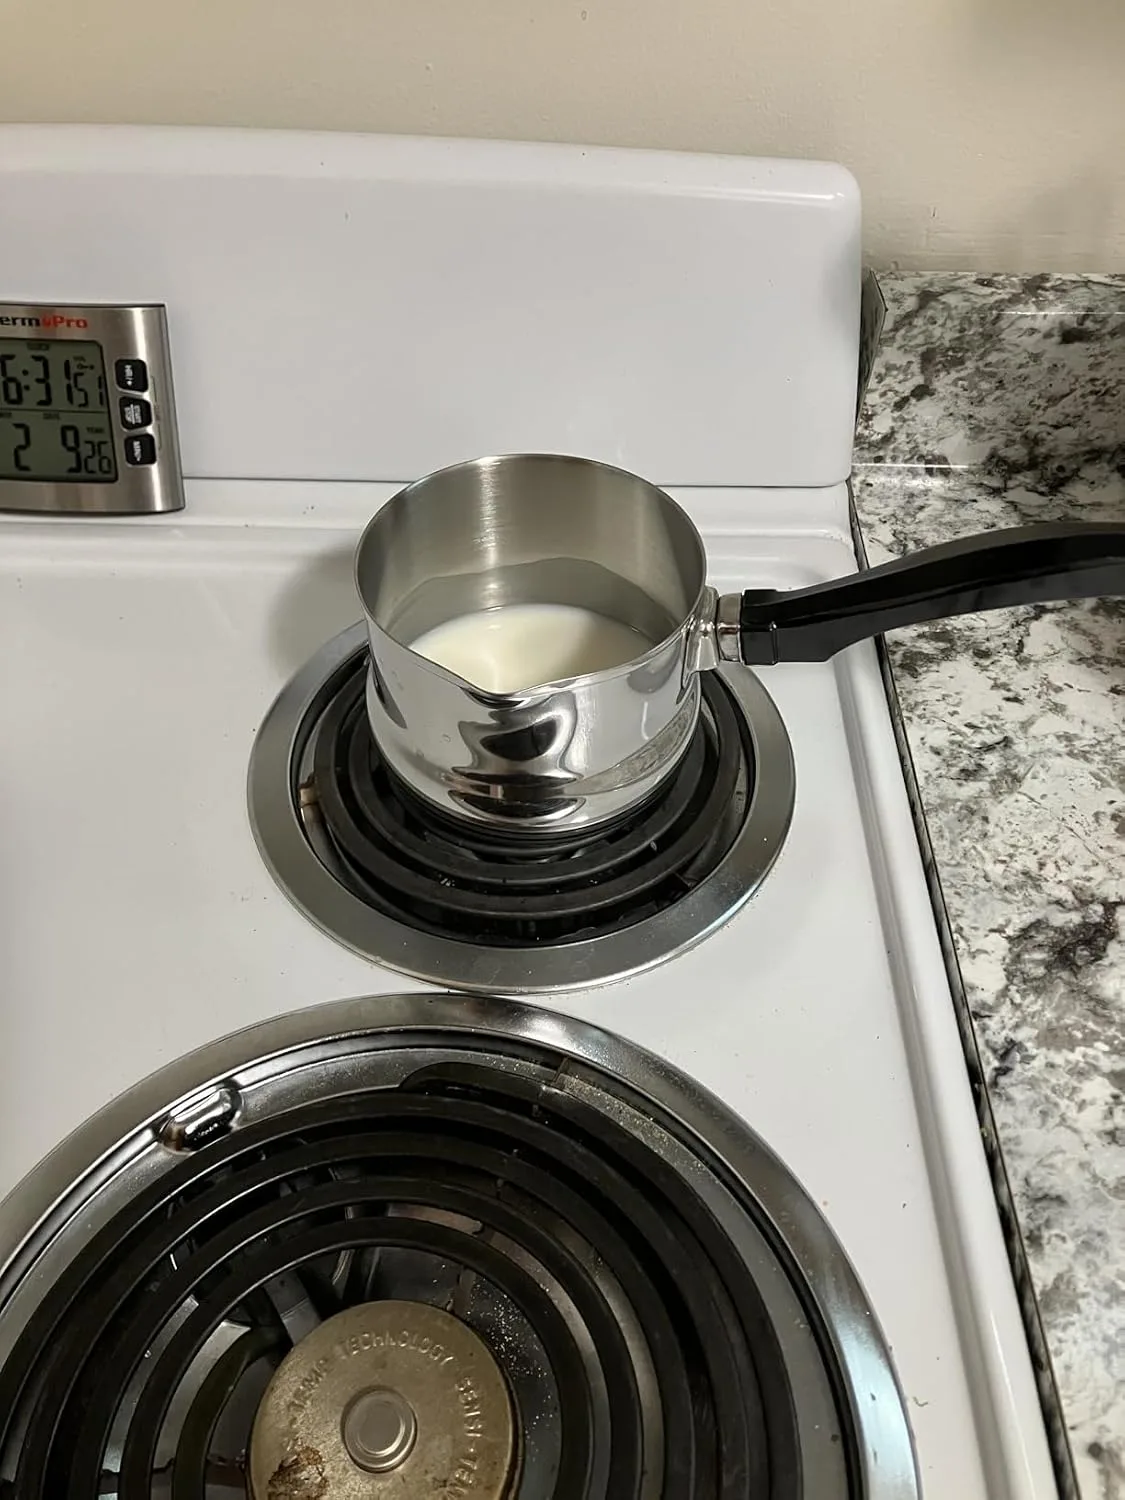
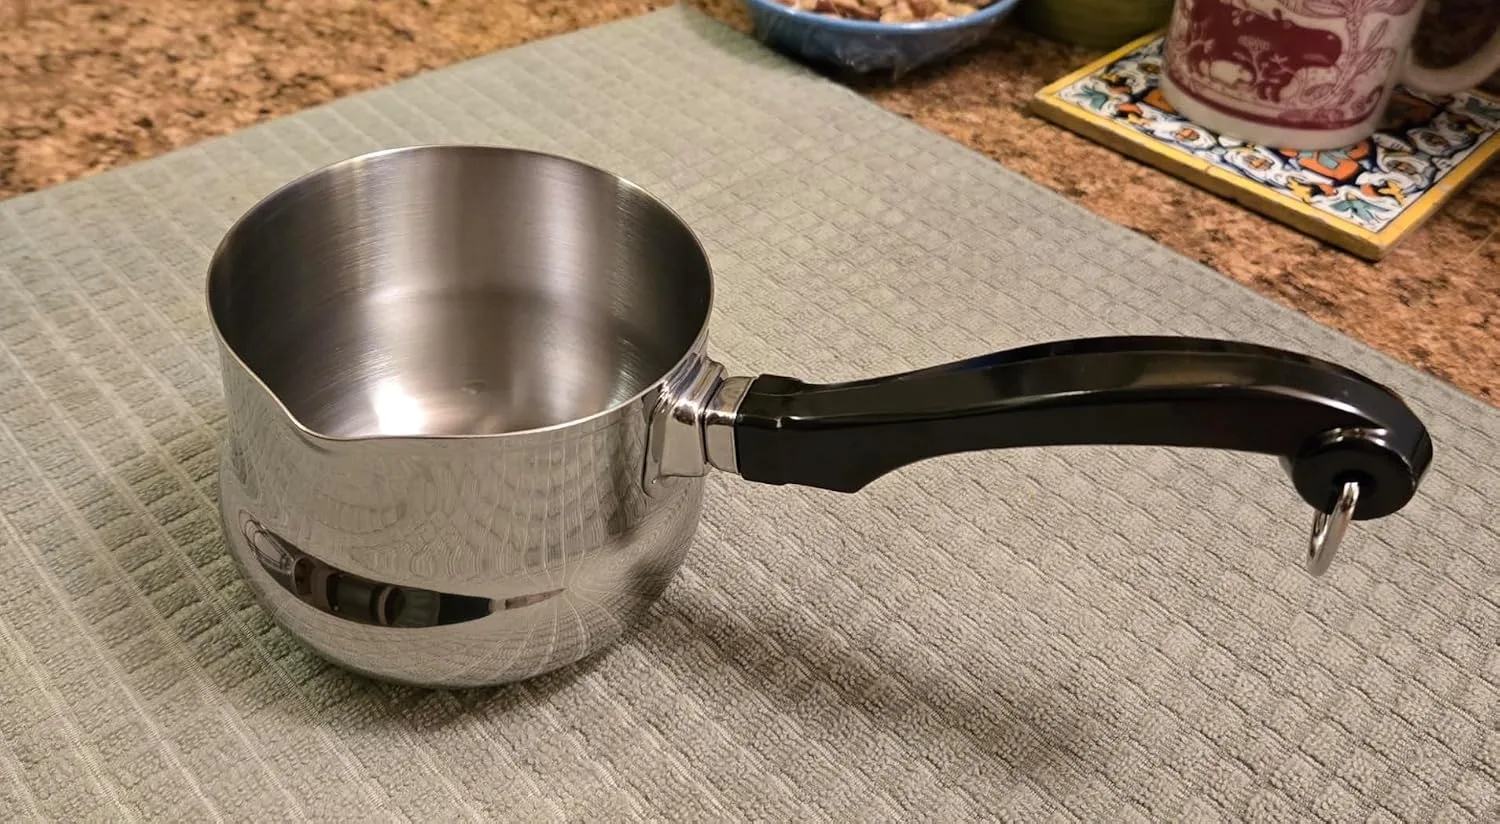
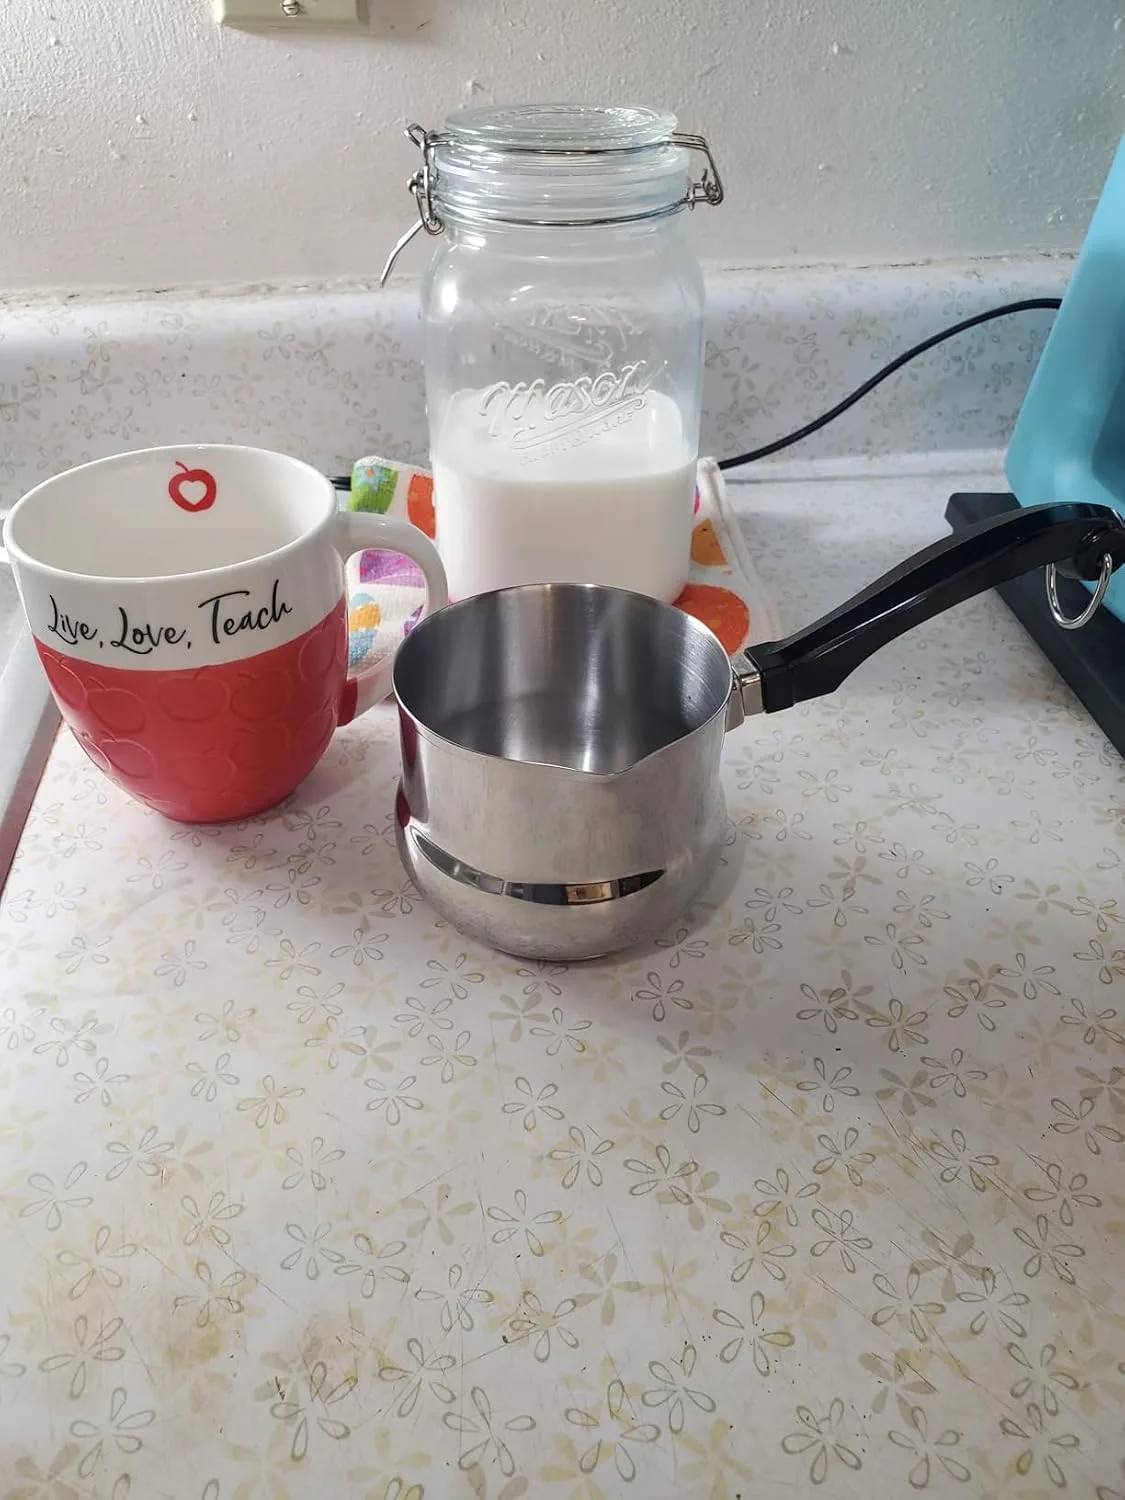
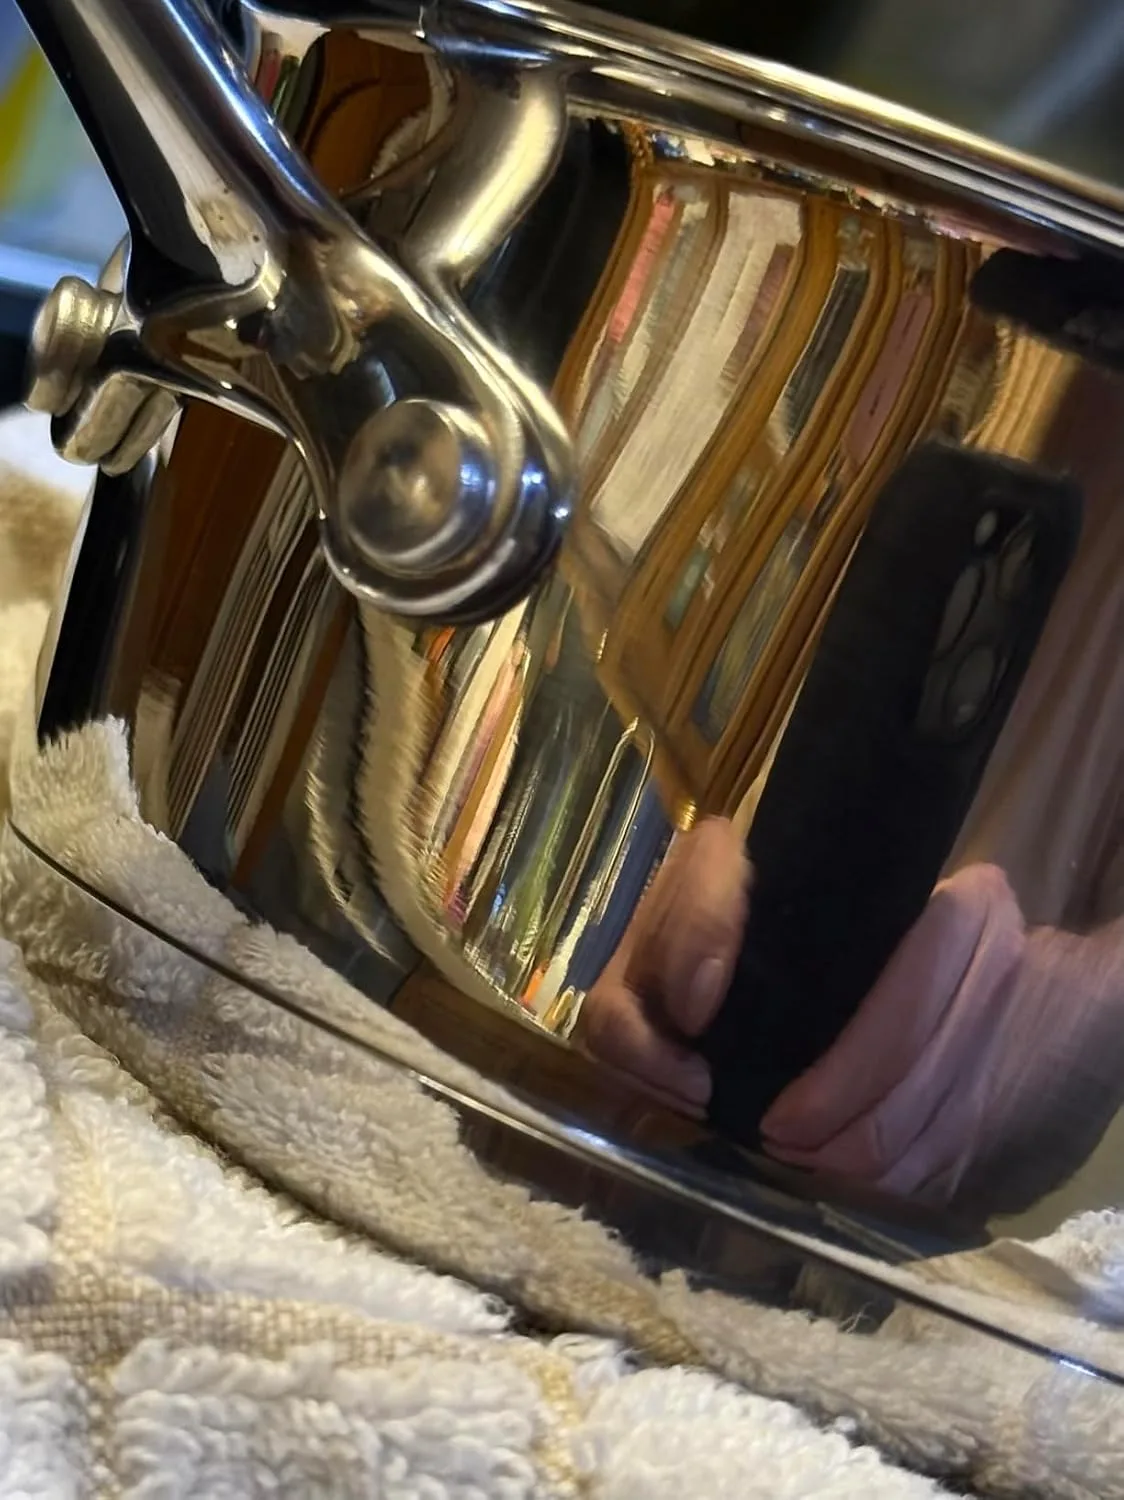
The Butter Warmer That Finally Stopped Me From Burning Brown Butter
Brown butter is the secret to that bakery-quality depth in chocolate chip cookies, but it’s also the easiest way to go from golden and nutty to black and bitter in about 30 seconds. I needed a way to actually see what was happening without leaning over a smoking pot.
What works
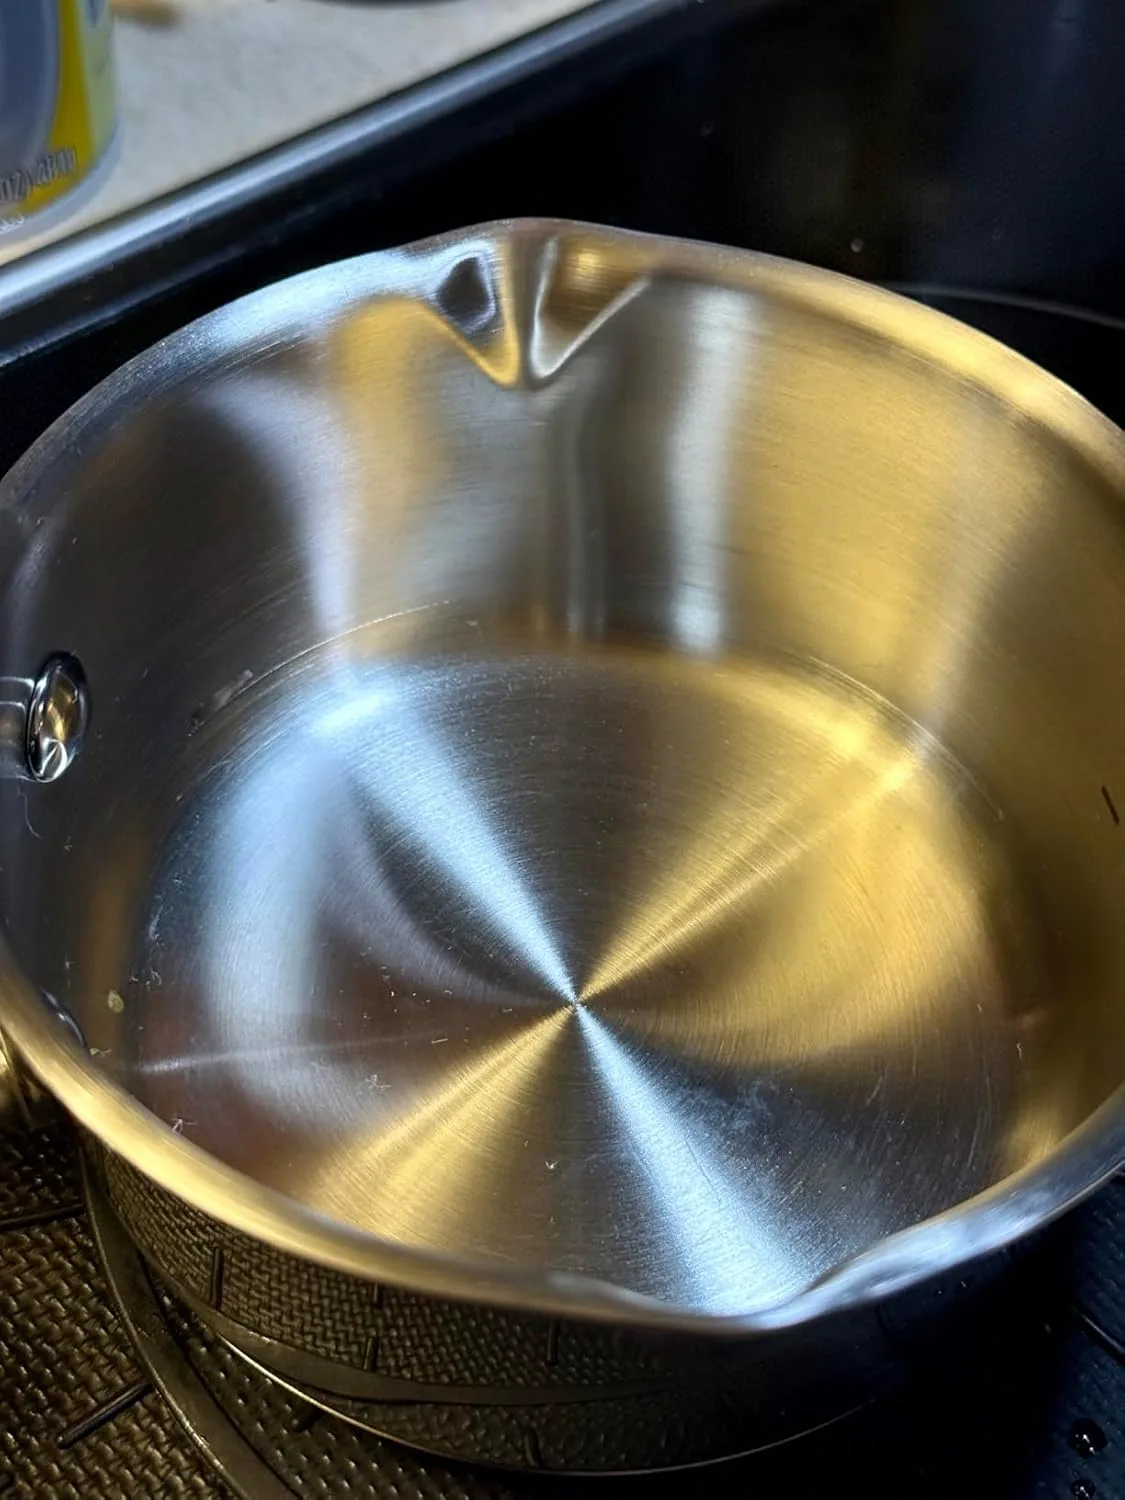
- The light-colored interior and tall sides let you actually watch the milk solids brown at the bottom—no more guessing or panicking when you can’t see the color change.
- The pour spout is wide and angled enough that you can transfer warm brown butter directly into your mixing bowl without splashing or losing those precious toasted bits stuck to the pan.
- It heats more evenly than a regular saucepan because it’s shallower, so the butter browns consistently from edge to center instead of catching at the edges first.
What doesn’t
- The handle does get genuinely hot—I’ve grabbed it bare-handed more than once and regretted it, so you absolutely need a kitchen towel or glove nearby.
- It’s a single-purpose tool, which feels indulgent if you’re someone who likes cookware that earns its drawer space by doing multiple jobs.
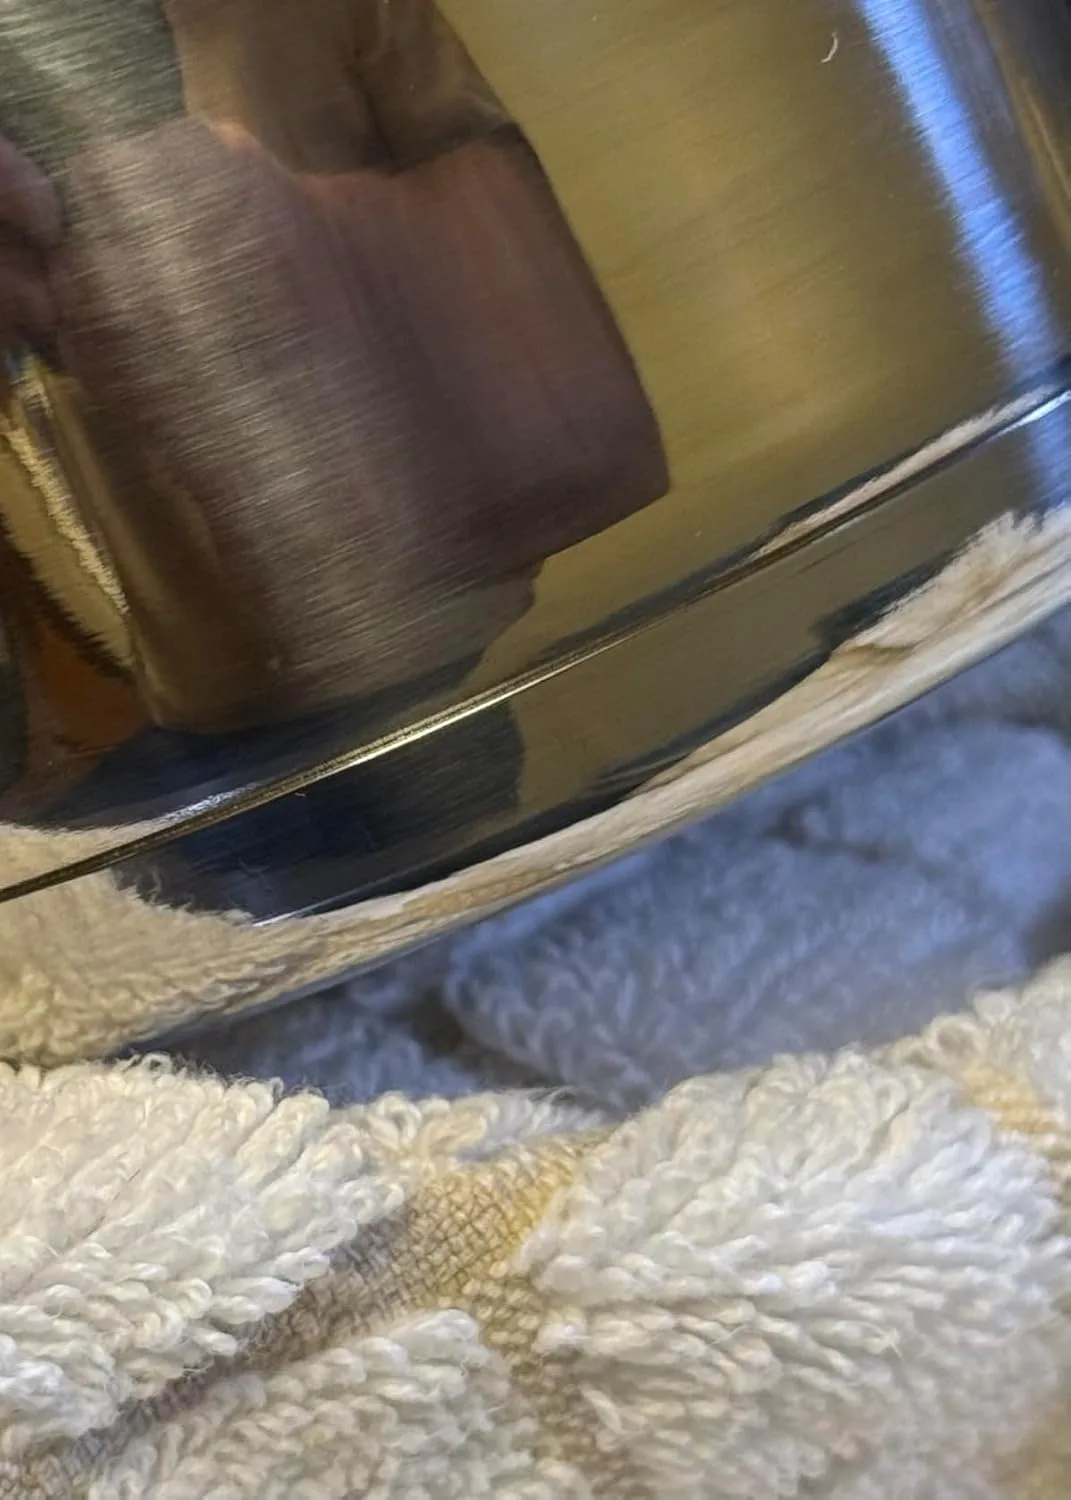
I was skeptical that a $20 pan would actually solve the problem I’d been wrestling with for years, but the first time I watched the butter transform from foamy to caramel-colored without that creeping burnt smell, I was sold. DEAYOU 18/10 Stainless Steel Butter Warmer Pan, 0.8-Quart
The Recipe: Brown Butter Chocolate Chip Cookies
Once you’ve mastered the art of browning butter without triggering your smoke alarm, the actual cookie dough comes together in minutes. This is the recipe I’ve made dozens of times since that fourth attempt, and it never fails to deliver that bakery-quality result everyone raves about.
What You’ll Need
- 1 cup (227 grams) unsalted butter, browned and cooled to room temperature
- 3/4 cup (165 grams) packed brown sugar
- 1/4 cup (50 grams) granulated white sugar
- 1 large egg
- 1 teaspoon vanilla extract
- 2 1/4 cups (280 grams) all-purpose flour, spooned and leveled
- 1 teaspoon cornstarch
- 1/2 teaspoon baking soda
- 1/2 teaspoon baking powder
- 3/4 teaspoon salt
- 1 3/4 cups (310 grams) chocolate chips (semi-sweet or dark, depending on preference)
Prep time: 15 minutes (plus 5-7 minutes to brown the butter) | Bake time: 8-10 minutes | Yield: 12 large cookies
How I Make Them, Step by Step
- Brown your butter. Melt 1 cup of unsalted butter in a light-colored saucepan (ideally a butter warmer) over medium-low heat. Watch carefully as it melts, foams, and then begins to smell nutty. The milk solids will turn brown at the bottom—this is exactly what you want. Once it’s golden amber and smells like caramel and hazelnuts, remove it from heat immediately. Pour it into a small bowl and let it cool to room temperature. This step takes about 5-7 minutes and requires your full attention.
- Mix your dry ingredients. In a medium bowl, whisk together 2 1/4 cups flour, 1 teaspoon cornstarch, 1/2 teaspoon baking soda, 1/2 teaspoon baking powder, and 3/4 teaspoon salt. Set aside.
- Combine butter and sugars. In a large bowl, whisk together your cooled brown butter, 3/4 cup brown sugar, and 1/4 cup white sugar until well combined. The mixture should smell distinctly nutty—that’s your flavor upgrade right there.
- Add egg and vanilla. Whisk in 1 large egg and 1 teaspoon vanilla extract until fully incorporated.
- Combine wet and dry. Pour your dry ingredients into the wet ingredients and fold gently with a spatula until just combined. Don’t overmix—a few flour streaks are fine.
- Fold in chocolate chips. Add 1 3/4 cups of chocolate chips and fold them in gently until evenly distributed throughout the dough.
- Scoop and bake. Preheat your oven to 375°F (191°C). Line baking sheets with parchment paper. Scoop dough into 12 equal portions and arrange them about 2 inches apart on the prepared baking sheets.
- Bake until edges are set. Bake for 8-10 minutes, until the edges are light golden brown but the centers still look slightly underdone. This is crucial—the cookies will continue to cook on the hot baking sheet after you pull them out. The centers should stay soft and chewy.
- Cool on the pan. Let the cookies cool on the baking sheet for 5 minutes, then transfer them to a wire rack to cool completely. Store in an airtight container for up to 5 days (though they never last that long in my house).
This post contains affiliate links. As an Amazon Associate, I earn from qualifying purchases at no extra cost to you.