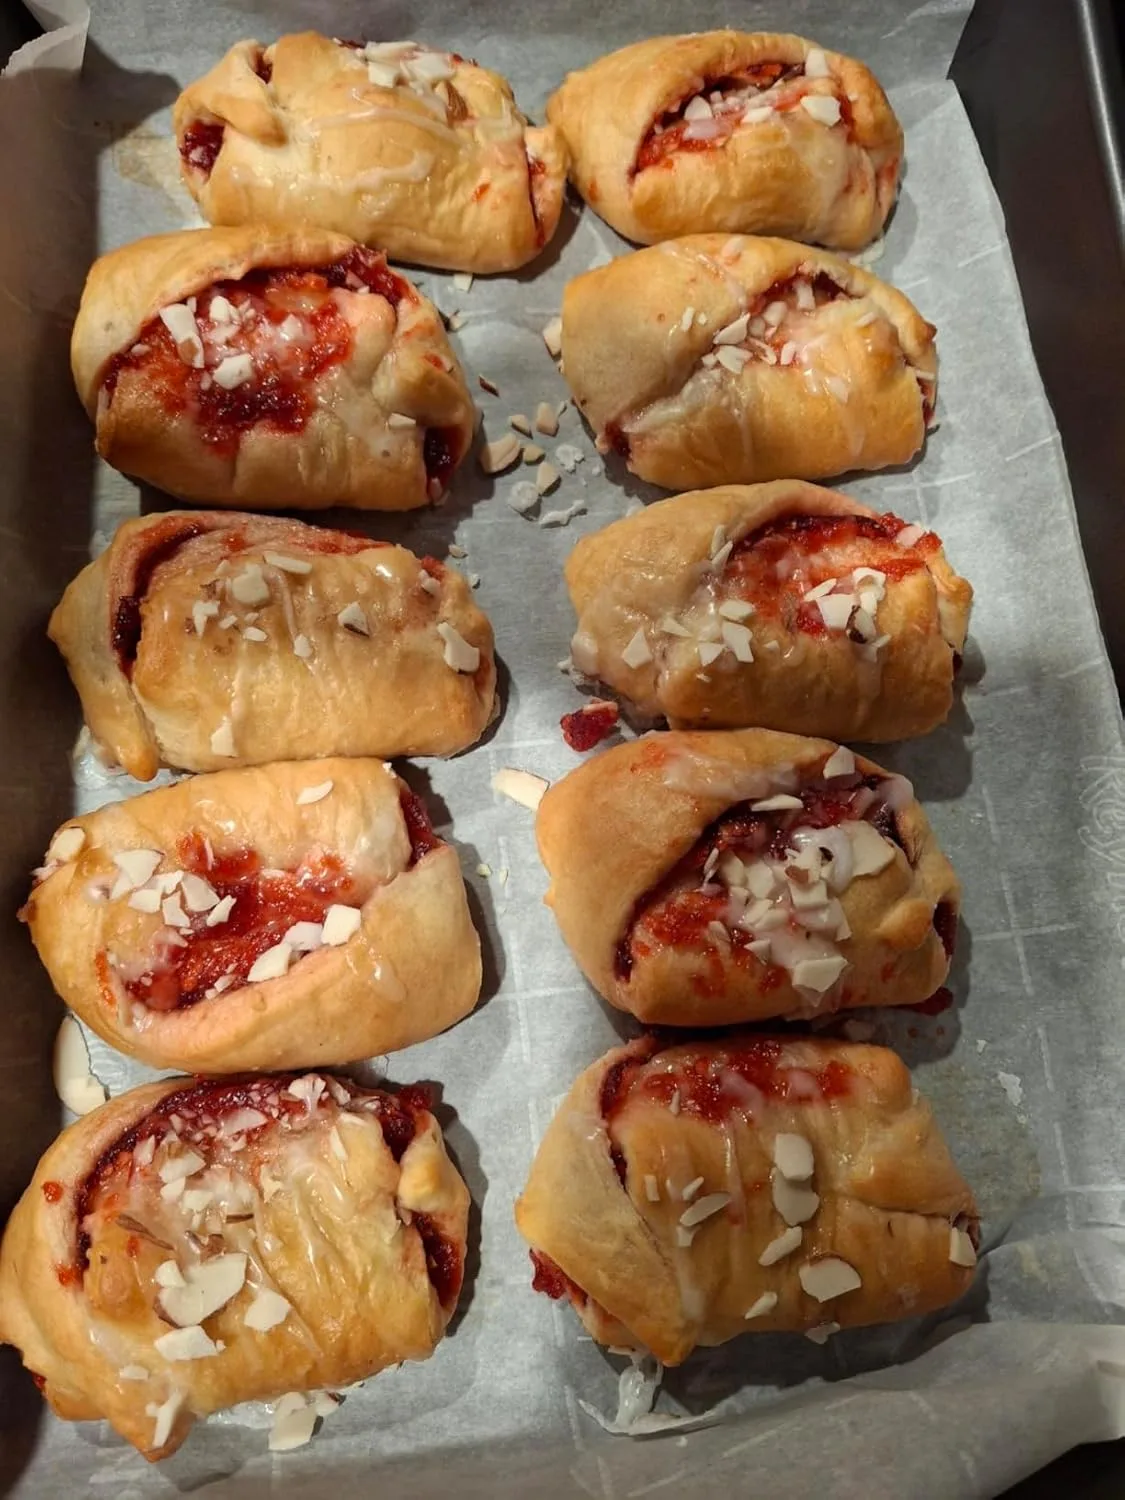
It was a Tuesday in November, the rain was coming down sideways, and my seven-year-old had already asked me “what can we do?” approximately forty-seven times before 10 a.m. So I did what any reasonable cookie-obsessed parent would do — I handed him an apron and said, “We’re making thumbprint cookies.” What followed was one of the most chaotic, flour-dusted, jam-smeared afternoons of my entire parenting life. And somehow, it also became our most treasured rainy day tradition. If you’ve been looking for the perfect thumbprint cookies for kids to make, buckle up, because I have a story for you — and a recipe that genuinely works.
How One Rainy Day Turned Into a Glorious Disaster (and Then a Miracle)
Here’s the thing nobody tells you about baking with a first-grader: the moment you hand them the butter and sugar to cream together, they will interpret “mix gently” as “launch this at full stand-mixer speed immediately.” Before I could say “start on low,” there was a fine mist of powdered sugar settling on every surface in my kitchen, including the dog. My son thought it was the funniest thing that had ever happened in the history of the world. I stood there, blinking flour out of my eyelashes, and made a choice: we were going to keep going and laugh about it.
We got through the dough. We rolled the little balls. And then came the thumbprint step — which, as it turns out, is slightly harder than it sounds when your hands are the size of a seven-year-old’s. His “thumbprints” looked more like he’d tried to punch through the cookies with his entire fist. We had craters. We had abstract art. One cookie looked vaguely like a moon landing site. I decided they were all perfect.
Why Thumbprint Cookies Are the Best Baking Project for Kids
Here’s why I keep coming back to thumbprint cookies for kids to make on rainy days, sick days, snow days, and honestly most days: the steps are manageable, the results are forgiving, and the payoff is absolutely delicious. Kids get to be genuinely hands-on — rolling dough into balls is endlessly satisfying for little hands — and the jam-filling step feels like arts and crafts more than baking. There’s also very little that can go wrong in a way that can’t be fixed or laughed off.
From a baking standpoint, thumbprint cookies are a shortbread-style dough that holds its shape well during baking, which means even the most enthusiastically smooshed cookies tend to come out looking pretty cute. The dough is simple — butter, sugar, egg yolk, vanilla, flour, and a pinch of salt — and it comes together quickly without any chilling required if you work efficiently. That matters a lot when you have a kid hovering next to you asking “is it done yet?” every four minutes.
Tips for Getting the Best Results with Kids
- Use room temperature butter — it creams more easily and kids can help without the mixer fighting back
- Roll dough balls to roughly one inch in diameter for the ideal size — a small cookie scoop makes this consistent and gives kids a tool to use
- Press the thumbprint slowly and gently — if the dough cracks around the edges, just pinch it back together with your fingers
- Don’t overfill the wells — a little under half a teaspoon of jam per cookie keeps it from bubbling over
- Chill the formed cookies for 15 minutes before baking if your dough feels soft — this helps them hold their shape in the oven
- Bake at 350°F for 12 to 14 minutes until the edges are just barely golden — don’t overbake or they lose that melt-in-your-mouth texture
The Recipe: My Go-To Thumbprint Cookie Dough
After years of making these with my son and perfecting the ratios, here’s the exact recipe that never fails us. The dough is forgiving enough for little hands to shape, but produces cookies with that perfect tender, buttery crumb that makes them impossible to stop eating.
What You’ll Need
- 1 cup (226 grams) unsalted butter, softened to room temperature
- ½ cup (100 grams) granulated sugar
- ½ cup (100 grams) packed light brown sugar
- 1 egg yolk
- 1 teaspoon pure vanilla extract
- 2¼ cups (280 grams) all-purpose flour
- ¼ teaspoon fine sea salt
- Jam for filling (I use raspberry, but any jam you love works)
How I Make Them, Step by Step
- Preheat your oven to 350°F (175°C). Line baking sheets with parchment paper.
- In a large bowl, cream together the softened butter, granulated sugar, and brown sugar until the mixture is light and fluffy, about 2-3 minutes. This is the perfect step to hand over to the kids — it’s where all the fun mixing happens.
- Beat in the egg yolk and vanilla extract until everything is well combined.
- In a separate bowl, whisk together the flour and salt.
- Gradually mix the flour mixture into the butter mixture until the dough just comes together. It should be soft and easy to handle.
- Scoop rounded tablespoons of dough (or use a 1-tablespoon cookie scoop for consistency) and roll gently between your palms into 1-inch balls. This is the part my son does entirely by himself now — his little hands are perfect for it.
- Place the dough balls about 1 inch apart on your prepared baking sheets.
- Use your thumb (or the handle end of a wooden spoon) to gently press down into the center of each cookie to create an indent, being careful not to press all the way through to the bottom.
- Fill each indent with about ½ teaspoon of jam. Don’t overfill — less is more here.
- If you’ve used soft dough, pop the whole tray in the refrigerator for 15 minutes before baking. This helps the cookies hold their shape and prevents the jam from spreading.
- Bake for 12 to 14 minutes, until the edges are just barely golden brown. The centers should still look slightly underbaked — they’ll set as they cool.
- Let the cookies cool on the baking sheet for 5 minutes, then transfer to a wire rack to cool completely.
Yield: About 24 cookies (depending on your scoop size)
Prep time: 15 minutes | Bake time: 12-14 minutes
The Jam That Doesn’t Bleed Into Your Cookies (And Stays Put When Little Hands Press Down)
Thumbprint cookies live or die by their filling — too runny, and the jam spreads across the dough during baking; too thick, and kids can’t create that perfect indentation. I learned this the hard way after watching homemade jam pool across an entire batch while my son watched in disappointment.
What works
- The consistency is exactly right for thumbprints — thick enough that it sits in the indent without oozing toward the edges, but soft enough that a seven-year-old can press his thumb in without the dough cracking.
- It doesn’t separate or weep liquid during baking, which means no sad jam rings around your cookies when they come out of the oven.
- The flavor is bright and genuine — it tastes like actual raspberries, not a sugar-forward imitation, so even a small spoonful makes the whole cookie taste intentional.
What doesn’t
- It’s not as widely available as some other jam brands, so you may need to order it online rather than grab it from your local grocery store.
- Once opened, it needs refrigeration, and the jar is smaller than some competitor brands, so you’ll go through it faster if you’re making multiple batches with kids.
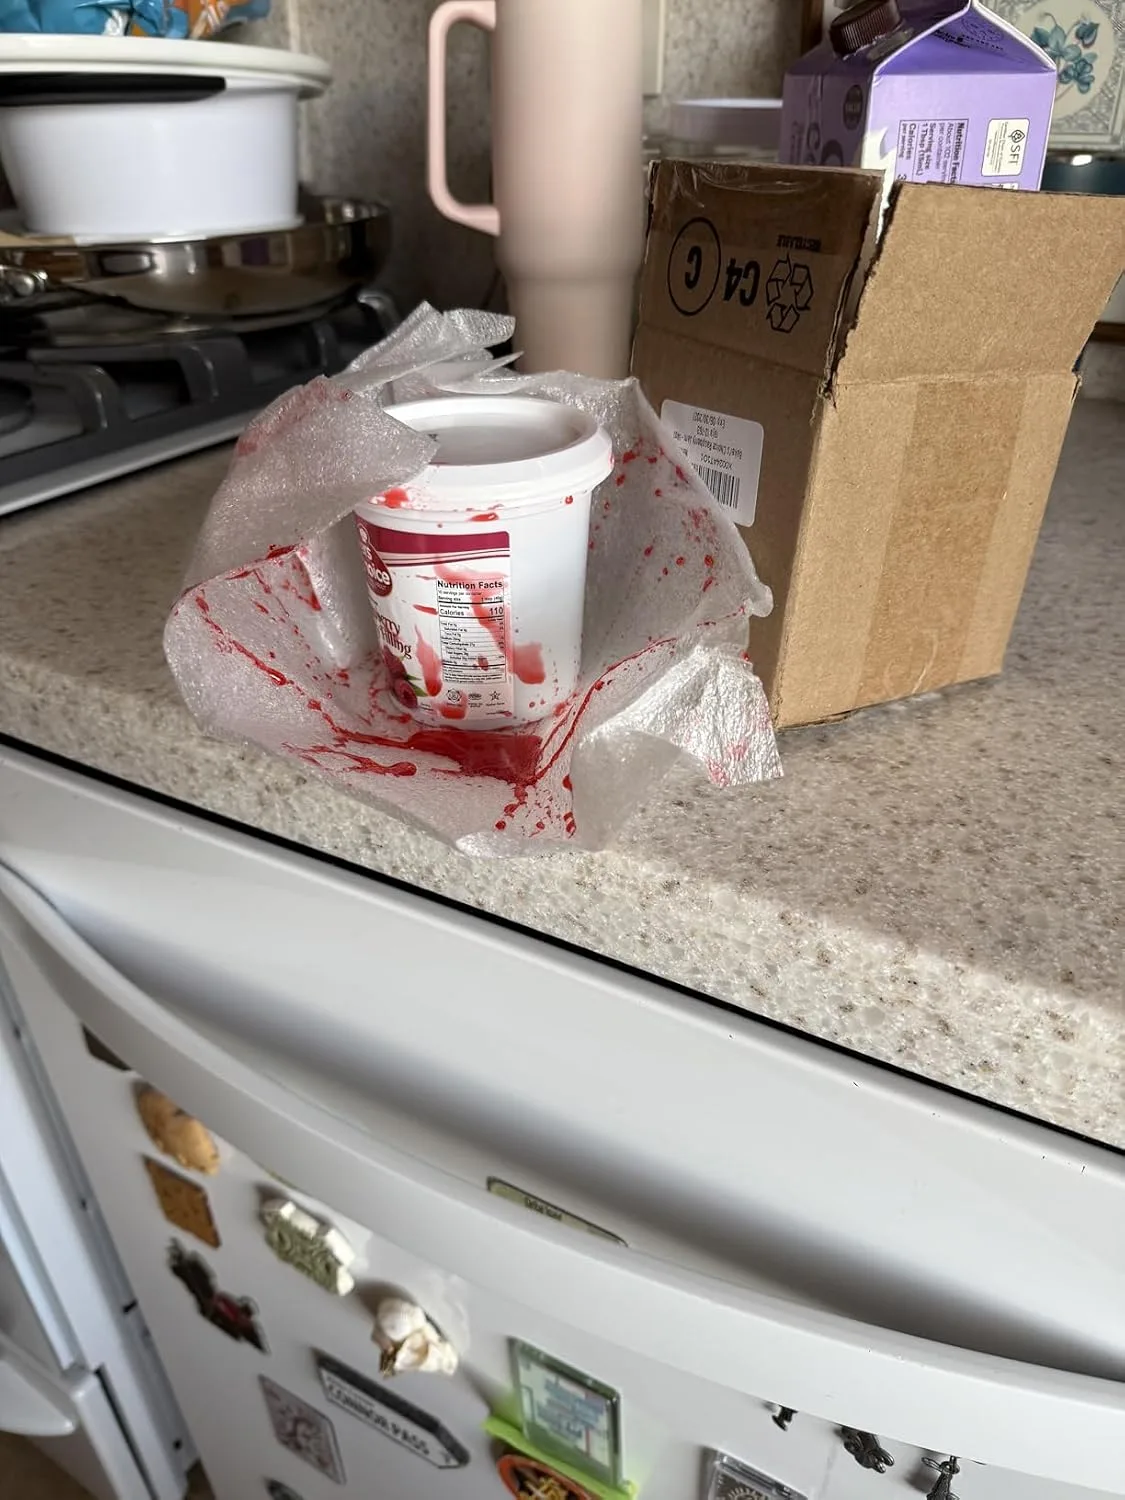
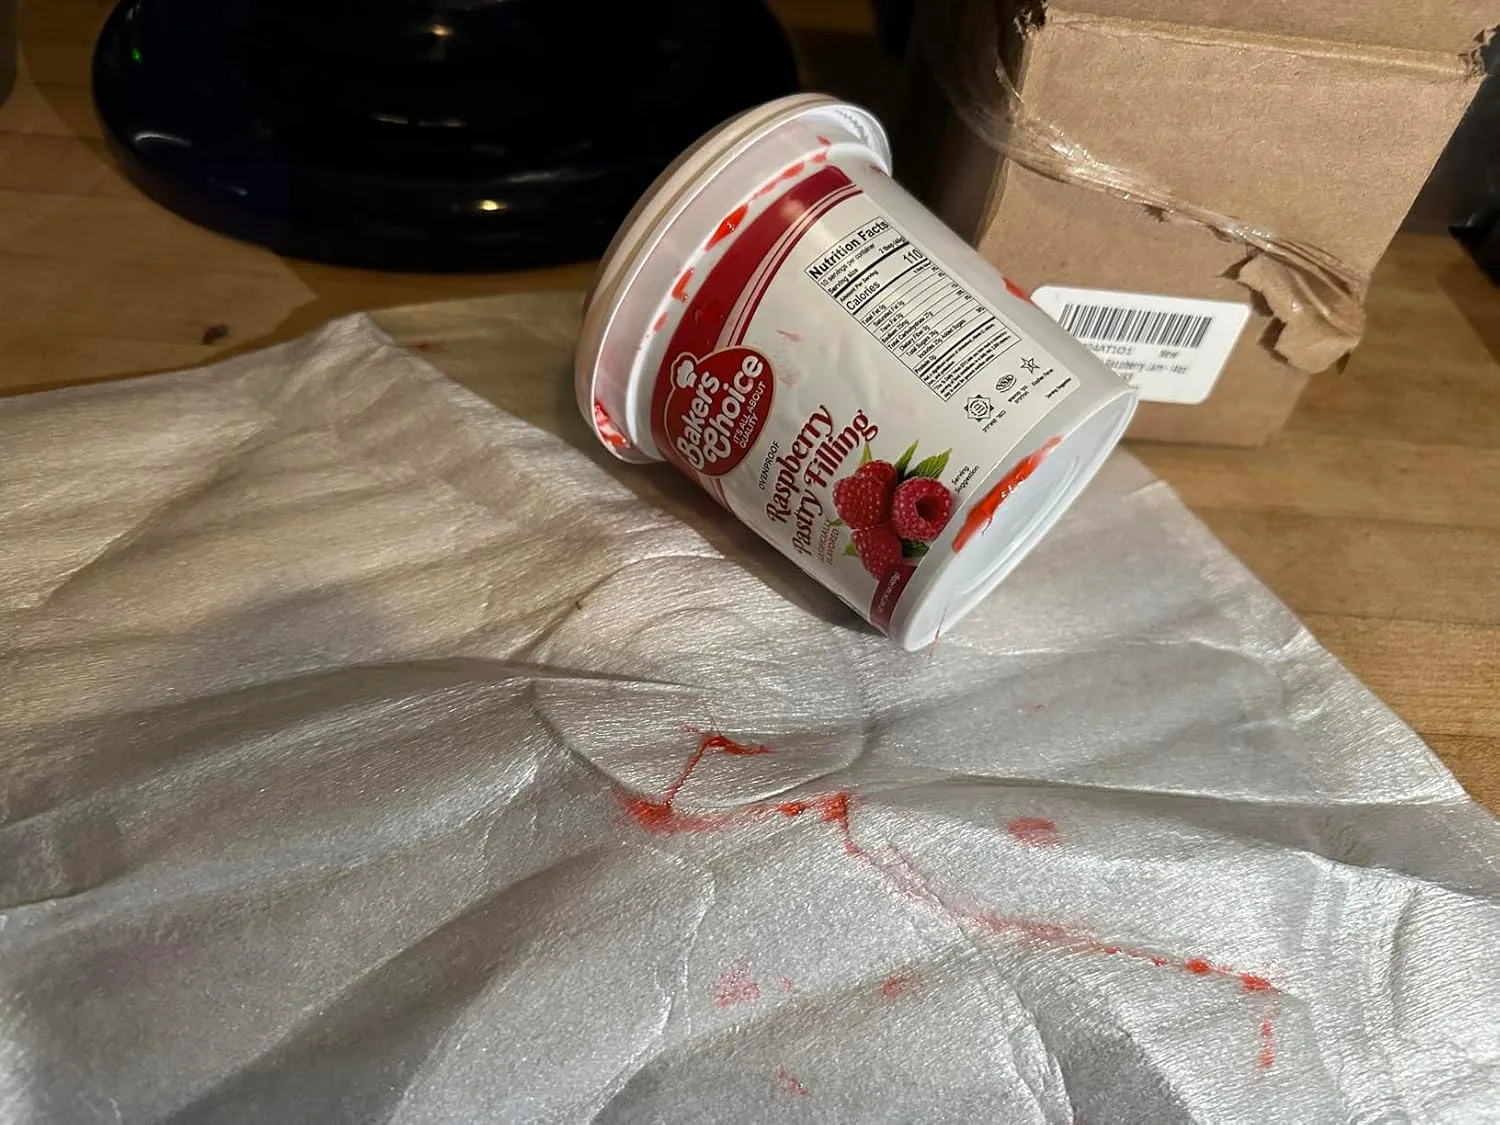
I’ll admit the first time I used this jam, I was skeptical that it would hold its shape — I’d had too many batches where the filling turned into a thin, glossy puddle by the time cookies cooled. But it stayed exactly where my son pressed his thumb, every single time. If you’re ready to stop worrying about jam chaos and start enjoying thumbprint cookies again, grab the Baker’s Choice Raspberry Jam.
This post contains affiliate links. As an Amazon Associate, I earn from qualifying purchases at no extra cost to you.