
The day my six-year-old decided she was going to bake cookies “all by herself, Mom, stop helping” was the day I learned that a full cup of salt looks almost identical to a full cup of sugar when you’re in a hurry and your measuring cups are buried under a pile of sprinkles. The resulting cookies went straight into the trash, my daughter went straight into tears, and I went straight for the chocolate I keep hidden in the back of the pantry. But here’s the thing — we tried again the next weekend, and something magical happened. Which is exactly why I’ve spent the last three years building out a list of cookie recipes kids can make that actually work, even when tiny hands are involved and parental supervision is more “moral support from the couch” than hands-on instruction. I specifically curated these as recipes that kids can make by themselves — with minimal adult supervision needed — so that even the most independent little baker can feel genuinely capable in the kitchen.
Why Kid-Baked Cookies Are Worth Every Messy Moment
I’ll be honest: the kitchen looks like a flour bomb went off every single time my kids bake. There are sticky handprints on the cabinet doors, chocolate chips somehow end up on the ceiling (still not sure how), and someone always cries because they wanted to pour the vanilla and they didn’t get a turn. And yet, I would not trade these baking sessions for anything. Watching a child pull a tray of cookies out of the oven — cookies they made themselves — and seeing that look of pure, glowing pride on their face is one of the best things I’ve ever witnessed as a parent. The mess is temporary. The confidence they build is not.
Beyond the life skills and the confidence boost, baking together is genuinely fun. It teaches fractions without feeling like homework, builds patience, and creates the kind of memories that get retold at Thanksgiving for the next twenty years. Including, apparently, the Great Salt Cookie Disaster of 2022.
10 Cookie Recipes Kids Can Make (Sorted by Age and Skill Level)
One quick note before we dive in: every cookie below comes with the exact recipe we use at our house — measured, tested, and re-tested by small hands — so you can bake straight from this page without hunting anywhere else.
1. No-Bake Chocolate Oat Cookies (Ages 5+)
No oven required, which means no burns and no anxiety. Kids stir together oats, cocoa, peanut butter, and butter on the stovetop with a grown-up handling the heat, then scoop and chill. These set up beautifully and taste like a chocolate peanut butter dream. Pro tip: let the mixture cool for two full minutes before scooping or it spreads everywhere.
What You’ll Need
Yield: about 24 cookies | Prep: 10 minutes | Set: 30–45 minutes (no oven!)
- 1/2 cup (113 g) unsalted butter
- 2 cups (400 g) granulated sugar
- 1/2 cup whole milk
- 1/4 cup unsweetened cocoa powder
- 1/2 cup creamy peanut butter
- 1 teaspoon vanilla extract
- 3 cups quick oats
- Pinch of salt
How We Make Them, Step by Step
- Kid job: line two baking sheets with parchment paper and measure everything into little bowls before anyone turns on the stove.
- Grown-up job: combine the butter, sugar, milk, and cocoa in a medium saucepan over medium heat, stirring until the butter melts. Bring it to a full rolling boil and boil for exactly 60 seconds — a timer helps here, because underboiling means cookies that never set.
- Take the pan off the heat, then hand the spoon back to your child to stir in the peanut butter and vanilla until smooth.
- Stir in the oats and the pinch of salt until every oat is coated in chocolate.
- Now the hard part: wait two full minutes. (We count out loud. It helps.)
- Scoop heaping tablespoons onto the parchment and let them set for 30–45 minutes at room temperature, or pop them in the fridge if the suspense is unbearable.
2. Classic Peanut Butter Cookies (Ages 6+)
Three ingredients — peanut butter, sugar, egg — and kids feel like absolute baking geniuses. They can measure, mix, roll into balls, and press the classic fork crosshatch pattern all on their own. These are crispy on the edges, chewy in the middle, and endlessly satisfying. Bake at 350°F for 10 to 12 minutes and resist overbaking.
What You’ll Need
Yield: 15–18 cookies | Prep: 10 minutes | Bake: 10–12 minutes at 350°F (175°C)
- 1 cup (250 g) creamy peanut butter (the regular shelf-stable kind, not natural drippy peanut butter)
- 1 cup (200 g) granulated sugar
- 1 large egg
How We Make Them, Step by Step
- Preheat the oven to 350°F (175°C) and line a baking sheet with parchment.
- Stir the peanut butter, sugar, and egg together in one bowl until completely combined. That’s it. That’s the dough.
- Roll into 1-inch balls and space them about 2 inches apart on the sheet.
- Press each ball with a fork, then press again the other direction to make the crosshatch. This is the job kids fight over, so plan turns accordingly.
- Bake 10–12 minutes, until the edges are just set. Let them rest on the sheet for 2 minutes before moving — they’re fragile when hot.
3. Sugar Cookies with Sprinkles (Ages 6+)
This is the one that started the Great Salt Disaster, and also the one that saved us. A simple sugar cookie dough comes together quickly, and kids can handle the rolling pin and cookie cutters like pros. The key tip I now give every parent: label your measuring cups. Permanently. In marker. Learn from my mistakes.
What You’ll Need
Yield: about 24 cookies | Prep: 20 minutes | Bake: 9–11 minutes at 350°F (175°C)
- 3 cups (375 g) all-purpose flour
- 2 teaspoons baking powder
- 1/2 teaspoon salt (measured by the grown-up, thank you, 2022)
- 1 cup (226 g) unsalted butter, softened
- 1 cup (200 g) granulated sugar
- 1 large egg
- 2 teaspoons vanilla extract
- Sprinkles — as many as your child insists on, which is always more than you think
How We Make Them, Step by Step
- Whisk the flour, baking powder, and salt together in a bowl and set it aside.
- Cream the butter and sugar with a hand mixer for about 2 minutes, until pale and fluffy. Kids can hold the mixer with a hand on top of theirs.
- Beat in the egg and vanilla.
- Add the flour mixture and mix on low just until a soft dough forms.
- Roll the dough out to about 1/4 inch thick on a floured counter and cut shapes. If the dough gets warm and sticky from small enthusiastic hands, chill it for 30 minutes and try again.
- Press sprinkles gently into the tops, transfer to a parchment-lined sheet, and bake at 350°F (175°C) for 9–11 minutes, until the edges are barely golden. Cool on the sheet for 5 minutes before moving.
4. Snickerdoodles (Ages 6+)
Rolling dough balls in cinnamon sugar is the most satisfying job in all of cookie baking, and kids agree. Snickerdoodles teach the importance of cream of tartar (it creates that signature tang and chewy texture) and are forgiving enough for beginners. Bake at 375°F for exactly 10 minutes — they’ll look underdone but they firm up perfectly as they cool.
What You’ll Need
Yield: about 30 cookies | Prep: 15 minutes | Bake: 10 minutes at 375°F (190°C)
- 2 3/4 cups (345 g) all-purpose flour
- 2 teaspoons cream of tartar
- 1 teaspoon baking soda
- 1/2 teaspoon salt
- 1 cup (226 g) unsalted butter, softened
- 1 1/2 cups (300 g) granulated sugar
- 2 large eggs
- For rolling: 3 tablespoons granulated sugar mixed with 1 tablespoon ground cinnamon
How We Make Them, Step by Step
- Preheat the oven to 375°F (190°C). Whisk the flour, cream of tartar, baking soda, and salt together.
- Cream the butter and sugar until fluffy, about 2 minutes, then beat in the eggs one at a time.
- Mix in the dry ingredients on low just until combined.
- Roll the dough into 1 1/2-inch balls, then roll each one generously in the cinnamon sugar. Hand this entire station over to the kids.
- Space the balls 3 inches apart on parchment-lined sheets and bake for exactly 10 minutes. They will look soft and slightly underdone in the middle — trust the process and pull them anyway.
- Cool on the sheet for 5 minutes, where they’ll finish setting into that perfect chewy middle.
5. Chocolate Chip Cookies (Ages 7+)
The classic. Kids can handle creaming butter and sugar with a hand mixer (with supervision), measuring dry ingredients, and folding in the chips. Teach them the golden rule early: do not overmix once the flour goes in. Overmixing develops gluten and gives you tough, flat cookies. Stir just until combined and stop there.
What You’ll Need
Yield: about 4 dozen cookies | Prep: 15 minutes | Bake: 9–11 minutes at 375°F (190°C)
- 2 1/4 cups (280 g) all-purpose flour
- 1 teaspoon baking soda
- 1 teaspoon salt
- 1 cup (226 g) unsalted butter, softened
- 3/4 cup (150 g) granulated sugar
- 3/4 cup (165 g) packed brown sugar
- 1 teaspoon vanilla extract
- 2 large eggs
- 2 cups (340 g) semi-sweet chocolate chips
How We Make Them, Step by Step
- Preheat the oven to 375°F (190°C). Whisk the flour, baking soda, and salt in a small bowl.
- Cream the butter, granulated sugar, and brown sugar with the hand mixer until light and fluffy — this is the supervised part, and also the loudest.
- Beat in the vanilla, then the eggs one at a time.
- Add the flour mixture and stir just until no dry streaks remain. Say the golden rule out loud together: stir until combined, then STOP.
- Fold in the chocolate chips (minus the handful that mysteriously disappears).
- Drop rounded tablespoons onto parchment-lined sheets, 2 inches apart, and bake 9–11 minutes until golden brown. Cool on the sheet for 2 minutes, then move to a rack.
6. Oatmeal Raisin Cookies (Ages 7+)
These are heartier and more forgiving than chocolate chip cookies, making them a great next step. Kids love the texture of rolled oats going into the bowl. For extra chewiness, use old-fashioned oats instead of quick oats and let the dough rest in the fridge for 30 minutes before baking.
Here’s the quick version we bake from — yield: about 4 dozen | bake: 8–10 minutes at 350°F (175°C):
- 1 cup (226 g) unsalted butter, softened
- 1 cup (200 g) packed brown sugar
- 1/2 cup (100 g) granulated sugar
- 2 large eggs
- 1 teaspoon vanilla extract
- 1 1/2 cups (188 g) all-purpose flour
- 1 teaspoon baking soda
- 1 teaspoon ground cinnamon
- 1/2 teaspoon salt
- 3 cups old-fashioned rolled oats
- 1 cup raisins
- Cream the butter and both sugars until fluffy, then beat in the eggs and vanilla.
- Mix in the flour, baking soda, cinnamon, and salt, then stir in the oats and raisins.
- Rest the dough in the fridge for 30 minutes (the chewiness step — don’t skip it).
- Drop rounded tablespoons onto parchment-lined sheets and bake at 350°F (175°C) for 8–10 minutes, until light golden brown. Cool 1 minute on the sheet, then move to a rack.
7. Thumbprint Cookies (Ages 7+)
Roll, press your thumb in the center, fill with jam. Kids think this process is absolutely delightful. Shortbread-style thumbprints are very sturdy and easy to handle, and filling them with whatever jam is in the fridge makes every batch feel personalized. Bake at 325°F low and slow for golden edges without browning the bottoms.
Our house recipe — yield: about 24 | chill: 1 hour | bake: 14–16 minutes at 325°F (165°C):
- 1 cup (226 g) unsalted butter, softened
- 2/3 cup (133 g) granulated sugar
- 1 large egg yolk
- 2 teaspoons vanilla extract
- 2 1/4 cups (280 g) all-purpose flour
- 1/4 teaspoon salt
- About 1/3 cup jam, any flavor the fridge offers up
- Cream the butter and sugar, then beat in the egg yolk and vanilla. Mix in the flour and salt until a soft dough forms.
- Chill the dough for 1 hour so the cookies hold their shape.
- Roll into 1-inch balls, place on parchment-lined sheets, and let your child press a thumb straight down into each one.
- Spoon about 1/2 teaspoon of jam into each well and bake at 325°F (165°C) for 14–16 minutes, until the edges are just golden. Cool completely — hot jam is lava.
Numbers one through seven on this list are truly cookies kids can make by themselves — once you’ve walked through the steps together the first time, most kids in the 6–8 age range are ready to fly solo on these with just an adult nearby for oven duty.
8. Monster Cookies (Ages 8+)
Oats, peanut butter, M&Ms, chocolate chips, and no flour — these cookies are loaded, chunky, and deeply satisfying to make. The dough is thick, which means kids get a real arm workout stirring. Use a large cookie scoop and press slightly flat before baking since these don’t spread much on their own.
The recipe — yield: 18–20 cookies | chill: 30 minutes | bake: 12–14 minutes at 350°F (175°C):
- 1 1/2 cups (128 g) old-fashioned rolled oats
- 1 teaspoon baking soda
- 1/8 teaspoon salt
- 3 tablespoons (43 g) unsalted butter, melted
- 2/3 cup (133 g) packed brown sugar
- 2 large eggs
- 1 teaspoon vanilla extract
- 1 cup (250 g) creamy peanut butter
- 1/2 cup M&Ms
- 1/3 cup semi-sweet chocolate chips
- Whisk the melted butter, brown sugar, eggs, and vanilla, then stir in the peanut butter until smooth.
- Stir in the oats, baking soda, and salt (this is the arm-workout part), then fold in the M&Ms and chocolate chips.
- Chill the dough for 30 minutes so it scoops cleanly.
- Scoop with a large cookie scoop onto parchment-lined sheets, 3 inches apart, press each mound slightly flat, and bake at 350°F (175°C) for 12–14 minutes until the edges are set. Cool on the sheet for 5 minutes.
9. Lemon Crinkle Cookies (Ages 8+)
These bright, zingy cookies introduce kids to zesting citrus, which they find equal parts fascinating and gross. The powdered sugar coating that cracks during baking feels like a science experiment. Chill the dough for at least an hour so the crinkle effect actually works — skipping this step results in flat, non-crinkled cookies and disappointed bakers.
The recipe — yield: about 3 dozen | chill: at least 1 hour (overnight is even better) | bake: 12–13 minutes at 350°F (175°C):
- 2 1/2 cups (313 g) all-purpose flour
- 1 teaspoon cornstarch
- 1 teaspoon baking soda
- 1/2 teaspoon salt
- 3/4 cup (170 g) unsalted butter, softened
- 1 cup plus 2 tablespoons (225 g) granulated sugar
- 1 large egg
- 1/4 cup fresh lemon juice
- 1 tablespoon lemon zest (the fascinating-and-gross part)
- 1 teaspoon vanilla extract
- 1 cup confectioners’ sugar, for rolling
- Whisk the flour, cornstarch, baking soda, and salt. In another bowl, cream the butter and sugar, then beat in the egg, lemon juice, zest, and vanilla.
- Mix the dry ingredients into the wet just until combined. The dough will be sticky — that’s normal.
- Chill for at least 1 hour.
- Roll into 1-inch balls and roll each one very generously in confectioners’ sugar. A stingy coating means less dramatic crinkles.
- Bake at 350°F (175°C) for 12–13 minutes, until crinkled on top and barely colored. Watch the cracks form through the oven door — best free entertainment in the house.
10. Decorated Shortbread Cookies (Ages 9+)
Simple shortbread dough, cut into shapes, baked until just barely golden, then decorated with royal icing. This is the project cookie — the one that takes an afternoon and produces something genuinely beautiful. Kids learn patience, precision, and that sometimes the best things take a little extra time.
The recipe — yield: about 24 cookies | chill: 1 hour | bake: 13–15 minutes at 325°F (165°C):
- 1 cup (226 g) unsalted butter, softened
- 1/2 cup (100 g) granulated sugar
- 1 teaspoon vanilla extract
- 2 cups (250 g) all-purpose flour
- 1/4 teaspoon salt
- For the royal icing: 2 cups (240 g) confectioners’ sugar, 1 1/2 tablespoons meringue powder, and 3–4 tablespoons water
- Cream the butter and sugar until smooth, beat in the vanilla, then mix in the flour and salt until the dough just comes together.
- Roll the dough to 1/4 inch thick between two sheets of parchment and chill for 1 hour.
- Cut shapes, place on lined sheets, and bake at 325°F (165°C) for 13–15 minutes, until just barely golden at the edges. Cool completely — icing on a warm cookie is heartbreak.
- Beat the confectioners’ sugar, meringue powder, and water until the icing holds soft peaks, tint with food coloring if you like, and hand over the piping bags. Then step back and let the artists work.
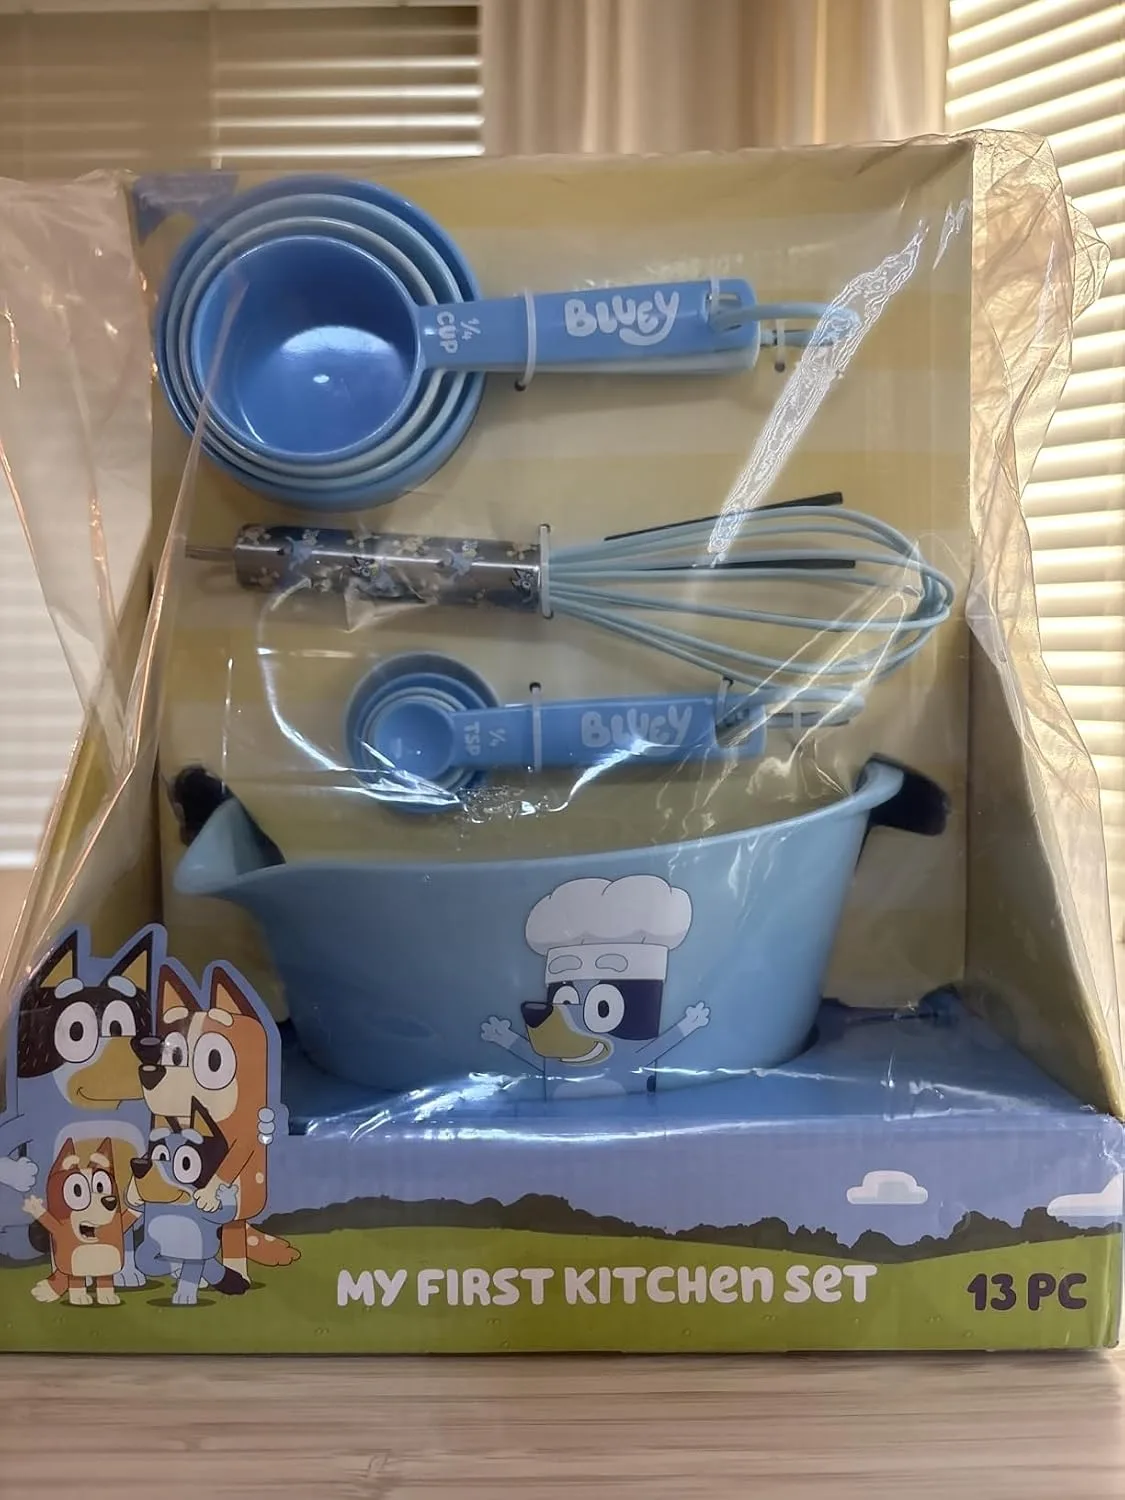
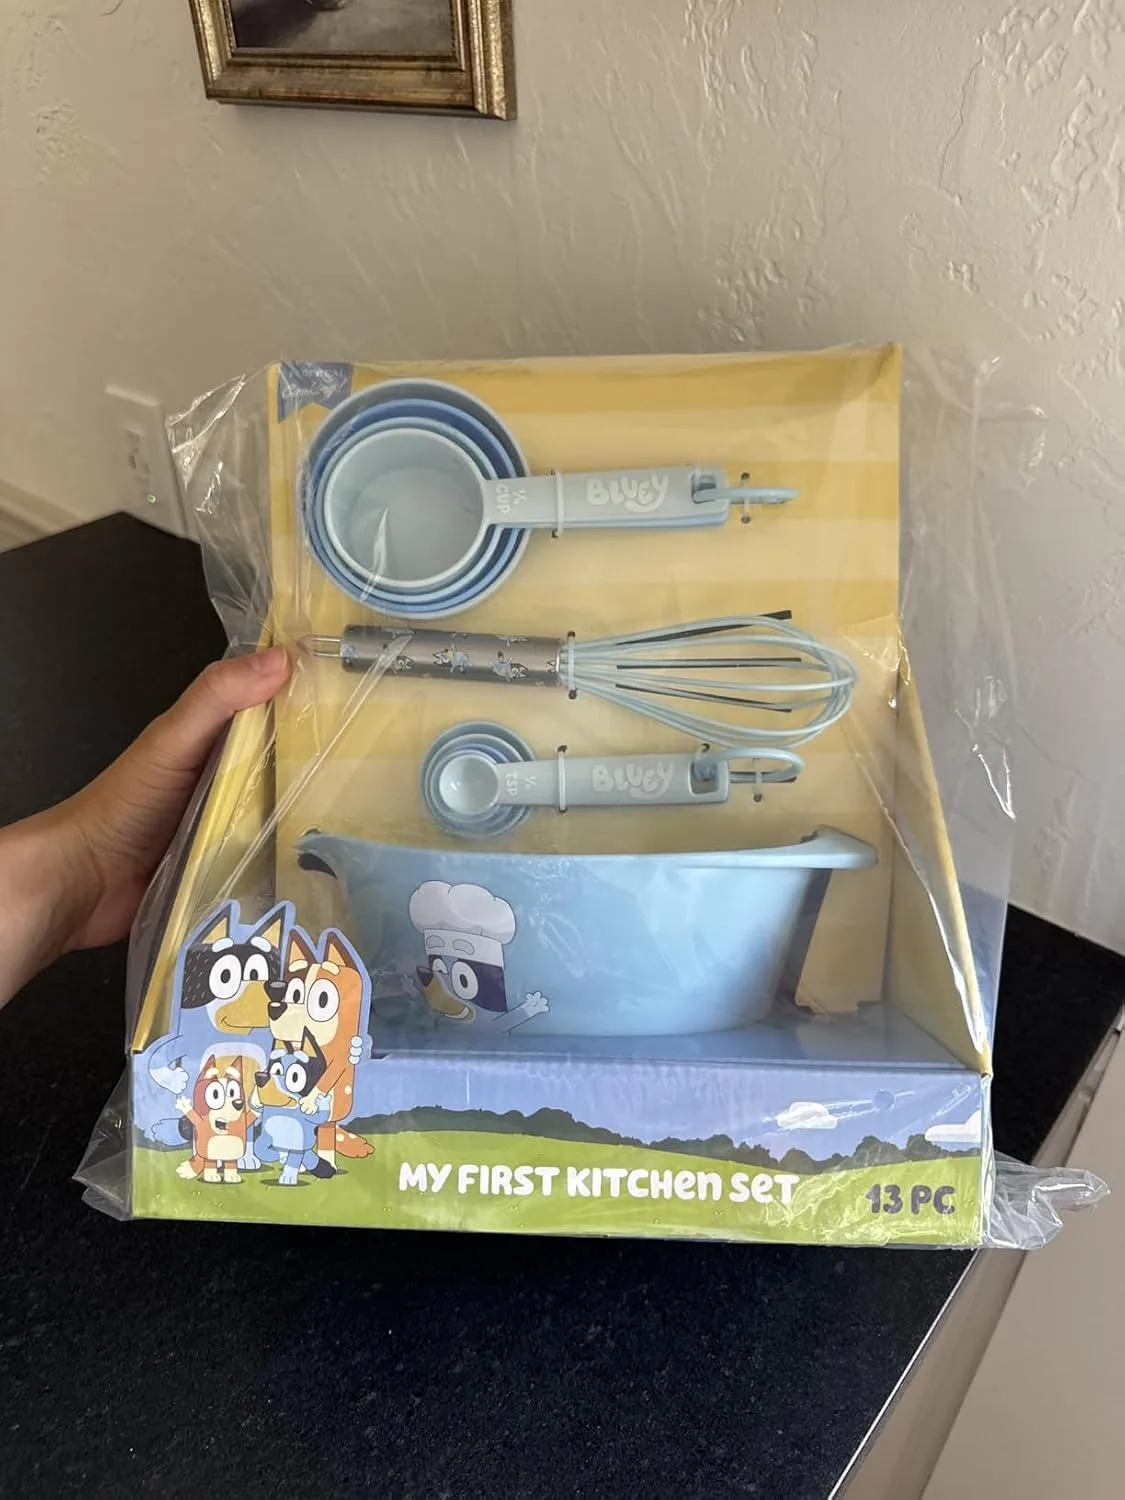
The Tool Set That Finally Kept My Six-Year-Old From Mixing Up Salt and Sugar
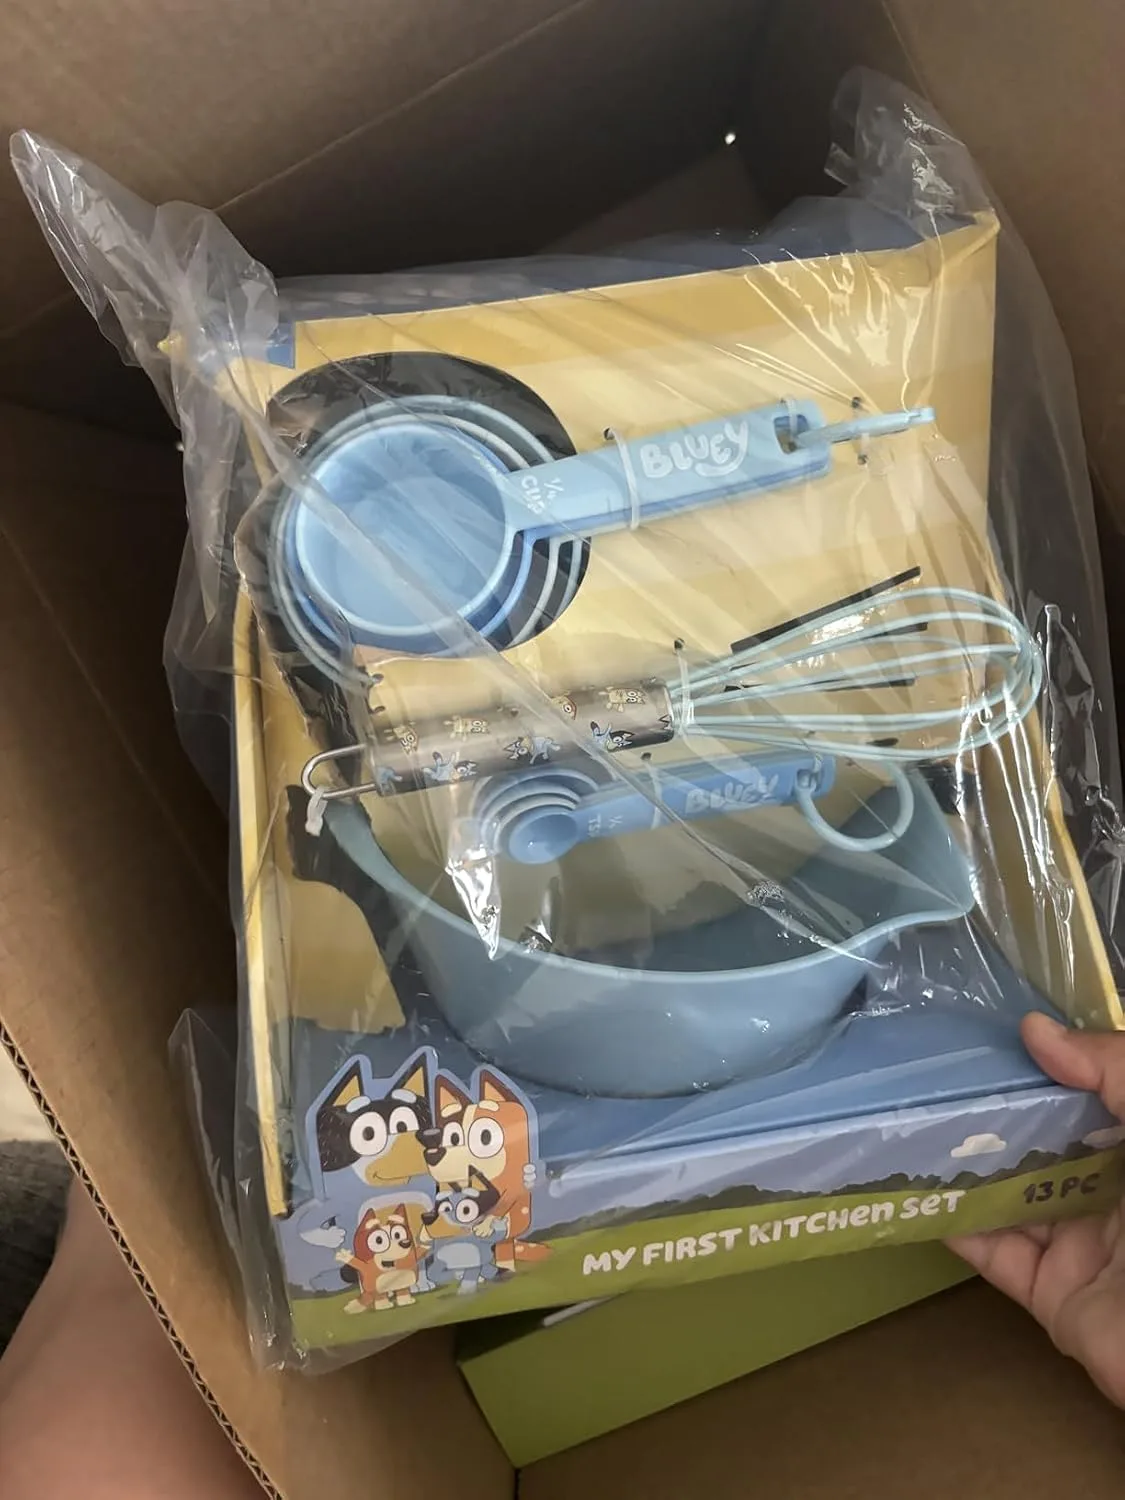
When you’re teaching a young baker, having child-sized measuring cups and tools that are actually labeled and easy to read makes the difference between a batch of cookies and a batch of tears. My daughter needed tools that fit her hands and made it impossible to grab the wrong ingredient without realizing it.
What works
- The bright colors and kid-friendly sizing mean she can actually see and grip the measuring cups without needing my hands hovering over hers the entire time.
- Each piece is clearly marked, so even when she’s distracted (which is always), she can double-check she’s grabbing the right cup size instead of eyeballing it.
- The set includes everything she needs to bake start-to-finish, which means fewer trips to the adult kitchen tools and less improvising with whatever’s nearby.
What doesn’t
- The handles are definitely sized for smaller hands — if you have older teens or adults baking with you, they’ll feel cramped and might prefer full-size tools.
- The lighter construction means they’re not as durable as professional-grade measuring cups if you have a really aggressive young baker who likes to bang things around.
I’ll admit, the first time I handed her the smaller measuring cup, I held my breath wondering if she’d take it seriously or if the “kid” branding would make her think this was a toy — but watching her feel like a real baker with her own real tools changed everything. If you’re ready to let your child take the lead in the kitchen, grab the Handstand Kitchen Bluey Silicone Holiday Themed Kids Baking Tools Boxed Set.