
I want to tell you about the Saturday morning I accidentally dyed four children’s hands completely purple and somehow ended up with the best tradition our family has ever started. That was eight months ago, and our kids cookie club baking sessions have been going strong every single weekend since. I had absolutely no idea that one chaotic, food-coloring-soaked morning would turn into something all of us look forward to more than almost anything else in our week.
Let me back up and set the scene properly, because you deserve the full picture before we get to the good stuff.
How the Saturday Cookie Club Was Born (From Total Chaos)
It was a rainy Saturday in early spring. My daughter Emma had two friends sleeping over, my son had his best buddy visiting, and I had exactly zero plan for entertaining four kids between the ages of seven and ten. In a moment of either brilliant inspiration or pure desperation — honestly still not sure which — I announced we were going to make decorated sugar cookies together.
I handed everyone a bowl, pulled out my gel food coloring, and got the royal icing going. Here is where I went wrong: I did not supervise the food coloring closely enough. One of the kids, bless his sweet heart, decided that if a tiny drop of purple made pretty lavender, then half the bottle would make something truly spectacular. He was not wrong, technically. It did make something spectacular. It made something that stained every single pair of hands in the room for approximately four days.
We laughed so hard we could barely breathe. The cookies were wonky, the icing was everywhere, and my kitchen looked like a pastel tornado had made a direct hit. But the kids? They were absolutely glowing. Emma told me it was the best day of her whole life. And that, friends, is how the Saturday Cookie Club was born.
Kids Cookie Club Baking: How We Actually Run It Now
After that first wild morning, I decided to do it right. We made it a real thing with a real name, a little sign on the kitchen door, and some actual organization so I could keep my sanity while still letting the kids have full creative ownership. Here is the basic structure that has worked beautifully for us.
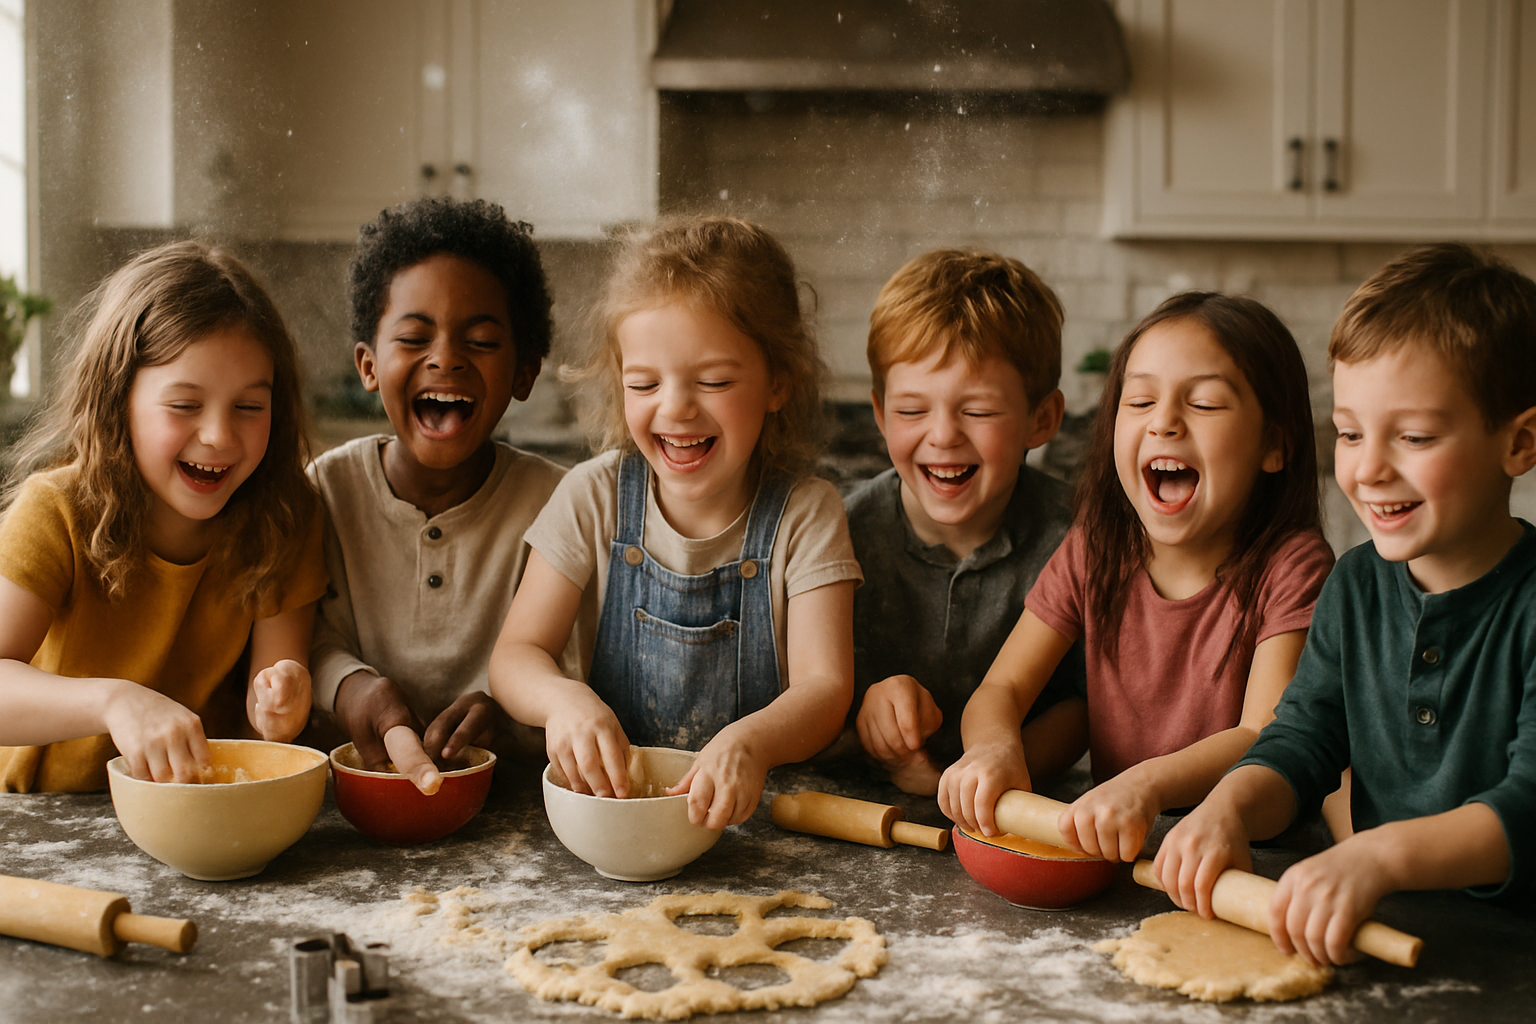
Every Saturday we invite two to four of the kids’ friends over for about two hours of baking together. We rotate between simple drop cookies, cut-out cookies, and no-bake options depending on the age range of whoever is joining that week. Each child gets their own bowl and their own station, which eliminates so much squabbling it is almost miraculous.
I always pre-measure the dry ingredients into little prep bowls ahead of time. This does two things: it keeps the session moving at a pace that holds everyone’s attention, and it quietly teaches kids about mise en place without me having to give a lecture. They just see that baking has an order and a rhythm, and they absorb it naturally while having fun.
Baking Tips That Keep Things Running Smoothly
- Always chill your cut-out cookie dough for at least one hour before rolling. Warm dough sticks to everything and little hands pressing with enthusiasm will make it stick even more. Cold dough is forgiving and holds shapes beautifully.
- Use a light hand with flour on your work surface. Kids tend to add more and more when dough sticks, and too much extra flour makes cookies dry and tough. A thin, even dusting is all you need.
- For decorating sessions, stick with royal icing that has been thinned to a flood consistency. It is more forgiving for small hands and spreads easily without requiring perfect piping technique.
- Bake cookies on parchment-lined sheets at a slightly lower temperature, around 325°F, for a minute or two longer. This gives you a more even bake with less risk of brown bottoms, which matters when you have multiple trays going in and out while distracted by four chattering children.
- Let cookies cool completely before decorating. I mean completely. This is the rule I enforce without exception, because icing on a warm cookie slides right off and the tears that follow are not worth it.
My Baking Essentials for Cookie Club Days
Having the right tools has made a huge difference in how smoothly our sessions run. When every kid has their own workspace and their own equipment, the whole vibe shifts from chaotic to genuinely collaborative. Here are the things I reach for every single Saturday.
The Bowls That Survived Four Kids’ Worth of Food Coloring (and Made Cleanup Bearable)
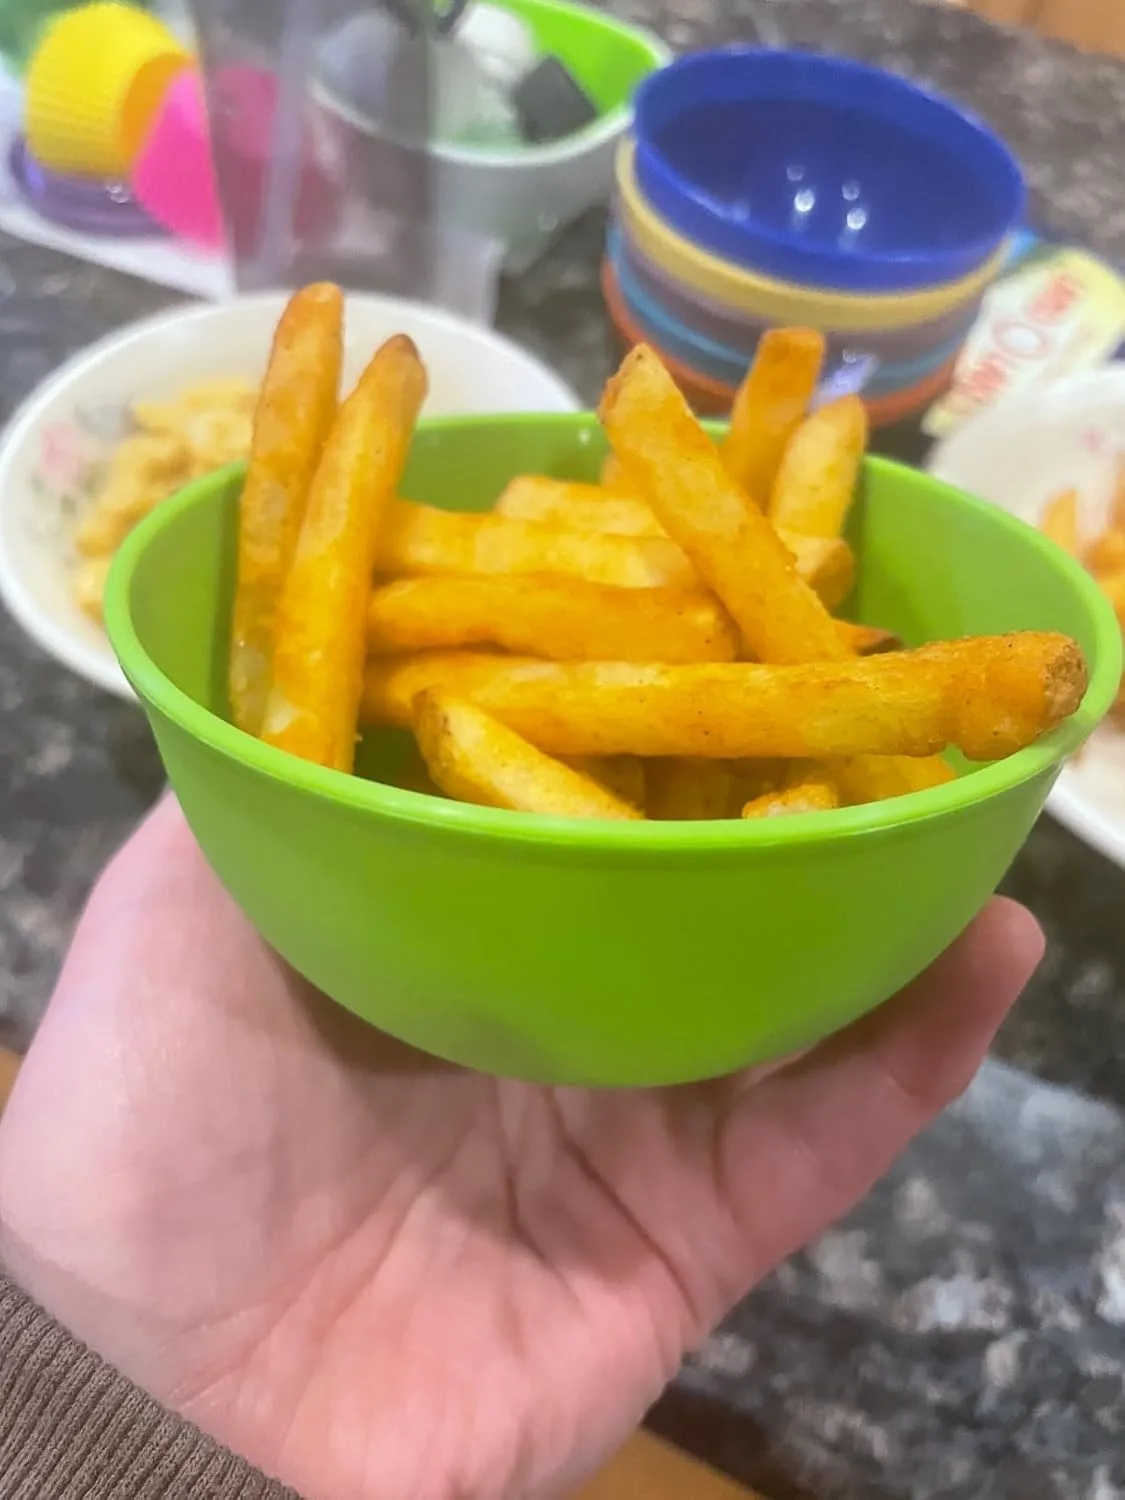
When you’re dividing dough into five different colors for a group of kids, you need bowls that won’t stain permanently and can handle the chaos of small hands reaching in and out. I learned this the hard way after that purple-disaster morning—and realized I needed a set that was actually designed for this kind of colorful, messy baking.
What works
- The plastic construction means food coloring rinses right off without leaving ghost stains, even after eight months of weekly rainbow doughs.
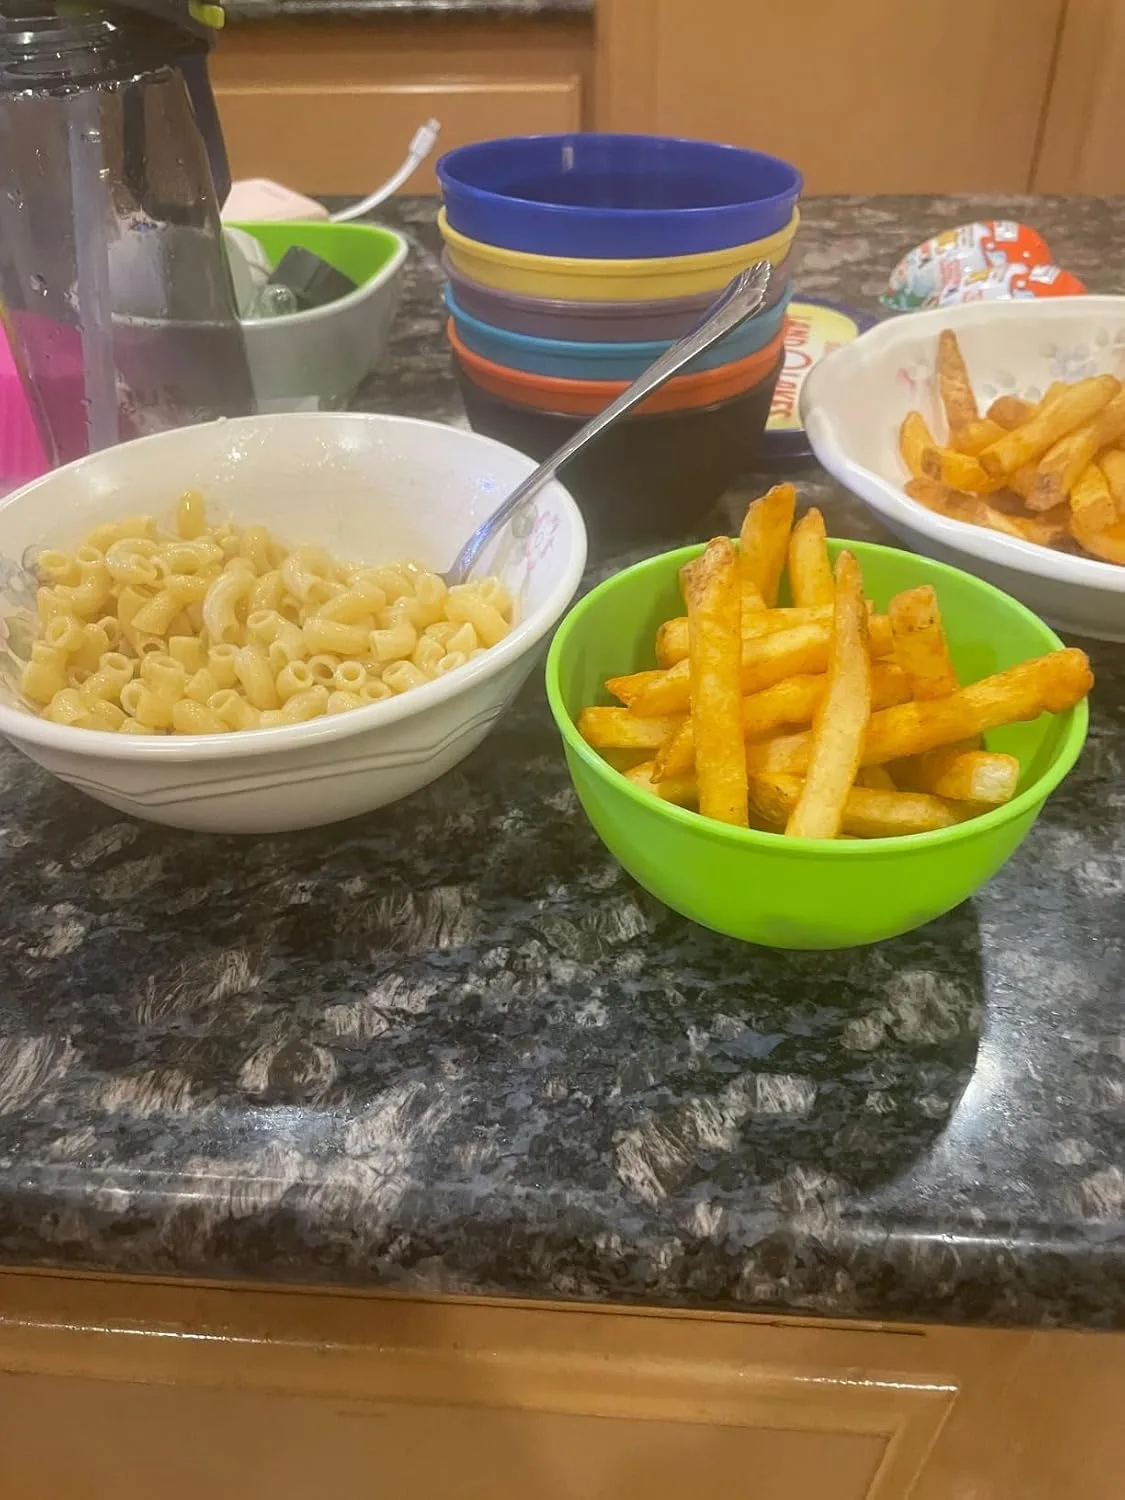
- Each bowl is a different bright color, so I can assign one to each child and they actually know which one is theirs—no more cross-contamination or arguments mid-session.
- The 10-ounce size is perfect for portioning dough for individual decorating projects without being so large that a five-year-old can’t handle it.
What doesn’t
- They’re lightweight, so if a child is mixing vigorously, the bowl can slide across the table—I now always place them on damp towels to anchor them.
- Plastic can eventually develop tiny scratches that catch color over time, so these aren’t forever bowls, but at this price point I treat them as replaceable tools rather than heirlooms.
I’ll admit I was skeptical that plastic bowls would hold up to weekly use with kids, but after watching food coloring wash clean for months, I’m a believer. Grab the Youngever 9 Pack 10 Ounce Plastic Bowls in Rainbow Colors if you’re starting your own Saturday club.