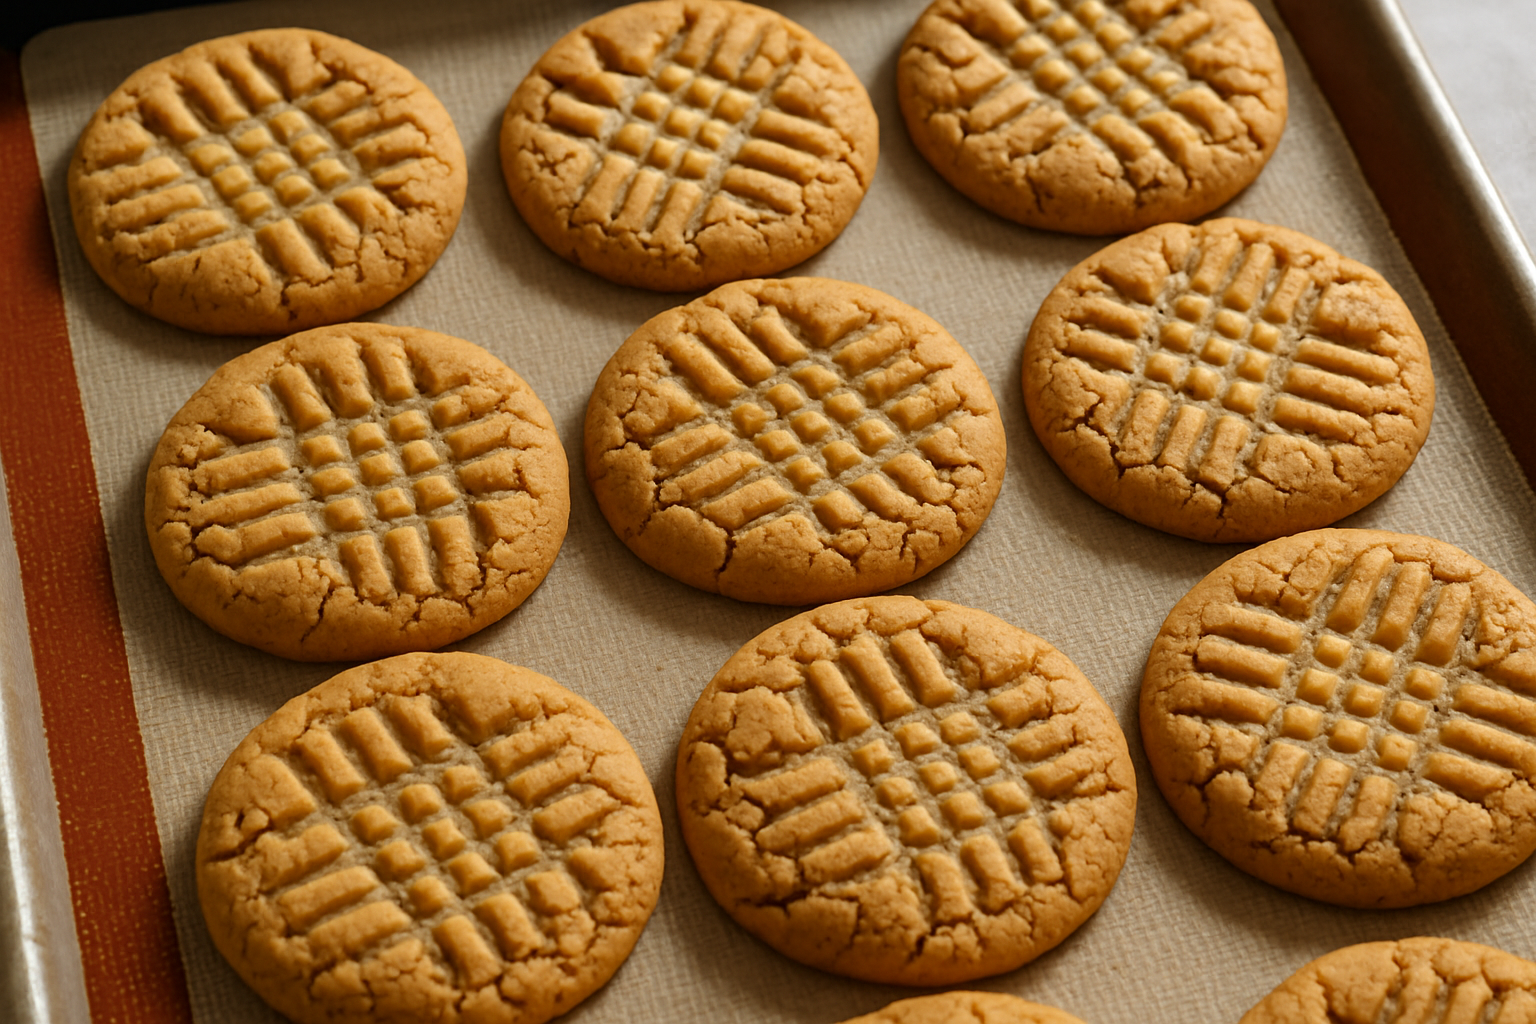

Flourless Peanut Butter Cookies
Simple three-ingredient peanut butter cookies with soft, chewy centers and characteristic fork-pressed cracks.
Ingredients
- 1 cup creamy peanut butter (258g)
- 1 cup (200g) granulated white sugar
- 1 large egg
Instructions
- Preheat your oven to 350°F (175°C).
- Line a baking sheet with parchment paper or a silicone liner.
- In a mixing bowl, combine the peanut butter, sugar, and egg.
- Stir everything together until you have a smooth, uniform dough.
- Scoop the dough into 24 portions, each roughly the size of a tablespoon.
- Roll each portion into a ball and place it on your prepared baking sheet, spacing them about an inch apart.
- Using the tines of a fork, press each cookie ball down gently but firmly, making a crosshatch pattern.
- Bake for 12 minutes.
- Remove the baking sheet from the oven and let the cookies cool on the pan for at least 5 minutes.
- Transfer the cookies to a wire rack or a plate and let them cool completely.
Notes
- Use a well-stirred creamy peanut butter to avoid separation.
- Pull cookies from oven while they still look slightly underdone in the center; they firm up as they cool.
- Cookies stay fresh in an airtight container for three to four days.
- Recipe is naturally gluten-free.
I want to tell you about the afternoon I accidentally became a baking genius. It was a Tuesday — the kind of Tuesday where the fridge is mostly empty, a friend is showing up in twenty minutes, and past-me had apparently decided that buying flour was optional. I panicked, opened every cabinet, and landed on a jar of peanut butter, a cup of sugar, and one lonely egg. I typed “flourless peanut butter cookies 3 ingredients” into my search bar, squinted at my phone, and thought, there is absolutely no way this works. Reader, it worked. Spectacularly. And now I make these cookies on purpose, every single week, like the smug little cookie genius I have apparently become.
Why Flourless Peanut Butter Cookies 3 Ingredients Actually Make Sense
Before we get into the how, let me satisfy the part of your brain that is currently saying, “But HOW?” Because when I first made these, I spent the entire twelve minutes they were in the oven pacing around and catastrophizing. Surely they would fall apart. Surely they would taste like sadness. Surely I would have to serve my friend crackers and apologize.
Here is the science behind the magic: peanut butter is loaded with natural fats and proteins that do a lot of the structural work that flour usually handles. The egg acts as your binder, holding everything together and giving the cookies a slight chew. The sugar does more than sweeten — it helps the edges crisp up slightly while the centers stay soft and fudgy. That is it. That is the whole cookie. No leavening agent, no vanilla, no butter, no flour. Just three things working in perfect, delicious harmony.
These cookies are also naturally gluten-free, which makes them a genuinely great option to bake when you have guests with gluten sensitivities. No special flour blends, no weird substitutions, no accidentally poisoning anyone. Just a cookie that everyone at the table can eat and enjoy without a single asterisk.
The Only Tips You Need to Nail This Recipe
Okay, three ingredients sounds foolproof, and mostly it is — but there are a handful of things that will take your cookies from good to absolutely incredible. I learned most of these the slightly hard way, so consider this your shortcut.
Use a creamy, well-stirred peanut butter
The peanut butter you choose matters more than you might think. You want something creamy and consistent — not the kind that separates into a pool of oil on top and a dry brick on the bottom. A well-emulsified natural peanut butter gives you a smoother dough that bakes evenly. My personal go-to is SKIPPY Natural Creamy, which is smooth, rich, and never lets me down. I keep a single jar on hand for everyday use, but honestly, when it comes to these cookies I buy in bulk because once you start making them weekly, you go through peanut butter at an alarming rate.
Measure your sugar properly
One cup of granulated white sugar is the standard, and I would not mess with that ratio much. Going under makes the cookies fragile and a little bland. Going significantly over can cause them to spread too flat and turn crispy in a way that feels more like a mistake than a feature. Stick to one cup and trust the process.
Do not skip the fork press
Roll your dough into balls roughly the size of a tablespoon, place them on your lined baking sheet, and press them down twice with a fork in a crosshatch pattern. This is not just for looks — it flattens the cookie to an even thickness so it bakes through properly. Without it, you end up with thick little domes that are underdone in the middle. Press with confidence. The cookie can take it.
Pull them out when they look underdone
This is the tip people ignore and then regret. At the twelve-minute mark, these cookies will still look soft and slightly underset in the center. That is correct. Pull them out anyway. They firm up significantly as they cool on the pan — residual heat does the last bit of cooking for you. If you wait until they look done in the oven, they will be overdone on your plate. Soft, chewy centers are the goal. Patience is the method.
Let them cool on the pan
Leave the cookies on the baking sheet for at least five minutes before you try to move them. Flourless cookies are more delicate when hot because there is no gluten network holding everything together. Give them time to set up and they will transfer beautifully. Try to move them immediately and you will have a pile of delicious rubble. Delicious rubble you can absolutely eat with a spoon, but still.
The Recipe: 3 Ingredients, Done in 12 Minutes
Alright, you have the why and the how-to-nail-it wisdom. Here is the recipe itself — simple, straightforward, and honestly pretty hard to mess up once you know the tips above. I have made these in dozens of times now, from my friend’s chaotic kitchen to mine, and the formula never fails.
What You’ll Need
- 1 cup creamy peanut butter (258g), well-stirred or use SKIPPY Natural
- 1 cup (200g) granulated white sugar
- 1 large egg
Equipment: A mixing bowl, a spoon, a baking sheet, parchment paper or a silicone liner, and a fork for pressing.
How to Make Them, Step by Step
- Preheat your oven to 350°F (175°C). Line a baking sheet with parchment paper or a silicone liner.
- In a mixing bowl, combine the peanut butter, sugar, and egg. Stir everything together until you have a smooth, uniform dough. This should take about a minute or two — do not overthink it.
- Scoop the dough into 24 portions, each roughly the size of a tablespoon. Roll each into a ball and place it on your prepared baking sheet, spacing them about an inch apart.
- Using the tines of a fork, press each cookie ball down gently but firmly, making a crosshatch pattern. This flattens the cookies to a uniform thickness and creates those characteristic cracks across the top.
- Bake for 12 minutes. The cookies will still look soft and slightly underset in the center — this is exactly what you want. They should not look completely set or golden brown.
- Remove the baking sheet from the oven and let the cookies cool on the pan for at least 5 minutes. Resist the urge to move them — this cooling time is when they firm up and become sturdy enough to handle.
- Transfer the cookies to a wire rack or a plate and let them cool completely. They will continue to firm up as they cool to room temperature.
Yield: About 24 soft, chewy cookies that stay fresh in an airtight container for three to four days — though honestly, they rarely last that long in my house.
My Baking Essentials for This Recipe
You do not need much equipment for these cookies, but a couple of the right tools make the whole thing smoother and more enjoyable. Here is what I actually use and recommend.
The Peanut Butter That Actually Stays Creamy When You Need It Most
With only three ingredients, the quality of your peanut butter makes or breaks these cookies—there’s nowhere for mediocre flavor or grainy texture to hide. I learned this the hard way after a batch made with separated natural peanut butter turned out crumbly and dense.
What works
- The creamy consistency blends seamlessly with sugar and egg without requiring extra mixing time—the cookies come together in one bowl, no separation drama.
- The flavor is rich and roasted without tasting artificial, which matters when peanut butter is literally half your ingredient list.
- It doesn’t separate into an oil slick on top the way some natural butters do, so you get uniform dough every single time.
What doesn’t
- It’s denser than old-school conventional peanut butter, so if you’re used to a lighter texture, the first scoop feels heavier than expected.
- At 26.5 ounces, you’ll likely have leftovers after making one batch—though honestly, that’s a problem I’m always happy to have.
I second-guessed myself the first time I creamed it with sugar—it looked almost too smooth, like it wouldn’t produce those characteristic cracks across the top—but it did, every time. Grab a jar of SKIPPY Natural Peanut Butter Creamy Spread, 26.5 oz Jar and see for yourself.